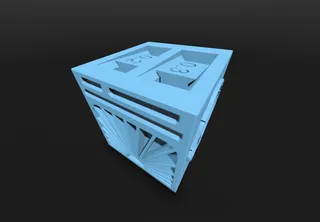
ZeroPivot Protractor V2
Description
PDFDescription
The ZeroPivot Protractor revolutionizes angle measurement and drawing with its innovative swinging arm design. This unique feature allows for quick and precise angle creation in a single, fluid motion, eliminating the need for multiple adjustments. Ideal for students, engineers, and artists, the ZeroPivot Protractor combines accuracy with ease of use, increasing your productivity and making it an essential tool for any workspace.
Version 2 is completely redesigned and now offers the ability to draw and measure angles ranging from 0 to 180, making this perfect for any situation.
Usage Instructions
To draw angles smaller than 90, readout the correct angle using large arm and draw on the inside.
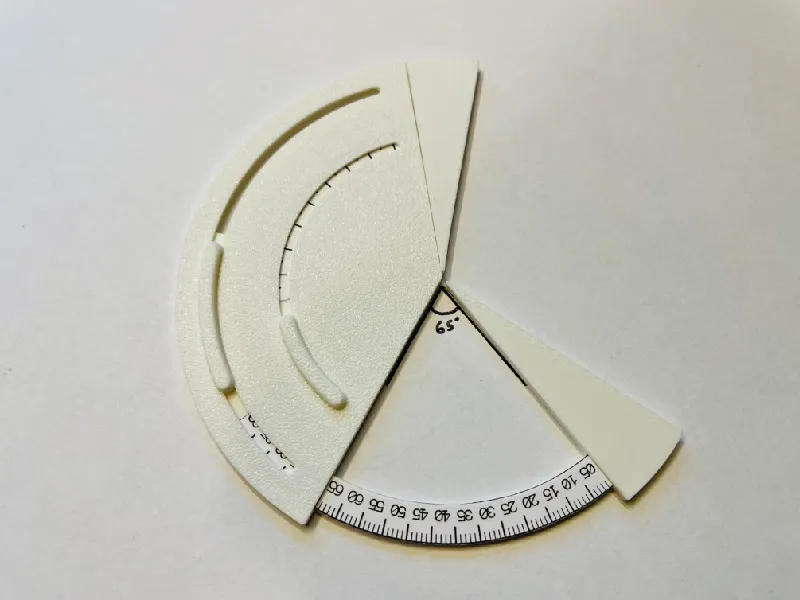
To draw angles larger than 90, readout the correct angle using small arm and draw on the inside.

To measure angles smaller than 90, extend the small arm fully and measure the angle in between the small arm and large arm. The readout will be the complement of what is displayed on the large arm.

To measure angles larger than 90, retract the large arm fully and measure the angle on the outside of the small arm. The readout will be displayed on the small arm.

Assembly
The model has 7 parts in total. Please reference the following for assembly. Please note that some of these images display version 1, which has 1 arm. Please repeat the process shown with the small arm.
Step 1. Print the Marking Stickers.pdf on a laser or inkjet printer. Make sure that the 20mm square on the pdf prints out exactly 20mm. If not, you can adjust the printing scale.
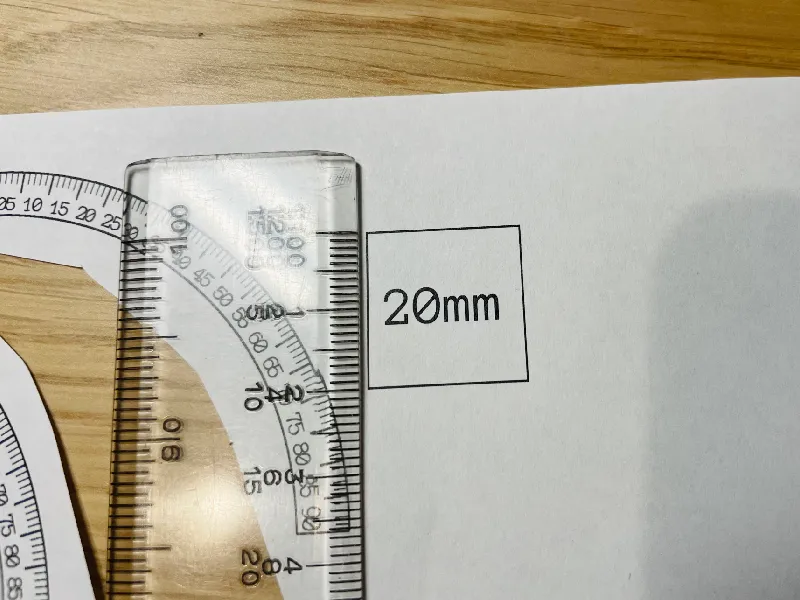
Step 2. Cut out both markers along the black edges.

Step 3. Print the Printing.stl on your 3d printer, print settings are listed below. Note not all parts are shown. You should have 5 printed parts.
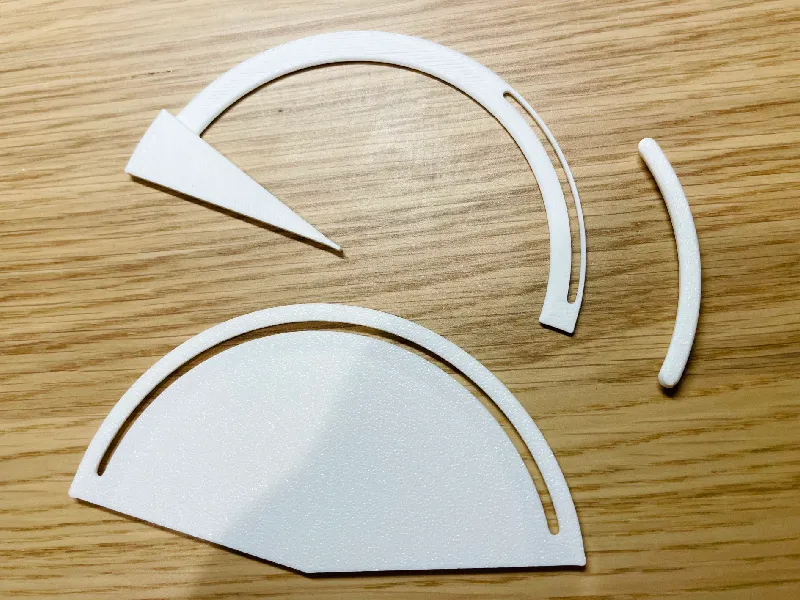
Step 4. Use some type of tape to attach the cut out marker with the slider piece. I used double sided tape as shown below. Repeat for small arm
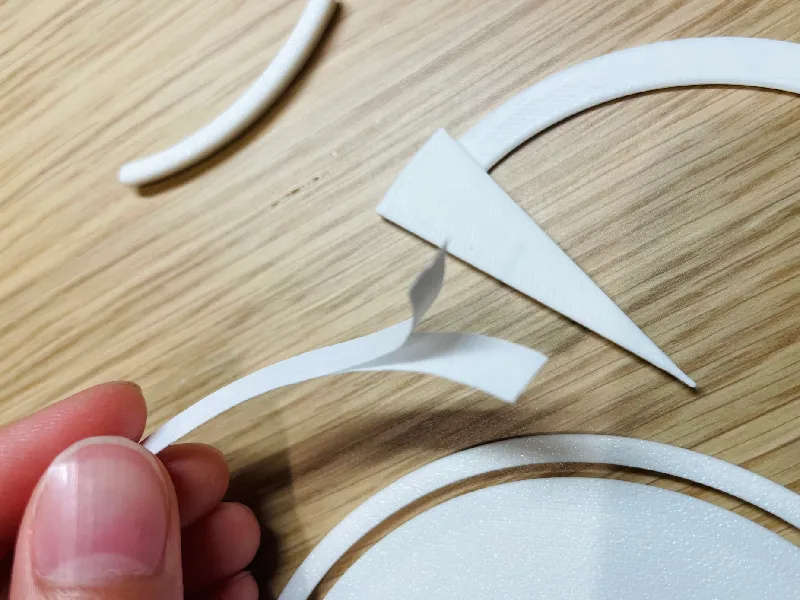
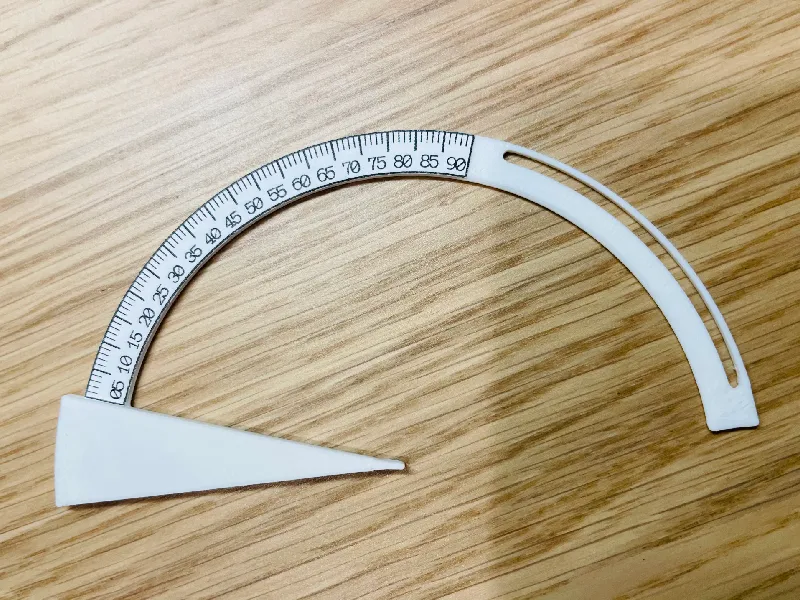
Step 5. Slide the slider piece into the main body so that you can see the slot on the slider through the slot on the body. Do the same for the small arm.
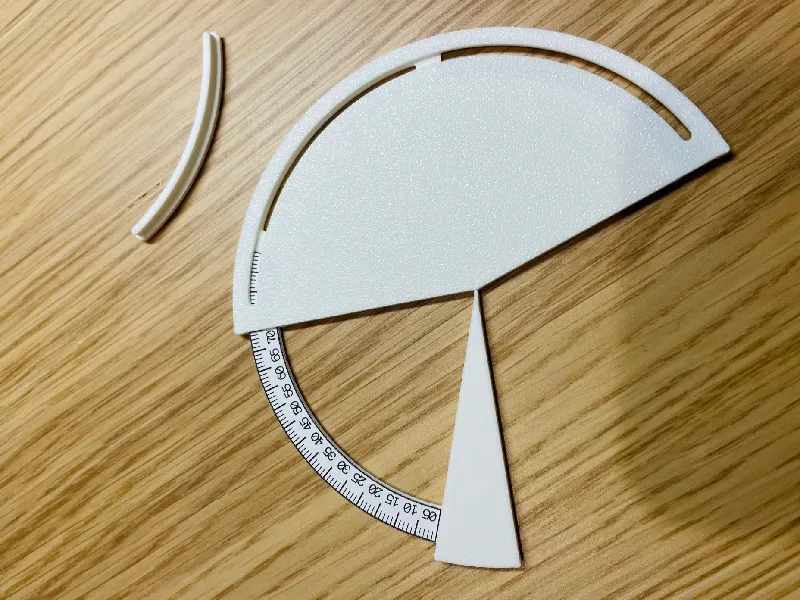
Step 6. Insert the Handle into the slot through both pieces, repeat for small arm. Put a dab of glue from the backside if needed. And you are done!

Print Setting
Layer Height 0.16mm
15% Infill
No Brims
No Supports
Post Processing
You may optionally use a deburring tool or a X-ACTO knife, even out all bottom sides of the body and slider for smooth operation.
This model was designed in MM, so if it is extremely small in the slicer, than scale it up by 1000%
This model is actively maintained.
Tags
Model origin
The author marked this model as their own original creation.


