Marvelous Magnetic Marble Run


Description
PDFMarble run tracks and tricks that mount onto any magnetic surface. I designed these with my kids as a project during the coronavirus lockdown.
Make it your own by deciding which parts to print or even customizing the source openscad files, which can be found at github.com/jhpieper/marble-run.
See it in action: https://youtu.be/W0yioqEhmZE
Materials
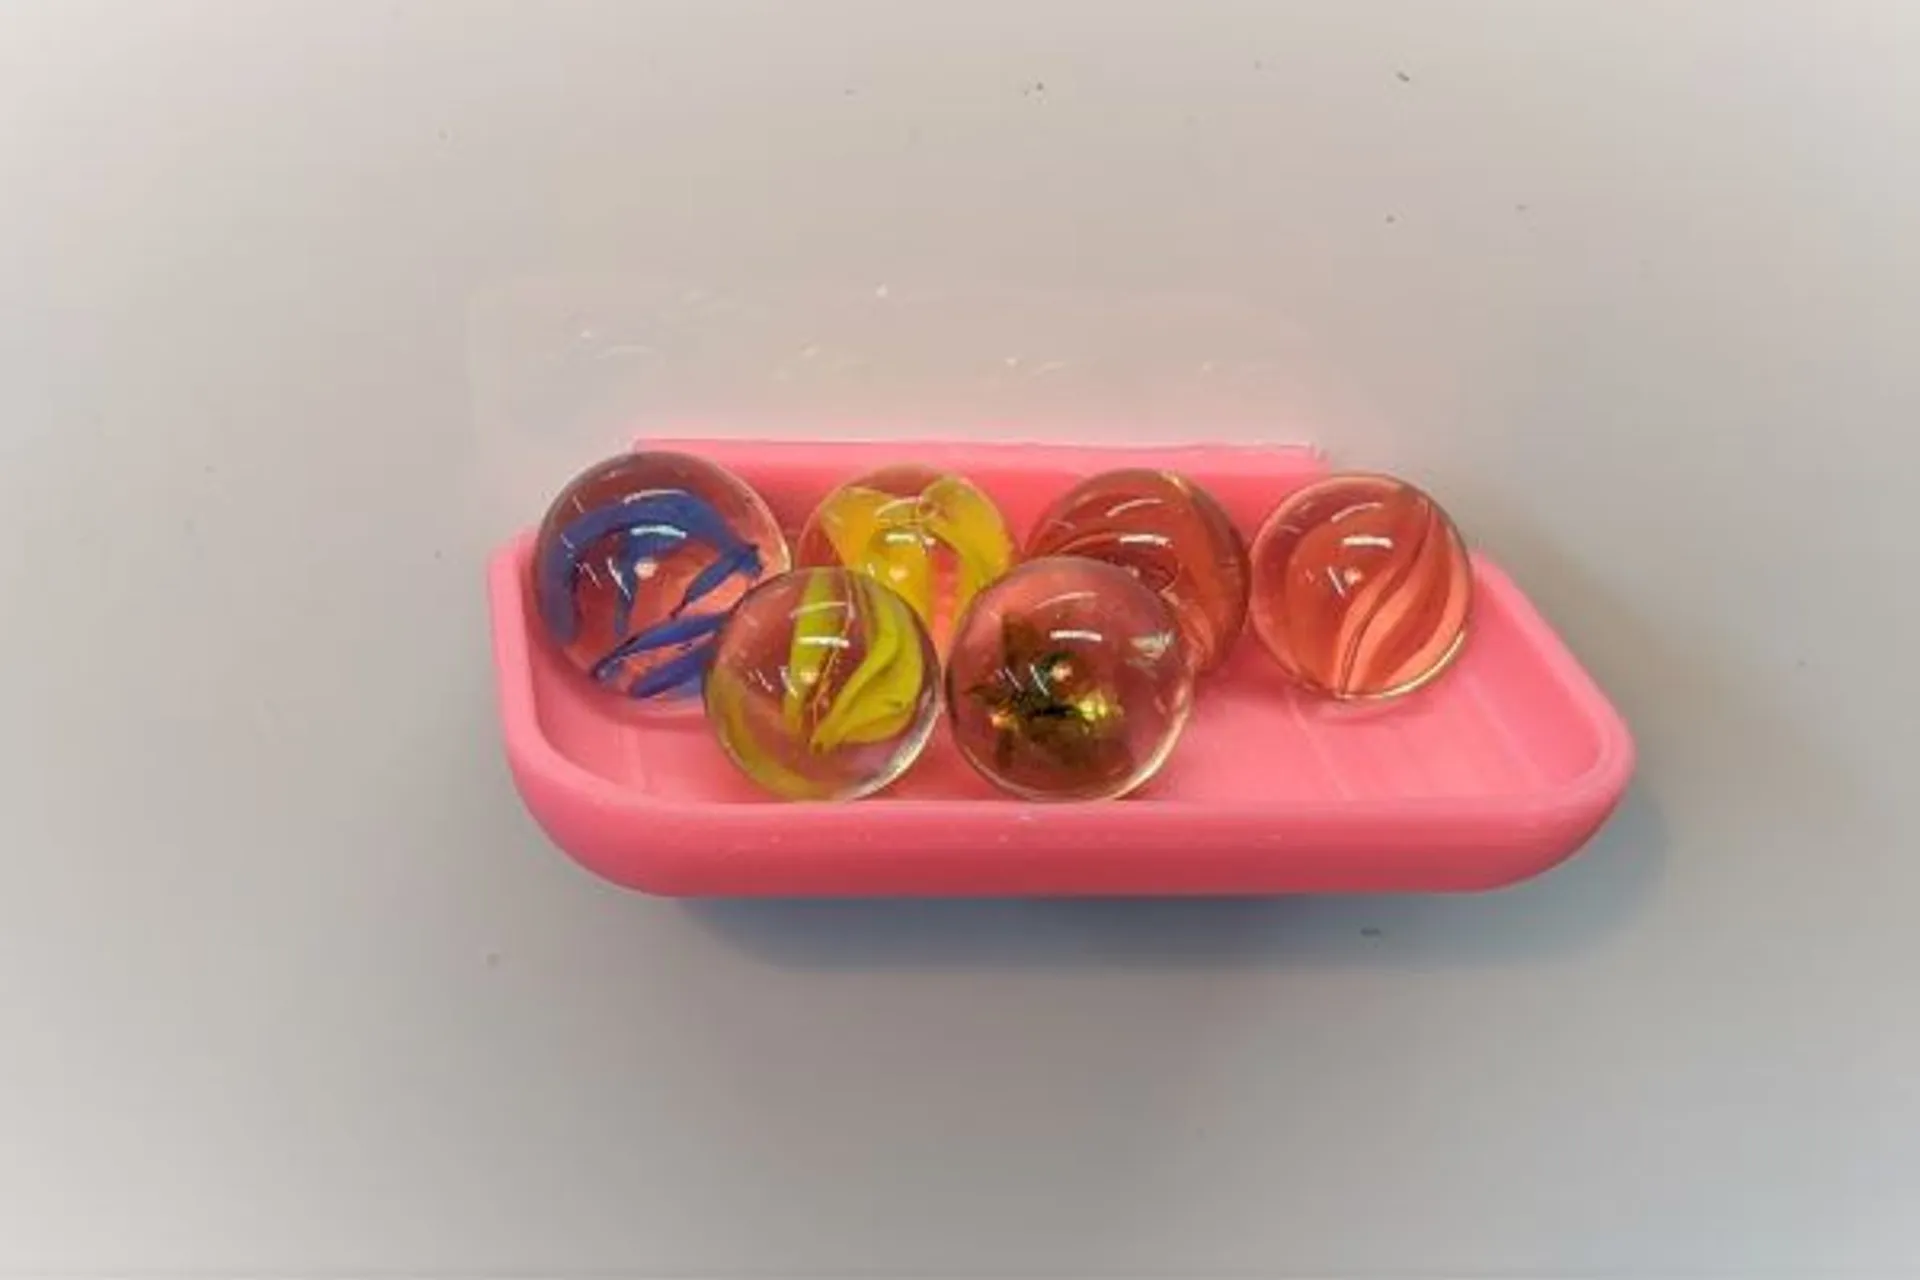
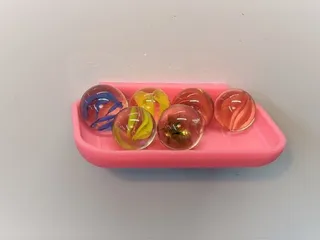
This marble run works with regular glass marbles that measure 5/8" (16mm).
All tracks are designed for round 10mm x 2mm magnets.
They can easily be ordered from Amazon and other retailers.
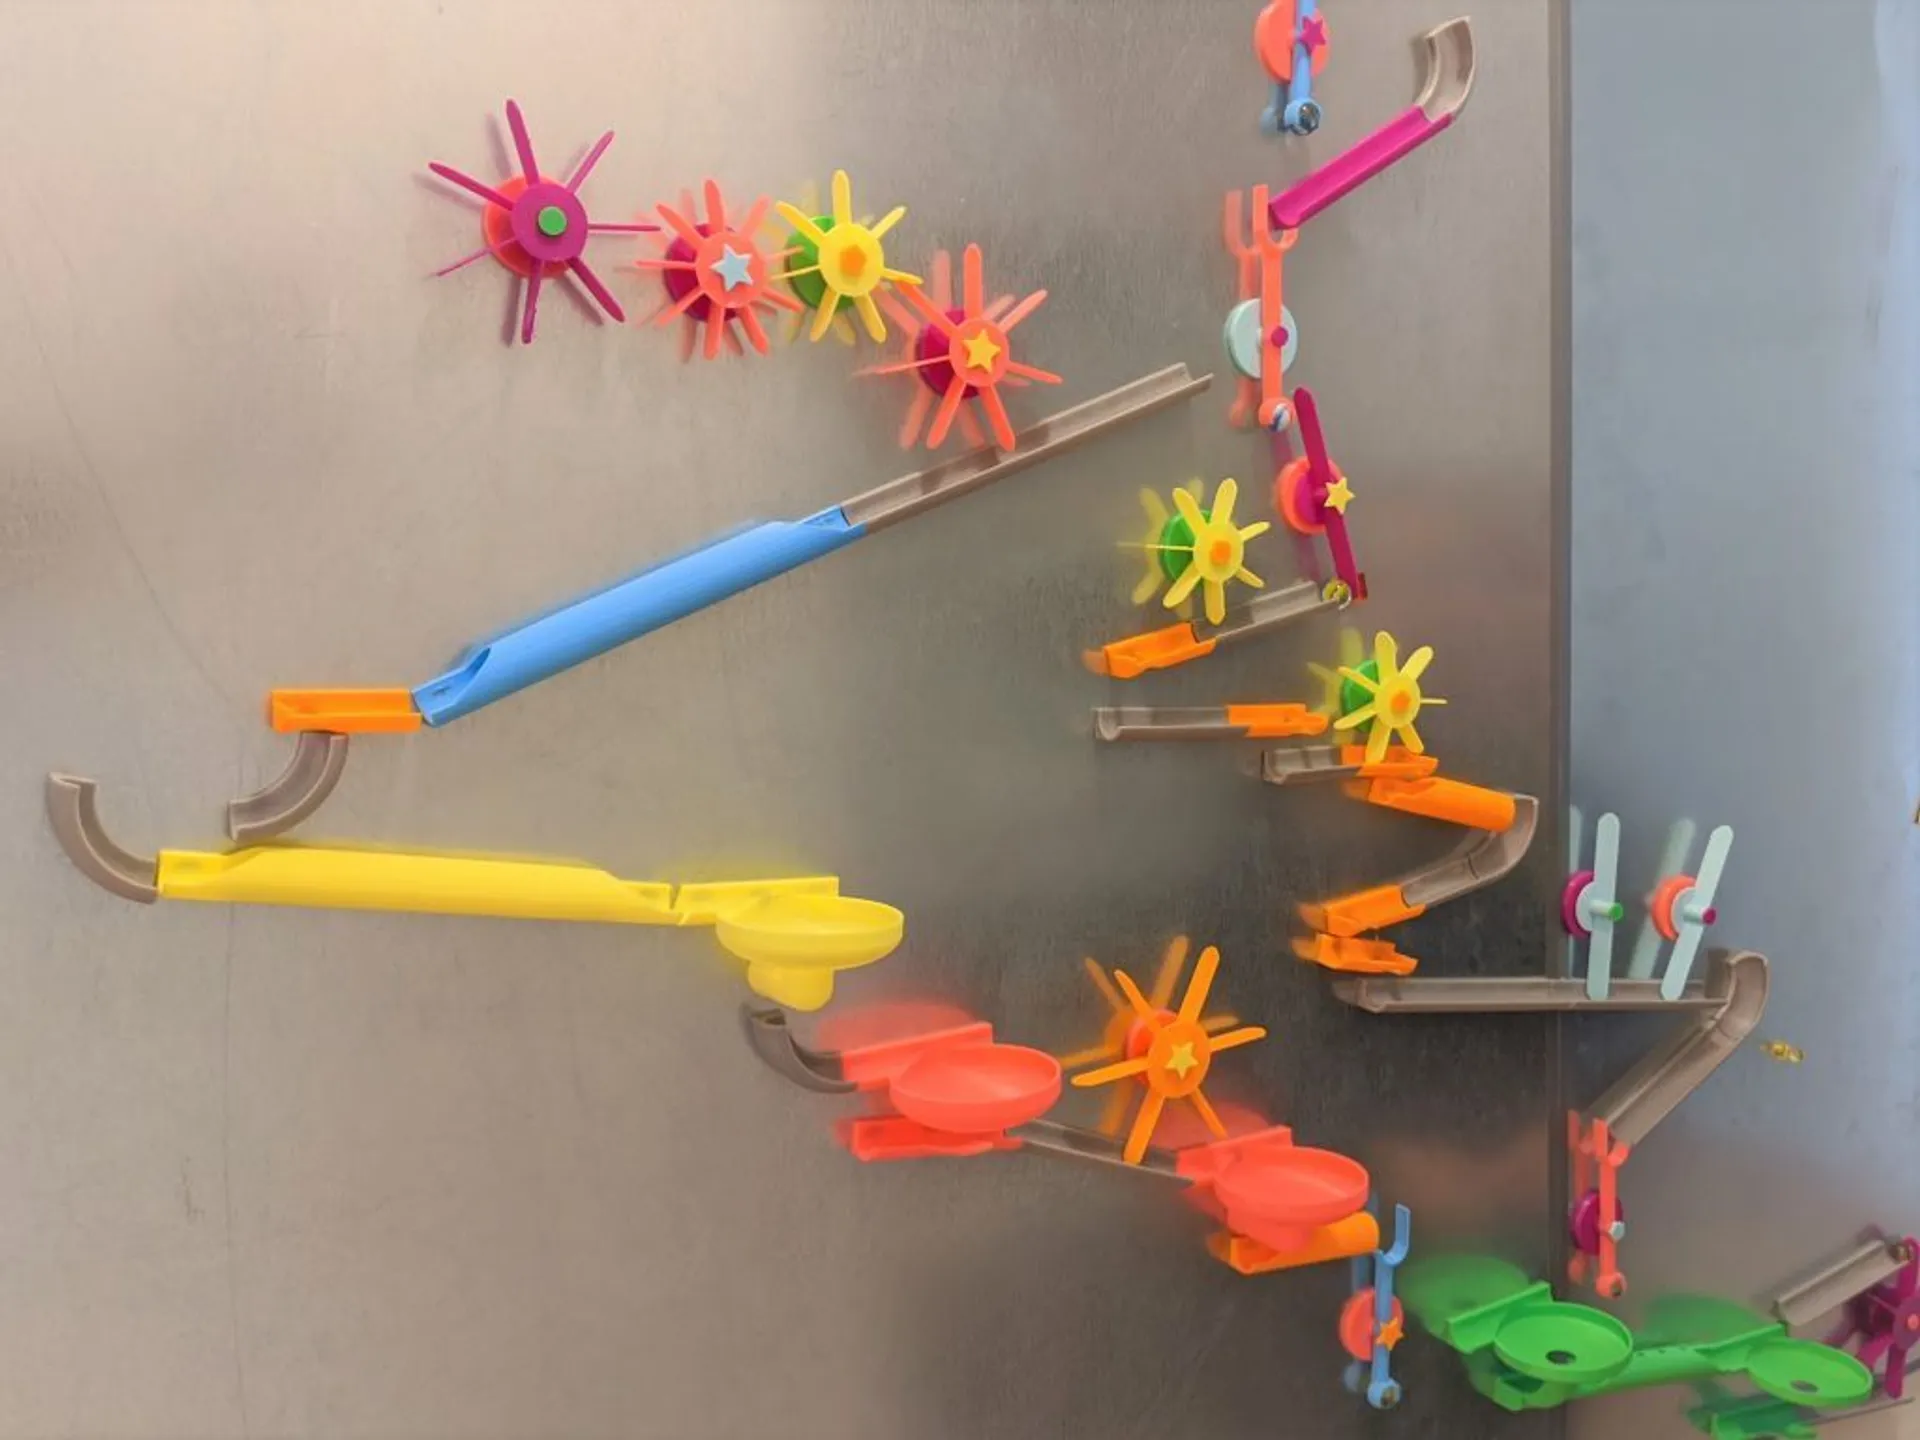
The Tracks
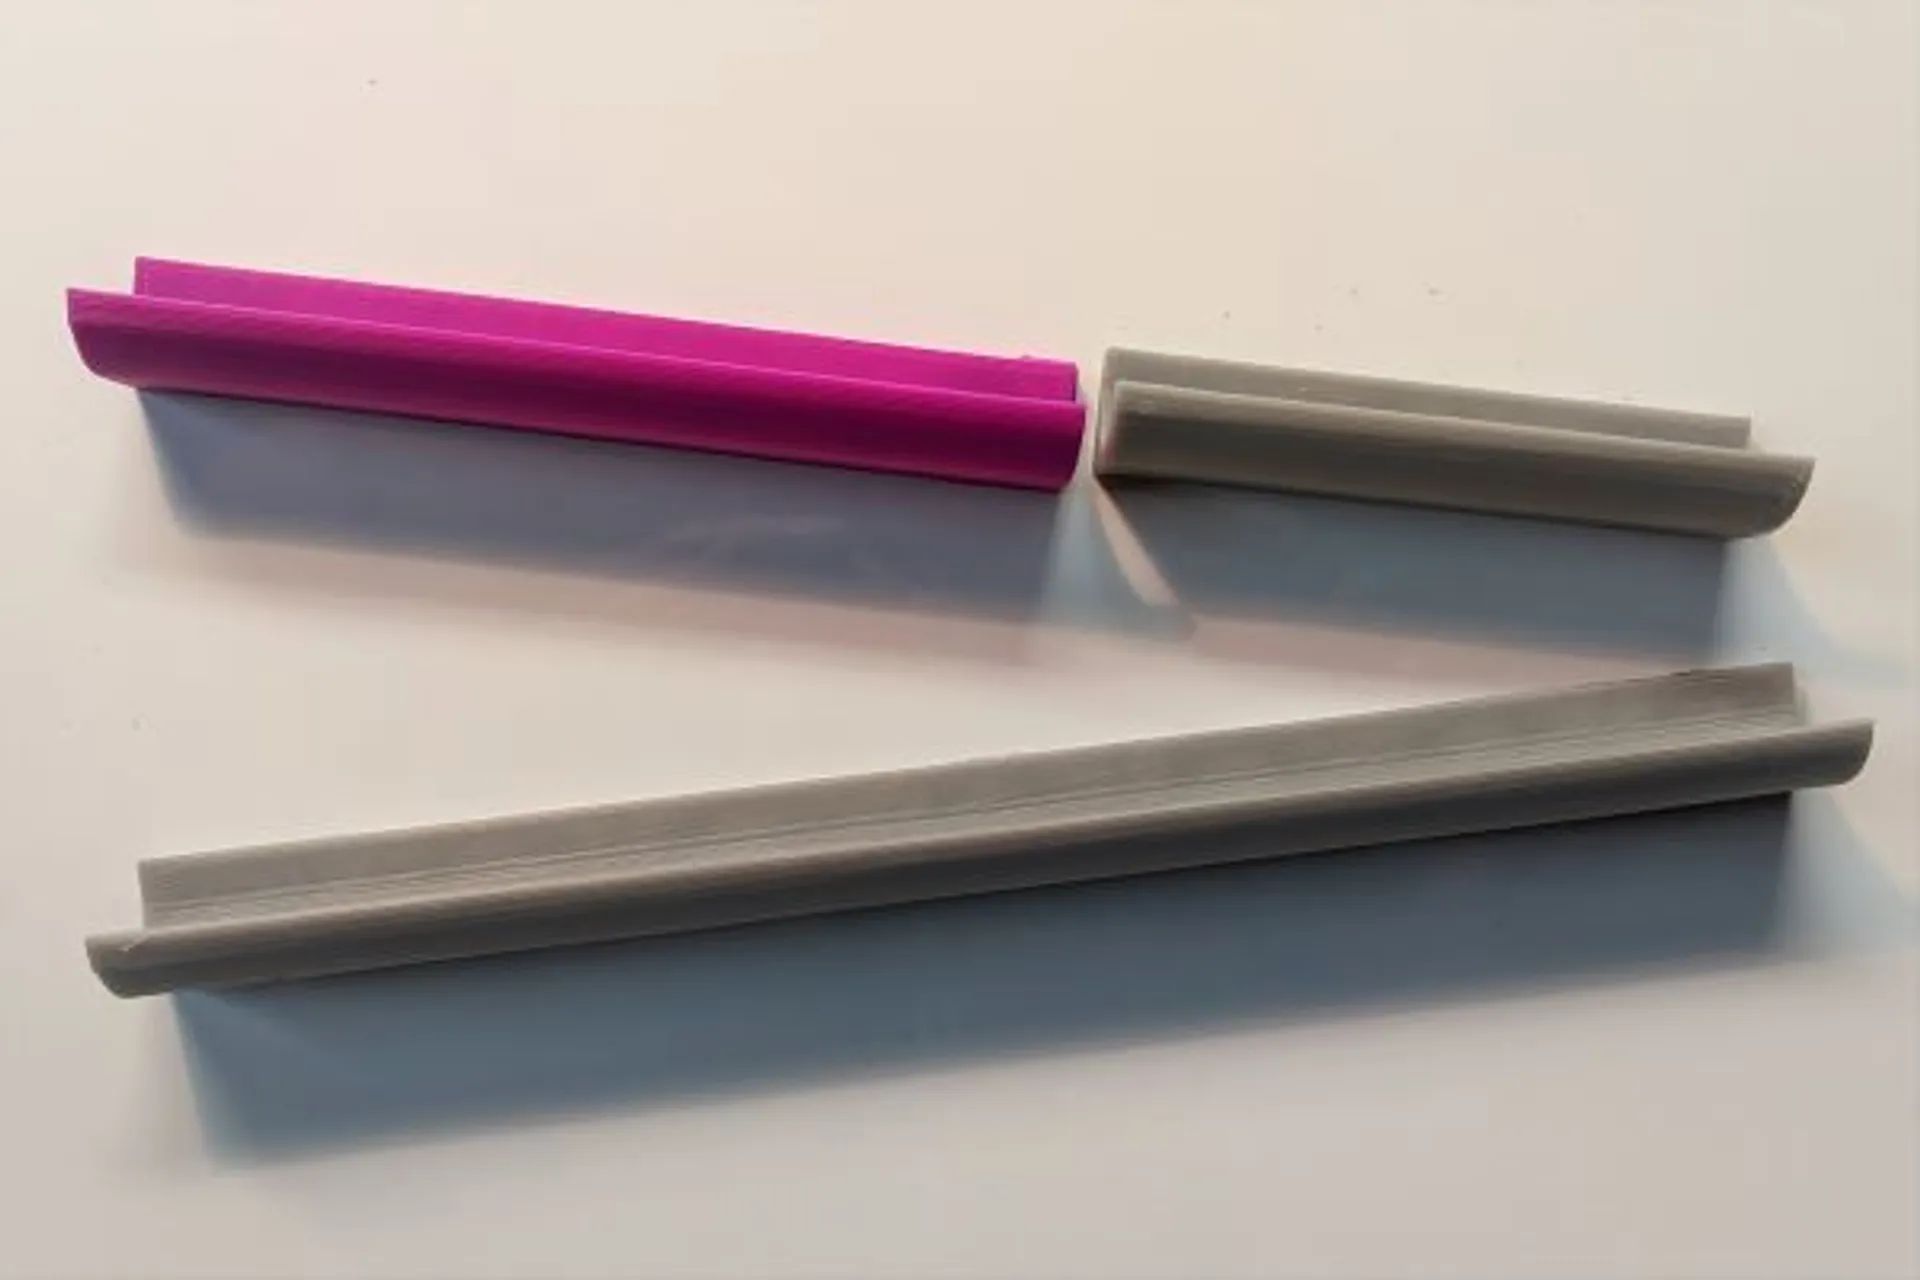
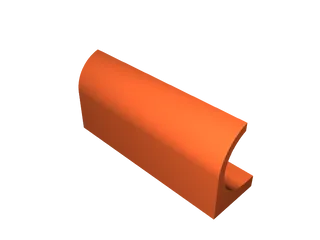
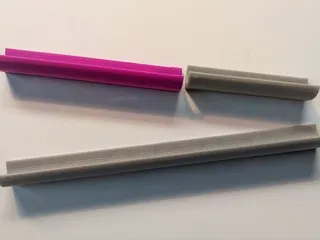
Straight Just a straight run. Available in many lengths from 50mm to 200mm. |  |
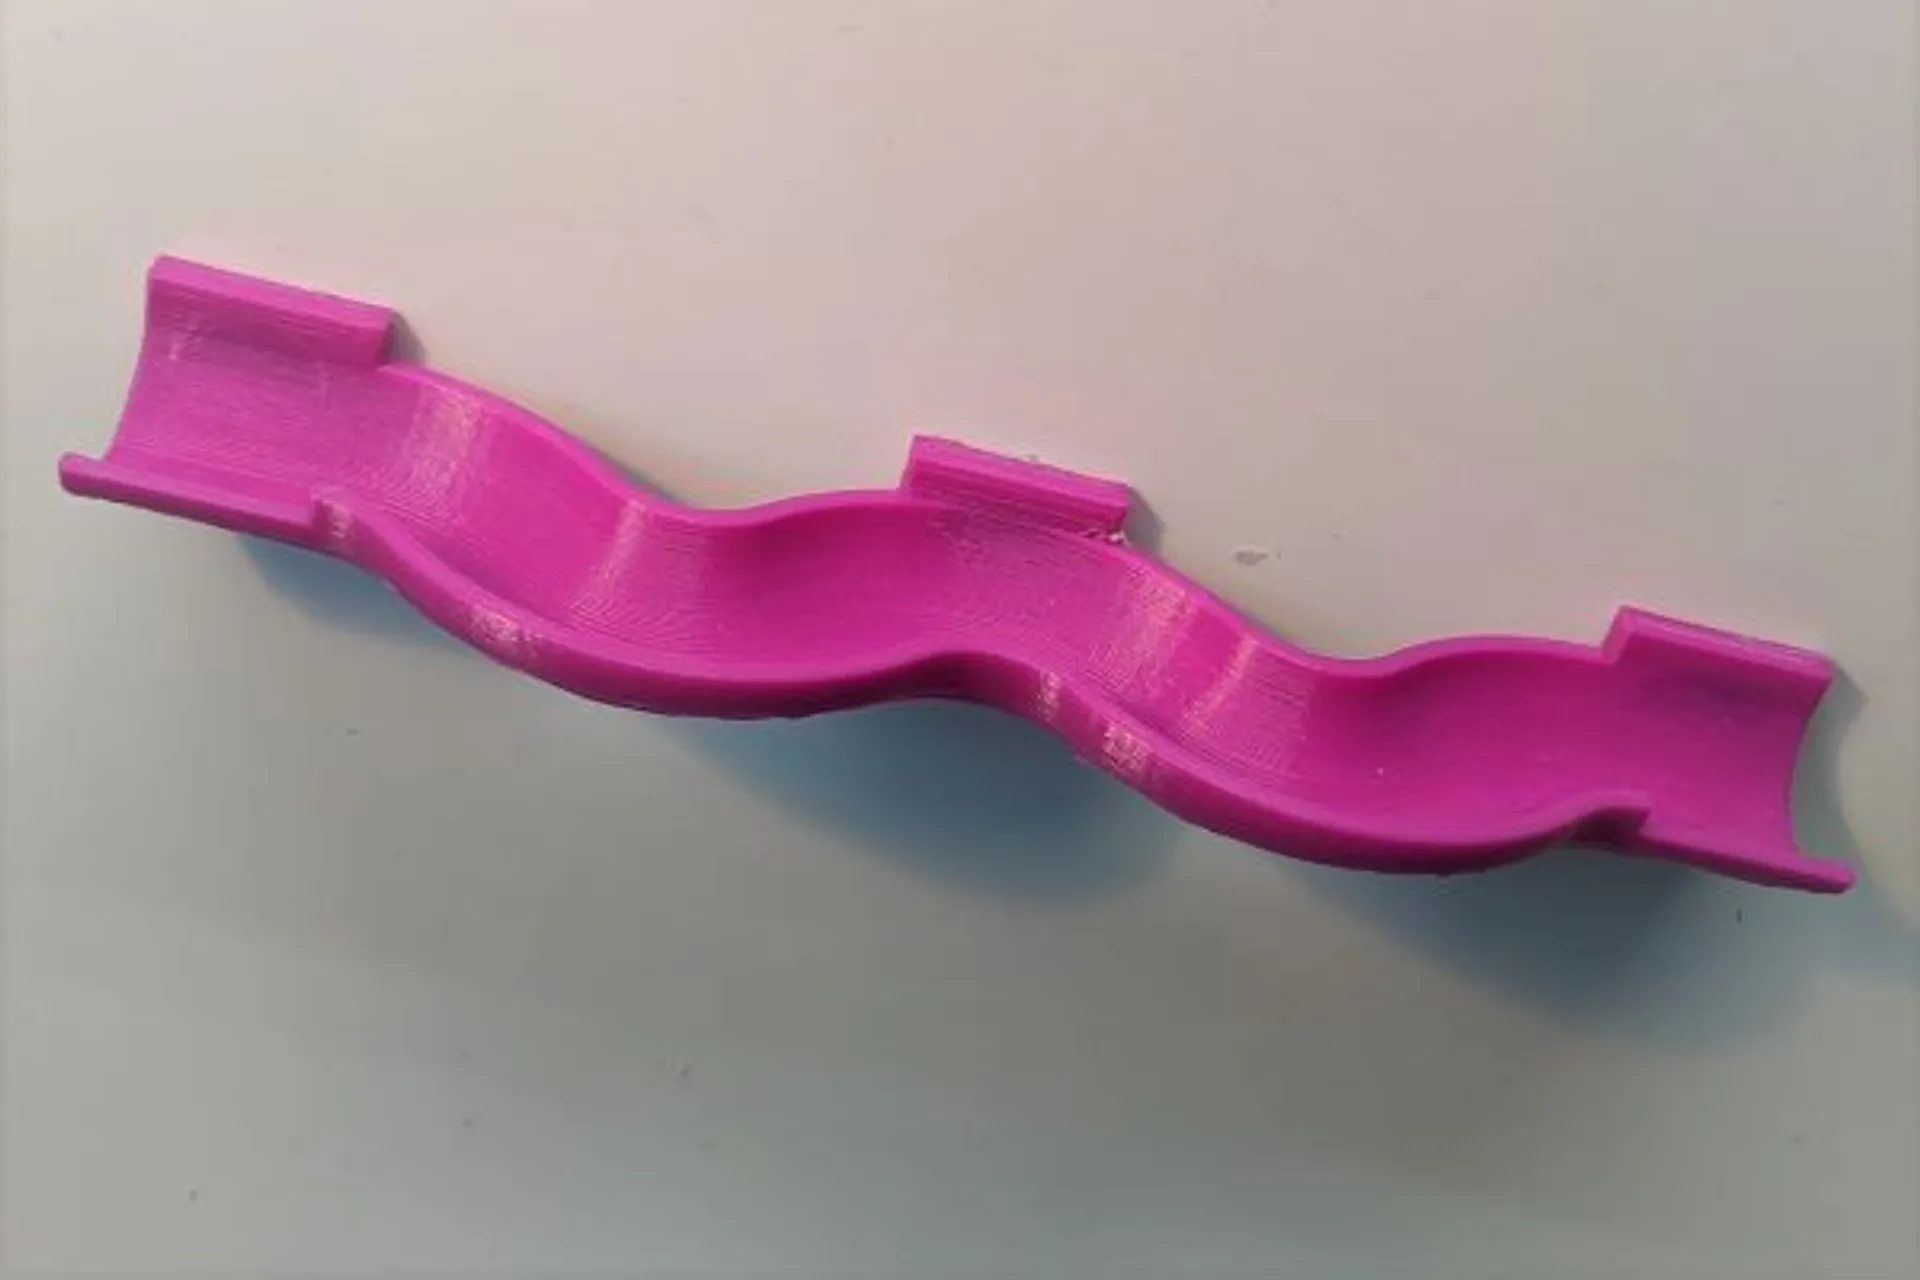
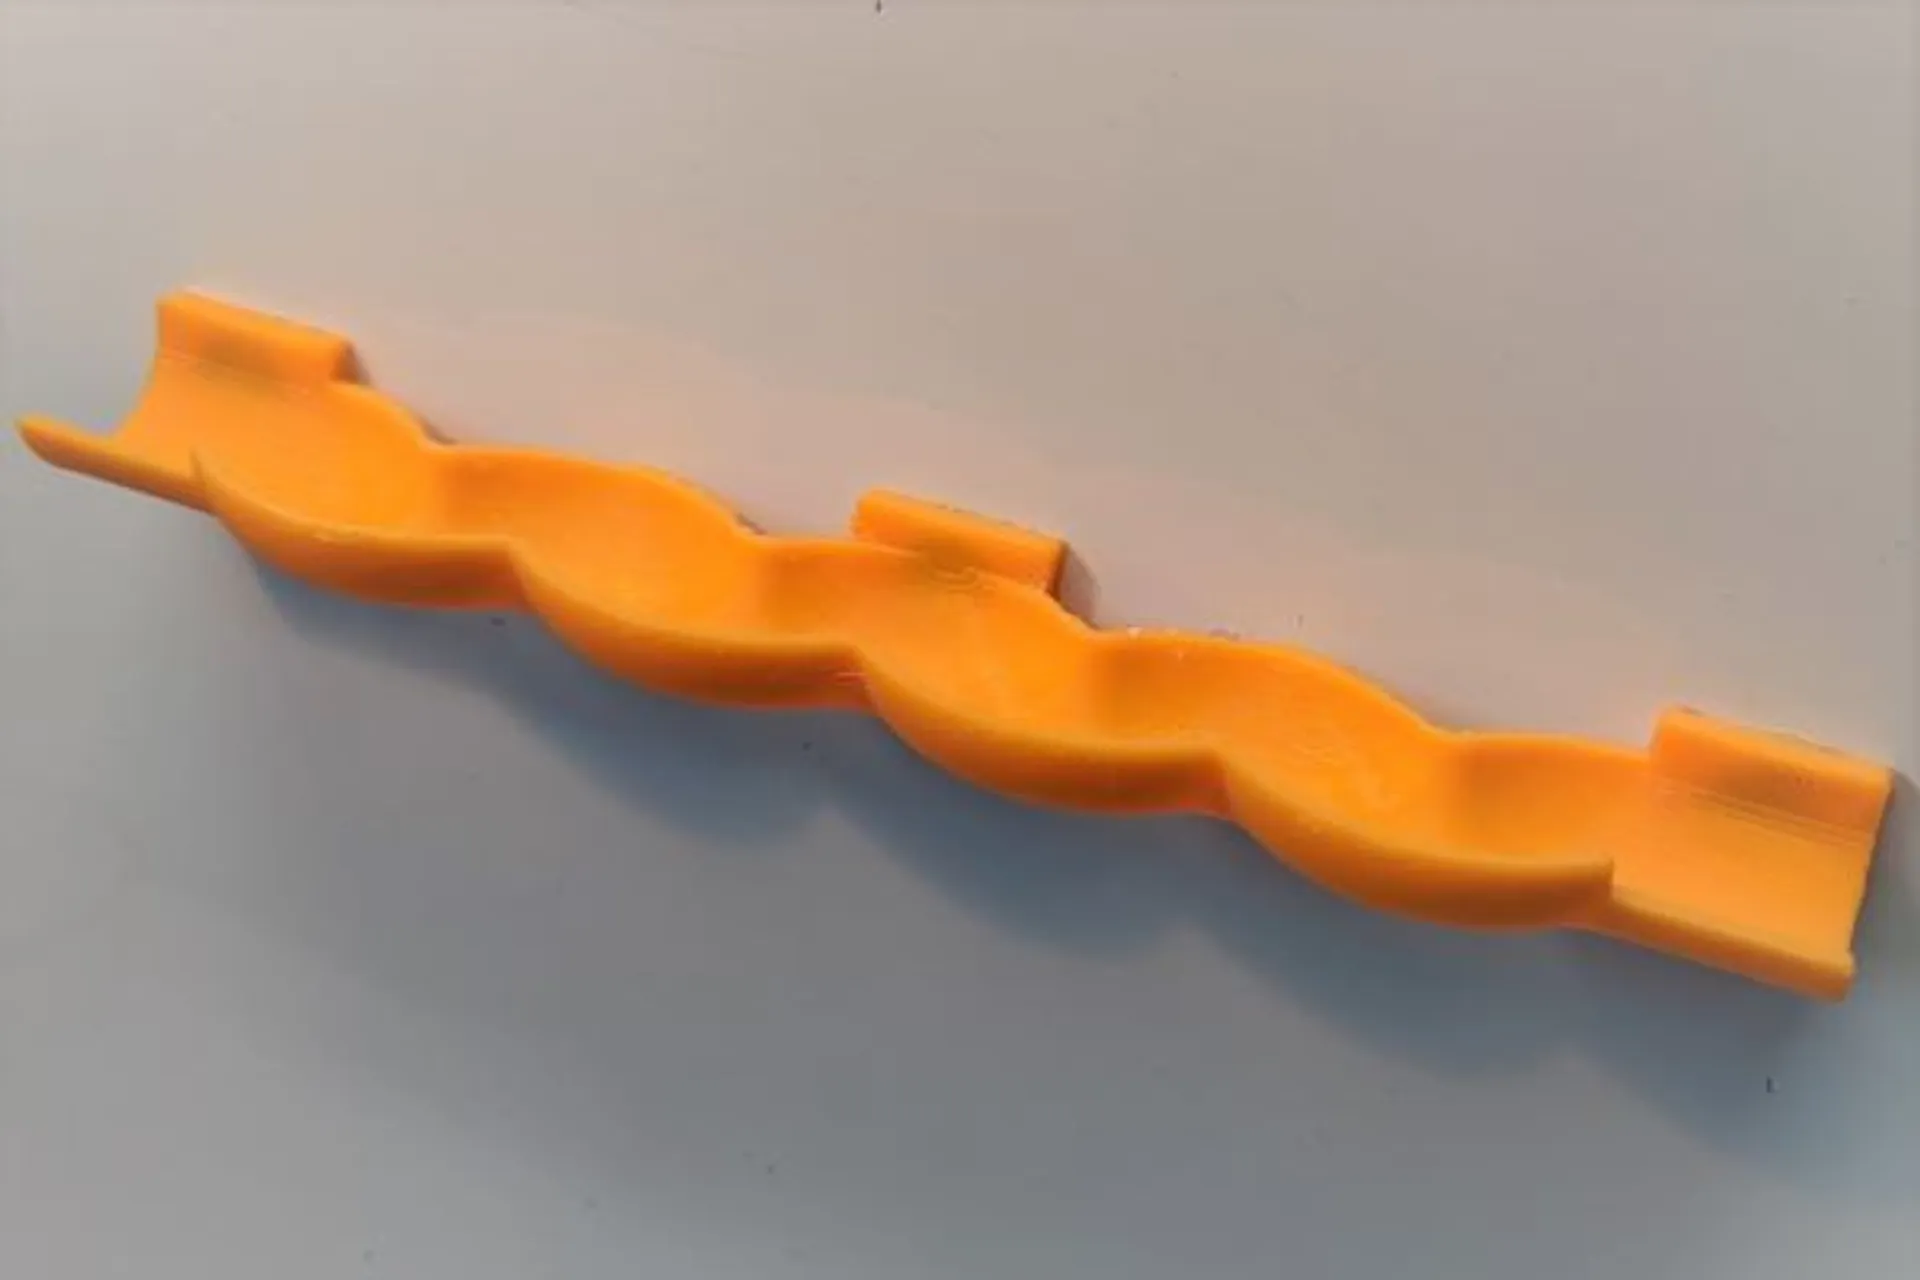
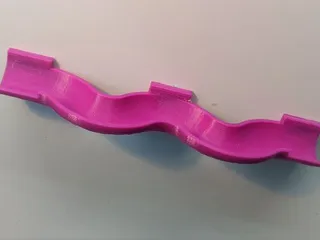
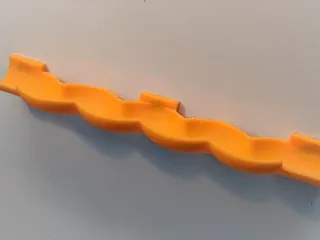
The Wave This track makes things a bit more interesting. Print with supports. |  |
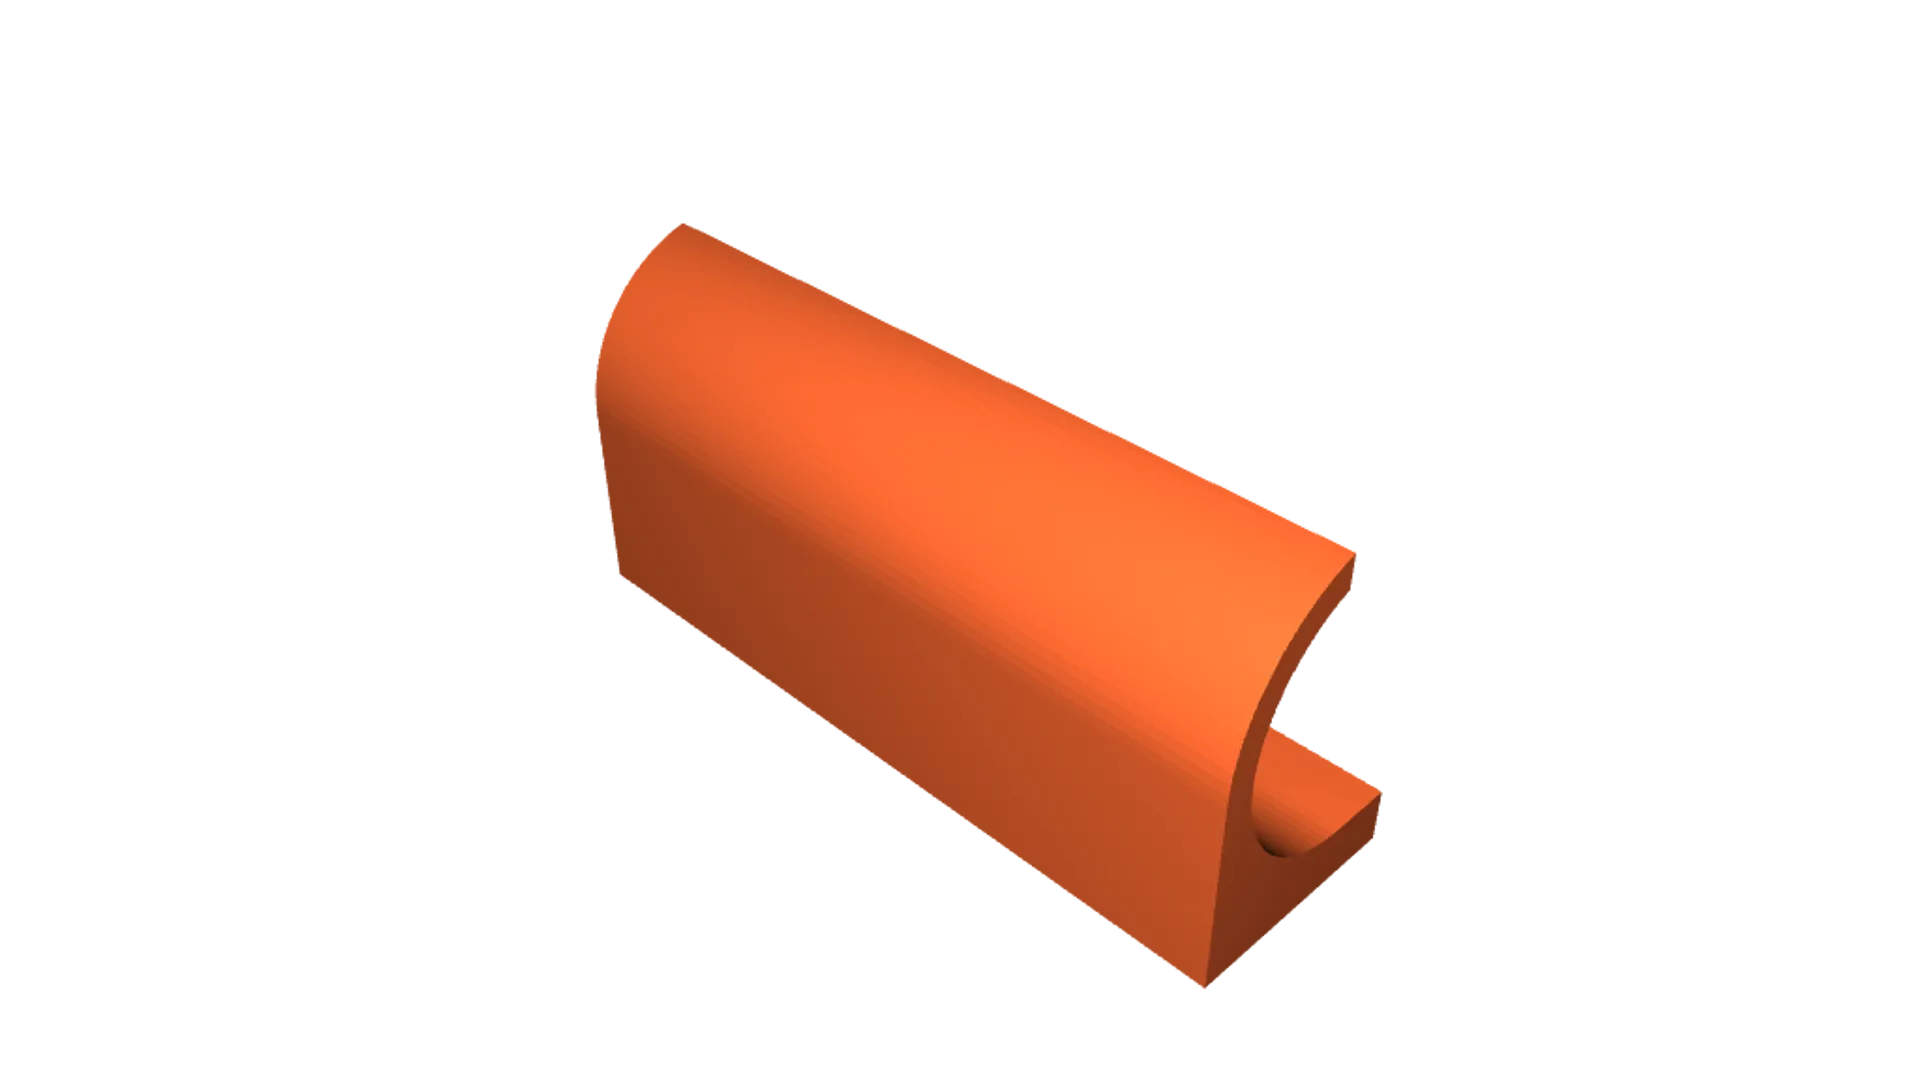
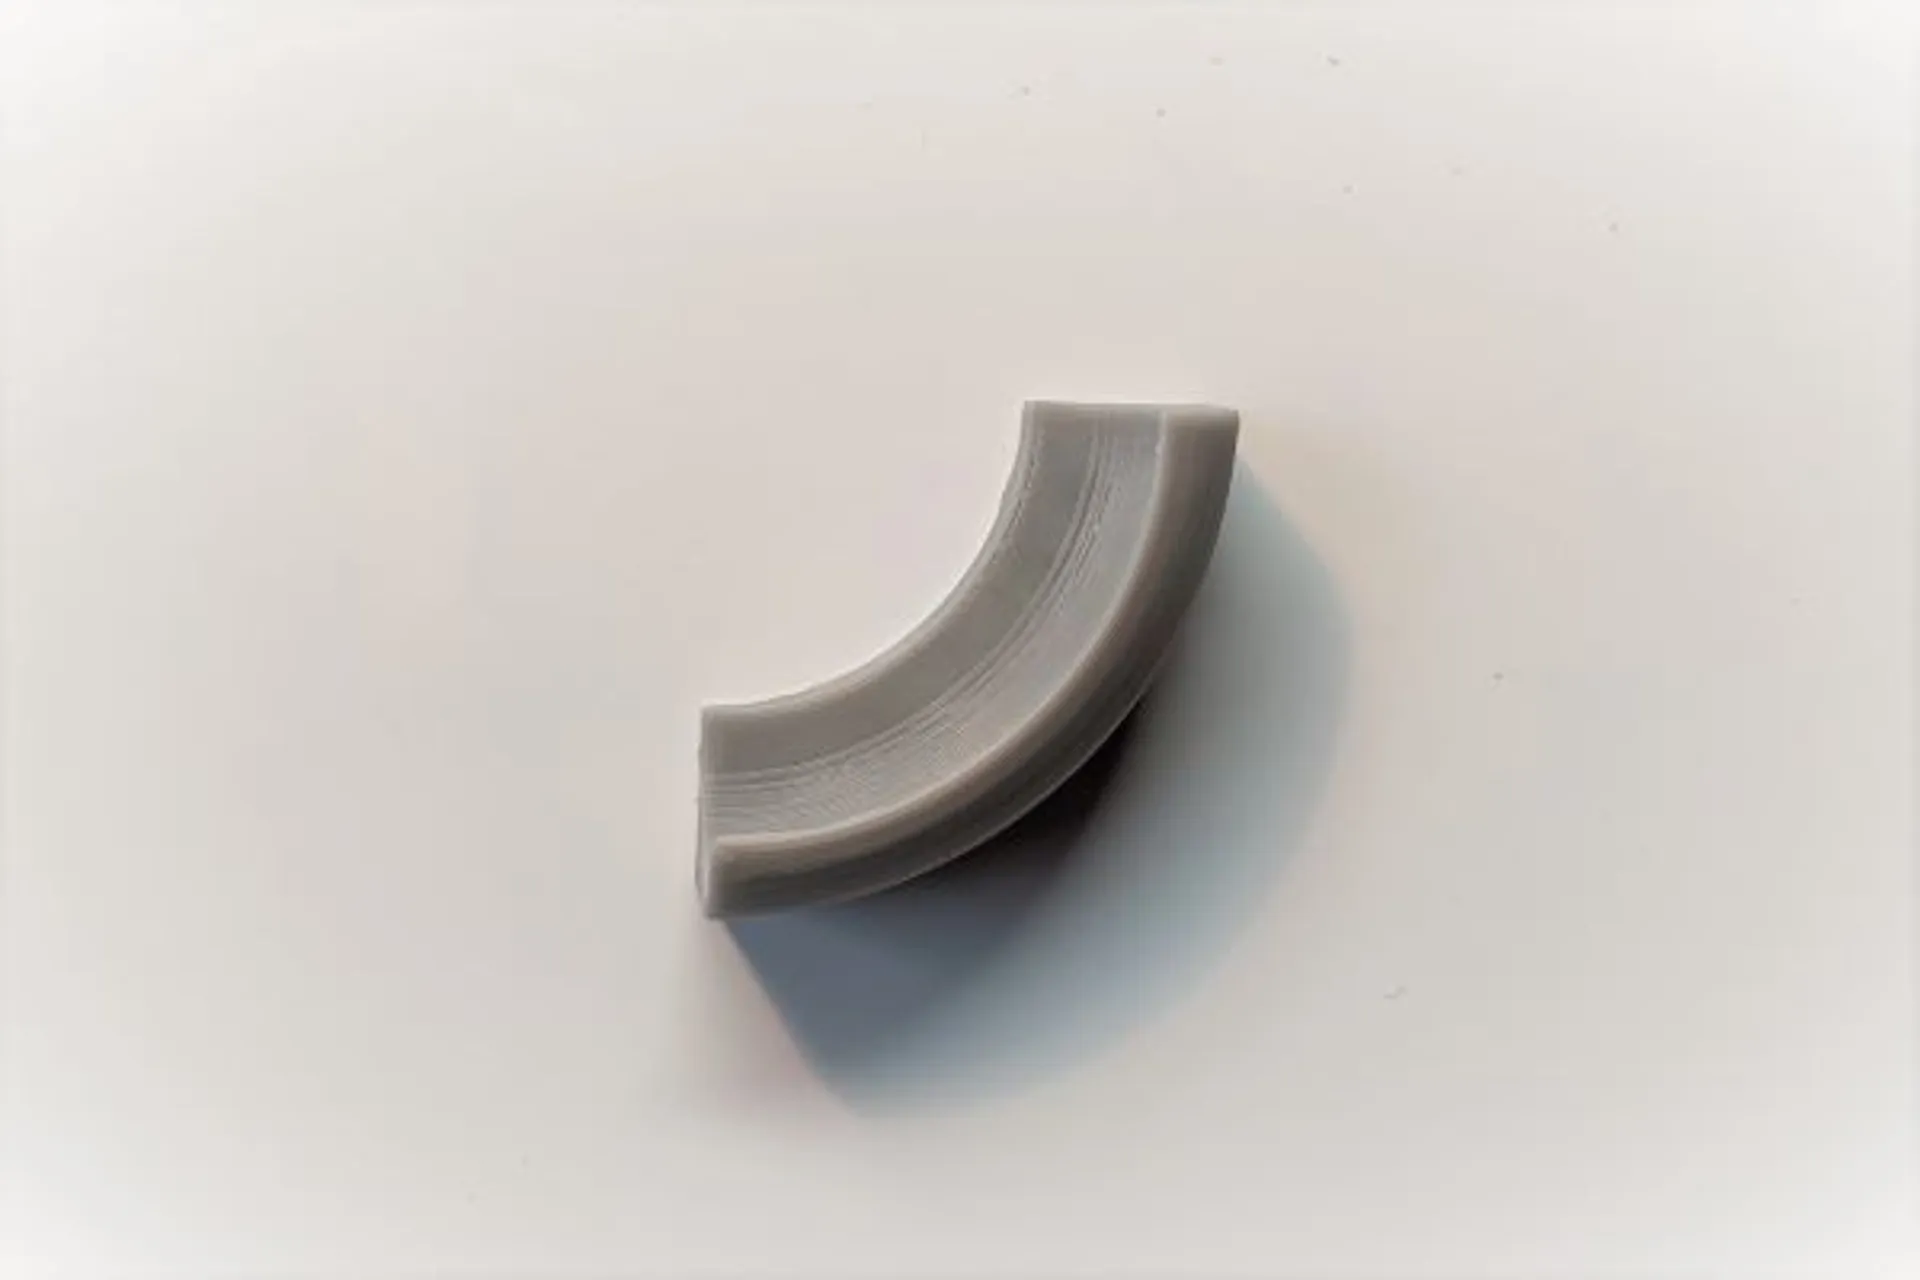
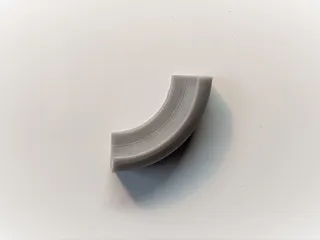
Curve A 90 degree curved piece. Great to catch a falling ball and getting it onto the next track. |  |
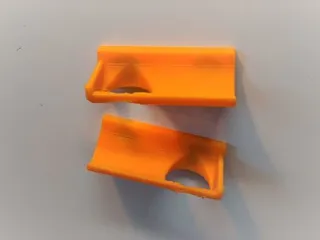
The Tunnel A straight pipe that hides the ball. Available in multiple lengths. |  |
The Drop A classic way to drop the ball onto the next track. |  |
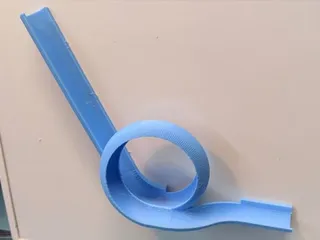
Lombard Street A San Francisco landmark for your marble. Print with supports. |  |
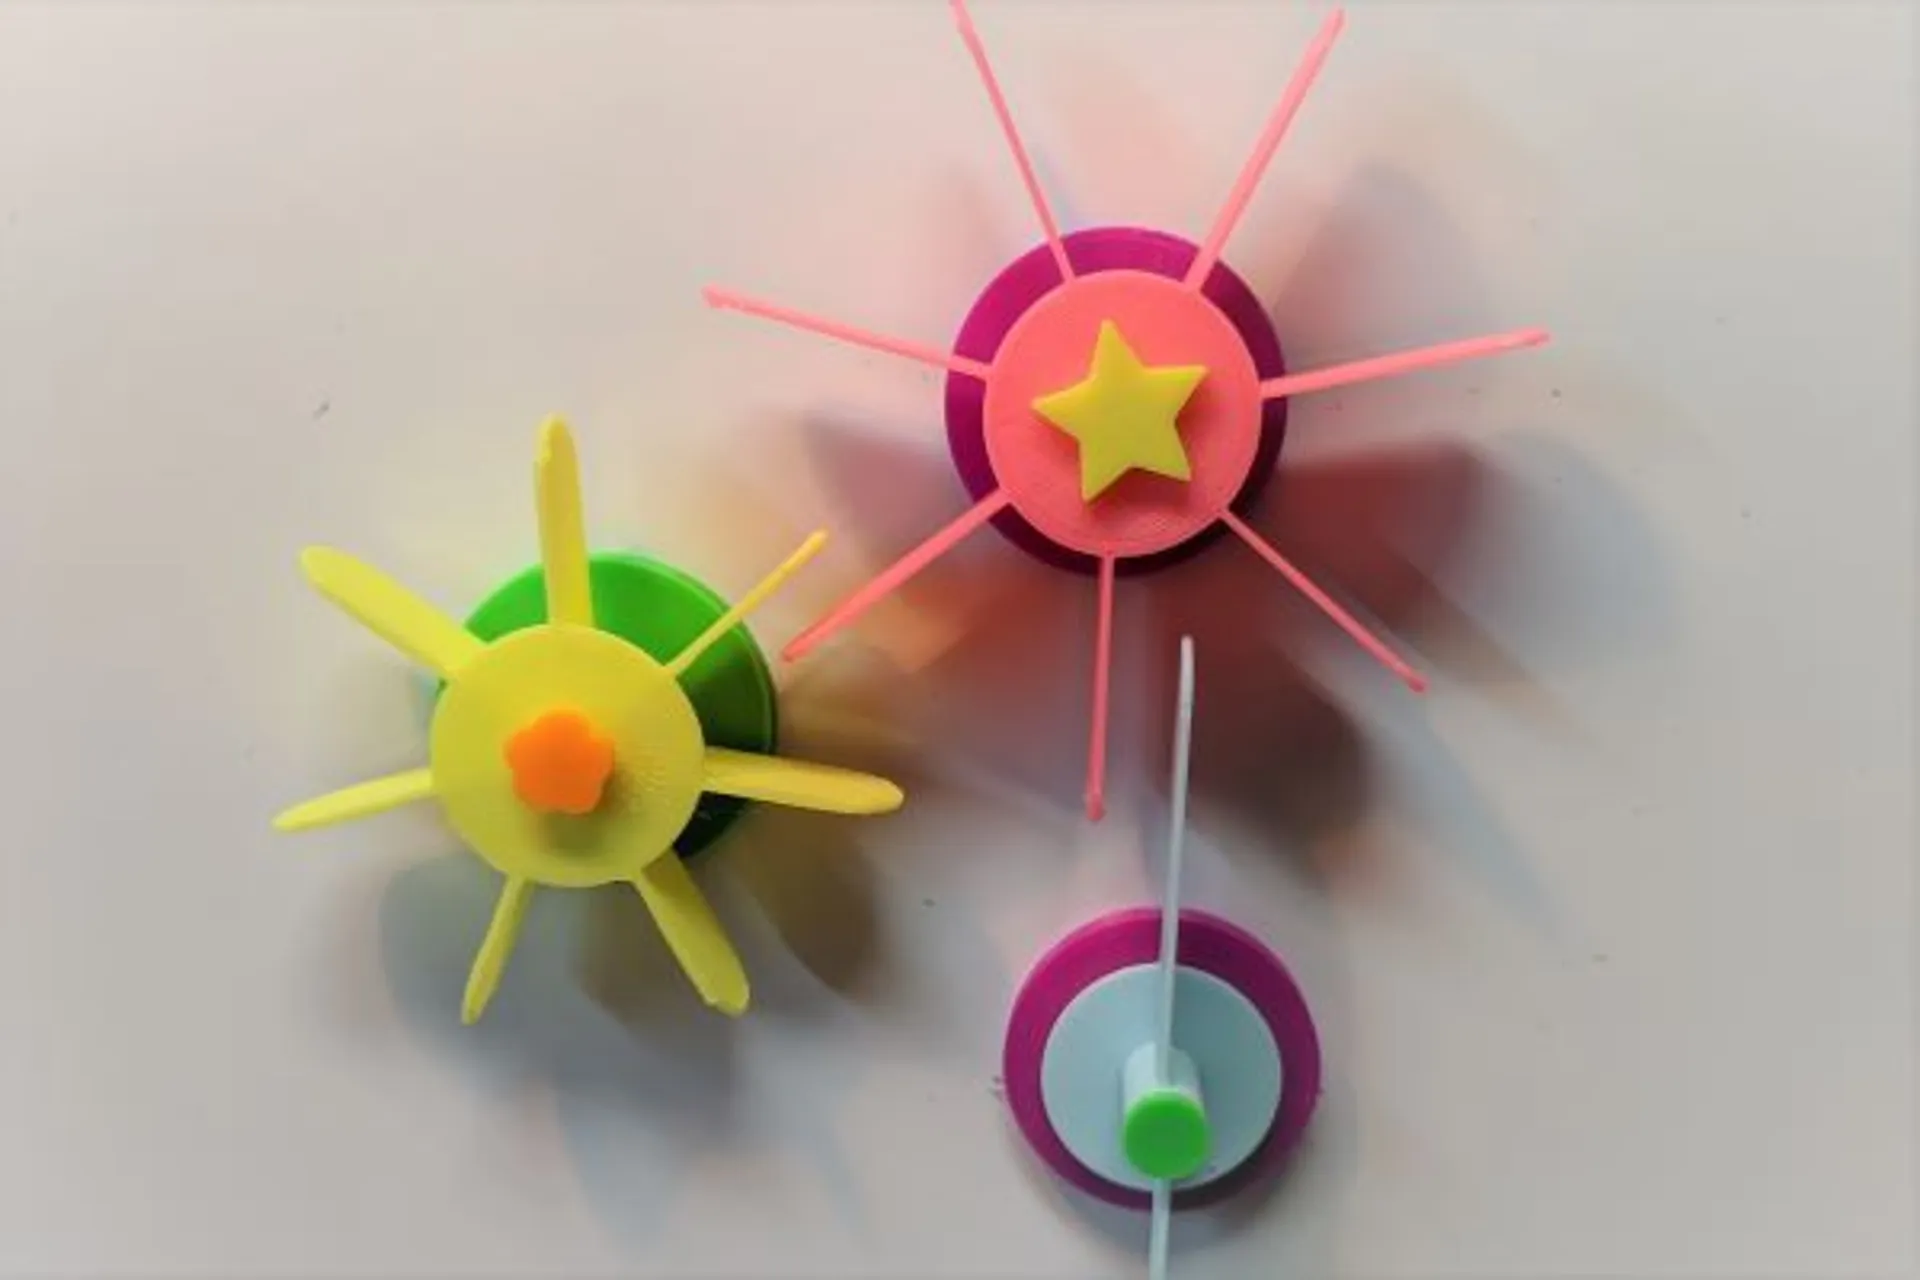
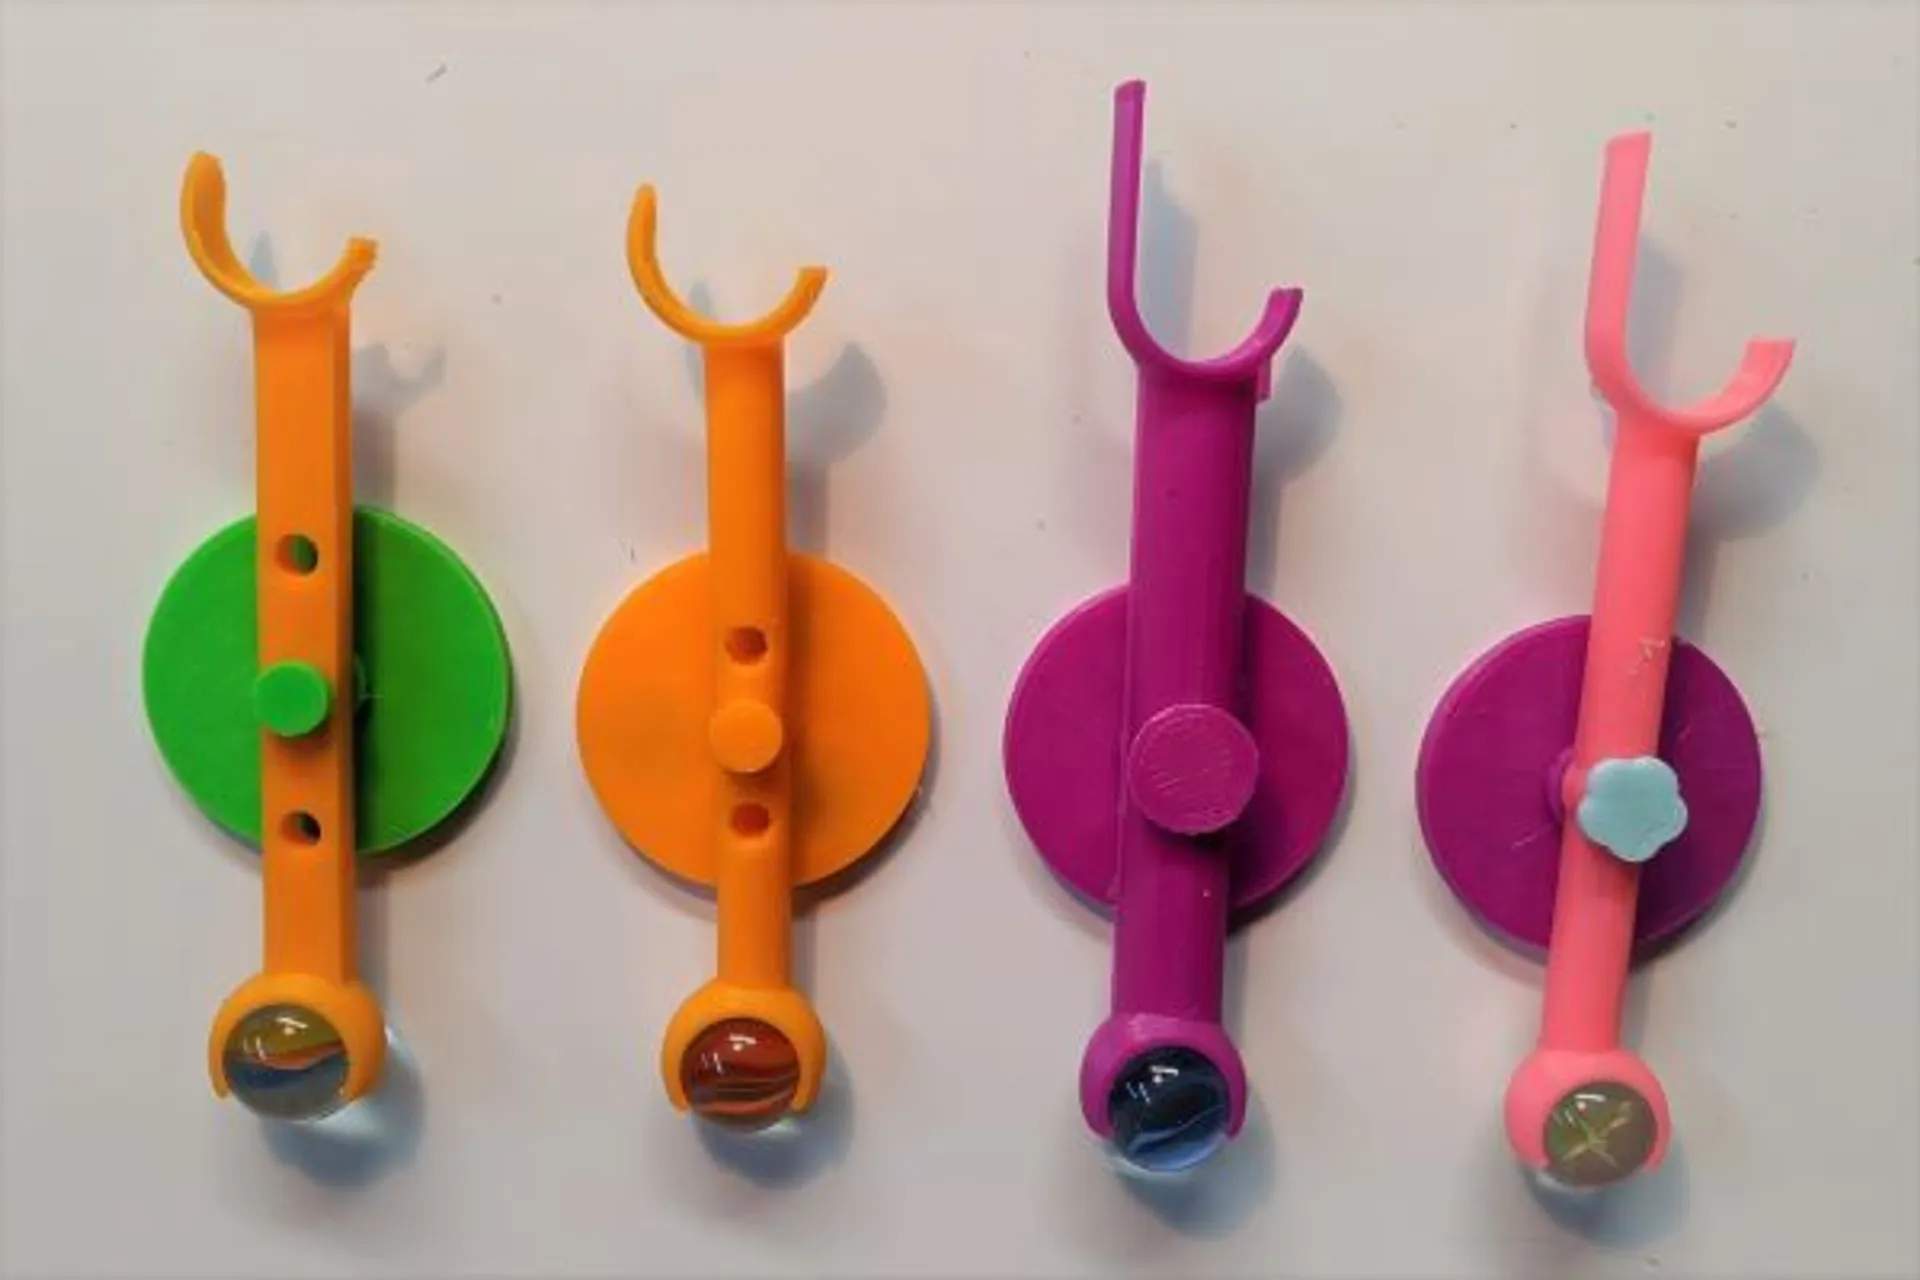
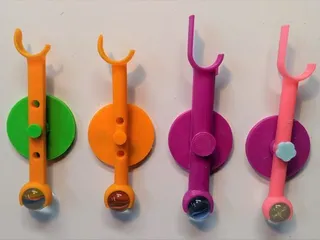
The Wheel Spins as the ball goes past. Get creative and use it to launch another ball that is stored in the wheel. Or kick a ball placed on a track above into action. |  |
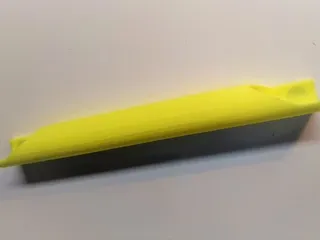
The Pole Catch a ball and vault it to the next track. |  |
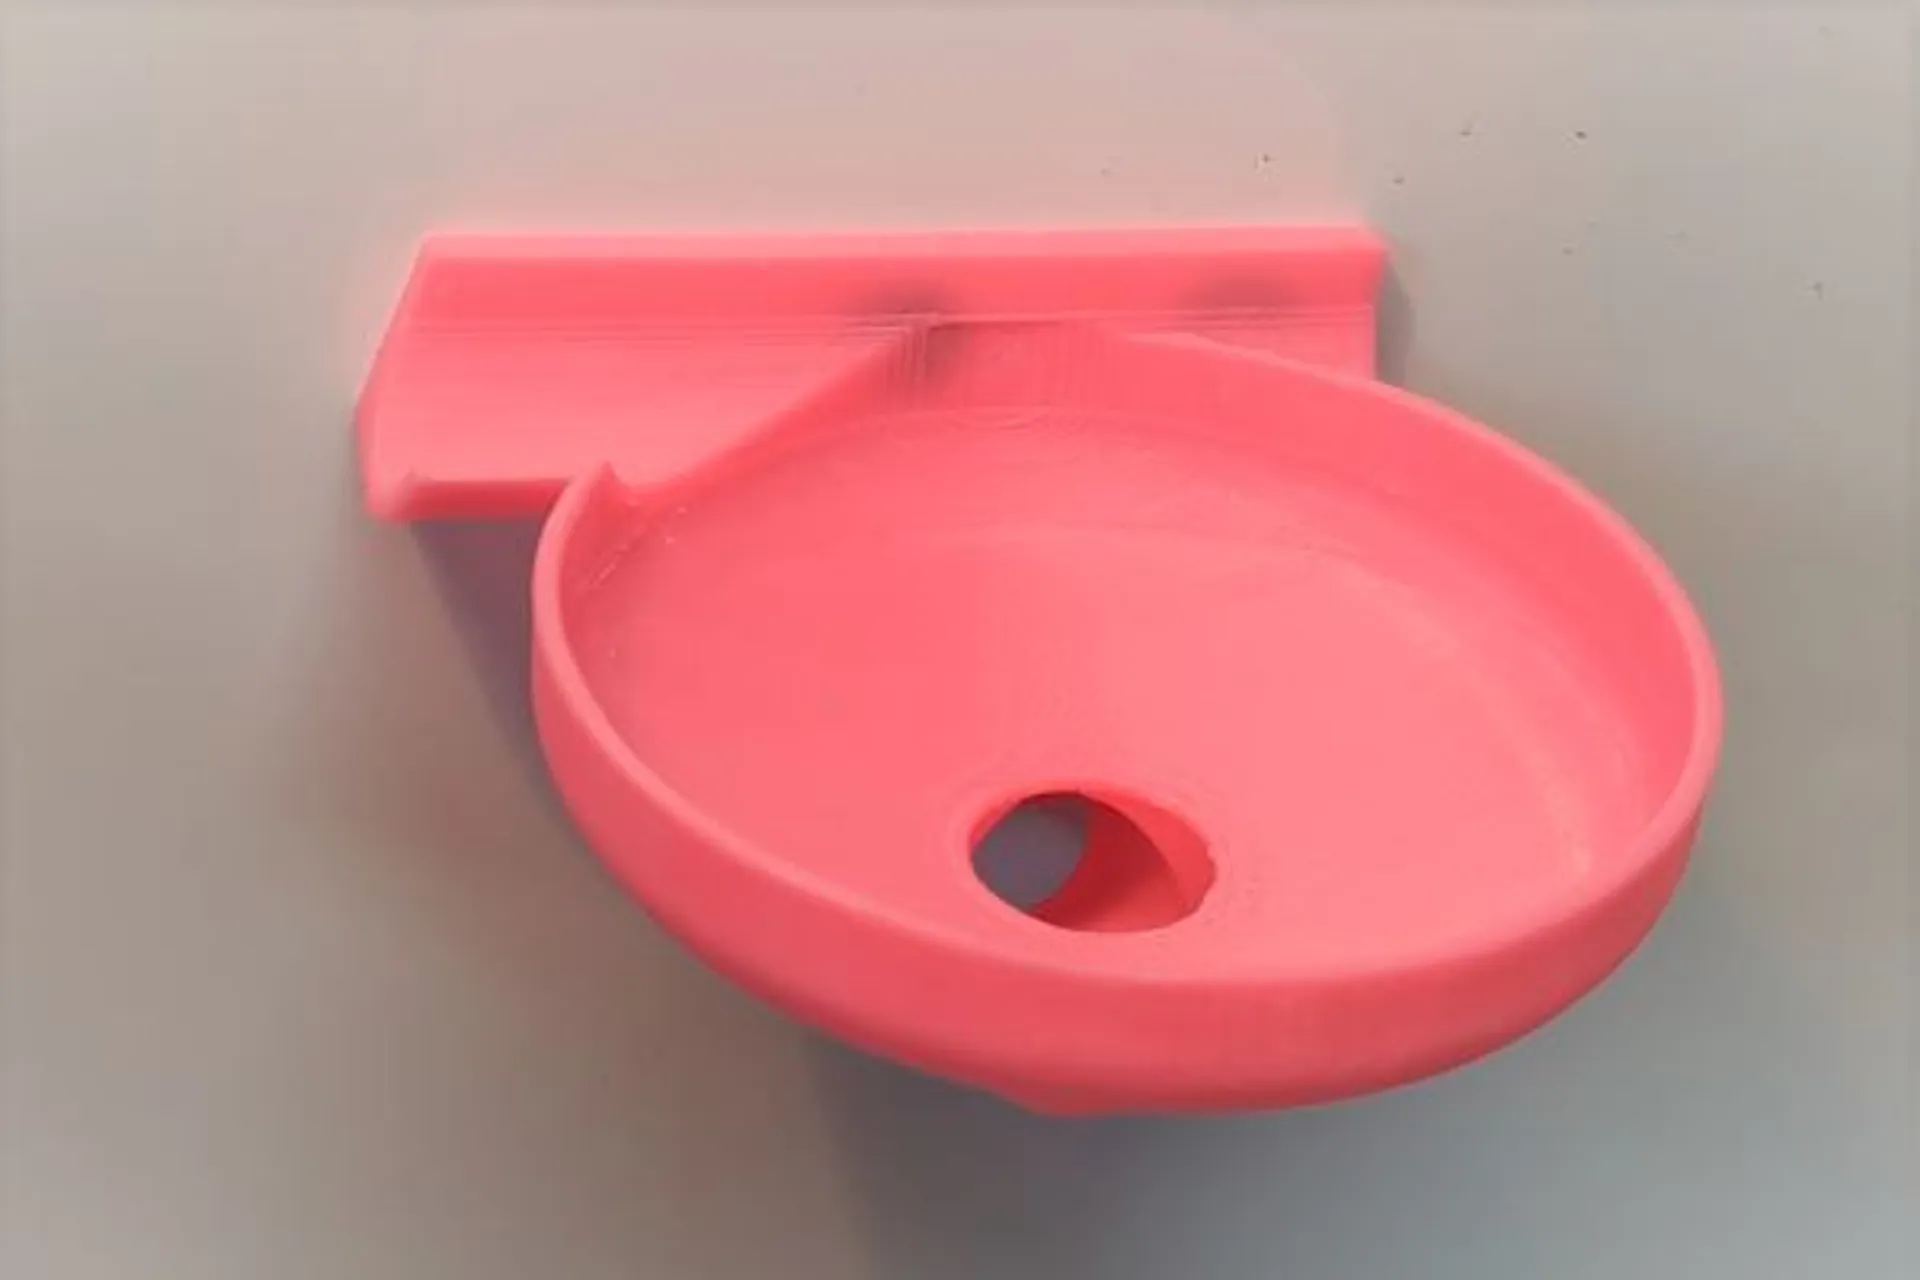
The Whirlpool! The ball goes in circles until it drops through the center. Mount level for best effect. |  |
The Looping This one is tricky! Mount it at the correct angle, extend the incoming ramp and the marble will successfully perform a looping. |  |
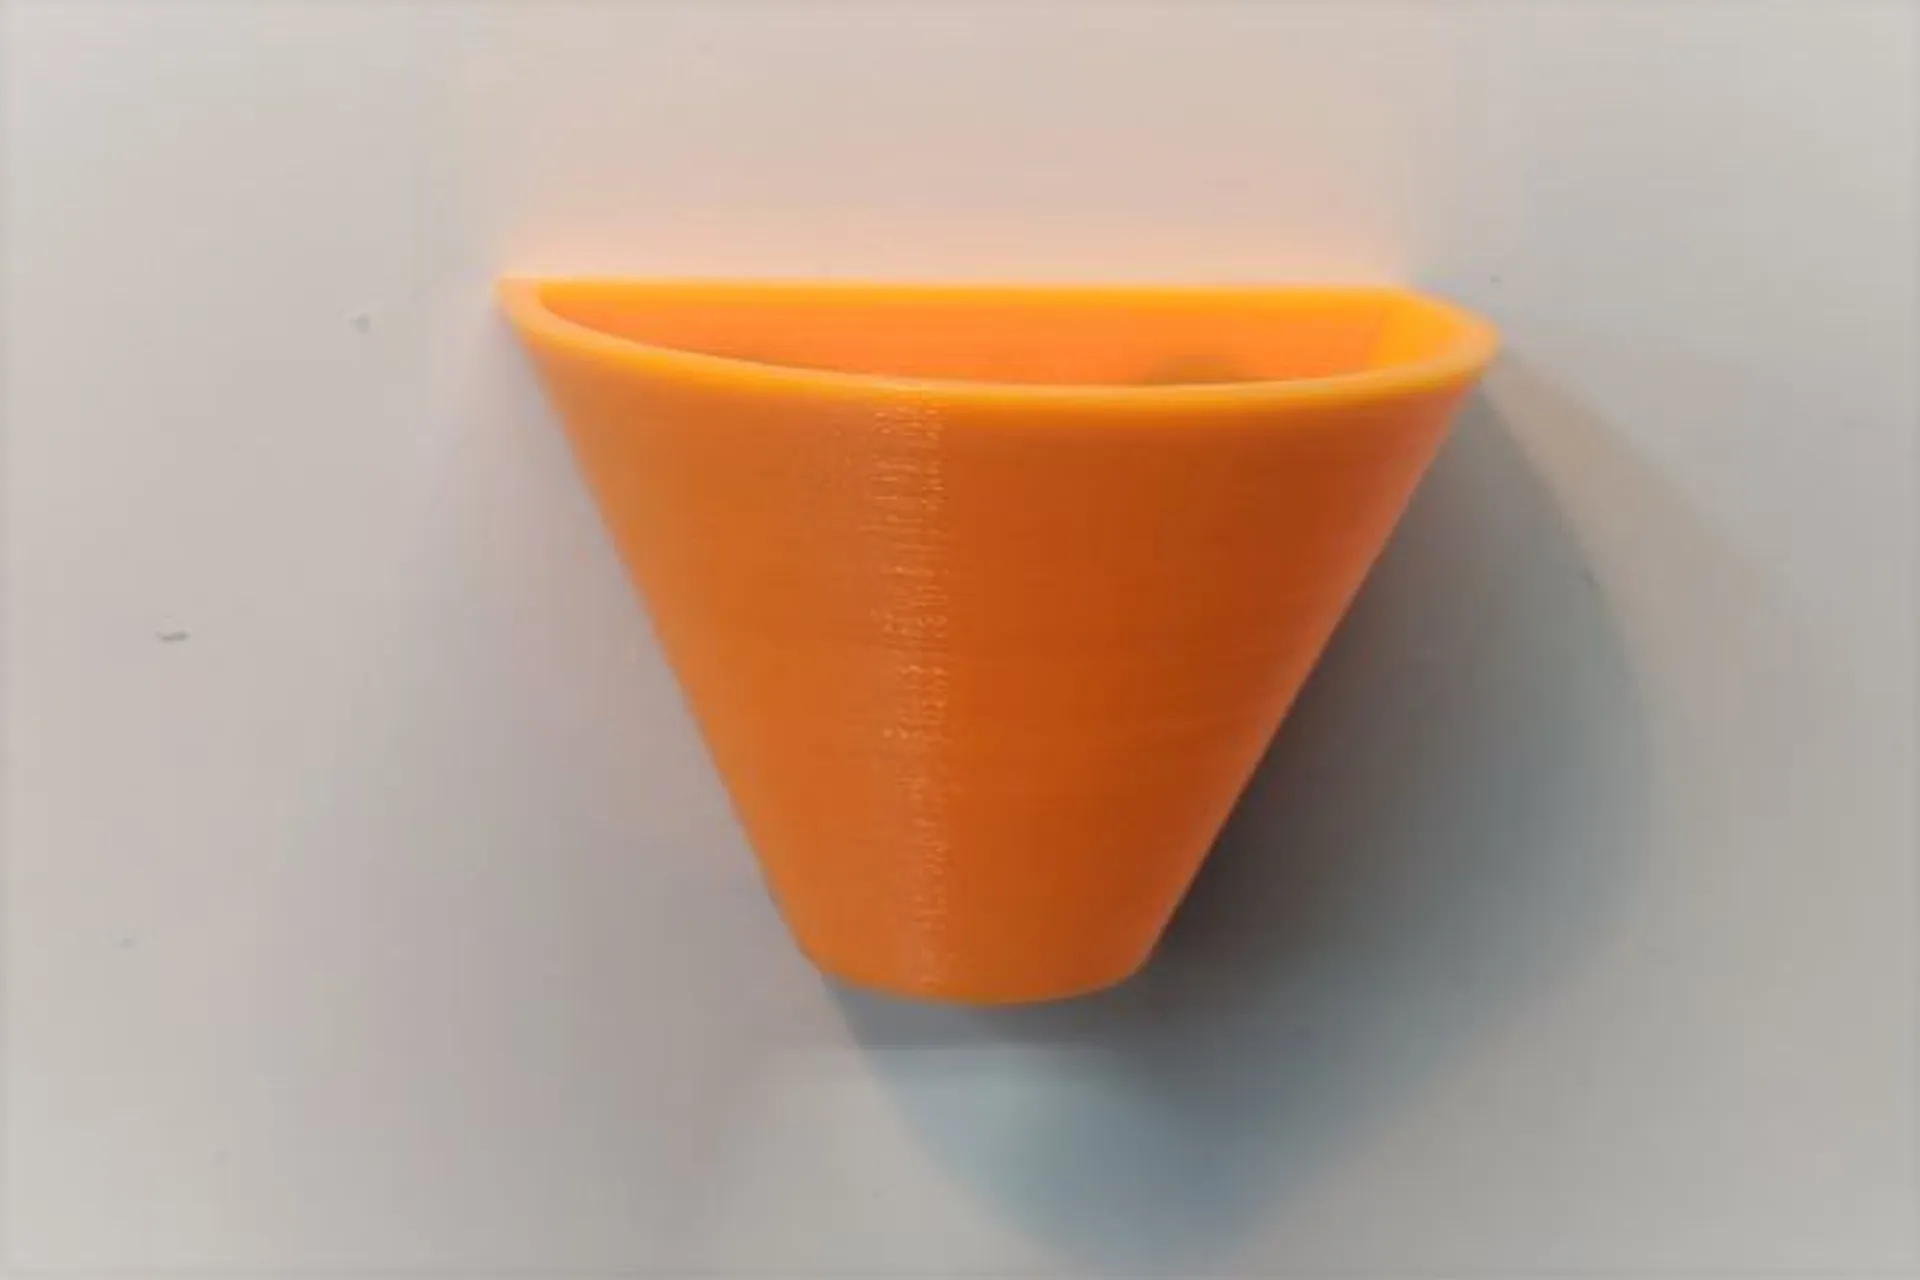
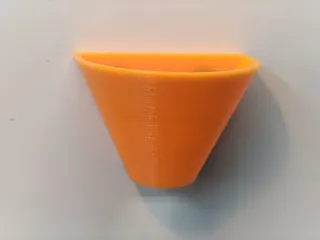
Funnel It's a funnel. |  |
Auto-Launcher Releases one marble every couple of seconds. See it on YouTube. Assemble auto-launcher + pole-base + lock- |  |
Flipflop The flipflop diverts the marble left or right. Assemble flipflop + flipflop-base + lock- |  |
Tray The tray is a great way to finish the run and to store extra marbles. |  |
Print Settings
Printer: Anet AM8
Rafts: No
Supports: No, except for “The Wave” and “Lombard Street”
Resolution: 0.2
Infill: 20%
Filament: PLA
Notes:
- Consider setting a brim
Installing the magnets with hotglue
Each track needs at least two magnets, but many require three or even more.
The mounting holes were initially designed to be tight enough to just push the magnets in, but that turned out to be problematic. It was difficult to get the magnets to be flat rather than pivoting. Magnets would regularly fall out, etc.
In the end I switched to securing the magnets with hot glue. The holes are slightly wider to allow the magnet to be pushed into the glue easily. Hot glue is also excellent to add more grip to the back of the track if it slides on the board. Just spread a thin layer of hotglue all along the back and let it cool. The resulting surface has a nice grip. See video.
Category: Toys & Games
Tags
Model origin
The author marked this model as their own original creation. Imported from Thingiverse.