Ekornes Stressless Furniture Parts

Description
PDFThis is a small collection of parts that I made to replace missing and damaged parts on my Ekornes Stressless suite.
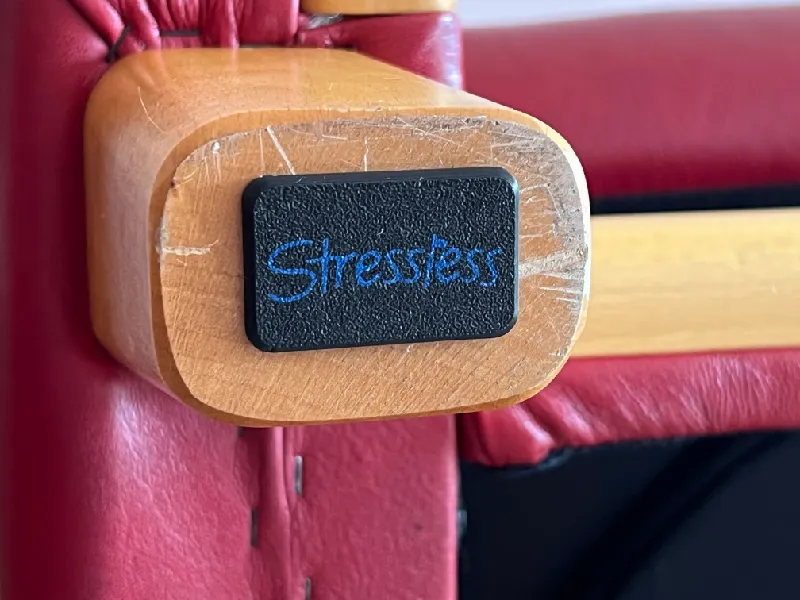
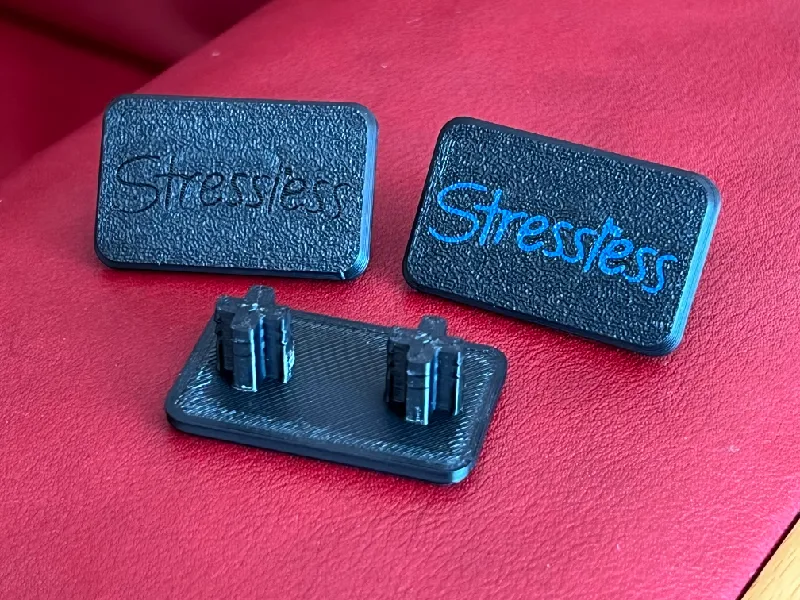
- The plastic insert for the wooden sofa legs. This lifts the wooden legs off the surface by 3mm. Probably not needed for carpeted floors, but will prevent the wooden legs scratching a wooden floor. Complete with ‘Stressless’ logo for a professional look! You can either print just the insert, and let your printer bridge across the logo at the third layer, or you can use the supplied ‘logo’ STL to print it in a different colour if you wish. Admittedly that's a lot of creative energy to expend on a part that nobody will ever see. But you'll know :-)
- The small circular foot that is used on the underside of the footstool base. Includes a countersunk recess for a wood screw.

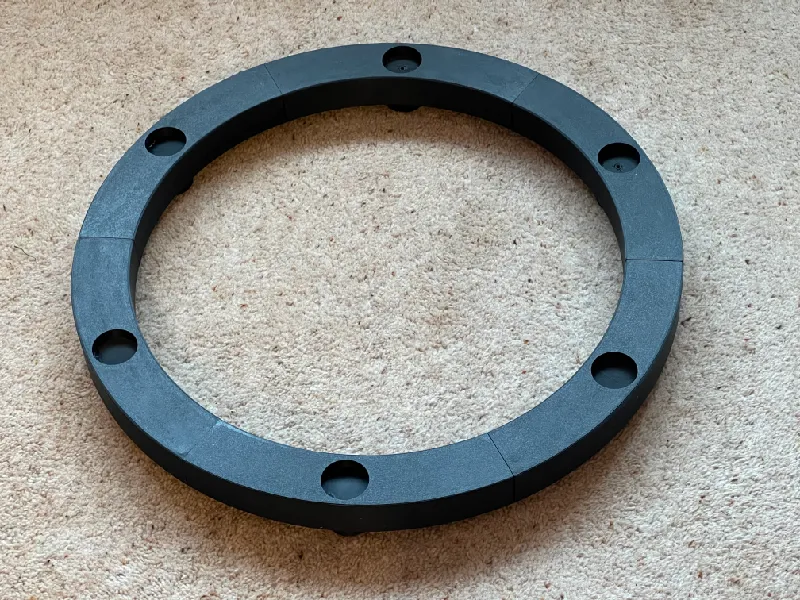
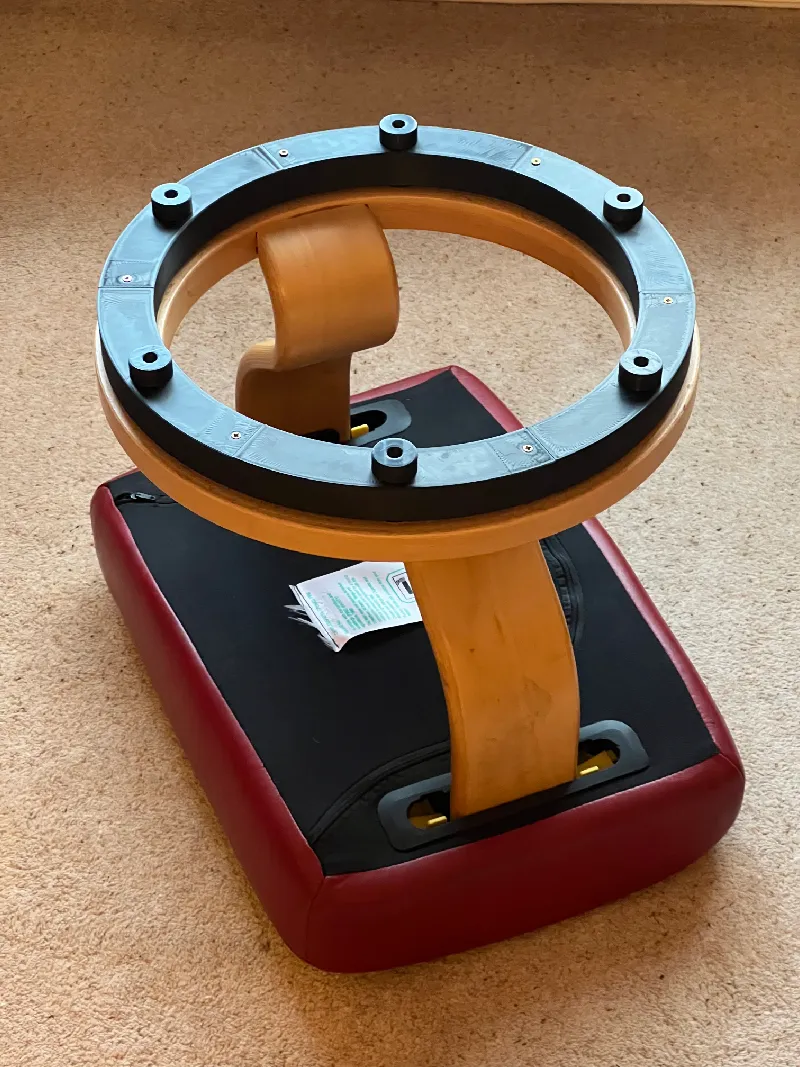
- A complete ‘elevator ring’ for a footstool, designed to raise the height of the footstool by 35mm. The ring is made up of 6 identical ‘sectors’ that slot together with Mortise and Tenon joints (and can be glued and screwed for strength) to form a ring with an outside diameter of 425mm. Each sector includes an integral foot. The PCD of the foot recesses is 385mm - I believe all footstools share this PCD, but you may wish to measure from centre to centre of two opposite feet on your footstool before printing this part.

Print Settings
All of these parts should be printed for strength. I've used 0.2mm layer height, 0.4mm nozzle, 4 perimeters and 5 top and bottom layers, and I've printed all the parts in ABS.
For the sofa leg insert and footstool feet I suggest 40% cubic infill. Print in the supplied orientation, without supports.
For the elevator ring I used 15% cubic infill, but for the area around the foot/foot recess I would suggest using the supplied modifier to define 40% cubic infill. Print in the supplied orientation. Use supports ‘Everywhere’, so that the Mortise and Tenon and the foot recess all print cleanly. I used snug supports with 0.2mm z distance. If printed in ABS it will be important to control lifting/warping. I added a 5mm brim, and I oriented the part across the middle of the build plate (rather than diagonally) so that any tendency to lift the build plate would have to overcome more magnets. Note that the protruding ‘tenon’ is modelled with a small detachable wall to help it to print cleanly without curling.
Model origin
The author marked this model as their own original creation.


