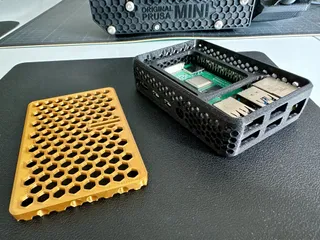
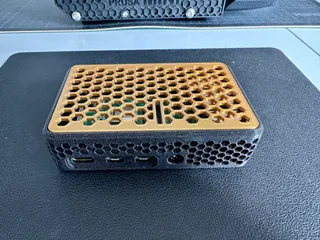
Nice attractive case, it just works!
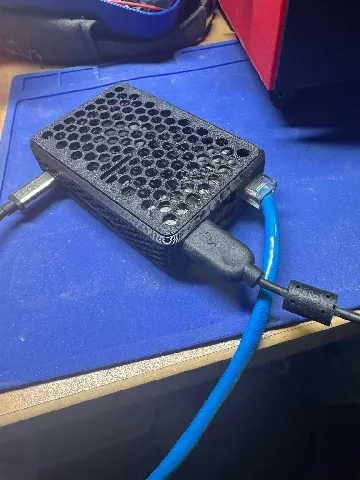
Really great case and fits perfectly on my Raspberry Pi; however, when I inserted an HDMI cable into it, it was hard to fully insert it because the Pi rattled a bit inside of it.
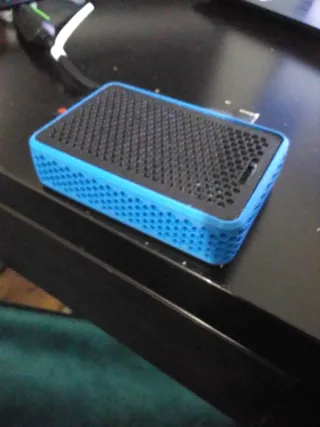
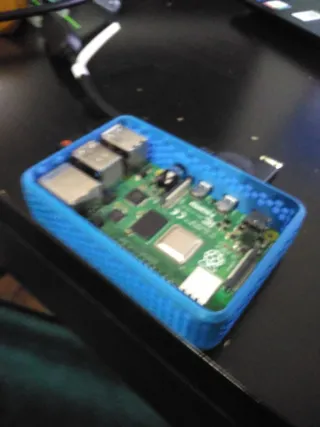
New to PI, so sorry if this is a stupid question. Can you describe what the screwless jack and cam2 .stl files are for in the details? Thanks!
@CharlieSFL_1184704
Thank you for the make and EXCELLENT question. I rewrote the instructions based on your input. Hopefully it addresses your request, if not please let me know.
Screwless Snap Assembly. Start with base or bottom case, remove ssd and drop Pi4b board into bottom case so that it rests in provided IO openings correctly. Fit should keep board in place even with a little shake. Place Screwless Jack onto Pi 4B board matching posts with screw locations. Top will snap onto the base, holding the screwless jack onto the Pi 4B board and keep it in place.
There are 2 top versions, with options to different camera and display ribbon cable locations (hexcase4-top and top-hex-cam2.). Each top has relief and boss locations on the RJ45/USB ends, top parts are not flipable and must be assembled in the correct orientation. There should be an even part line between top and base.
To dissassemble the case, first remove the SSD card! You can use a hex wrench or paper clip/ finger nail to pry up the top near the USB/RJ45 IO area.There are 4 screw boss located in the base if you want to use a hat board.Pi takes M2.5 (a set of 4 screws and nuts needed... 4 standoffs and another set of 4 screws for Hat Boards).
Carter.
Printed great in PETG, only issue I have is I tried to clean up the whispy stringing with a torch and hit the middle spot over the USB ports a little too long, melted a little so the lid doesn't exactly fit tight, may need to print it again. (edited)
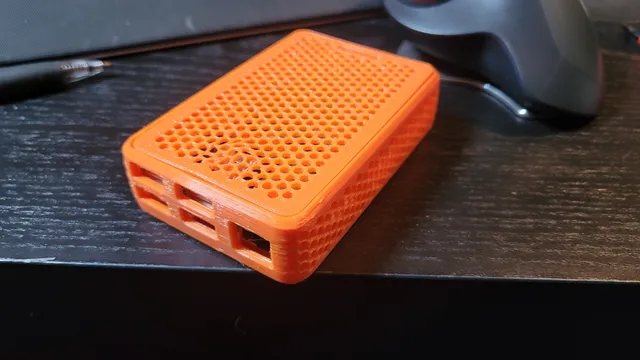
Very nice Raspberry Pi case. Fits perfectly and looks good too. Thanks for sharing!
