Prusa XL ESP32 CAM Mount (no Hardware)

Description
PDFThere are several options for the case front, depending on if you want to use a Wi-Fi antenna or the LED. For the mounting there are 2 options. 1st On the front of the Prusa XL you can use the Clip to hook it in. 2nd On every magnetic surface with the “magnet Screw” but you will need 3 magnets with a 5 mm diameter and a 1.5 mm height.
For this mount you need to flip the image in the ESP configuration.
Assembly Instructions
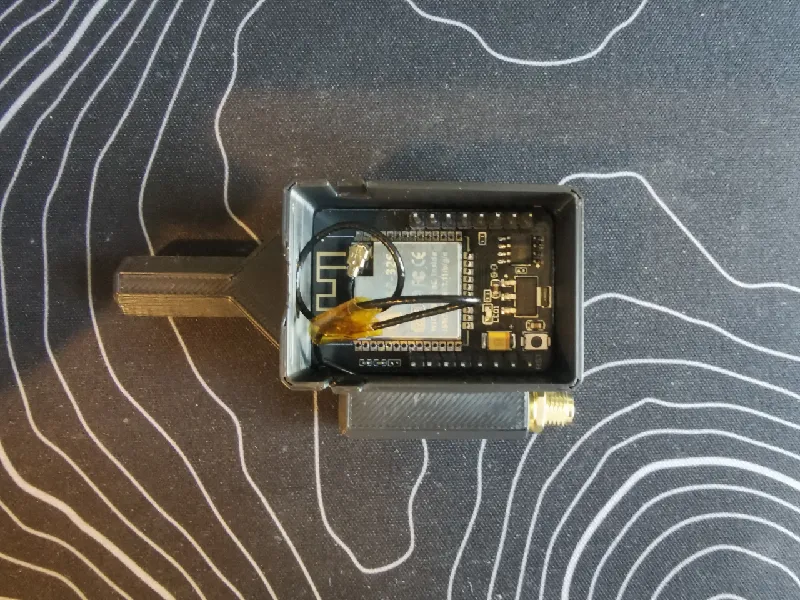
With Wi-Fi antenna
1. Put the screw for the Wi-Fi antenna through the hole. (The hole is big enough to push it in a slight angle)
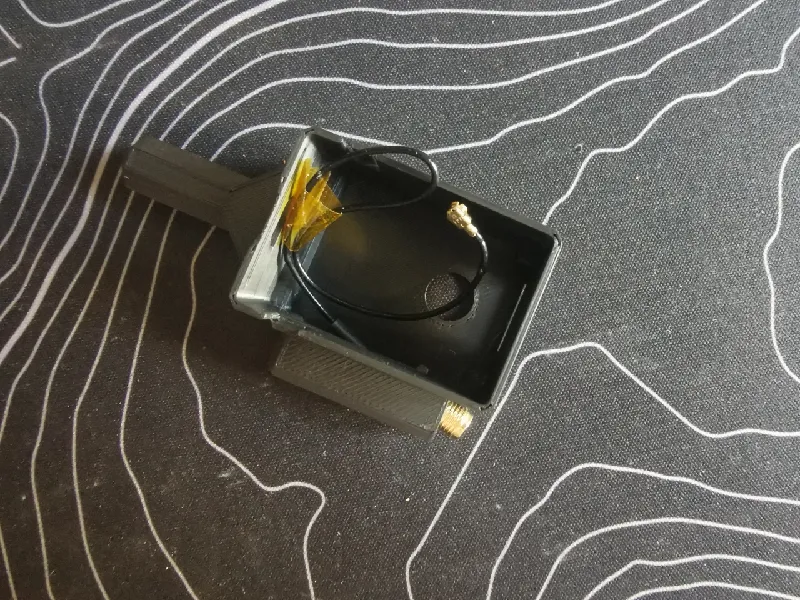
2. Disconnect the ESP from the programmer and put the corner of the ESP under the cable from the antenna.
3. Push the ESP all the way in. (Watch out for the distance blocks in corners, the ESP has to sit on top of them)
4. Then connect the antenna and tuck the cable in the middle. (You might need to put some tape on it, so that it doesn't interfere with the pins)
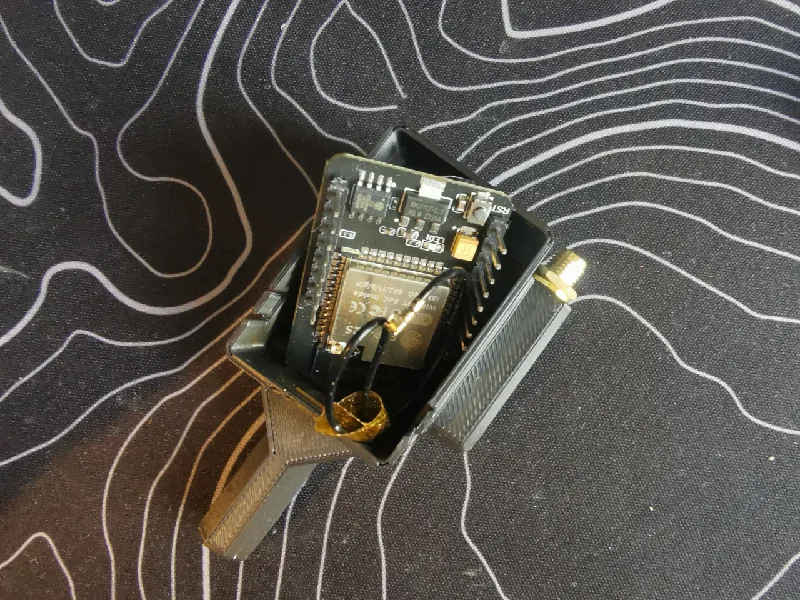
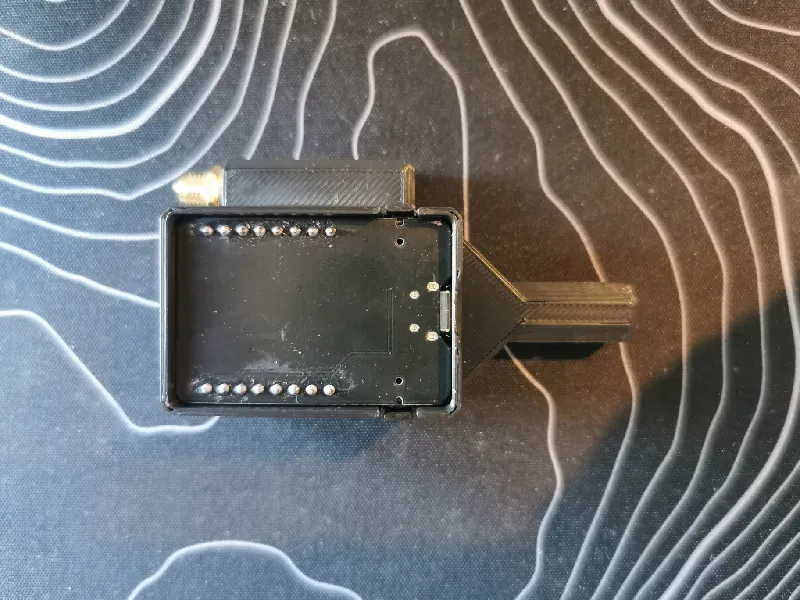
5. Put the programmer back on and close the case with the lid. Now you can screw the antenna on.
Without Wi-Fi antenna
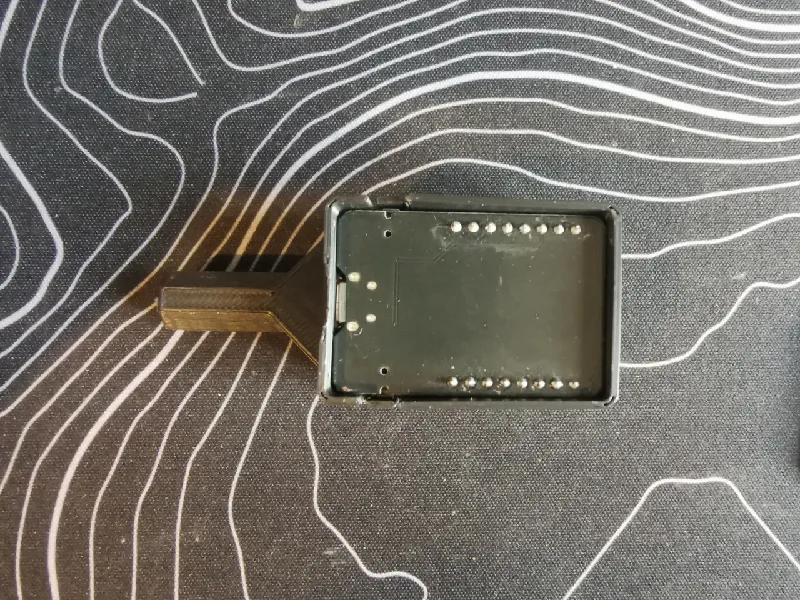
1. Just put the ESP with the programmer inside and close it with the lid.
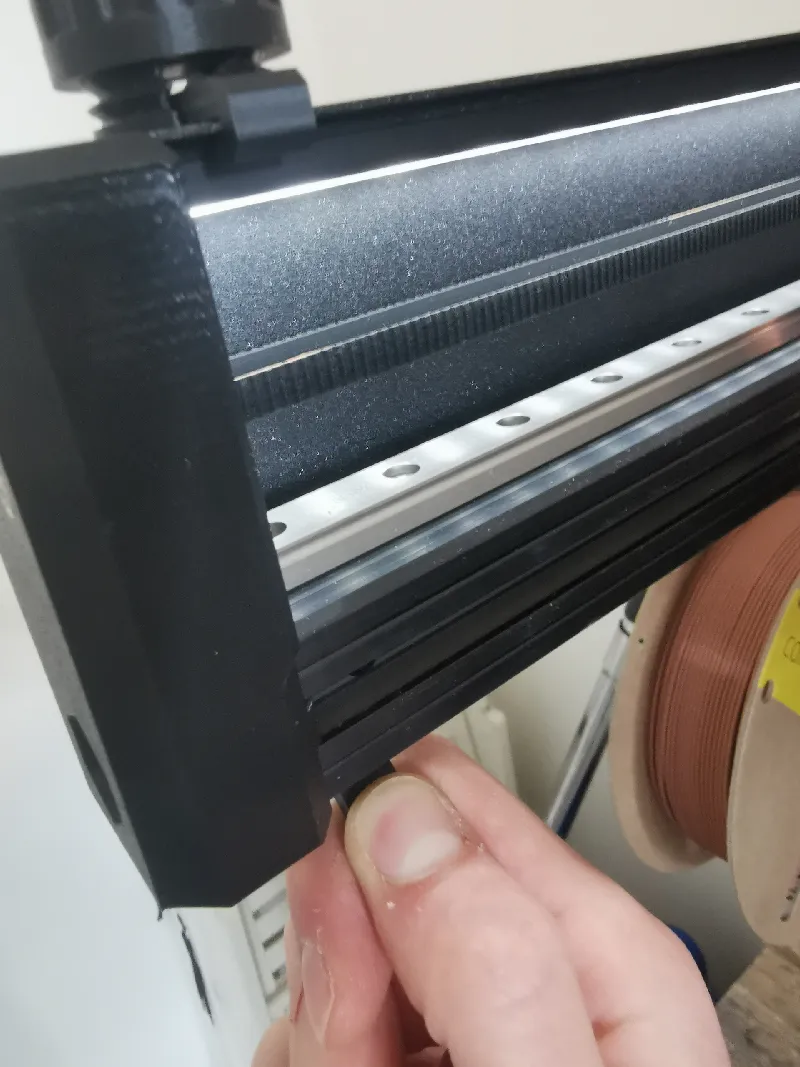
Assembly on the Prusa XL with the Clip
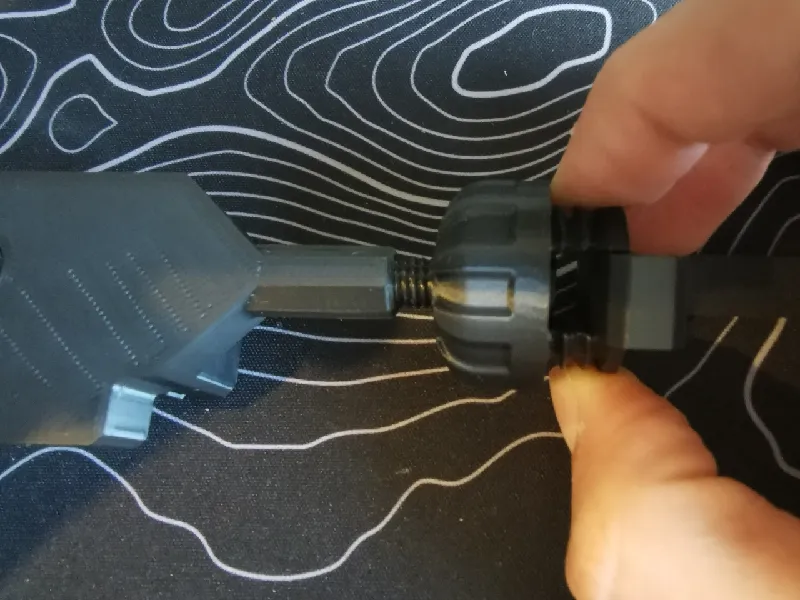
1. First put the round nut over the shaft of the case and then screw the ball joint in.
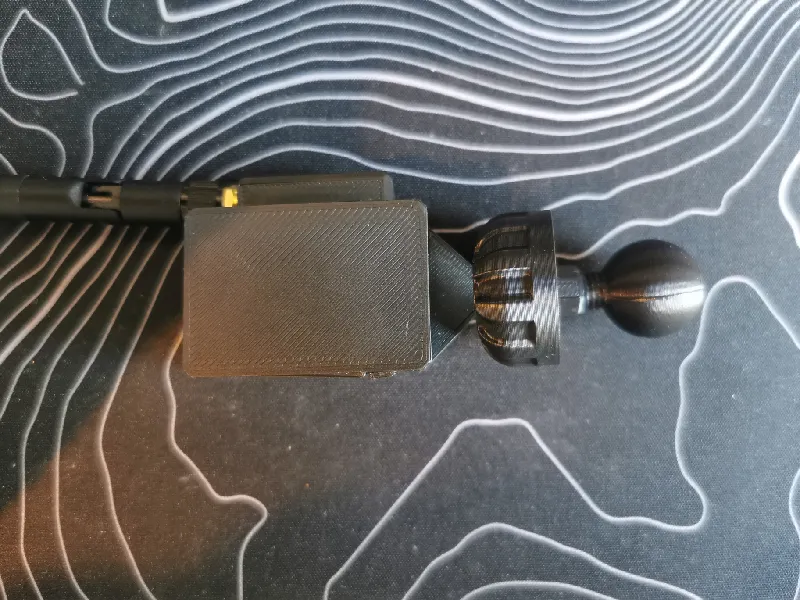
2. Put one side of the screv cutout on the slot on the clip.
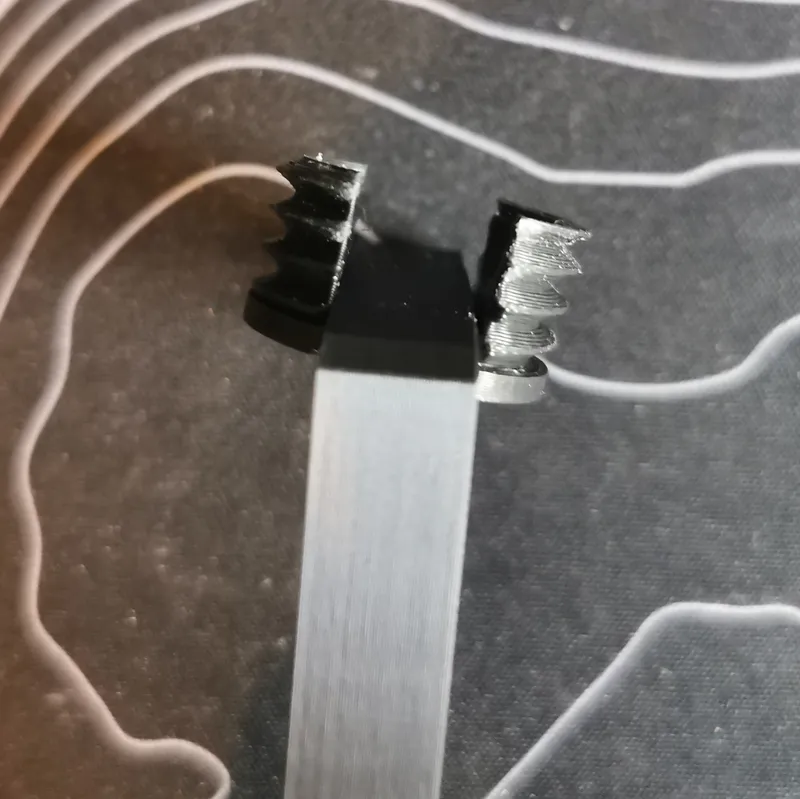
3. Bend the screw open and push the second side on the clip.
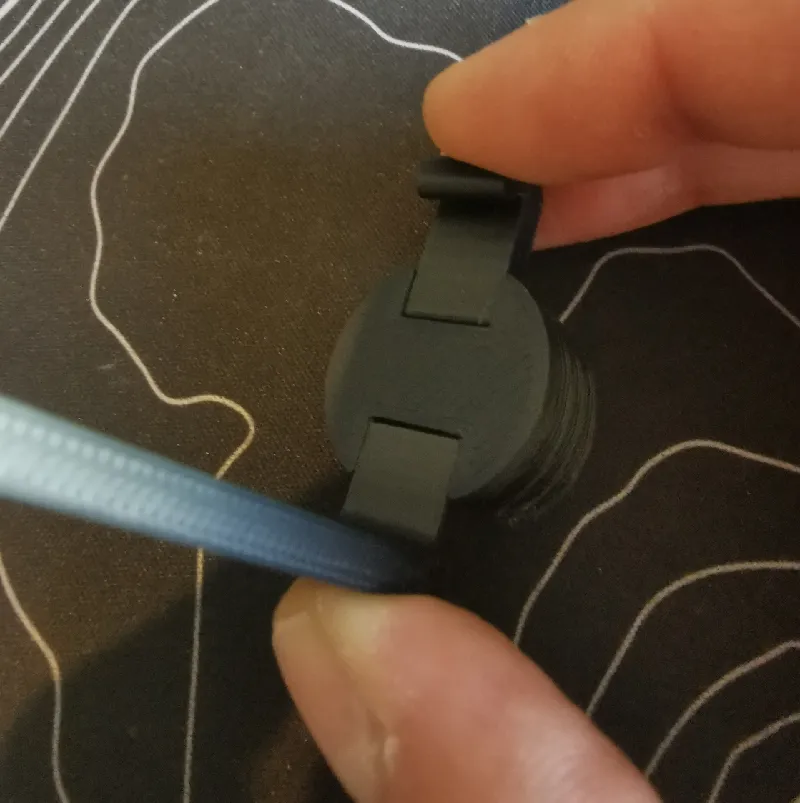
4. Now push both sides of the screw together and screw the ball joint with the case on. Screw it tight until you have enough friction on the ball joint.
5. Latch the inner side of the clip on your printer.
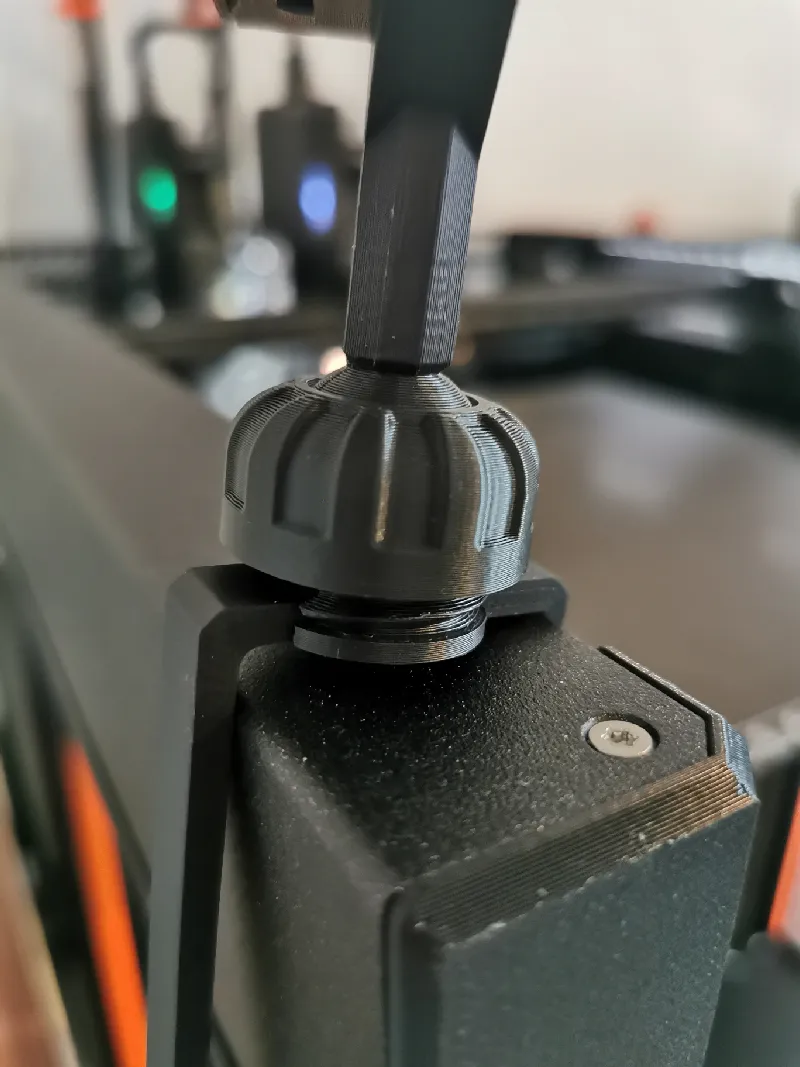
6. Push against the clip on the lower part to lock it in.
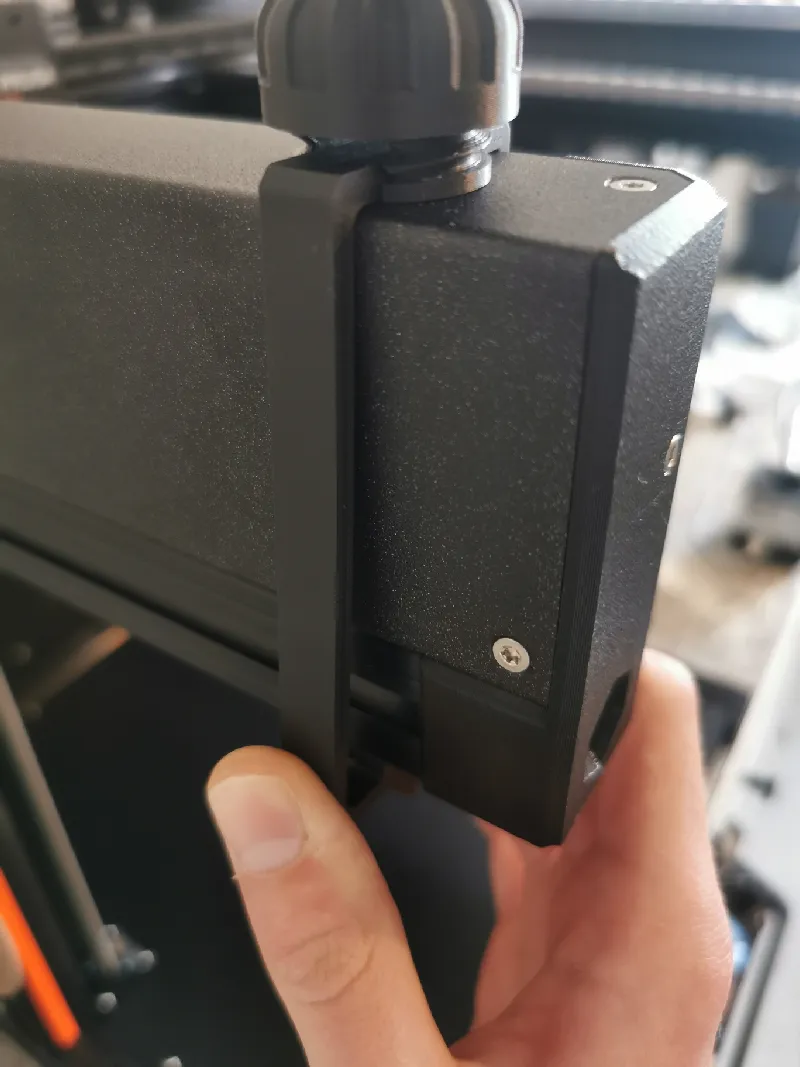
7. To release it again push on the lever down.
Alternative Mounting with Magnets
For this, you don't need to print the clip and normal screw. Then just push 3 magnets (5 x 1.5 mm) in the holes and make sure to push them a bit beneath the surface so they don't scratch your surfaces.
Tags
Model origin
The author marked this model as their own original creation.