Pusheen cat logo model

Description
PDFSummary:
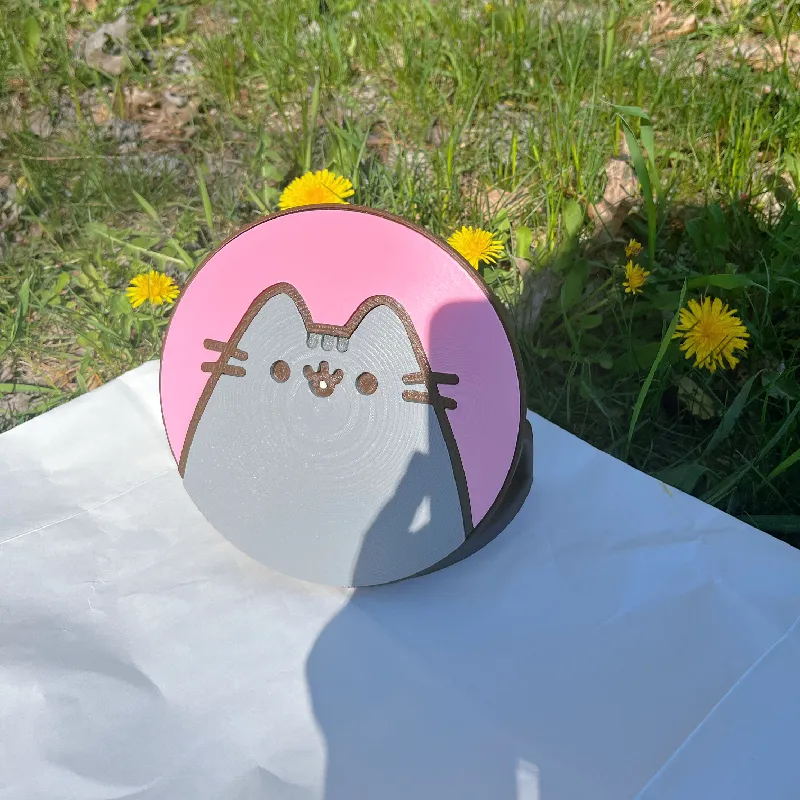
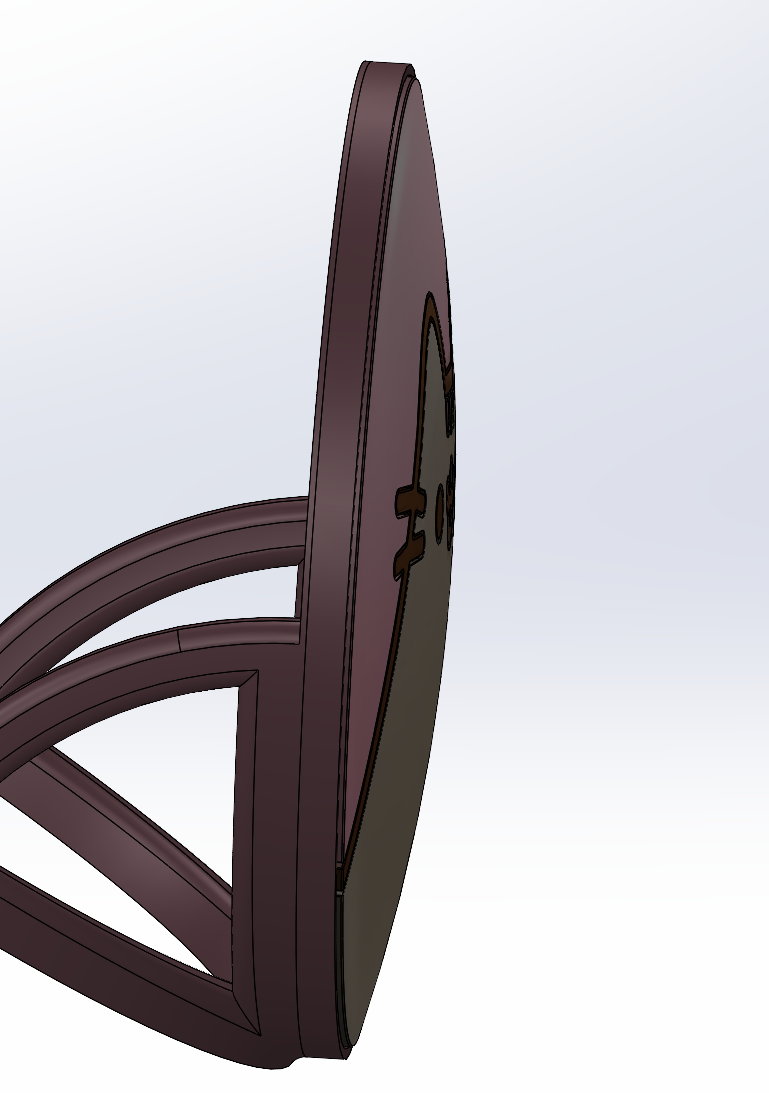
This cute Pusheen logo is the perfect choice to show your love of Pusheen! The model consists of a dish, a background piece, an outline piece for the cat, and pieces for the cat's tongue, mouth, eye, and stripes. The model was designed to fit in a 15x15cm area, and the radius of the dish is 7.70cm. The angle of the dish is 60.00 degrees. For this team project, I worked with Anna(link).
Problem Statement:
With a partner, you will design a “2D” placard using Solidworks. You and your partner will have the same design which meets the constraints below, and you will EACH use Solidworks to create your design.
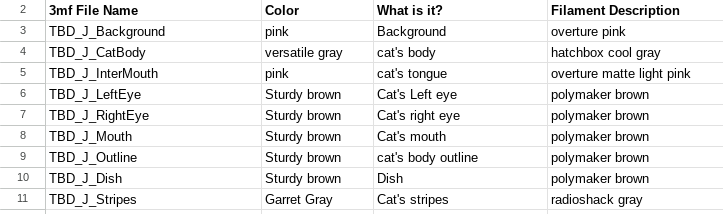
Part List:
Assembly:
Once you have all your pieces printed follow these steps to assemble them.
1.Fit the outline piece into the dish.
2.Fit The background piece into the dish.

3.Fit the body piece into the dish.
4.Fit the tongue piece into the mouth piece.
5.Fit the mouth piece into the dish.
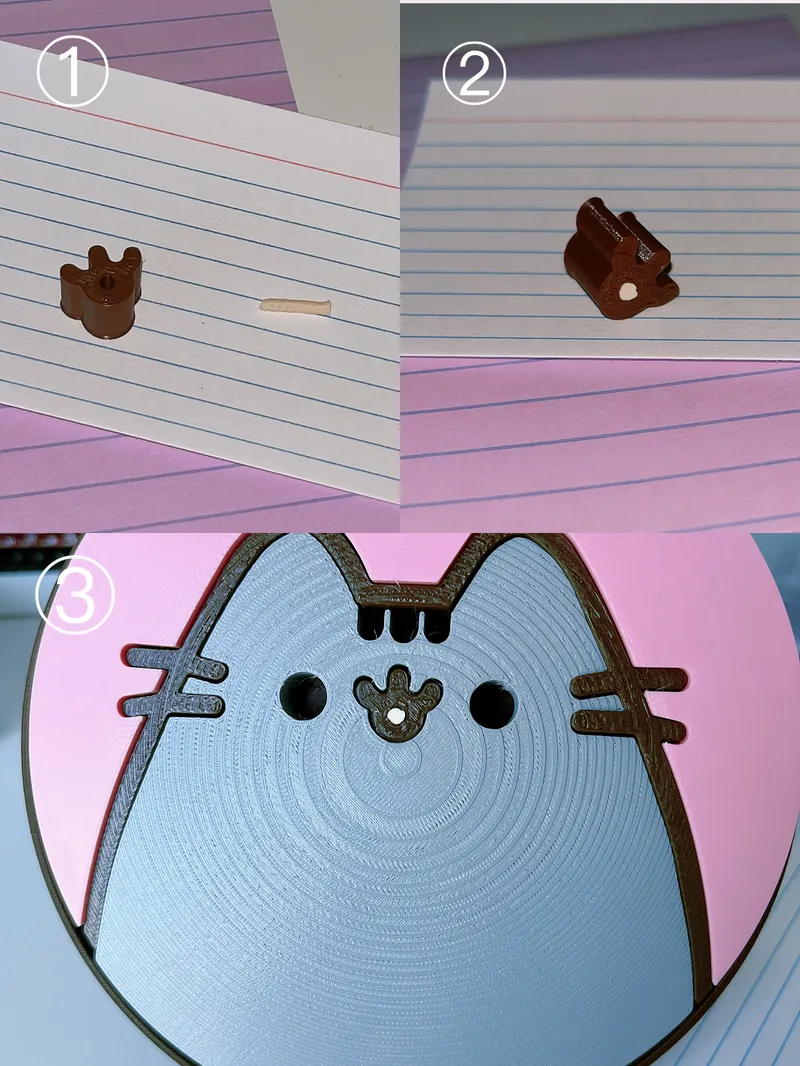
6.Fit the eye pieces into the dish.
7.Fit the stripe pieces into the dish.
Design Choice:
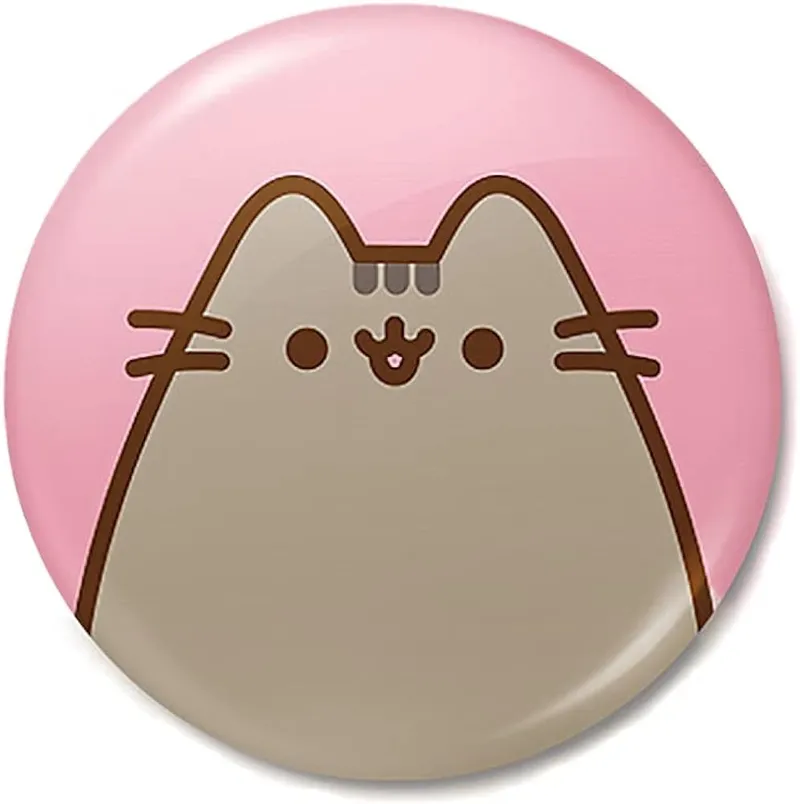
Logo Choice:
For our 2D art logo, we decided to do something related to Pusheen. So we searched online for a Pusheen cat logo and decided to use a Pusheen cat badge picture as our final choice because its circle shape makes the model easier to make.
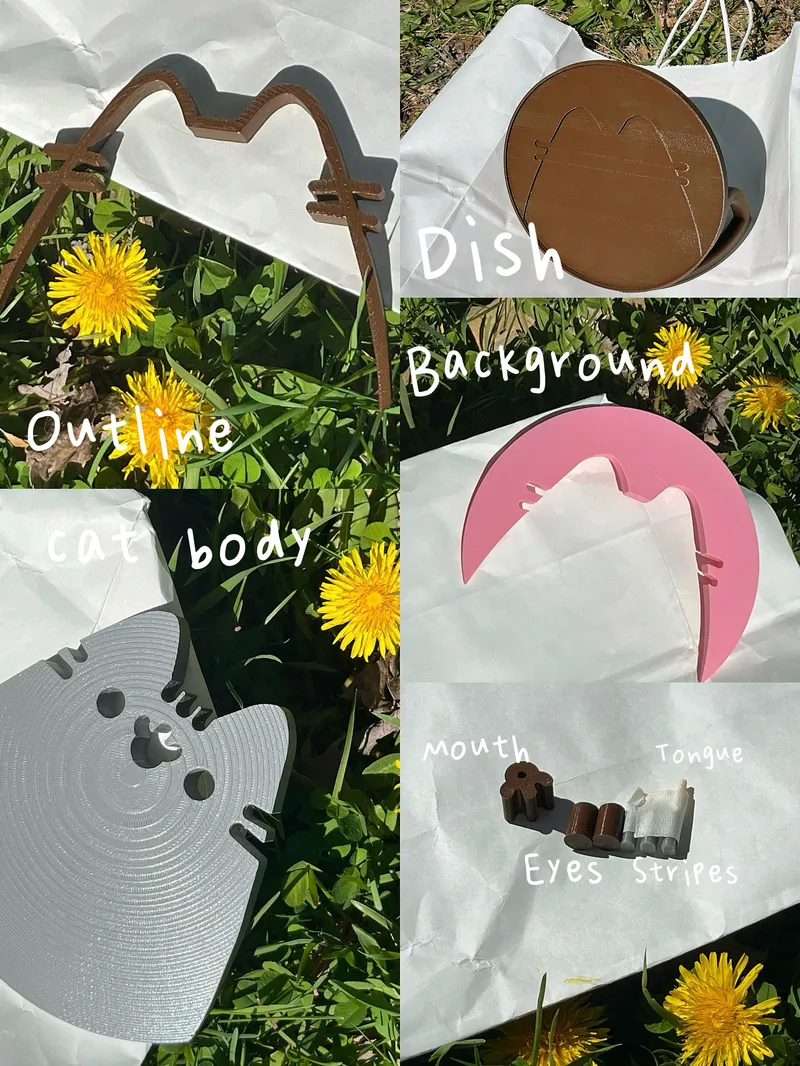
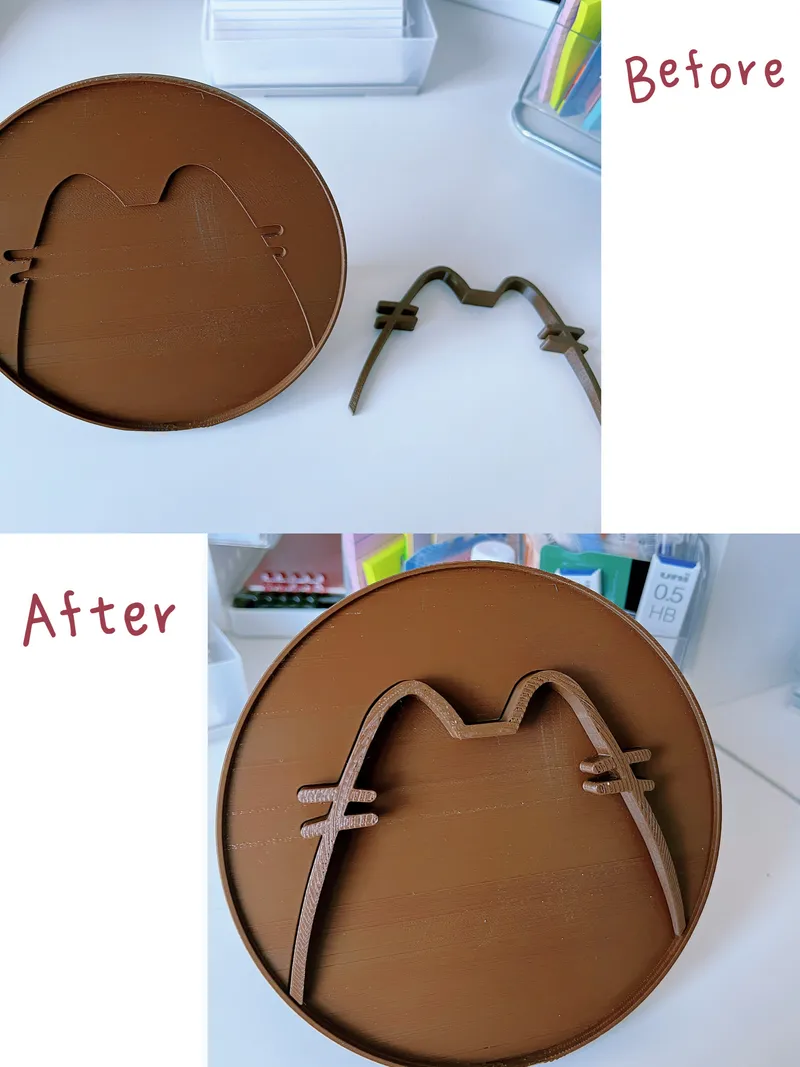
Design Changes:
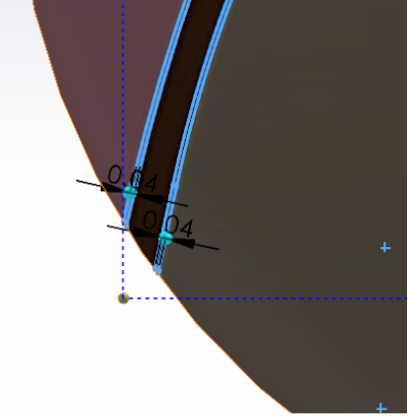
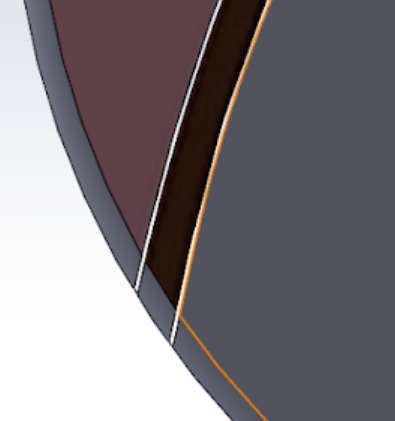
Our logo contains a lot of curves and at first I chose to trace them with the spline tool. But when I start to use the offset entities to create gaps between each part, Solidworks can’t do its work. So I had to redo the whole project and trace the logo using lines and arcs.
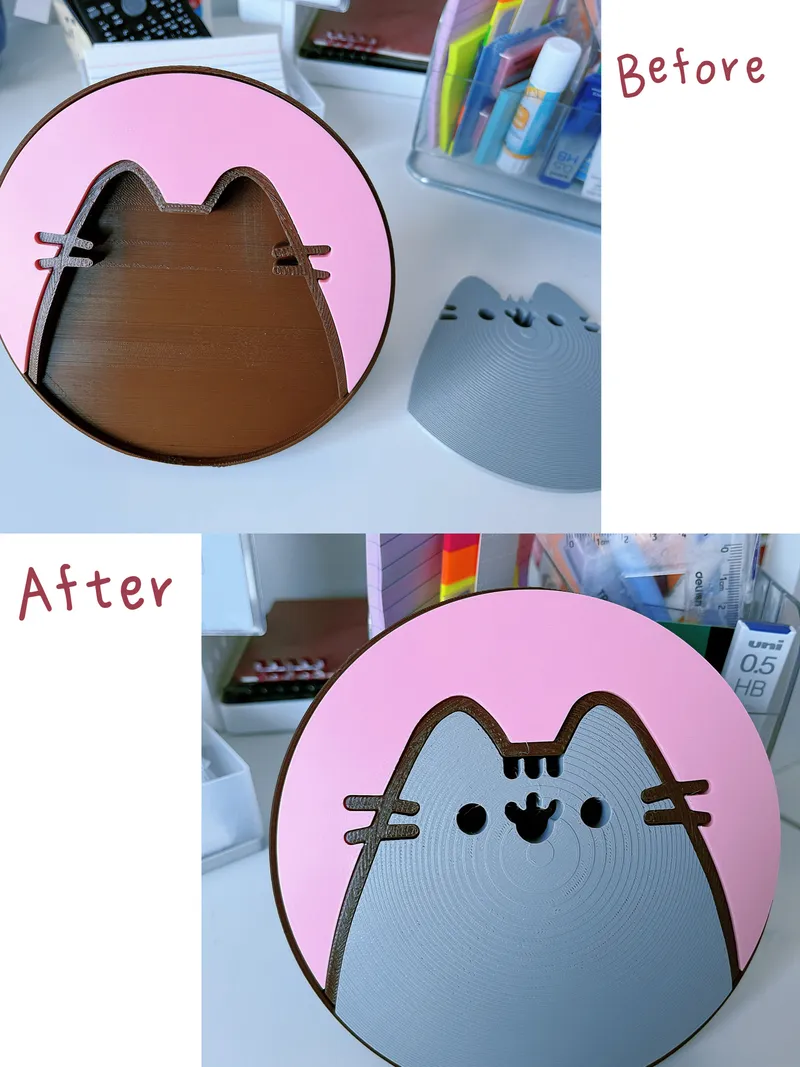
Before:
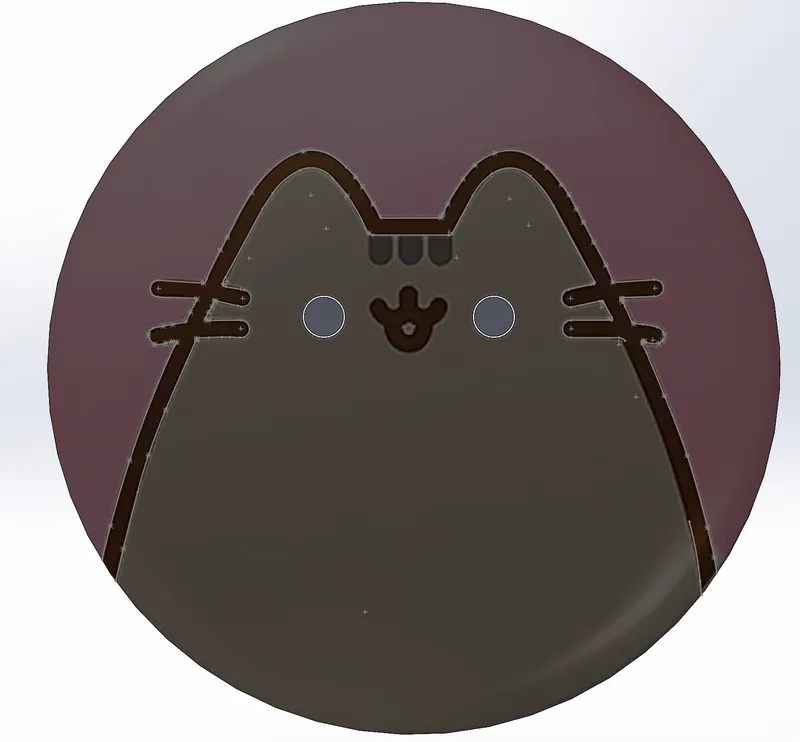
After:
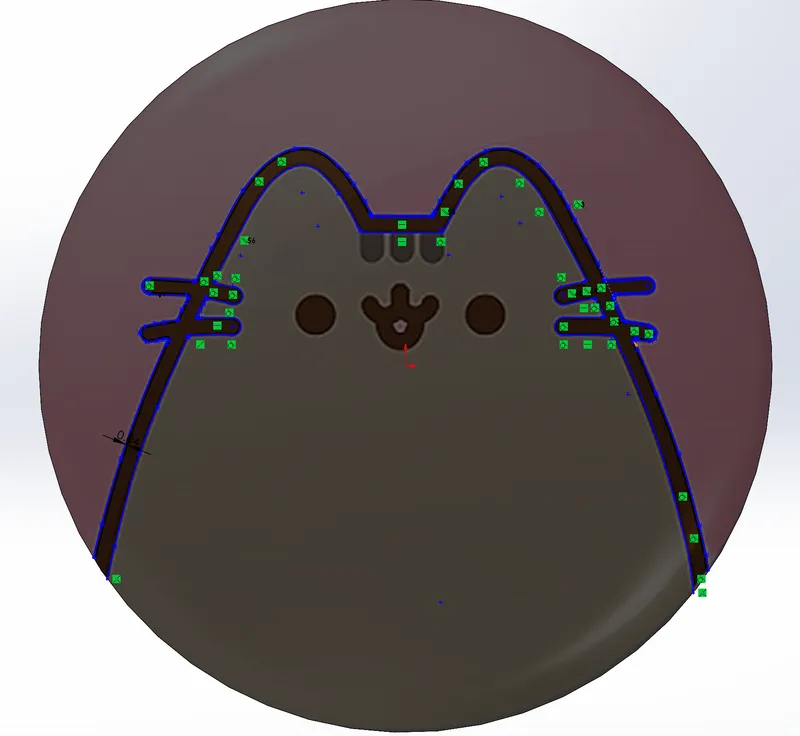
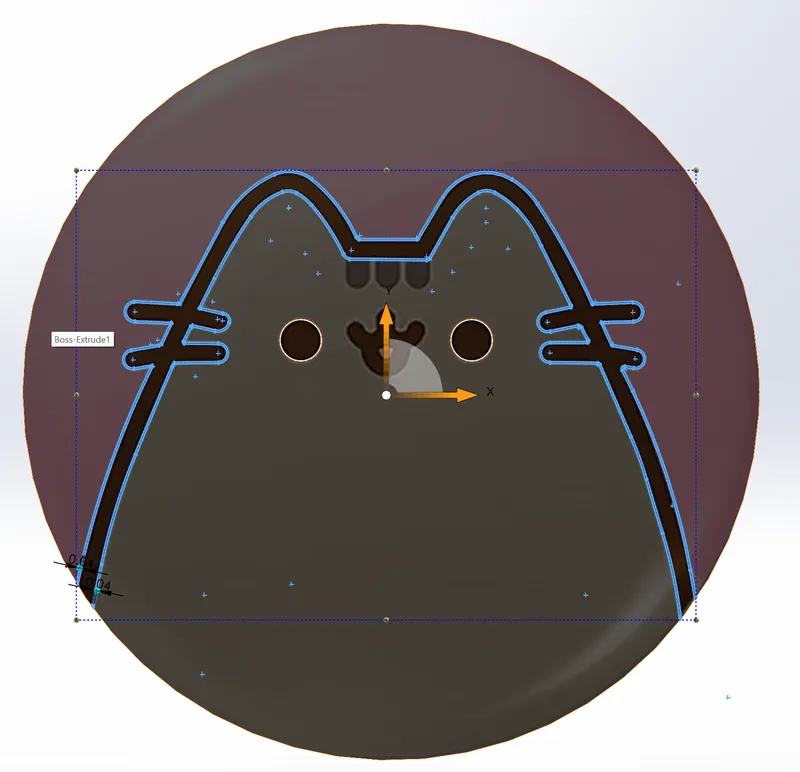
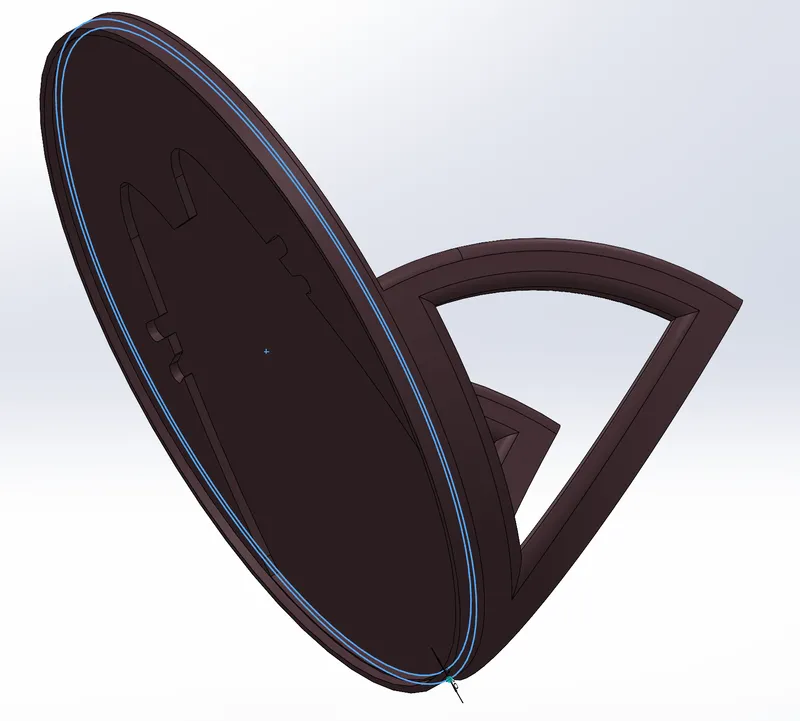
When it comes to separating each part, I encountered problems when I tried to cut each part off completely. I used offset entities to create the gaps, and the offset entities can't cap the ends properly. So when I used the extruded cut to cut off the gaps, there were small pieces at the end of each gap that weren’t cut off. First, I tried to use the extruded cut to cut off the remaining pieces. But I wasn’t able to select them properly, and due to that, the extruded cut didn’t work. So I changed the initial plan and decided to extend the gap so the extruded cut tool could cut off the gaps completely. In addition, I added a ring around the logo to keep the parts together.
Before:
After:
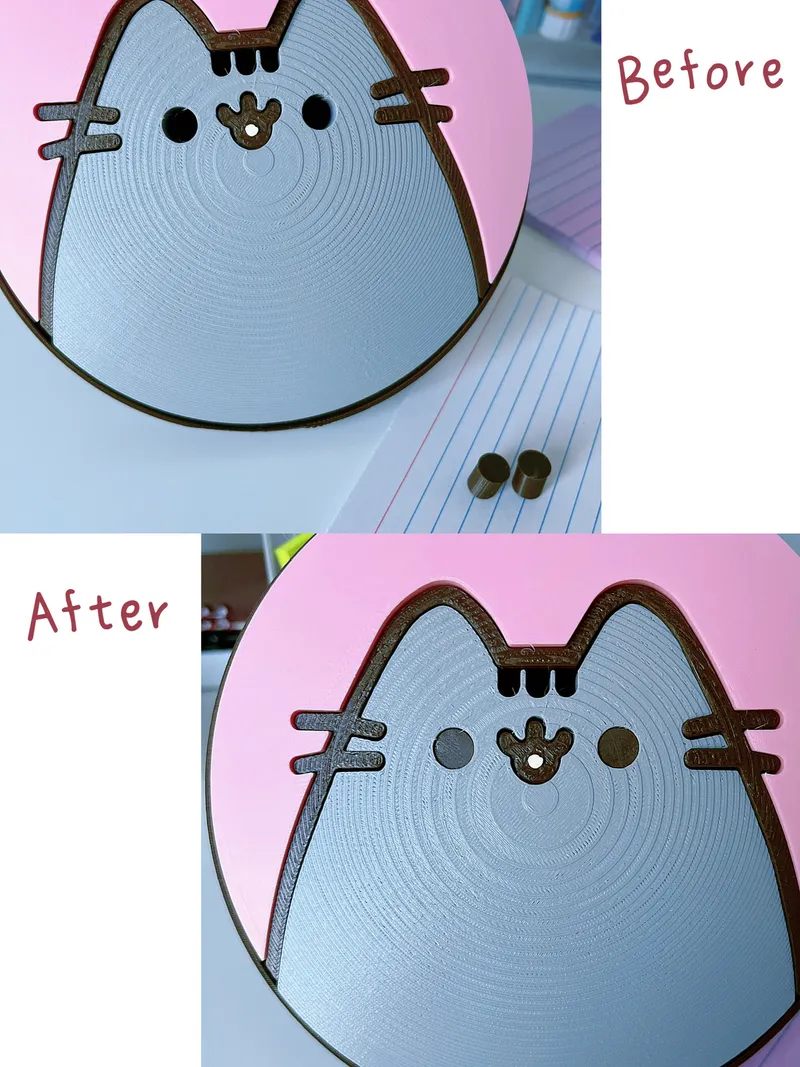
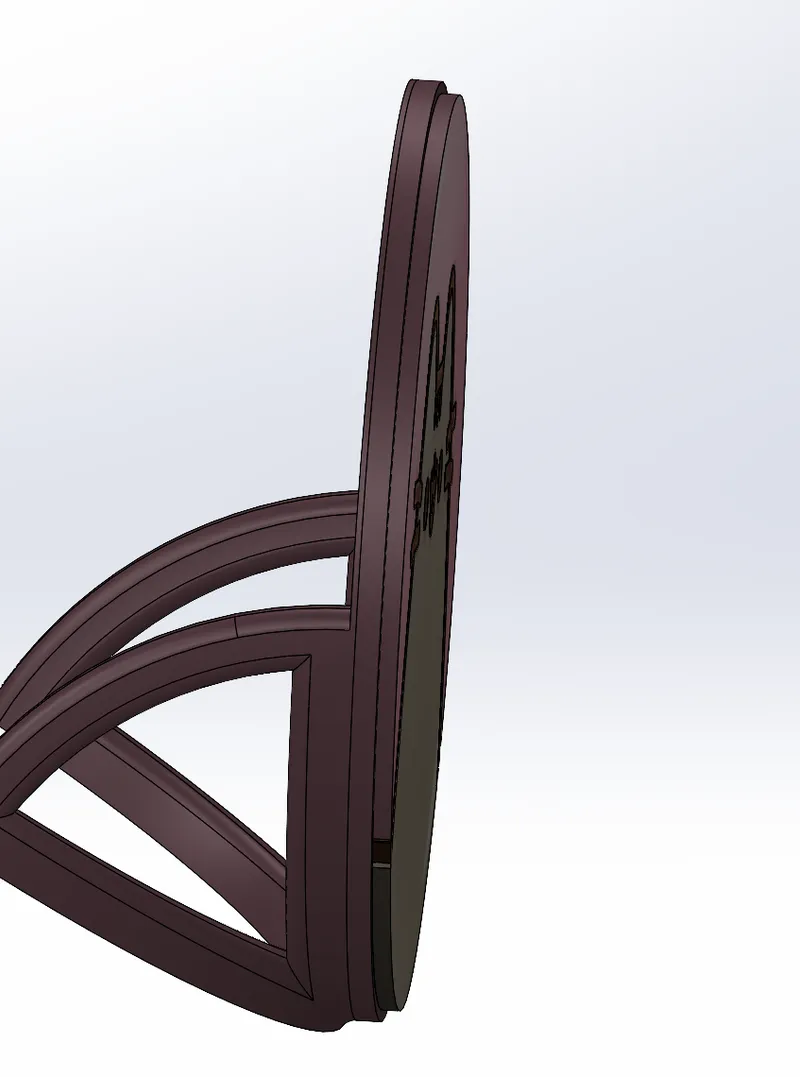
For the Fancification part, I added a dome for the logo which wasn’t in our initial plan.
Before:
After:
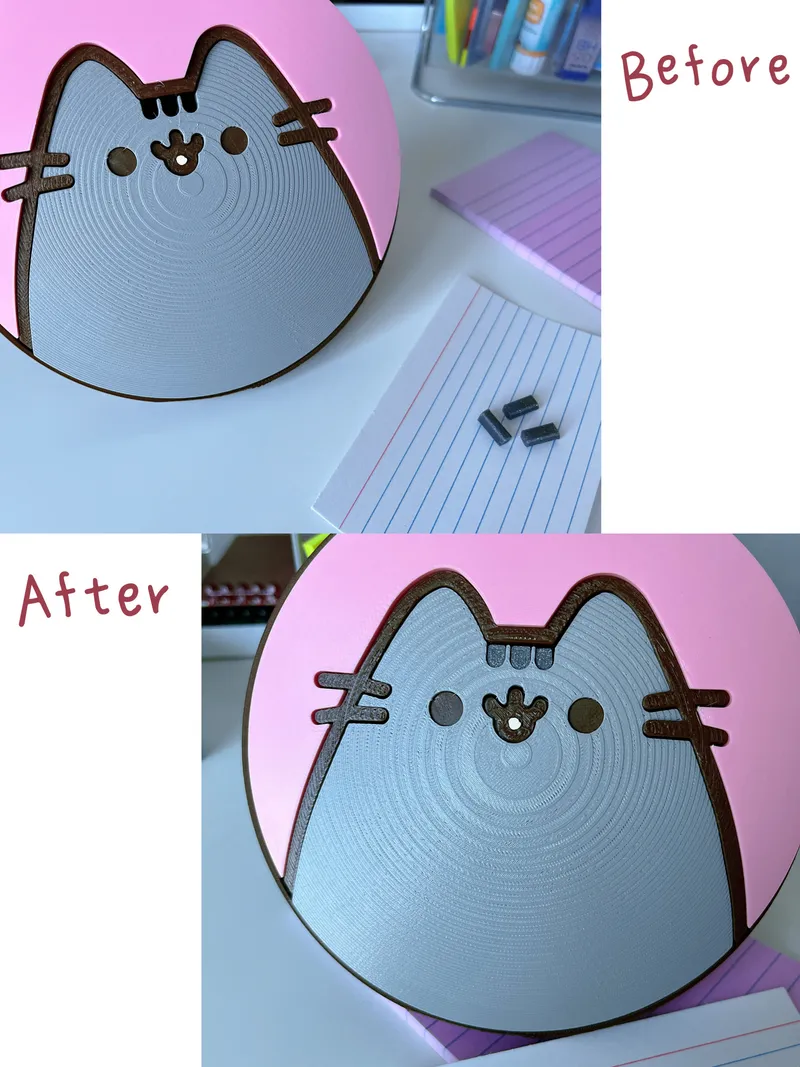
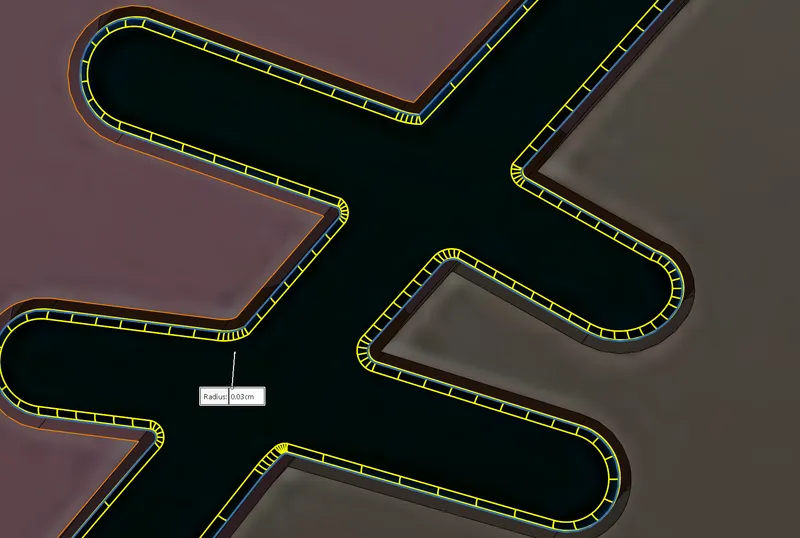
We wanted to add fillets for all the edges, and we had to carefully adjust the radius of the fillets. If the radius is too big, Solidworks wouldn't accept it. We made lots of changes to the radius during that stage.
Before:
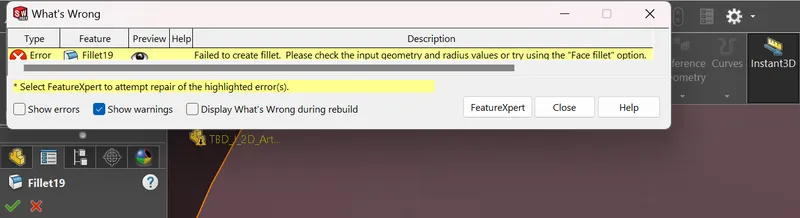
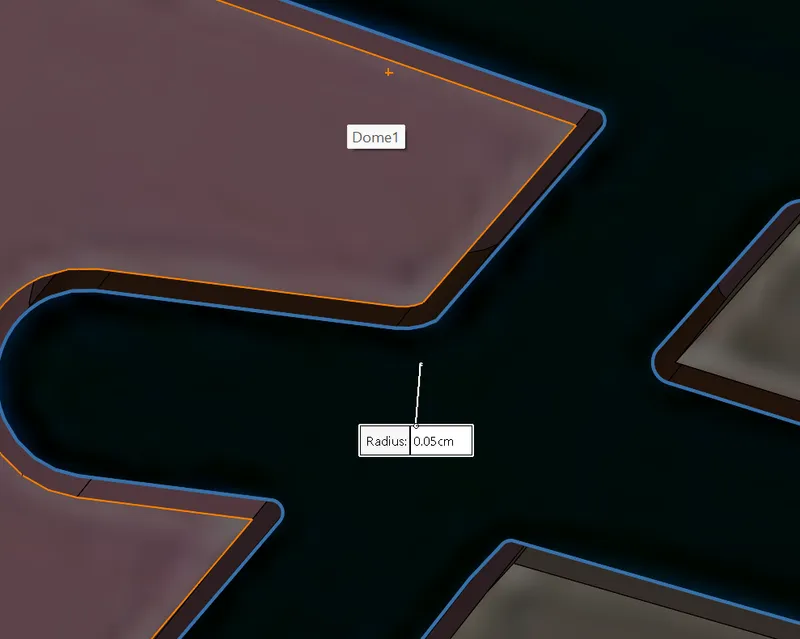
After:
Model origin
The author marked this model as their own original creation.


