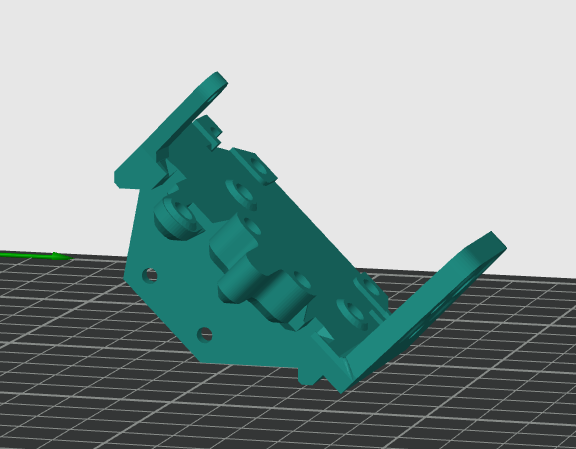
Ender3 V3 SE X-axis linear rail

Tool head carriage to be used with linear rails on X axis.
18
87
1
1023
updated April 26, 2024
Description
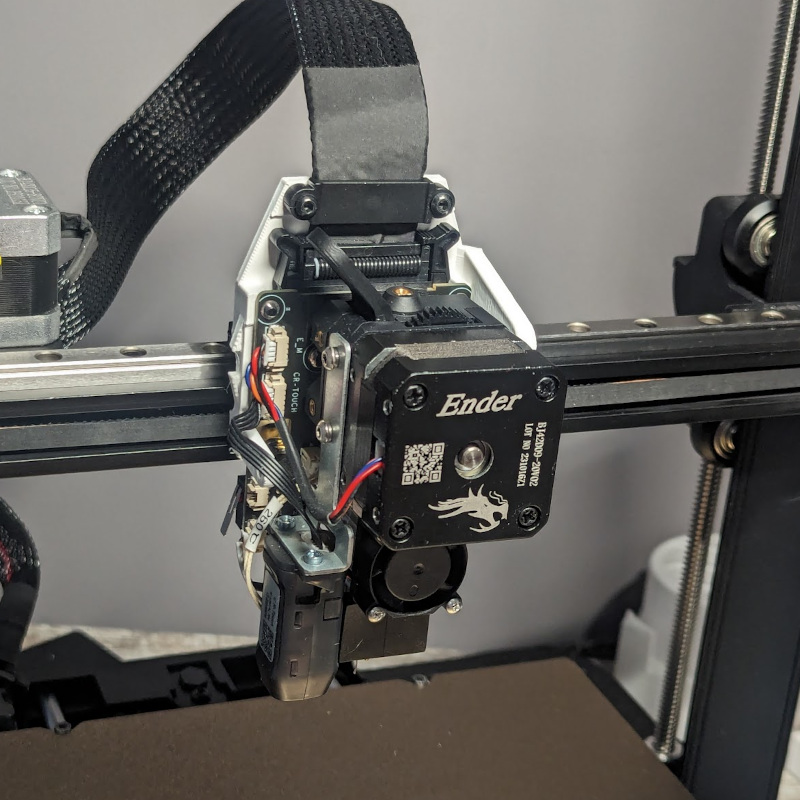
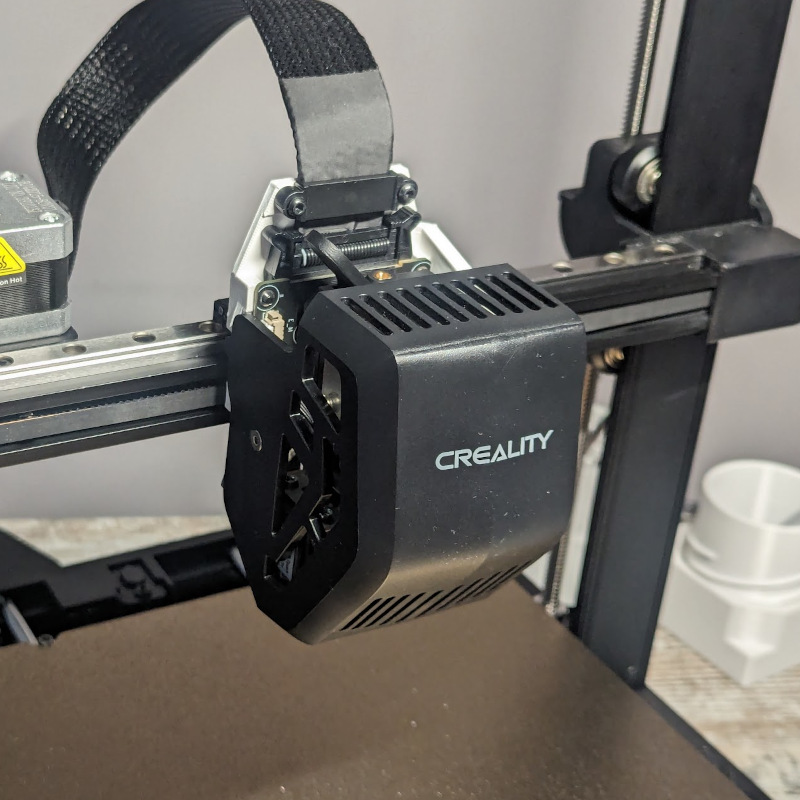
PDFLinear rail mod for Ender3 V3 SE.
CAUTION: This design is not recommended for serious usage until nozzle stability issue is solved.
After some period of testing I found nozzle not stable enough and may wobble on retractions while printing materials like PETG. This is serious design flaw which need to be addressed before any use of this mod.
Tool frame designed to be drop-in replacement for the stock steel frame. It also should work with some cooling mods.
Complete BOM list to make this mod:
- MGN9H linear rail, 290mm long.
- 8x M3 T-nut for 20series extrusion profile
- 9x 4x5 M3 threaded inserts. (4mm long, 5mm external dia on ribbed part)
- 8x M3x8 bolts for the linear rail
- 4x M3x6 bolts to mount tool frame onto linear rail
Assembly:
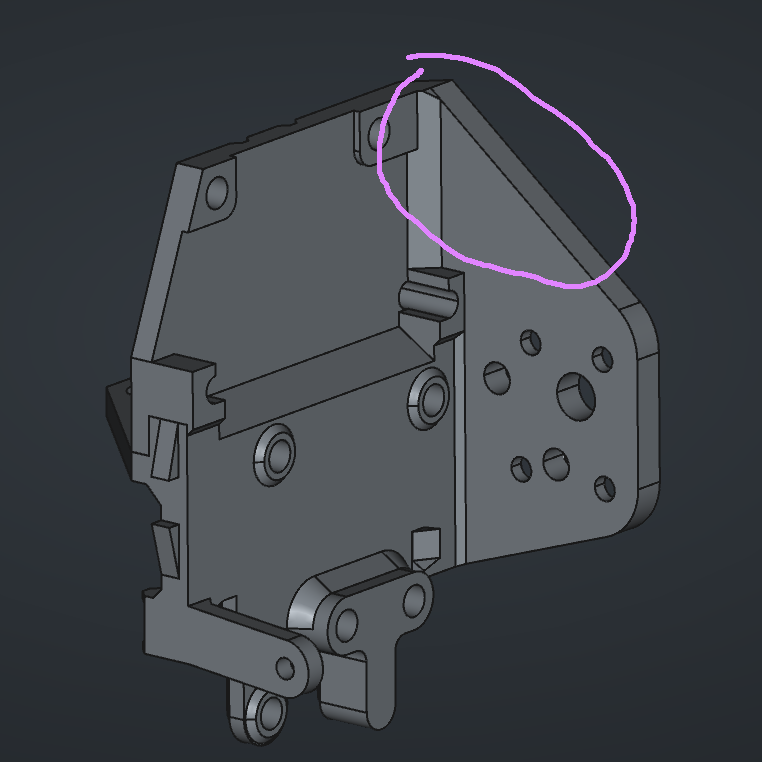
- Insert threaded inserts into the frame.
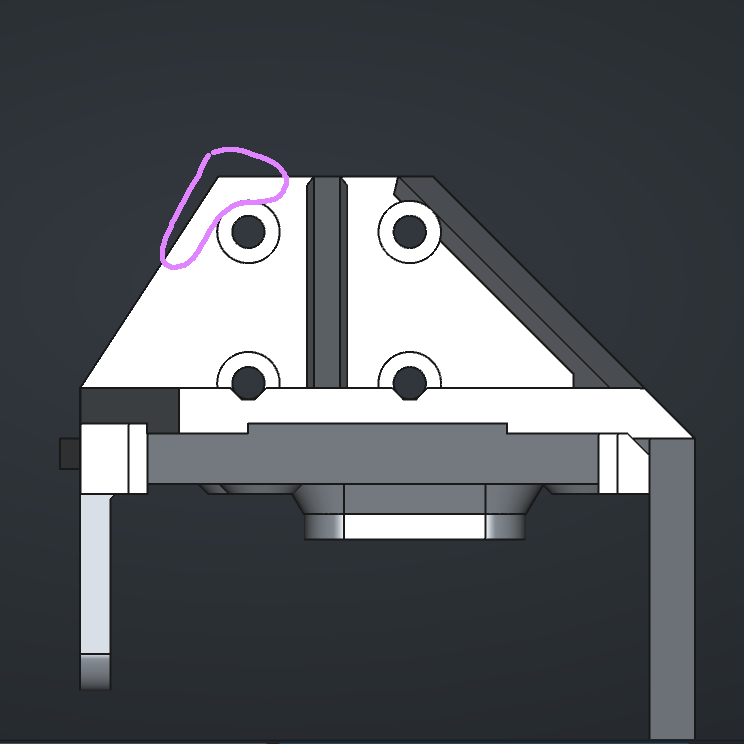
- Plan how to make pockets for rail carriage clearance:
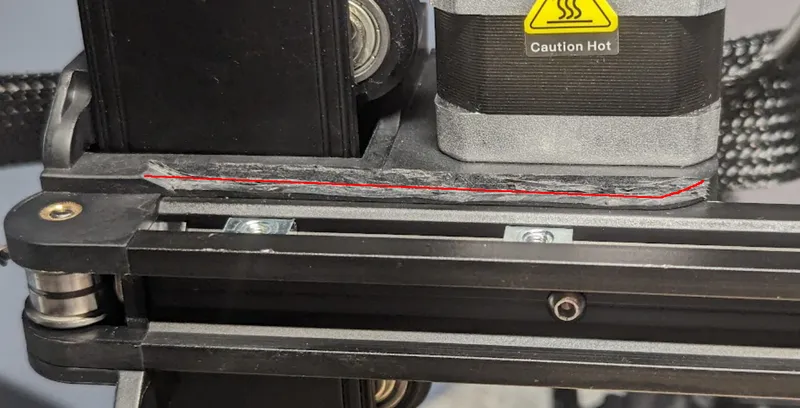
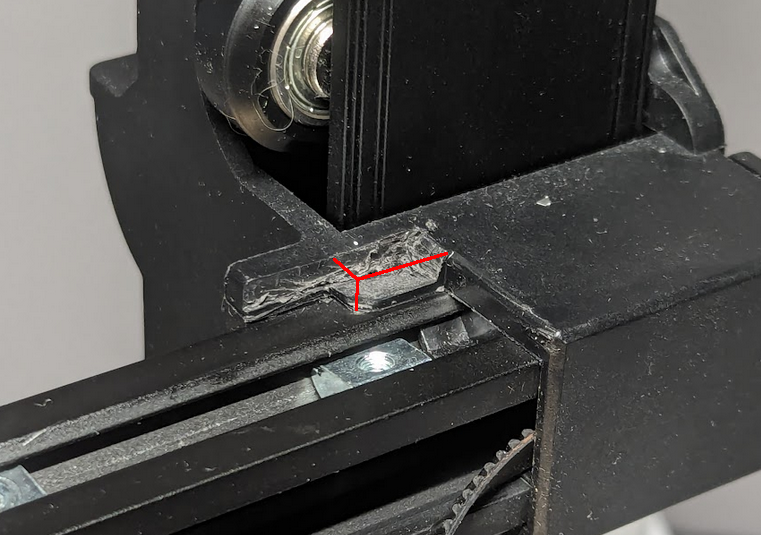
- Make a pockets as marked above using tool of your choice. (V3KE already has castings like this at least on the motor side, so it may happens later SE also has updated part).
- Slot T-nuts into top slot of the X-axis extrusion profile.
- Disassembly and remove tool carriage following Creality directions https://www.youtube.com/watch?v=b81rU2iMNso
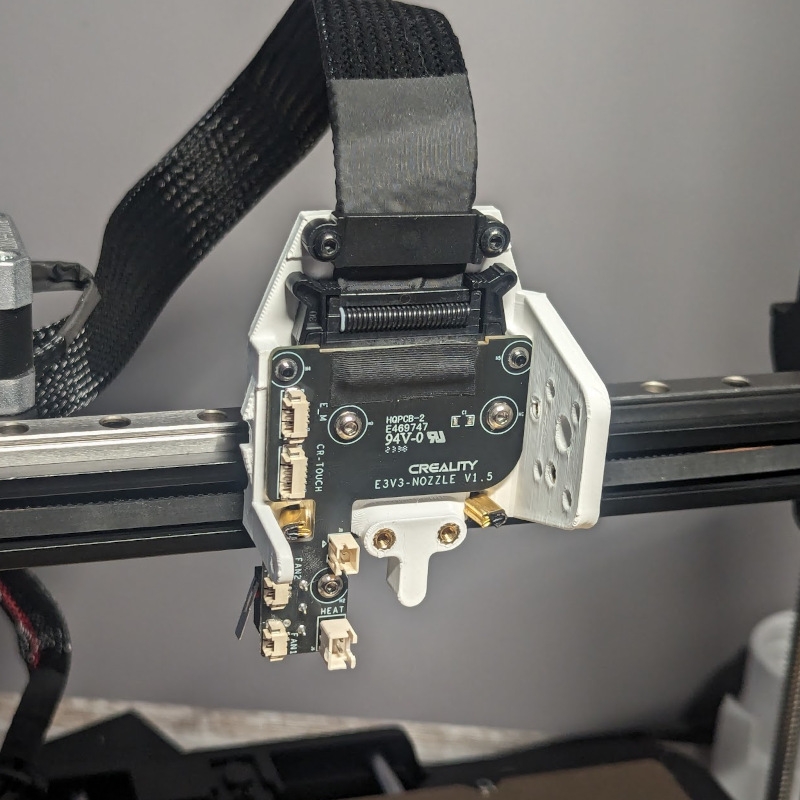
- Remove top plastic part from the PCB
- Put linear rail onto profile. Level it, tighten lightly. Check carriage clearance on the sides. Fix it if carriage meets any resistance. Carriage shall be moving from side to side, leaving ~1mm of unused space on the sides.
- Insert belts into the frame.
- Attach frame into the rail carriage using 4x M3x6 bolt
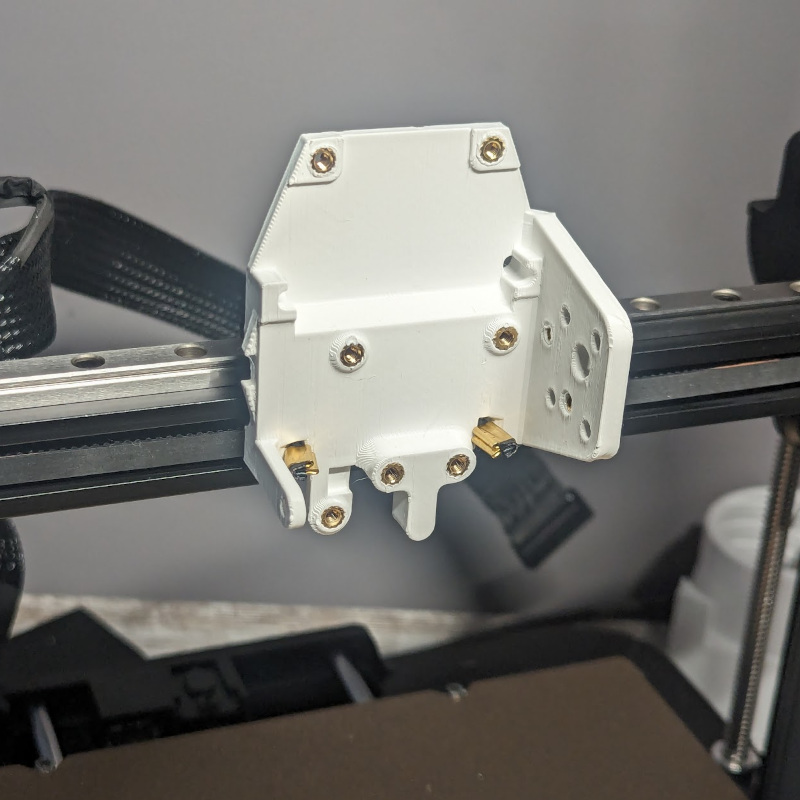
- Assemble tool head in reverse order onto the new frame.
- Check tool head vertical or measure distance between back of the tool head and extrusion profile which has to be 3mm. Loosen the rail and adjust clearance if necessary, tighten the rail back.
- Check tool head clearance moving it by hand. It should be bumping into X axis stop switch on the left, and moving all the way to the vertical profile on the right.
First start:
- Turn on the printer
- Enter “Move” menu, X axis.
- Wait till printer completes homing.
- Slowly move the head to the position X=220 checking the clearance and obstructions.
- Run auto bed leveling if no clearance issues happened.
- You ready to go.
Printing tips:
- Print at 45 degrees like this
- Model has chamfers added to help supports generation. So default ‘snug’ support generates well.
- PETG at least
- At least 3 walls.
Edit 2024-Apr-24.
Add v02 models:
- Slight chages to the model:
- extend extruder shoulder up in order to make it slightly more stable vertically.
- add extra material on a rail shoulder to prevent plastic snap on bolt over torque
- extend extruder shoulder up in order to make it slightly more stable vertically.
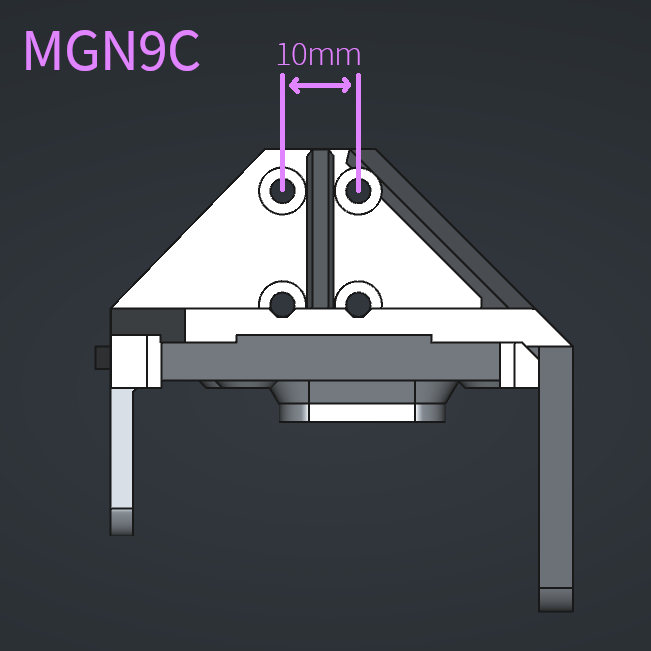
- Add MGN9C variant (short carriage)

Tags
Model origin
The author marked this model as their own original creation.