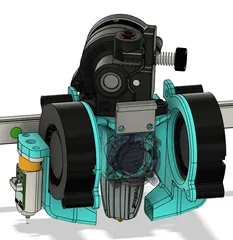
Heat set insert stand v2
Heat set insert stand used for proper embedding of heat inserts perpendicular to the surface of the element
In the contest Ergonomic Workshop Aids
92
103
3
1725
updated November 19, 2024
Description
PDFHeat set insert stand with optional platform.
BOM:
- 2x 8mm linear rods (150mm length)
- 2x linear bearing LM08UU
- 1x spring 0.5mm x 50mm x 5mm (SUGGESTION: order shorter one than me, probably 35mm will be enough)
- heat inserts
- screws and washer
V1
Instruction:
- Insert LM08UU into 3D printed grip
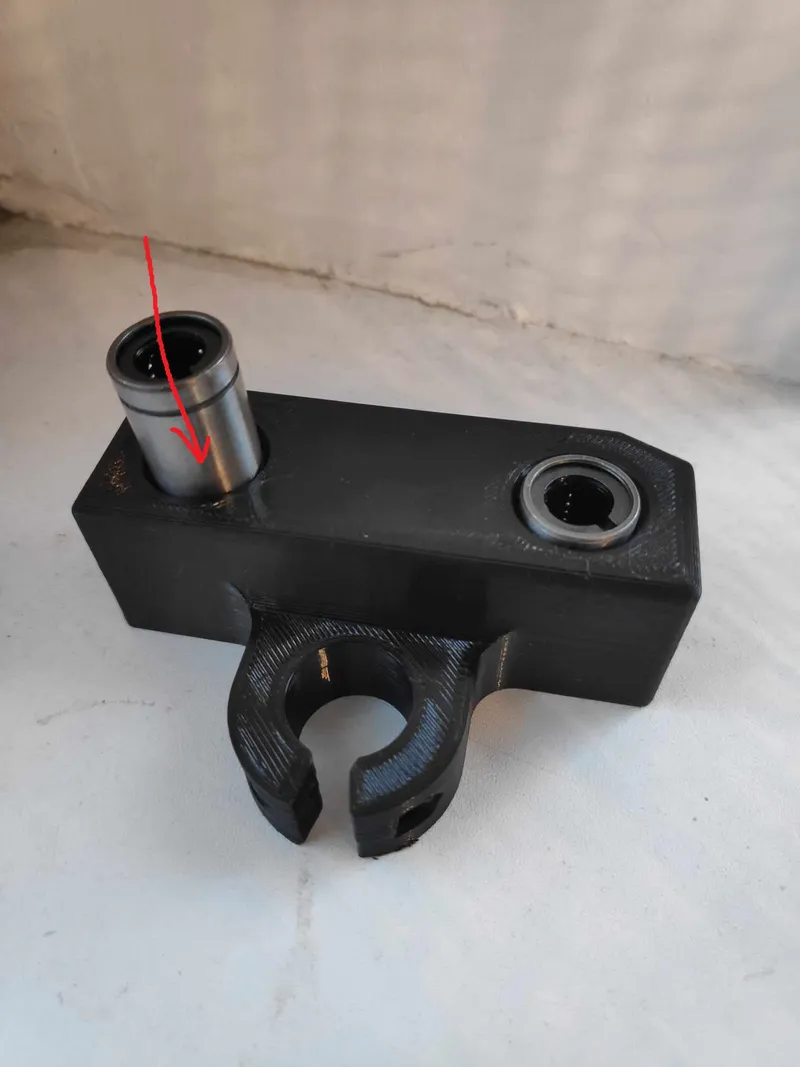
- Insert heat set insert
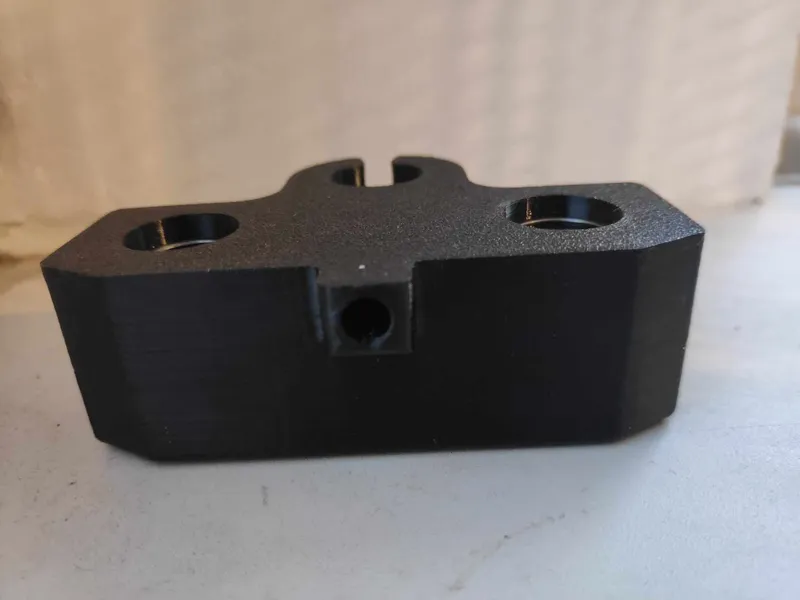
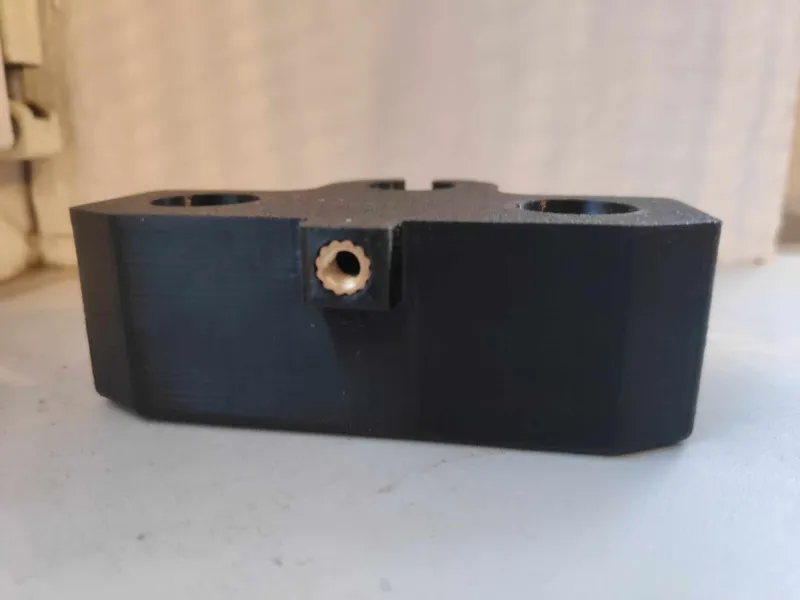
- Put the washer on the screw and then the spring
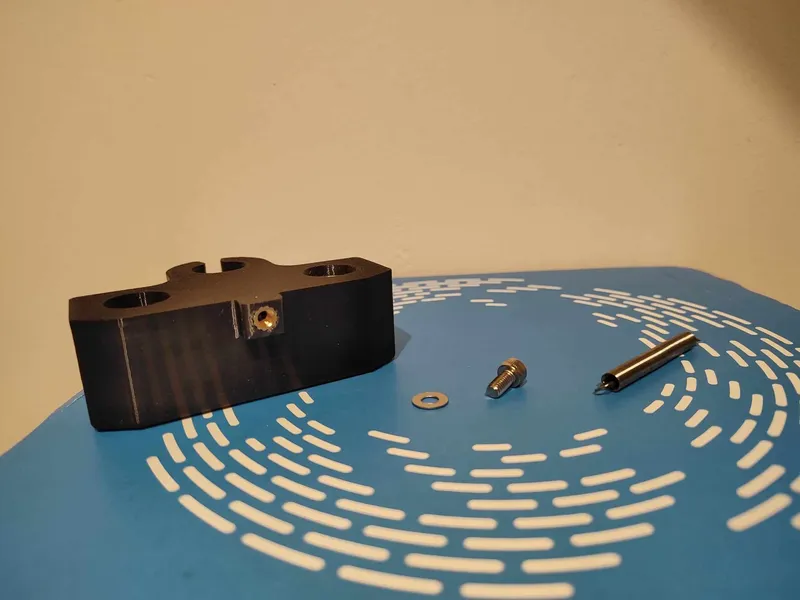
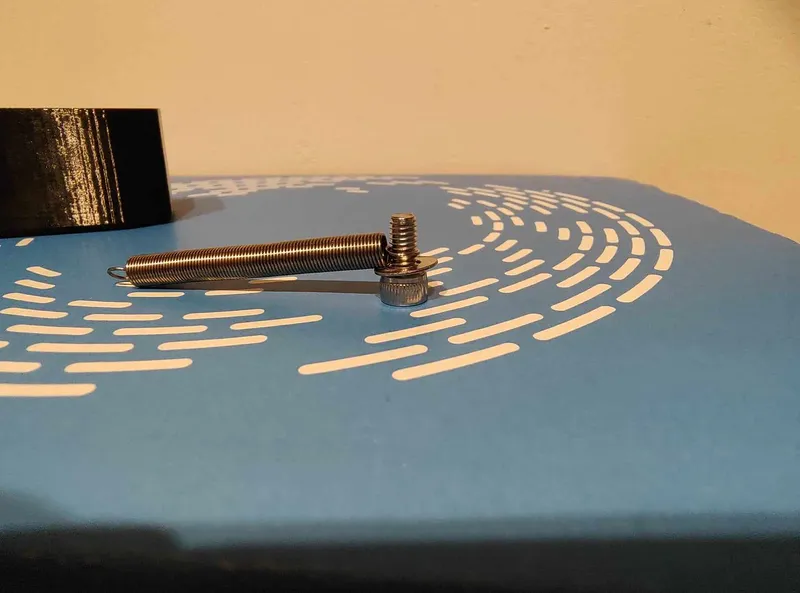
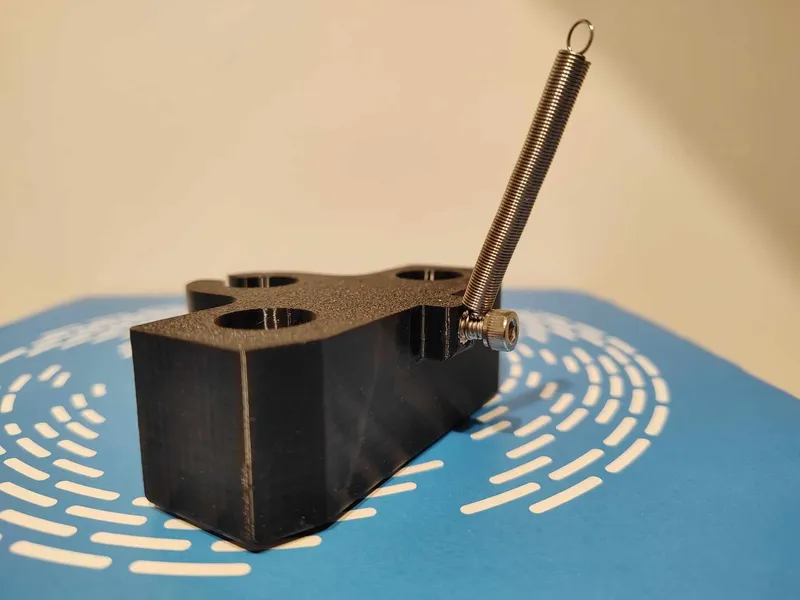
- Insert linear rods through the top of the base, but do not insert them into the lower holes yet. Pass rods through the linear bearings in the grip. Insert linear rods into the lower holes
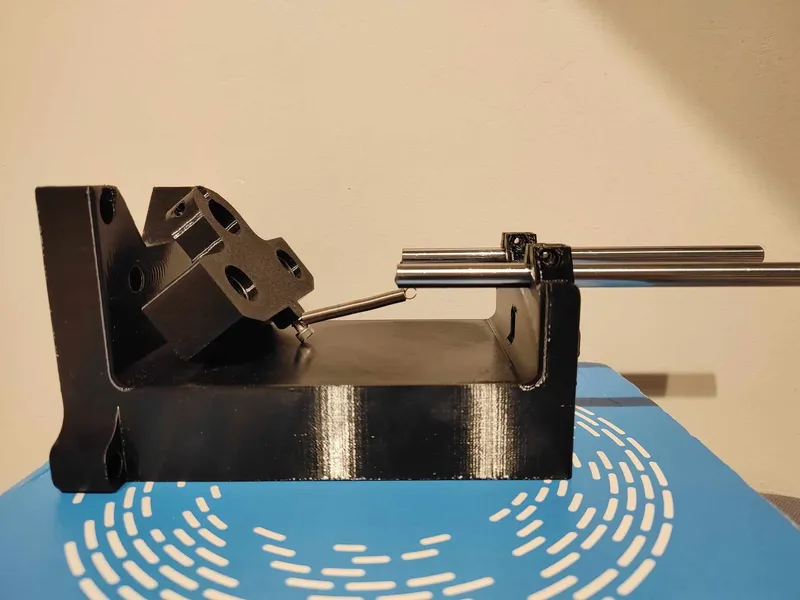
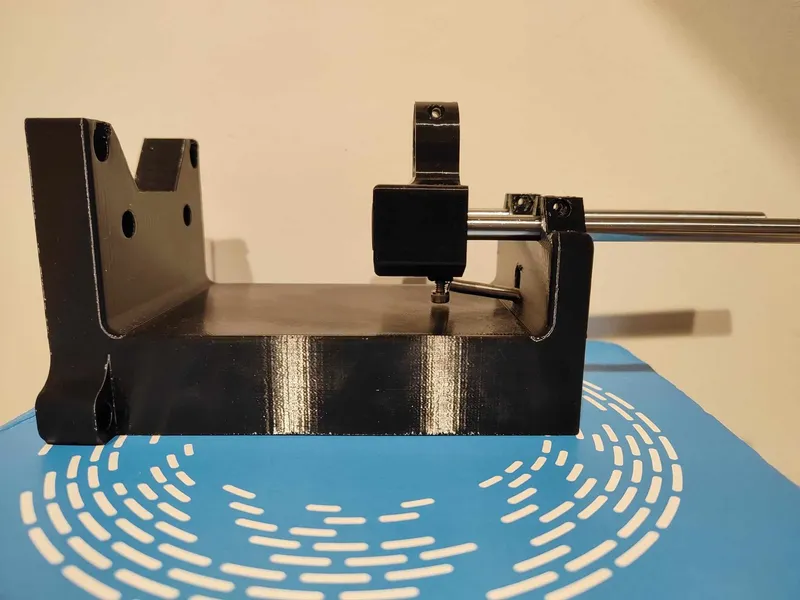
- Insert the spring through the hole at the top. Insert the screw through the hole in the mount at the top, then through the spring eye and screw it into the plastic on the other side
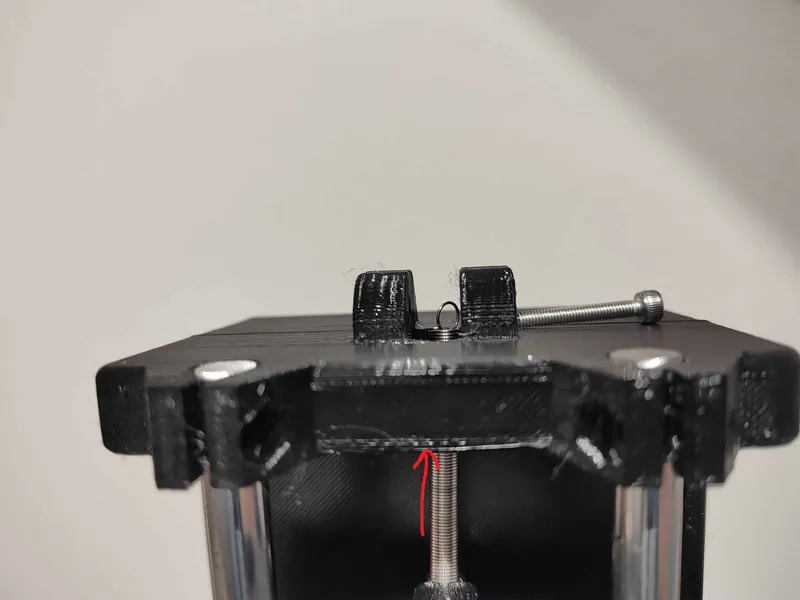
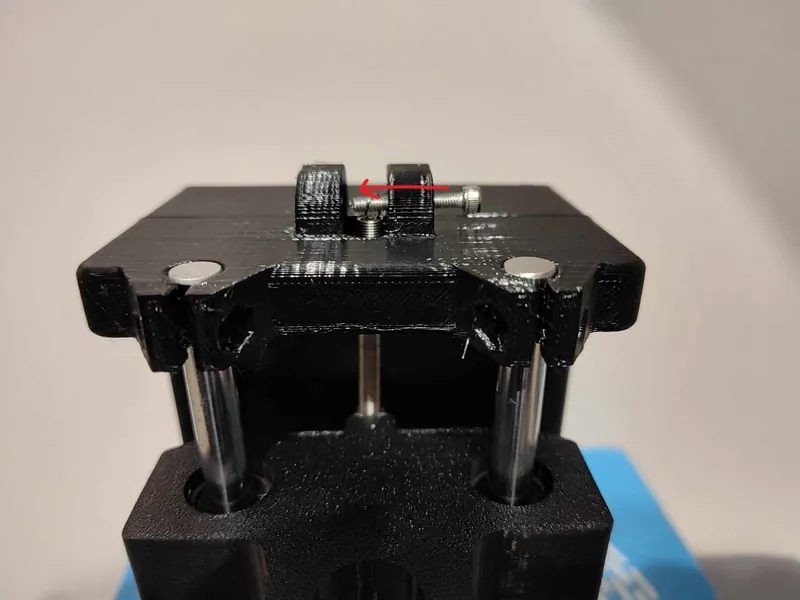
- (Optional) Prepare platform (insert heatset inserts to it) and mount base to platform with screws
V2
Instruction of assembly is very similar.
BOM is almost the same (needed more 2x M4x20 screws and 2x M4 nuts)
Main differences:
- Grip consists of 2 elements, connected with screws (2x M4x20) and nuts (2x M4). It should allow mounting more types of soldering irons.
- V2 base allows it to be used for taller objects, compared to v1
Please follow the print orientation as shown below:

Tags
Model origin
The author marked this model as their own original creation.
