Design Lamp for Lamp kits

Design Lamp for Lamp kits with universal adapter and lamp adapters
88
363
0
2653
updated April 1, 2024
Description
PDFHello everyone,
we designed our own lamp for the the Bambu LED KIT or any Amazon LED Kits (EXAMPLE)
It's inspired by the shape of a light bulb, but made as an abstract version of it.
The lamp itseld consists of 3 seperate parts.
That gives you the possibility to print it in various colours or the colours you desire.
Therefore, no AMS or colour changes are necessary!
The 3mf-File includes two different bases to fit a wide array of LED lights, e.g. to use IKEA LED Lights or any from Amazon/AliExpress etc..
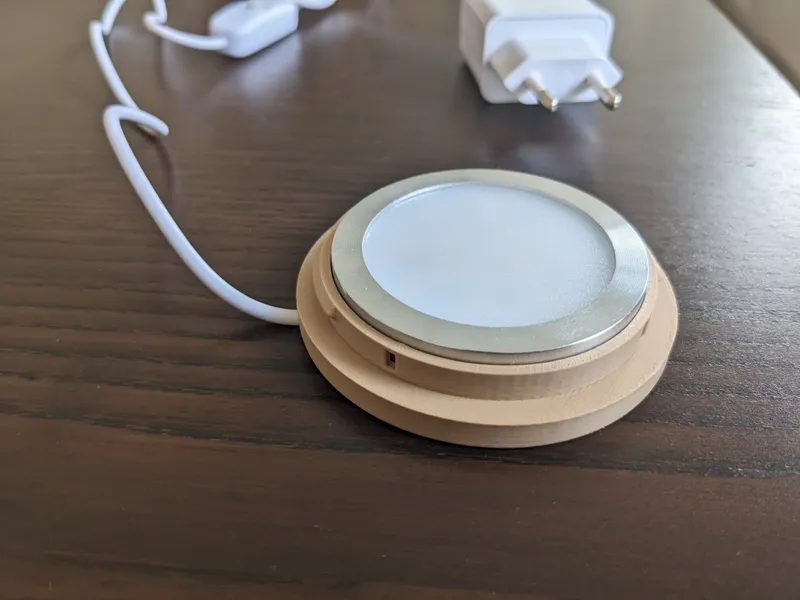
- The first one is for the LED Lamp Kit 001 from the Bambulab website. It has cutouts for an easy assembly.
- The second one is an universal LED adapter to fit other LED lights than the bambu one.
- Both bases are included in the print file. The one with the 4 squared cutouts is for the LED Lamp Kit 001.
Print settings
Lampshade:
- The print profile only has one wall to guarantee enough translucence so the lamp is actually lighting its surrounding as well.
- The stripes are 2-3 walls thick so they have more effect once the light is turned on and appear darker.
- No Vase mode is needed, just the regular settings on our X1C.
- It was printed with Sunlu PLA+ with the generic Bambu Settings.
- No supports needed!
“Threads”:
- Here we used 100% Infill to make in non-shine-through. With 100% infill, no light is going through this part and only the lampshade is illuminated.
- The time for 100% infill is less than 5minutes more than standard settings.
- If you reduce the infill, e.g. to the standard 15%, the inner parts become slightly thinner and the light is shining through them weakly.
This can also look nice/have a nice effect, but we preferred the non-see-through variant. - No supports needed.
Base Adapter:
- The adapter is used the connect the lamp & the LED Lamp Kit.
- No special print settings needed.
- Just use your standard profiles.
- No special requirements regarding the infill necessary as well.
Assembly:
- Print all the respective parts you want to use (Lampshade, Threads and the adapter you want) in the colours you like.
- Place the LED lamp inside the base adapter.
- Assemble the threads and the Lampshade. Both have a fitting indentation so you can position them very well.
If you prefer, you can use a bit of glue. Since the indentations are on the inside, no glue will be seen!
Glue is not necessary since the parts stick to each other as well without it.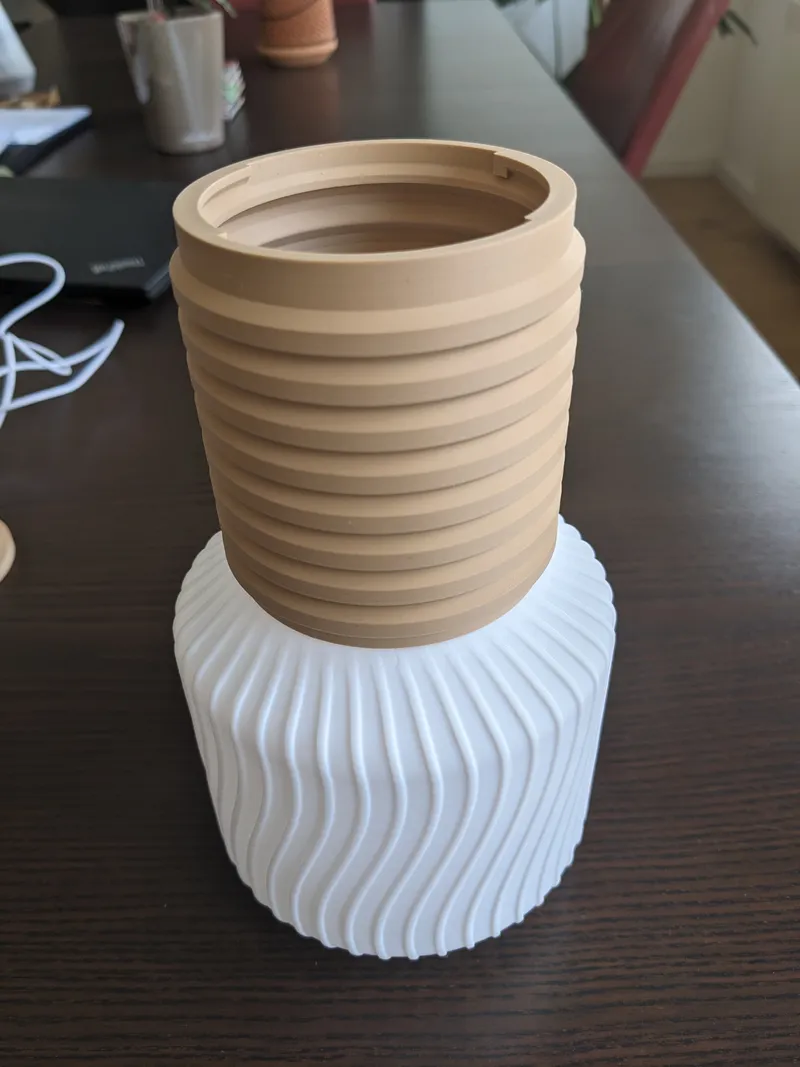
- Screw the assembly group (Lampshade+Threads) onto the base until it locks in.
- Plug it in a suitable adapter and enjoy Your new lamp :)
Tags
Model origin
The author marked this model as their own original creation.


