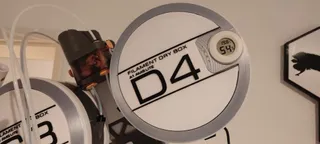
A1 AMS Lite Hexagon Drybox - LED MOD
Description
PDFI modified the AMS Lite for my Ikea Lack enlosure to keep the filament dry.
You can use it in any way you want with minimum space requirement. In my case i added them at the top of an ikea lack enclosure.
These parts are remixes by Prusa Drybox and Drybox Mount.
All drybox are mirrored to simply access it from the front to get out the filament very easily.
The boxes can be snap in to the mount to connect the led power. Furthermore it is very stable if you handle with filament. I remixed them, so you can print these parts very fast.
To disassemble the AMS lite, you have to loosen few screws and pin cables. Look at the bambu lab tutorial here or here. It’s very easy. Dont worry, the AMS will work normally and the RFID antenna, resp. Retraction spring is not needed, because the filament will continue retract normally. It works flawlessly.
You need following parts:
- Touch Dimmer Switch (optional)
- 8x PC4-M10 PTFE Connectors
- 4x DC Mount Power Adapters / Power Jack sockets
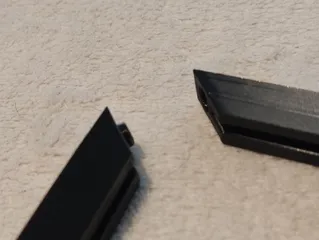
Gently push and/or mount the connectors into the bottom mount. I recommend hot glue or seal it with a 3D Pen, so that the male adapter is firmly fixed.
Optional further parts:
- A spool Holder and fake bearing get it from here.
- I dont recommend a silica container at the bottom, because it‘s awkward. If you want to use extra portion silica gel, i recommend that you fill it directly into the box. Anyway, i used this one inside the spool.
- An AMS Lite tube coupler you can find here.
- Temperature and humidity sensor here.
- And 8x M3x40 screws recommended for the dryboxes.
- PTFE tube
I added a tool to cut the window. I recommend PET foil from a local craft market or just use some bulletproof display glass from your smartphone.
Enjoy the new way of AMS printing!
Tags
Model origin
The author marked this model as their own original creation.


