Great model.
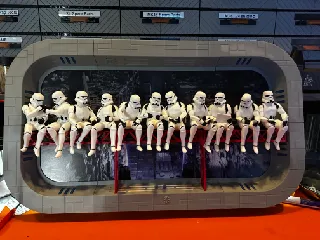
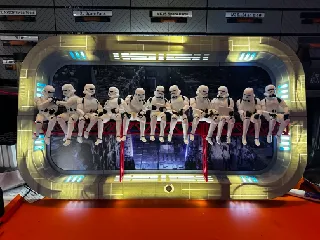
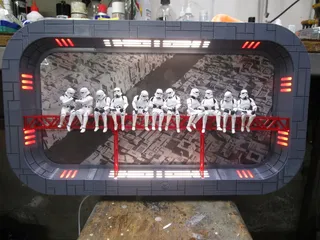
Thanks so much for sharing this 3d file. I was searching for a Star Wars themed frame for a special tribute photo, and knew this was perfect the moment I saw it. Had a lot of fun putting it together with LEDs, great job Felte. My cousin would have loved it.
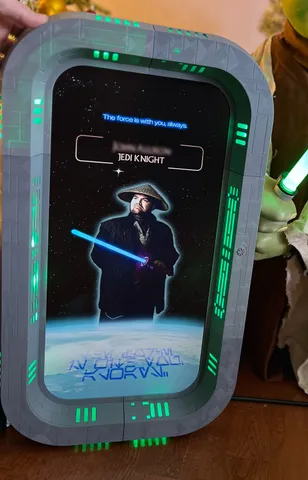
Loved the Model thankyou.
Added a few touches:
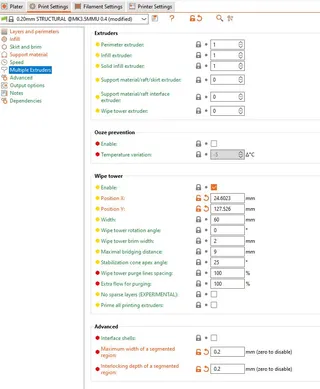
- highlighted the grooves for MMU printing between the panels on the frame using the Slicer Painter (smart fill). I did have to play with the advanced Multiple Extruders in the Print settings (see photo) to limit the depth of black colour intrusion into the grey so as to get a single colour (grey) for the required bridging
- printed at 100% on the Mk3.5/MMU3 which required the straight frame parts to be done 1 at a time and rotated to fit on the plate. Also had to adjust (in slicer) the angle of the bridging to suit as well as some support for the top layer. (see photo)
- designed some mounts for the LED strip lighting which glues to the back of the bezels. Parts are available at https://www.printables.com/model/913846-led-strip-mounts-for-star-wars-wall-diorama
cheers
Barry
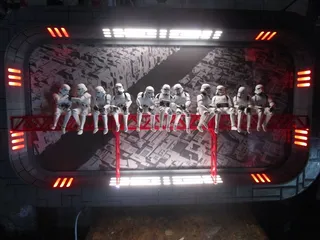
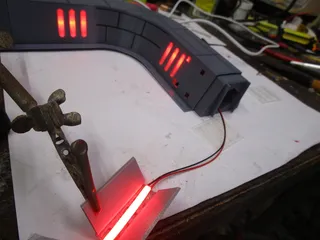
do you have some informations about the installation of LEDs strips, because the frame is closed after printing and i can´t understood how it works...
@Woody78_1648453
Please view my photo with the LED stripe pieces. I use cuttable RGB stripes and solder ca. 10cm long wires between the stripes. Before assembling move in this stripe through all frame parts _and_ connectors_ starting with the lower part. I glue the LED stripes inside the frame as you can see the position on the photo. After that assembling all parts together.
There is enough space in the lower frame part for a LED controller or arduino or whatever you like.
Also you can simply use a complete stripe with only one color. if you don't like to solder. (edited)
Love it, still work in progress. backgrounds need to be printed professional.
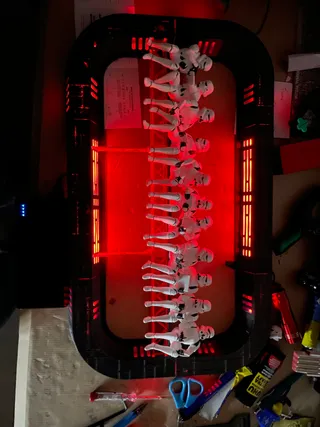
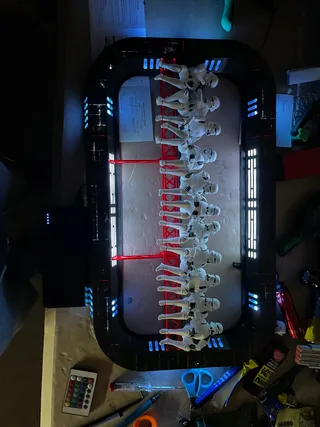
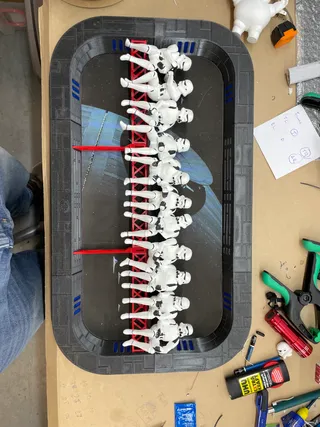
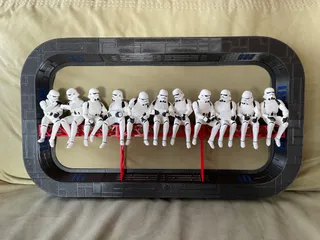
Im in the process of doing this now, got the frame printed out, and printed out 7 Troopers before I seen the advice on making them bigger, :).
I cant seem to get the girders to fit properly, the back ones are ok but the front ones are a wee bit short.
Anyone got in depth pics of how they wired the lights up ?
Great print, will look mega once finnished \m/.
@Anguz_1842523
Yes, its necessary to remove one beam on the rear left and right framework.
I add two new models without this beams. Sorry, you must reprint the 2 models or cut/saw the beams out.
More infos about my lights solution comming soon. Wich stripe and position/wiring.
Love the print! Just a heads up for anyone else making this: If using the pre-colored .3mf from the "Lunch Atop" file you'll need to upscale the troopers. Somewhere around 135% to 140%. Individual .stl files seem to be correct size to fit this model. Otherwise you end up with a lot of dead space or need to print additional troopers to make up which is what I'm doing as there is too much time invested in the multicolor print to just scrap them. Still a great model, LED's are going to be interesting to route. Used Sunlu Gray PLA for frame and a mix of Overture, Sunlu and Eryone for the troopers/girder. Overture Clear and transparent blue PETG for light covers.


@JoeC_833606
thx for the hint to upscale before the coloring. First time, i colored with prusa slicer. ;-)