MK4 Y Axis Overhaul - Reduce Vertical Artifacts on Your Y Axis
Description
PDFScroll Down for Assembly Instructions
Purpose
This set of models is the result of testing to help reduce VFA (Vertical Fine Artifacts) coming from the misalignment of the Y axis belt on the MK4. As originally designed, many of the parts allow for a substantial amount of slop that prevent the belt from aligning properly. Depending on the root cause of your VFA, these new parts can help to greatly reduce your VFA issues.
Printing
All parts are recommended to be printed with PETG or ABS/ASA (preferred). For testing, ABS was used with parts scaled by 100.3% in the XY axis to compensate for shrinkage.
Print Settings - Start with STRUCTURAL preset
- 4 Perimeters
- 40% Infill
- 5 Solid Top Layers
- 5 Solid Bottom Layers
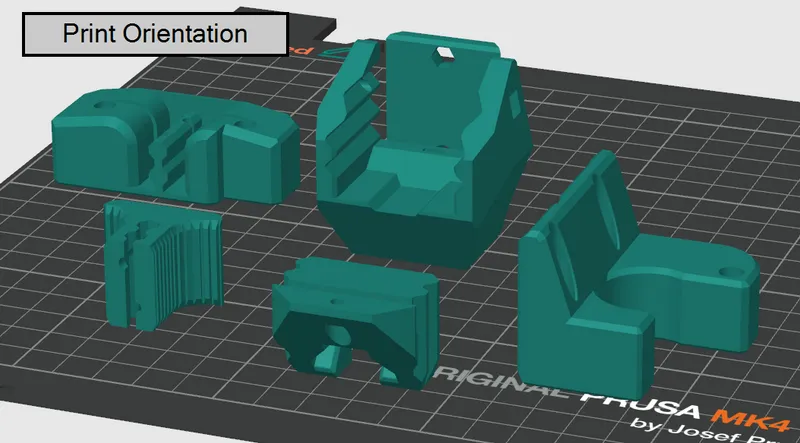
Print orientation is critical for some parts and is shown below:
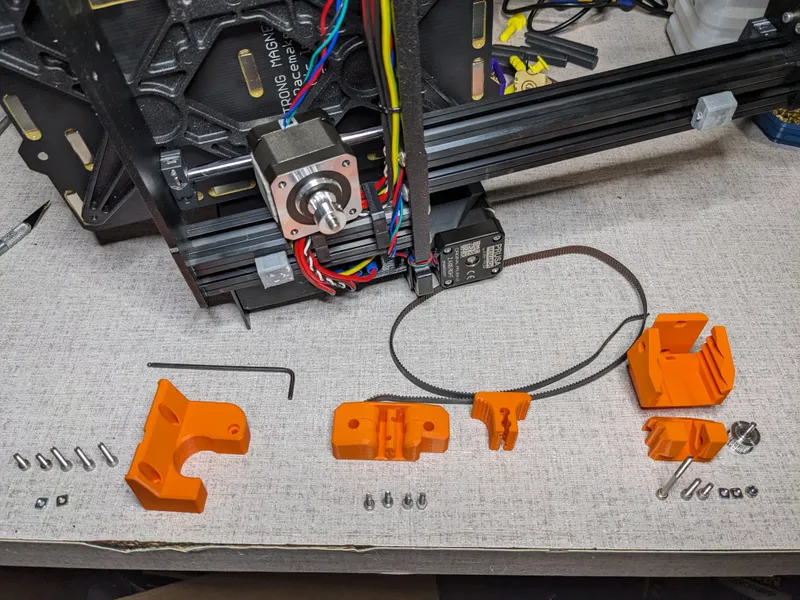
Assembly
Remove the stock Y Axis belt mounts from the frame and bed and keep all hardware. All hardware will be reused for the new parts.
Additional Hardware:
The parts here mostly use hardware that was already in use for the Y Axis, but there are a few extra pieces you will need.
- 1x - M3x16 to M3x20 Screw (In MK4 Kit Spares)
- 1x - 20 Tooth Genine Gates Idler, 6mm belt width and 3mm bore diameter (Link below)
- (Optional but HIGHLY recommended) 1x - 16 Tooth Genuine Gates Pulley, 6mm belt width (Link below)
For the idler, you will need a toothed genuine Gates idler to replace the smooth idler that came with the MK4. I used the idler from Filistruder linked below but any genuine Gates toothed idler with the correct dimensions will work:
Idler dimensions:
6mm belt width, 3mm bore diameter, 20 teeth
https://www.filastruder.com/collections/hardware/products/gates-2gt-idler?variant=32673878442055
While ordering an idler, I recommend grabbing a genuine Gates 16 tooth motor pulley as well to ensure that your current pulley is not the issue. I personally had one MK4 with a wobbly pulley and have heard from others that it is a semi-common problem. I've linked the one I used below, but it is a standard 16 tooth pulley for 6mm belt width.
https://www.filastruder.com/collections/hardware/products/gates-2gt-pulley
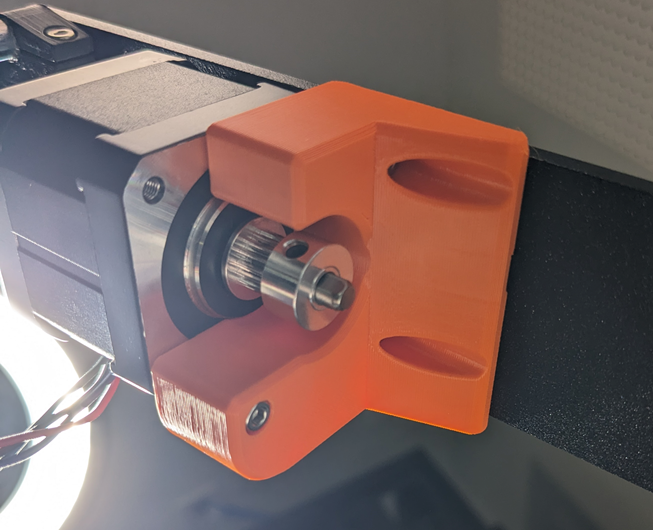
Motor Mount
Install the motor mount first using the same hardware and procedure as the stock mount.
If you ordered a new motor pulley, go ahead and replace it while you have the motor off its mount.
Belt Retainer
Slide the belt retainer clip partially into place until around half of the belt's channel is showing.
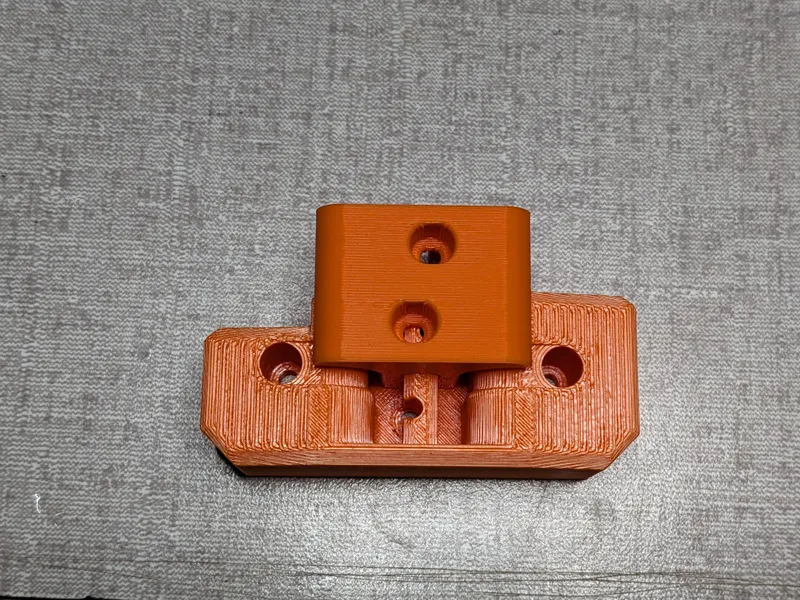
While holding the clip in place, work the belt into the channel while lining the teeth up with the clip. Make sure than the belt is all the way to the bottom of the retainer and use an allen key to ensure the belt is fully in the channel.
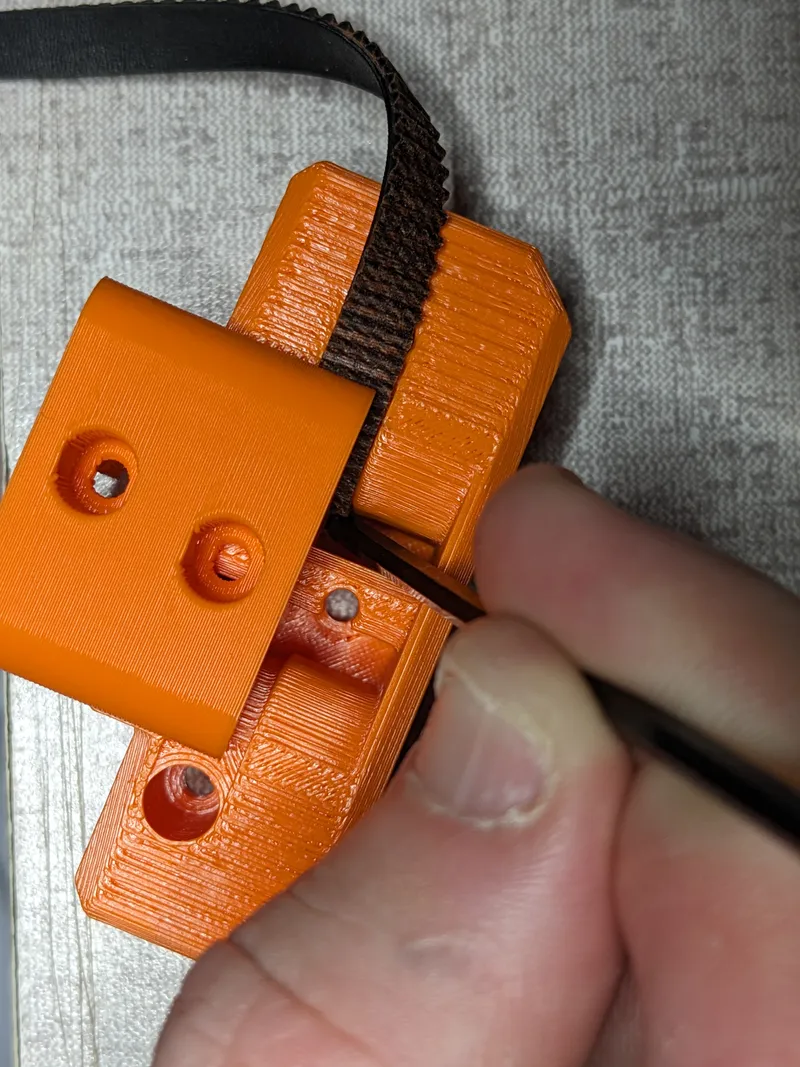
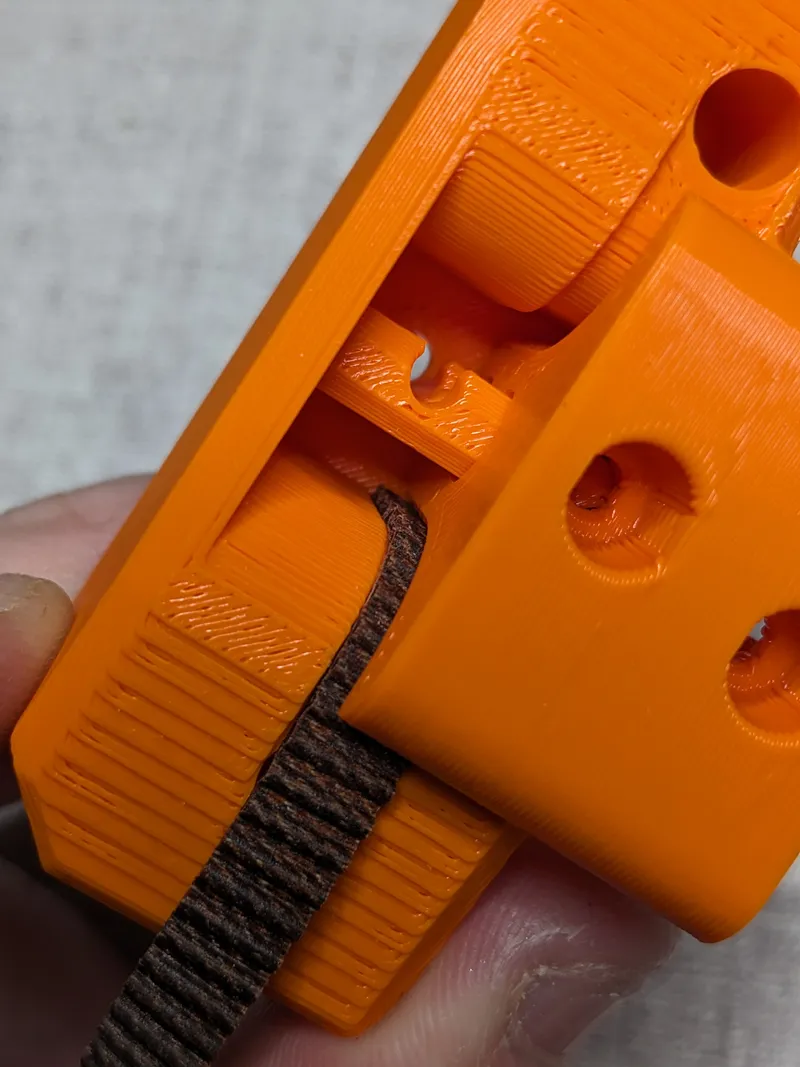
Repeat the process with the other side, ensuring the belt is not twisted.
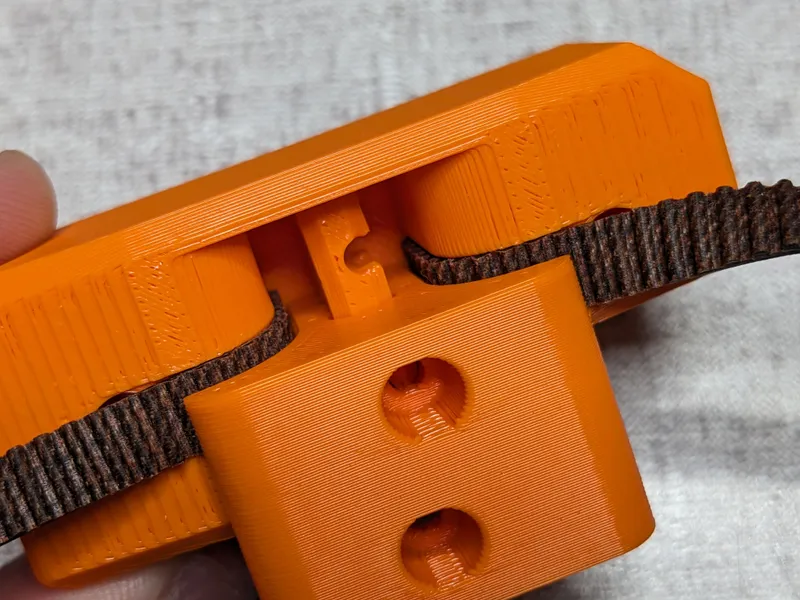
Slide the clip all the way in place and tighten two M3x10 screws to hold the clip in place.
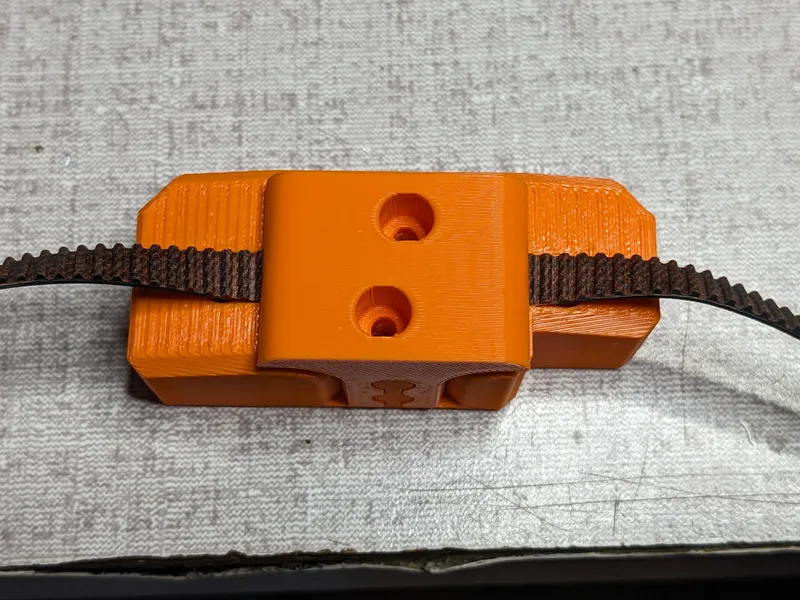
Insert two more M3x10 screws into the holes underneath the belt and ensure they can be spun freely.

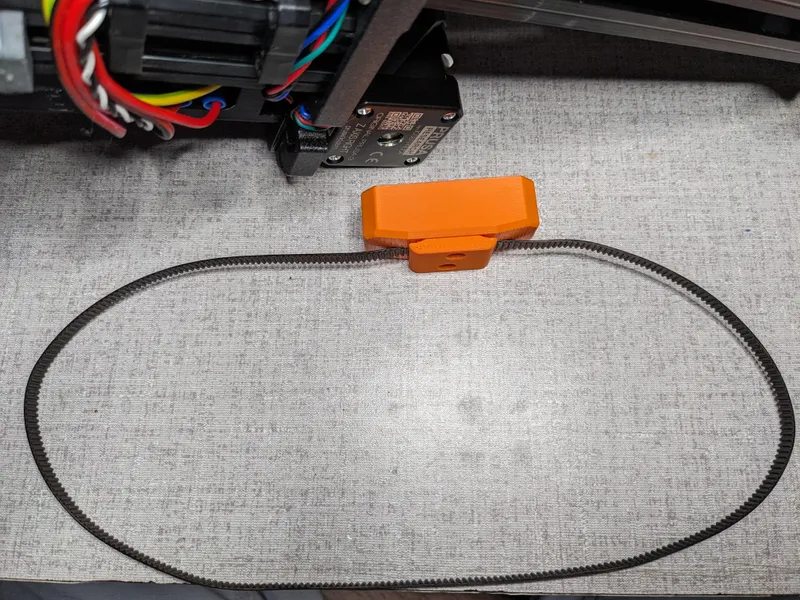
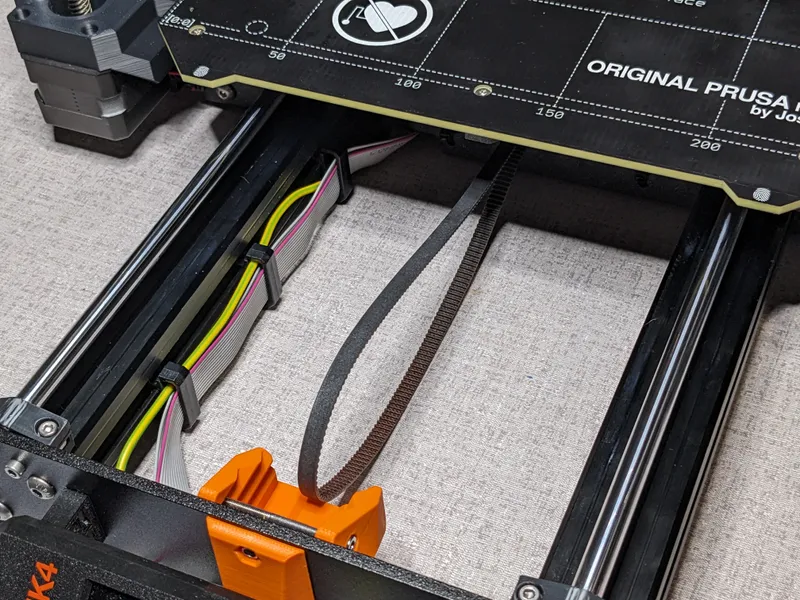
Secure the assembly to the bed with the notched side facing the motor and loop the belt around the motor pulley leaving the other end loose for now.
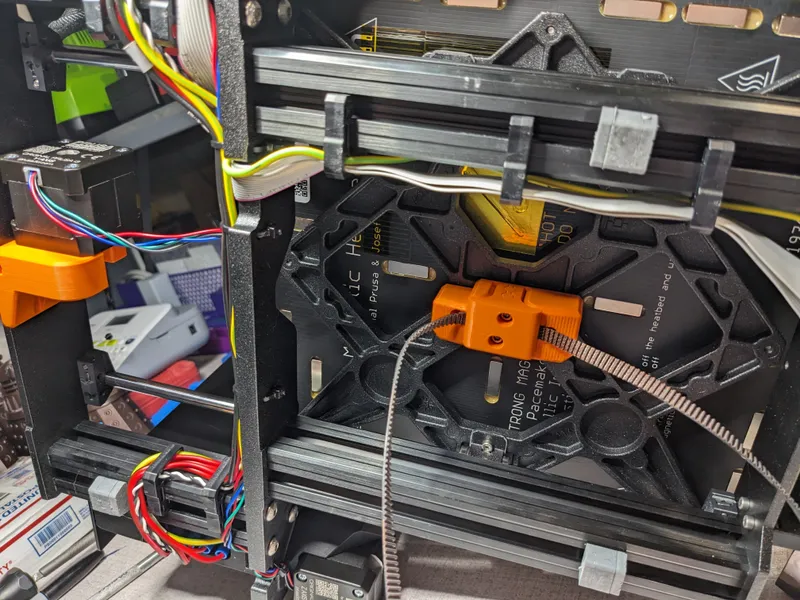

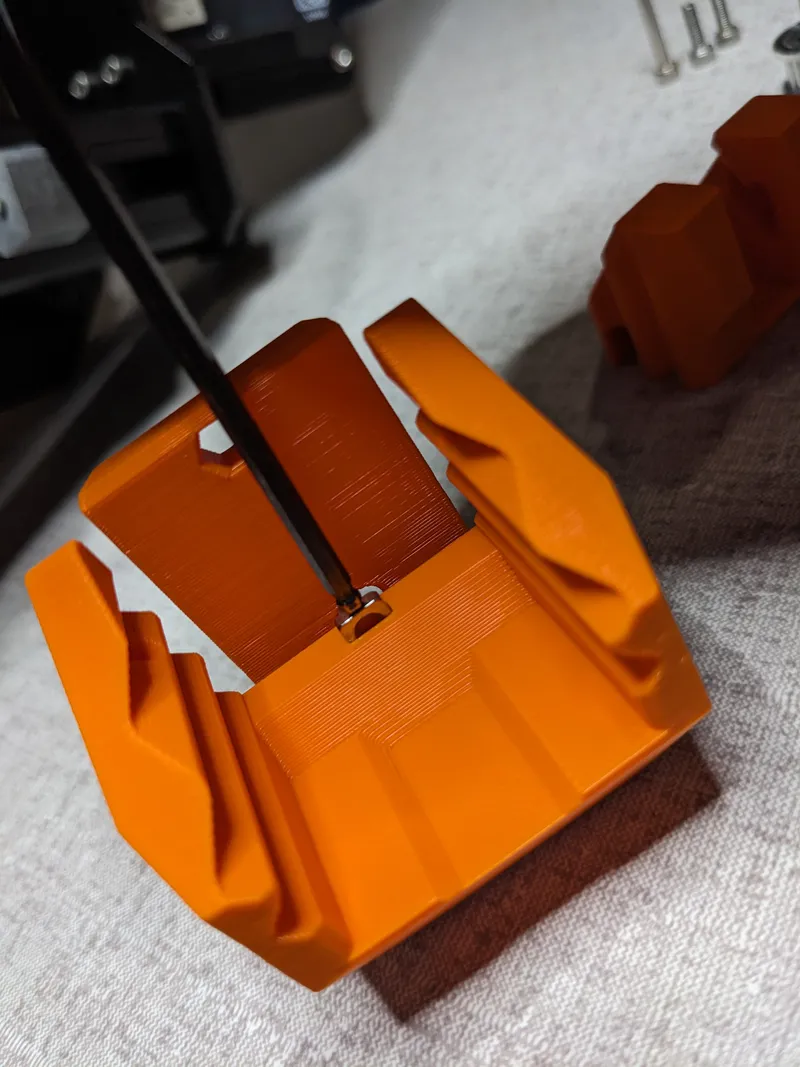
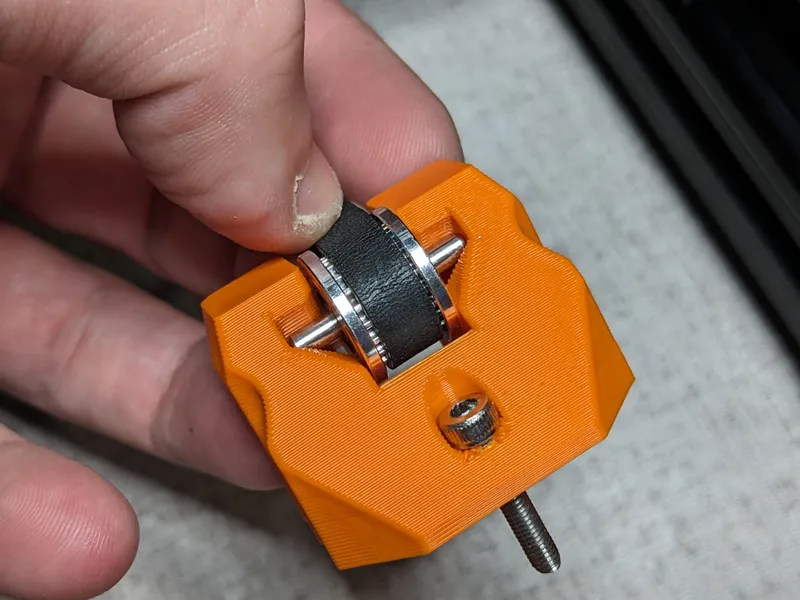
Idler Mount
Insert a square nut into the bottom mounting hole and ensure it is aligned properly.
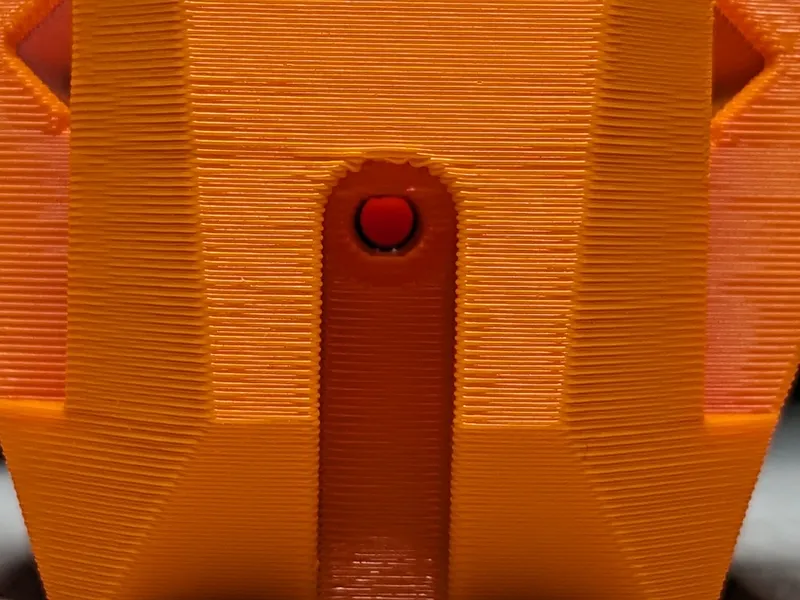
Insert the long M3 screw from the under-bed stock mounts into another square nut as shown below. Do not tighten as this will be used to lock down the tensioning block later.
Insert a nylon M3 nut into the hole shown below and try to get it as close to flush as possible. The nylon side should be facing away from the rest of the part.
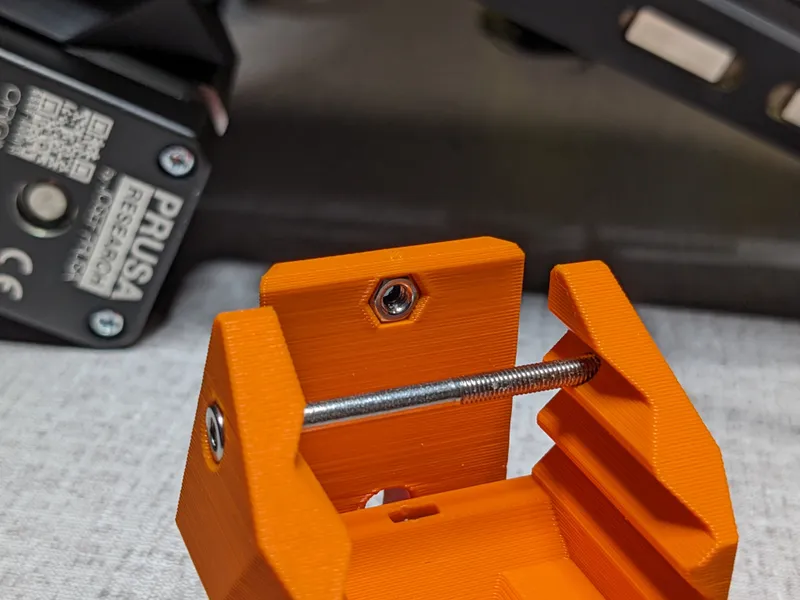
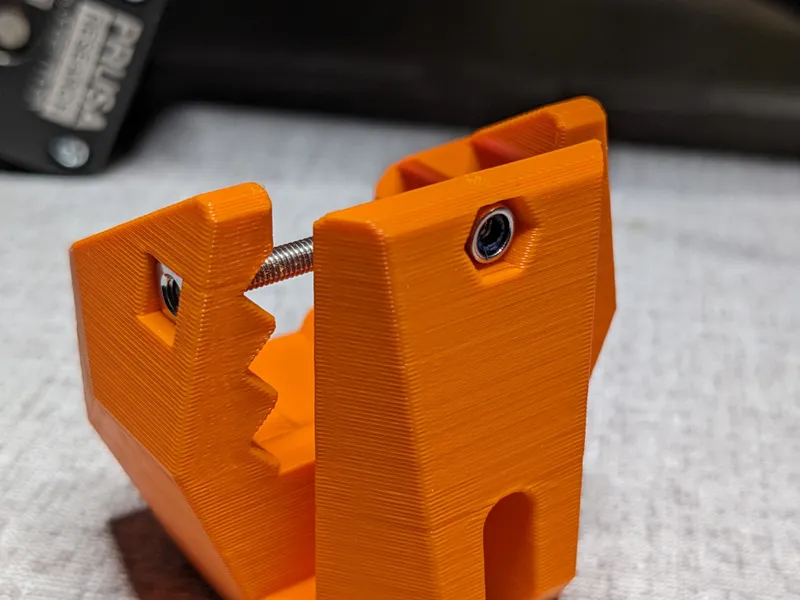
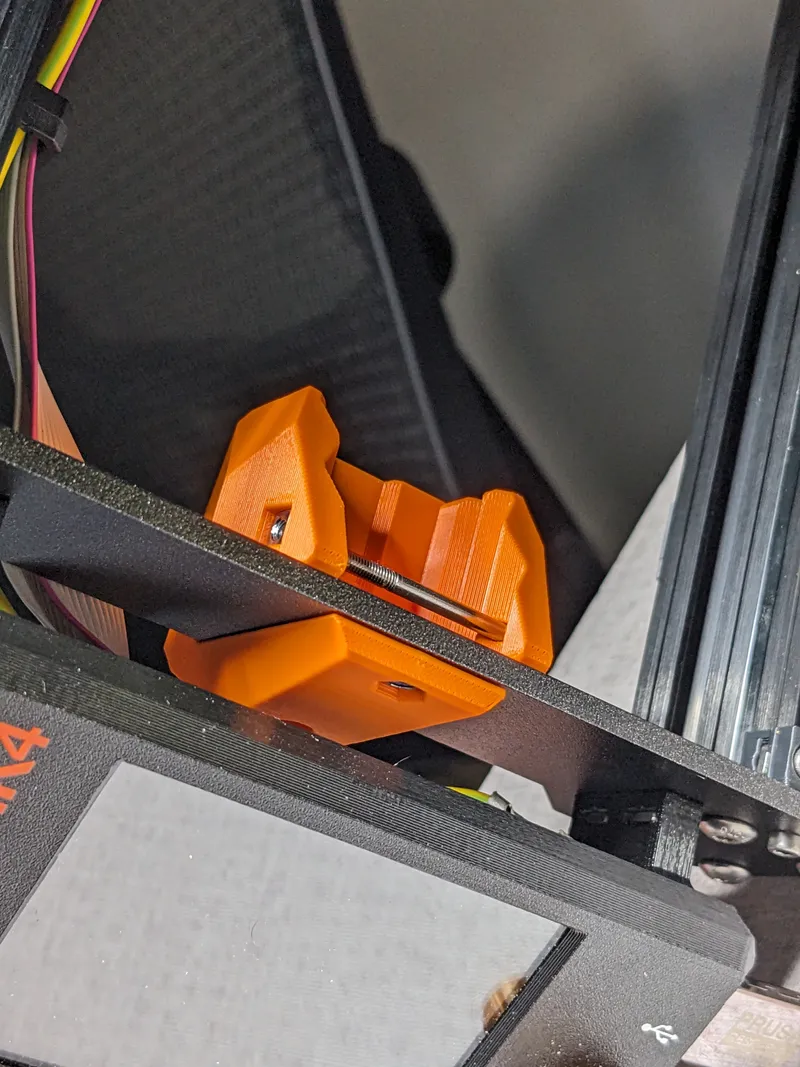
Slide the idler mount onto the frame from below and secure with a single M3x10 screw. You should be able to do this without removing the LCD, but it is tight.

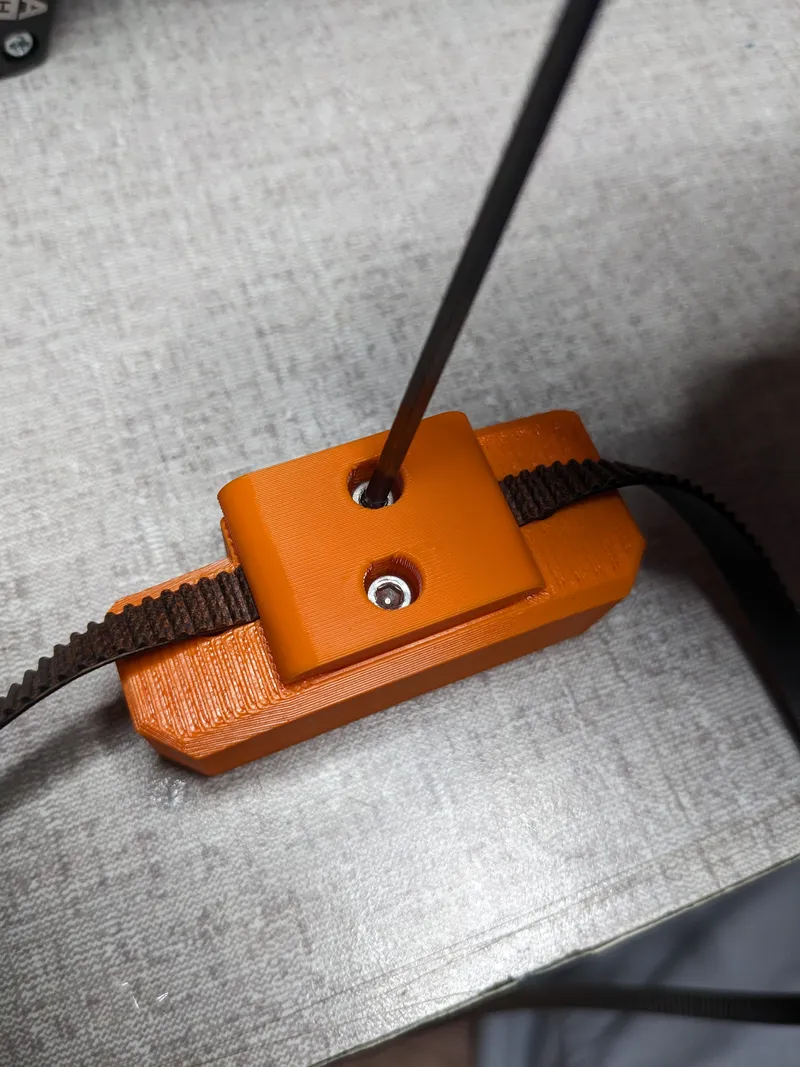
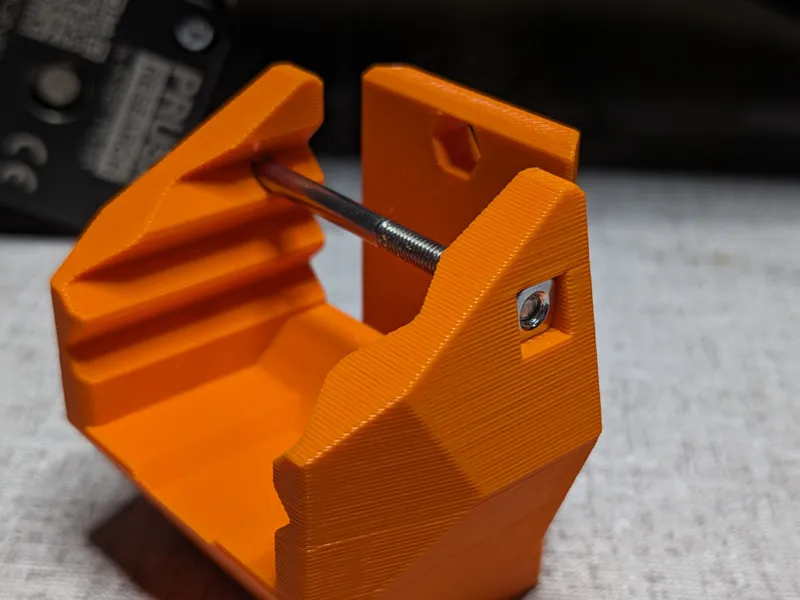
Insert the M3x16 to M3x20 screw into the tensioning block and ensure it is fully bottomed out against the block.

Loop the belt around the idler and idler pin and insert into the tensioning block
Slide the tensioning block into the idler mount until the M3x12 can be screwed into the nylon nut.
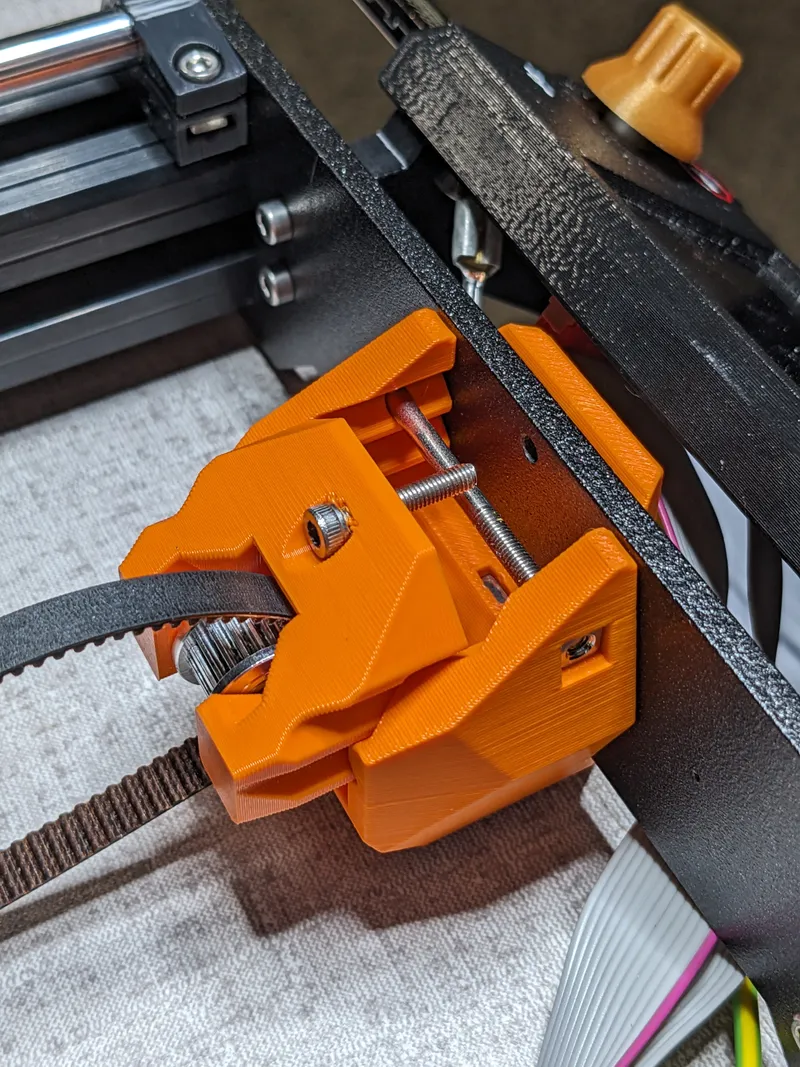
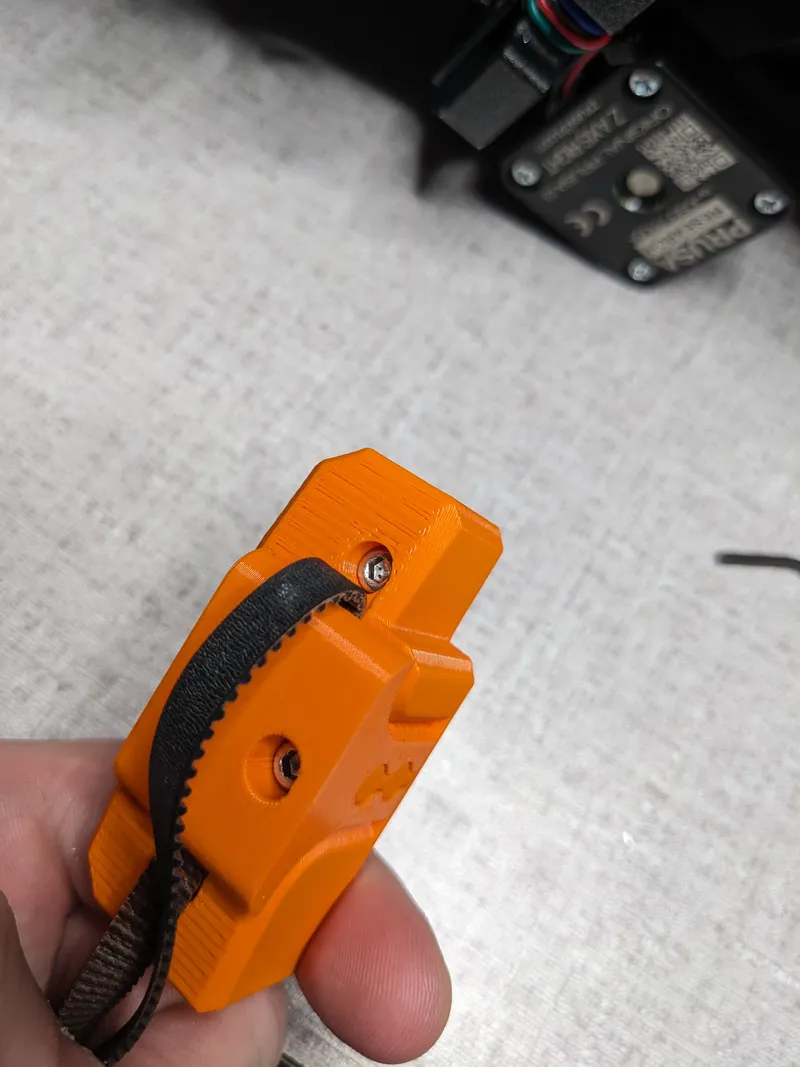
Tighten the tensioning screw to increase tension as desired and lock the tension block in place by tightening the M3x40 screw against the sides of the block.
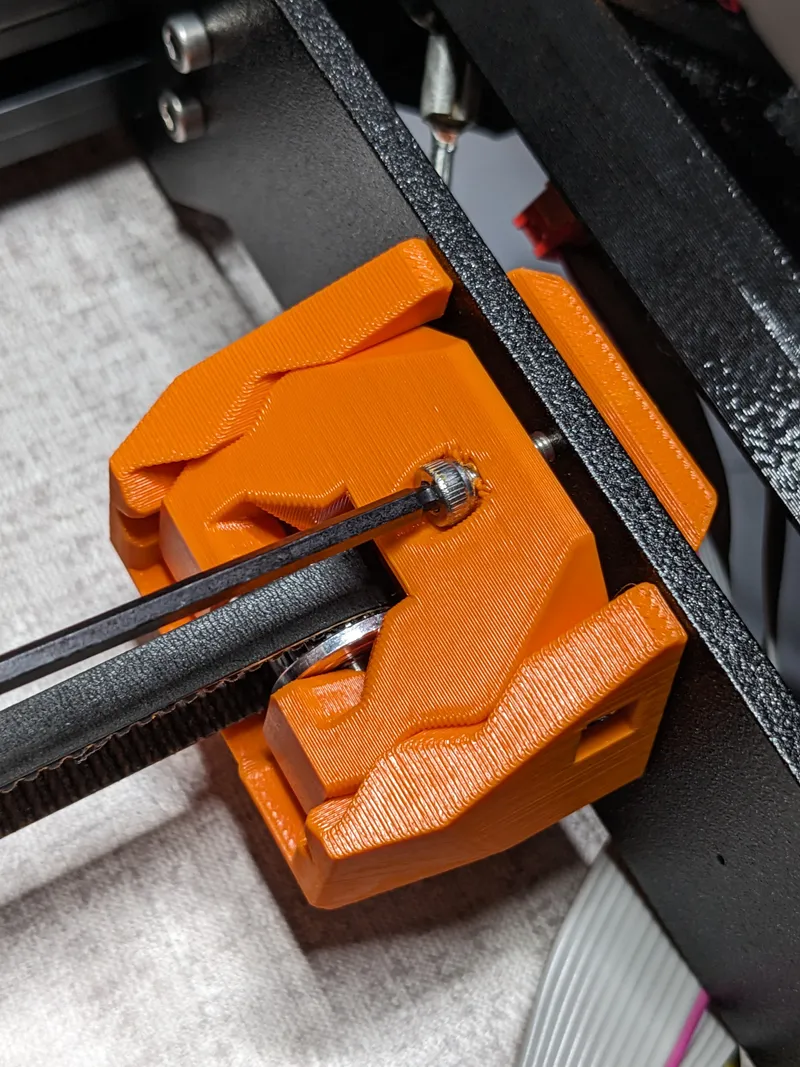
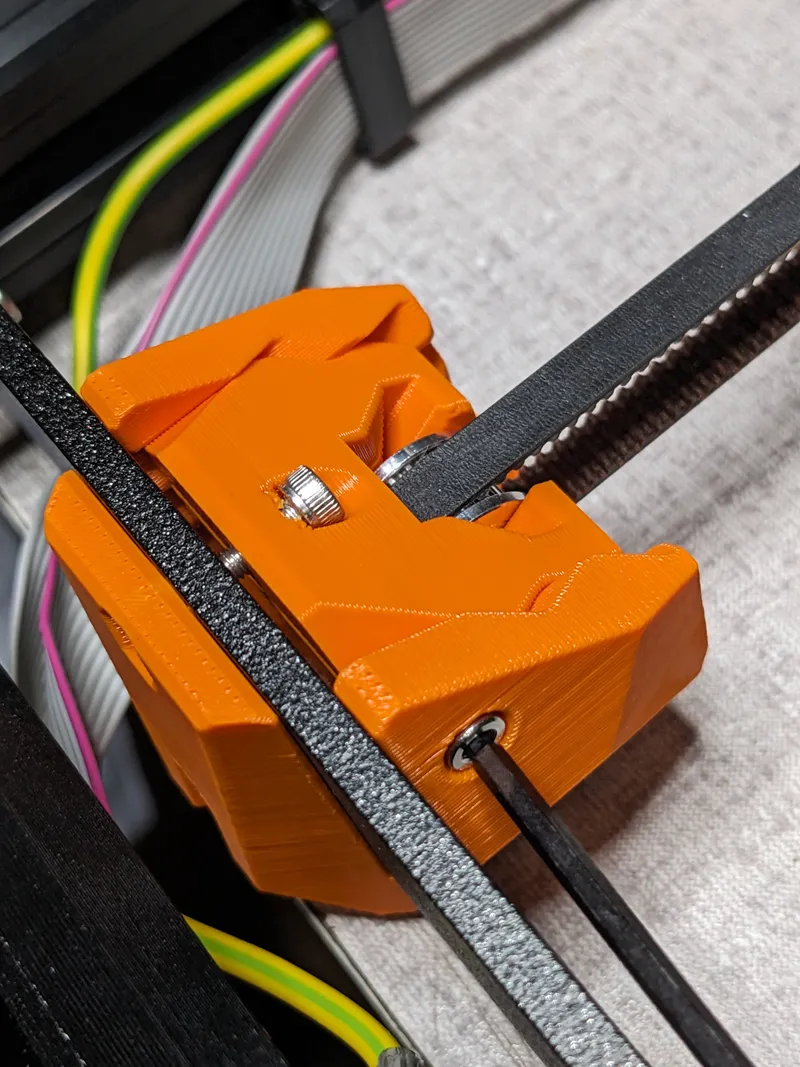
To adjust tension, loosen the side screw and adjust the tensioning screw as needed.
Feedback
This is an early design and may have issues with some printers is dimensions of any part were changed.
A large number of VFA issues are caused by an out-of-square motor pulley and this system will do nothing to correct this. On one of my MK4's this pulley had to be replaced to get reduce VFA.
Don't expect to completely remove VFA with this system as any belt driven system will have some amount of artifacts from the belts. This should be used to reduce the VFA to an acceptable level. I highly recommend printing tests at various speeds to find the best speed to reduce VFA for your printer.
Be aware that parts have not been fully tested in PETG since I exclusively use PLA and ABS/ASA at the moment for most prints.
Okay….But How Does it Work?
The new design works by tackling the issues than can result in misalignment at all three points of contact the Y belt has with the printer: the motor mount, the idler mount, and the under-bed mounts.
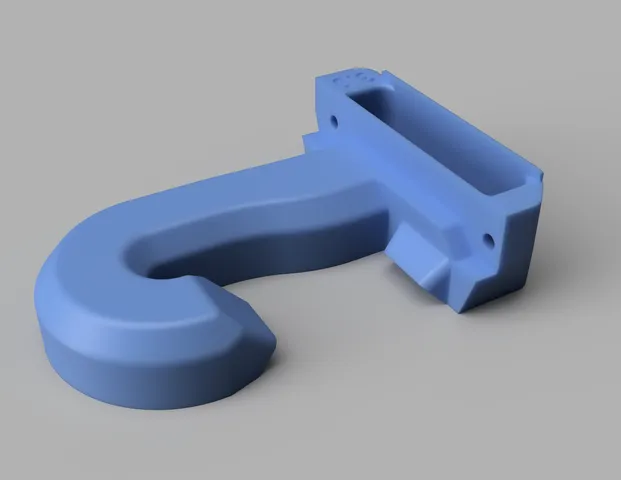
Motor Mount
The stock motor mount lacks any way to ensure that the motor shaft is parallel to the frame it is mounted on. If you loosen the mount slightly, you'll notice than it can rotate a considerable amount. On top of this, the cooling pad can press against the side of the motor hard enough to cause it to be slightly angled away from the frame.
The redesigned mount fixes these issues by allowing for more clearance for the cooling pad, adding a large counter-force block to make the connection to the frame more rigid, and adding alignment tabs to the top and bottom of the mount to ensure the motor is aligned to the frame correctly. Additionally, the part has been made more printable for high warp filaments like ABS by reducing the number of sharp corners throughout the part.
Idler Mount
The stock idler mount has the same issues as the motor mount. It lacks any way for the user to properly align the idler to the frame during installation. It also uses a smooth idler instead of a toothed idler, contributing greatly to VFA as the belt is forced to conform to a smooth surface with its teeth.
The redesigned part adds a significant amount of rigidity in order to move the function of tensioning to the idler mount. Like the new motor mount, the new idler mount aligns off of the bottom of the frame to ensure the idler is parallel to the ground. Tensioning force is now applied directly behind the idler in line with the belt's own tension and can be adjusted very easily with the bed to the rear. In addition, a clamping force is used to lock the tensioning system into place once the ideal tension is reached.
Under-Bed Mounts
The stock under bed mounts have issues with alignment of the belt for a number of reasons. Since the belt is simply pressed into them, there is no guaranty than the belt is at the correct depth in the mount to ensure alignment. Additionally, the tensioner screw is not in line with the axis of belt tension, causing a rotational force to be applied to the mounts as the belt is tensioned.
This under-bed mount has been entirely replaced with a new design that holds the belt perfectly aligned via a channel in the part. The screw holes are slightly smaller to remove any slack in the system as well.
Tags
Model origin
The author remixed this model.

Differences of the remix compared to the original
The Y Motor mount here is based on the original STEP for the Y Motor Mount but rebuilt with added rigidity and slightly modified dimensions to the frame.
All other parts are entirely designed from scratch.