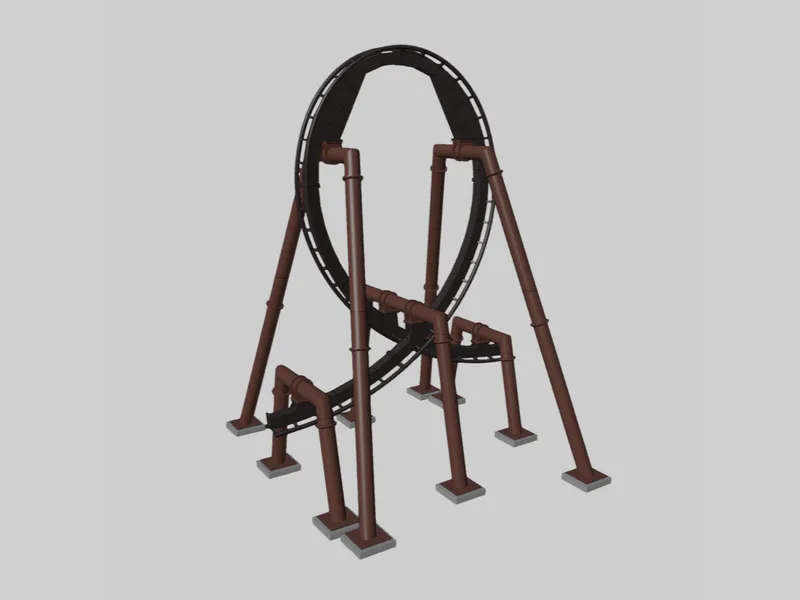
Roller Coaster - Inverted Loop 1:64

Description
PDFType: B&M Inverted Coaster
Scale: 1:64
Size: ~ 27 cm x 26 cm x 34 cm
Printer: Original Prusa i3 MK3S+
Settings: 0.2 mm / 30%
Filament: 356 g (Footers: 43 g, Supports: 196 g, Track: 117 g)
Print Time: 44:31 h (Footers: 3:12 h, Supports: 22:09 h, Track: 19:10 h)
Difficulty: Medium
Instructions
I recommend using 1.0 mm wire to assemble the track. This makes the track more stable and easier to assemble. But it also works without wire.
Attention: Some of the individual parts are almost identical. But it is important to put them together in the correct order.
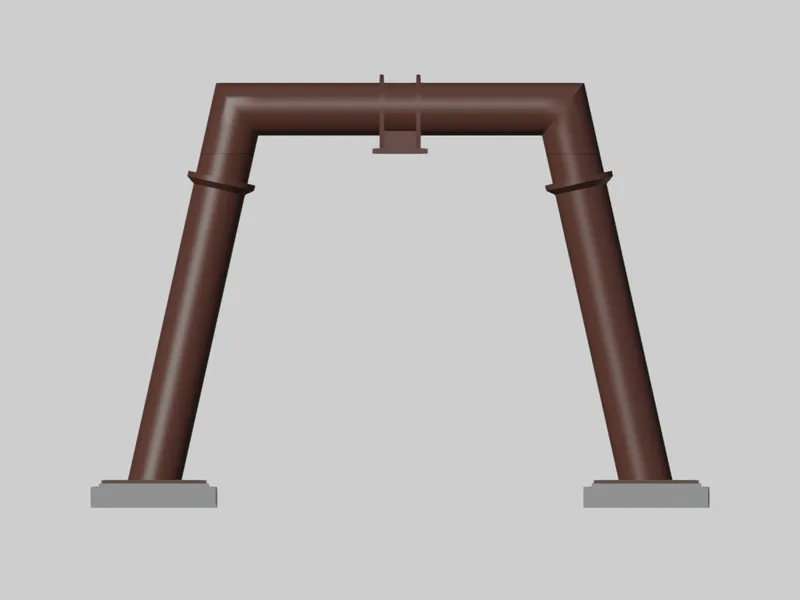
Support 01
Print all the required parts and assemble them as shown in the picture. Use the connectors and glue to assemble the individual parts. You will need this support twice for the loop.
You need:
- 2 x Footer
- 4 x Connector
- 2 x S01-01
- 1 x S01-02
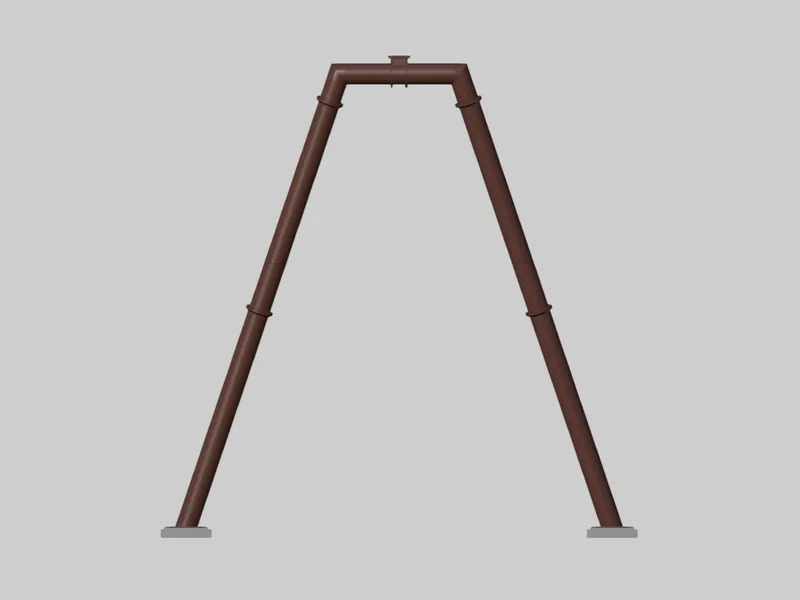
Support 02
Print all the required parts and assemble them as shown in the picture. Use the connectors and glue to assemble the individual parts.
You need:
- 2 x Footer
- 4 x Connector
- 2 x S02-01
- 1 x S02-02

Support 03
Print all the required parts and assemble them as shown in the picture. Use the connectors and glue to assemble the individual parts. You will need this support twice for the loop.
You need:
- 2 x Footer
- 4 x Connector
- 1 x S03-01
- 1 x S03-02
- 1 x S03-03
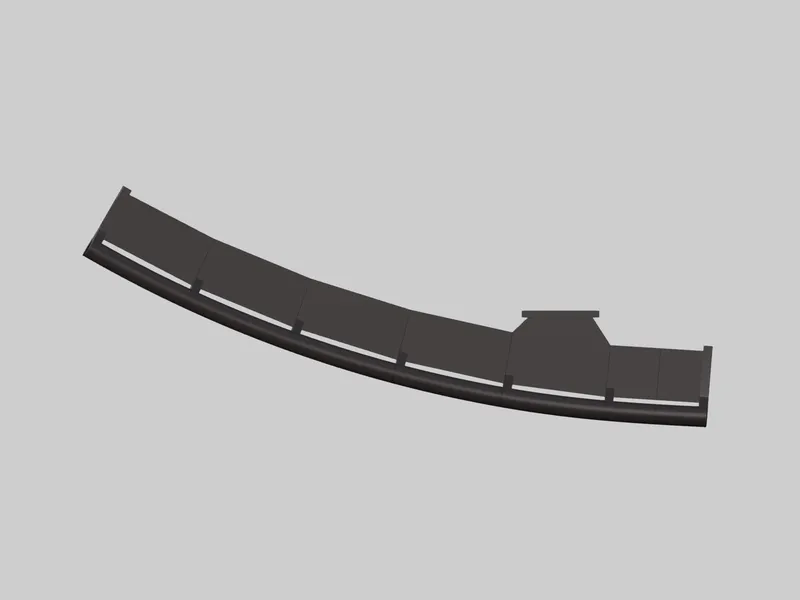
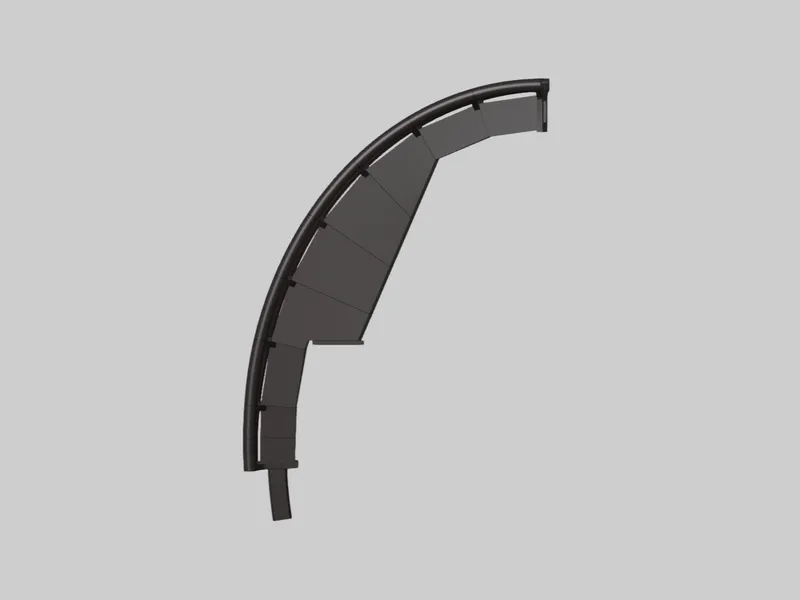
Track 01
Print all the required parts and assemble them as shown in the picture. Use wire inside the tubes and glue to assemble the individual parts. You will need this track twice for the loop.
If the parts do not fit together, the pin may need to be sanded slightly.
You need:
- 1 x Plate
- 12 x Wire 1.0 mm
- 1 x T01-01 - T01-07
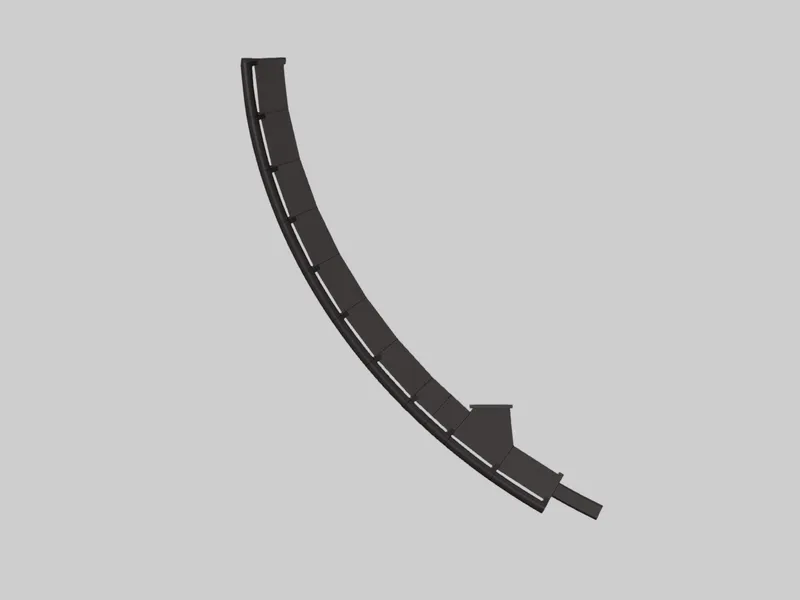
Track 02
Print all the required parts and assemble them as shown in the picture. Use wire inside the tubes and glue to assemble the individual parts. You will need this track twice for the loop.
If the parts do not fit together, the pin may need to be sanded slightly.
You need:
- 1 x Plate
- 20 x Wire 1.0 mm
- 1 x T02-01 - T02-11
Track 03
Print all the required parts and assemble them as shown in the picture. Use wire inside the tubes and glue to assemble the individual parts. You will need this track twice for the loop.
If the parts do not fit together, the pin may need to be sanded slightly.
You need:
- 1 x Plate
- 16 x Wire 1.0 mm
- 1 x T03-01 - T03-09
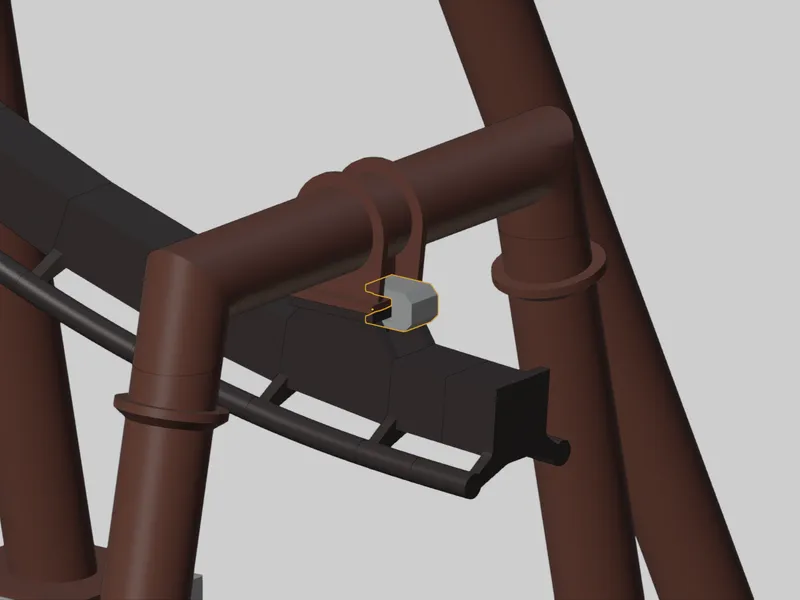
Completion
To complete the loop, use connectors to connect the track to the supports and the track connector to connect the two upper track sections.
If you do not want to glue the parts, use the clips on supports 01 and 02. Support 03 and the track should stay in place without further fastening.
You need:
- 1 x Track-Connector
- 6 x Connector
- 4 x Clip (optional)
Inverted Loop 1:64
Tags
Model origin
The author marked this model as their own original creation.


