Arduino removable magnetic battery box


Description
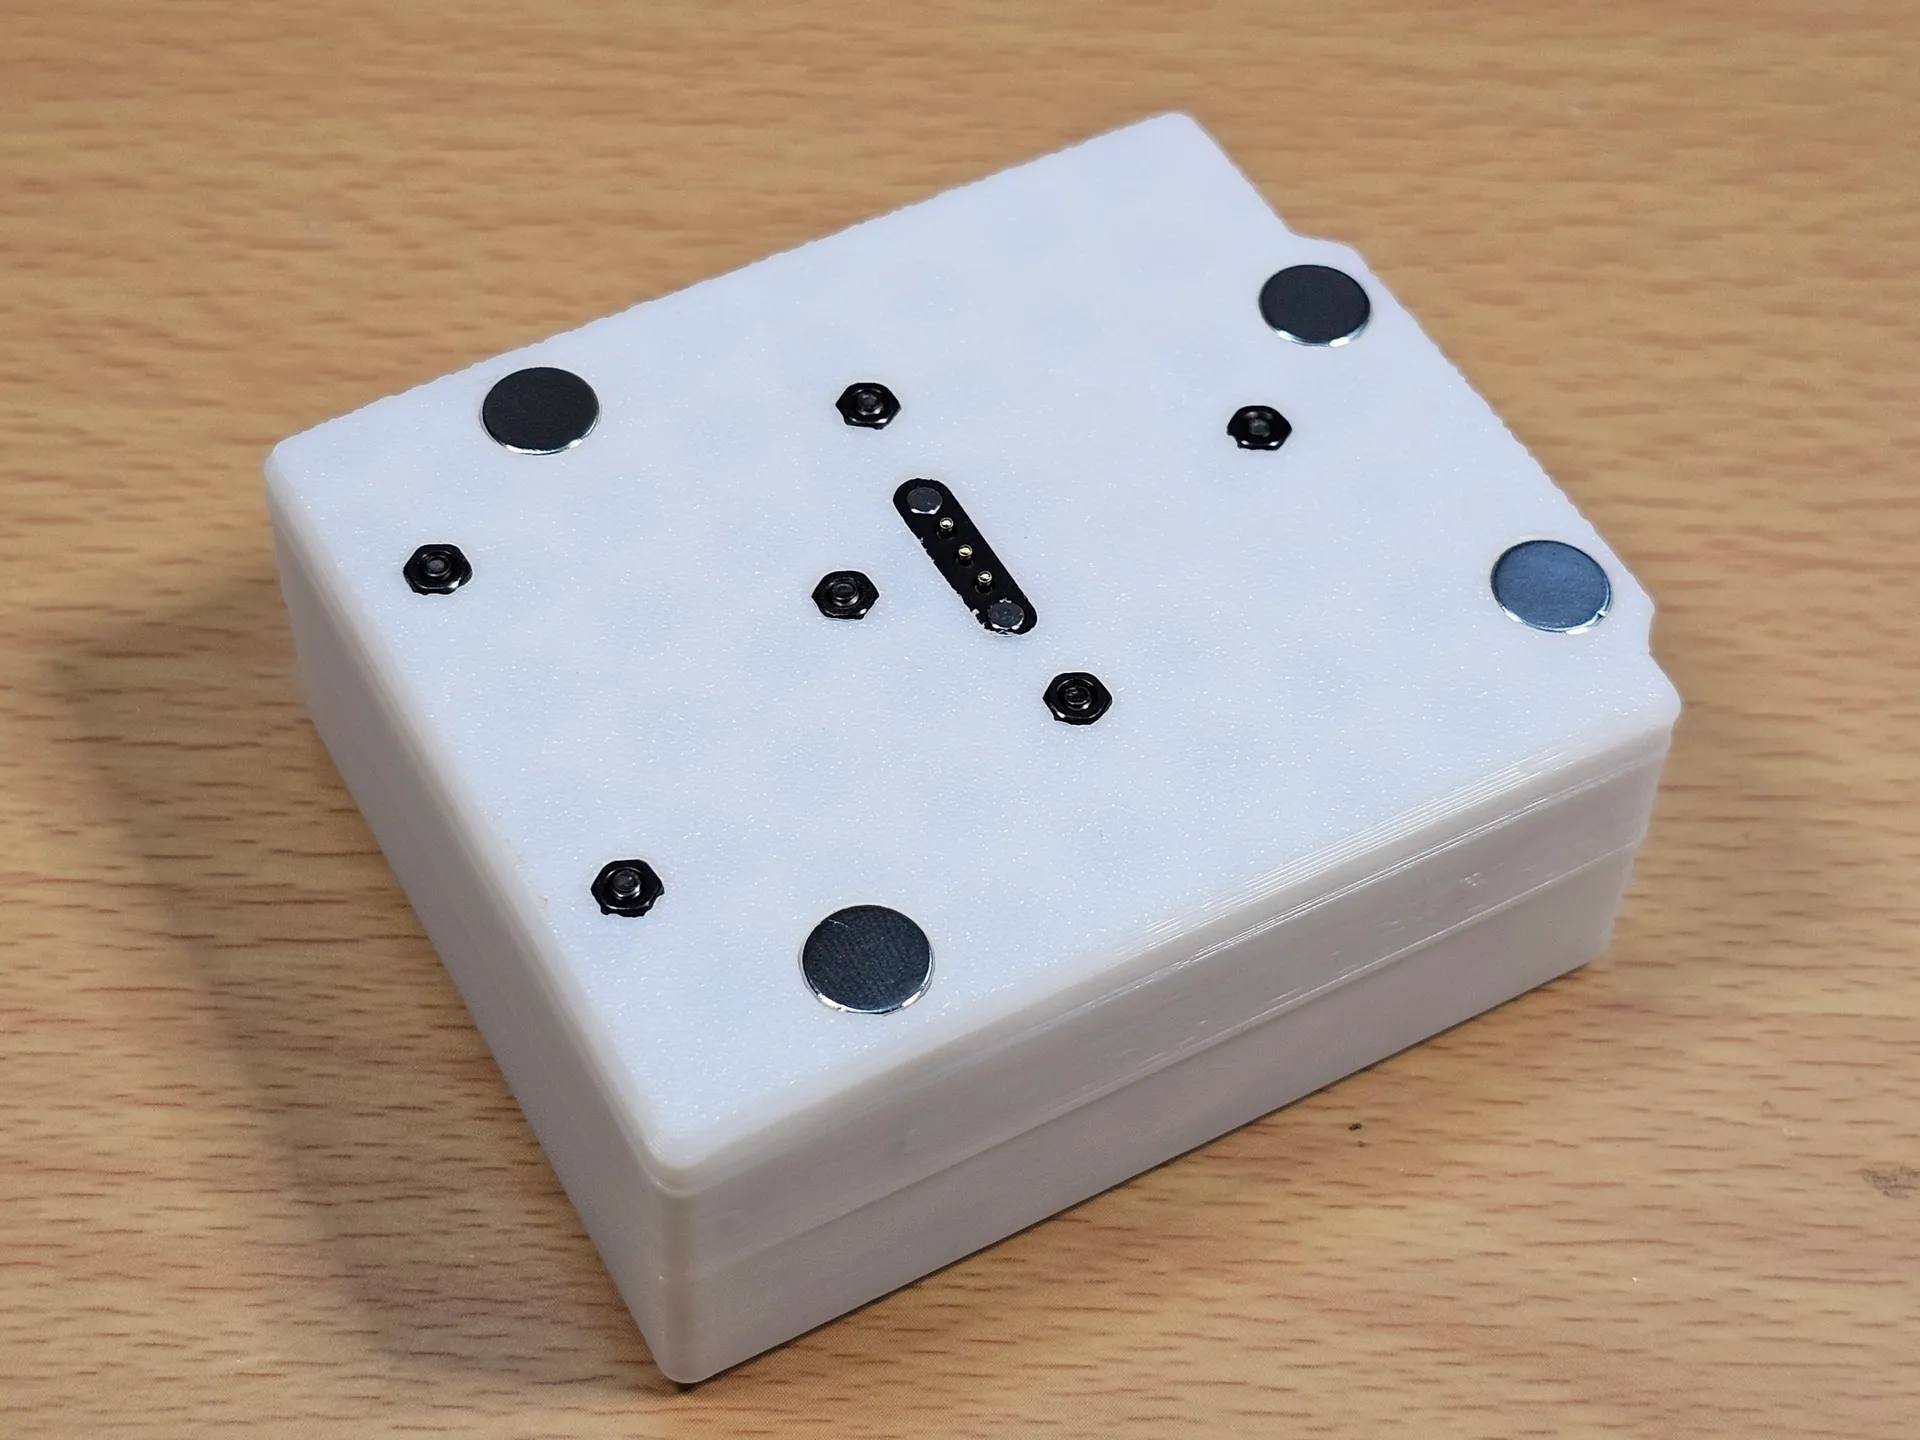
PDFI always wanted to power my Arduino Uno in a simple, fitting package. This is why I created a battery box that is removable and magnetically attaches to the bottom of the Arduino Uno. The battery box uses two rechargeable 9V batteries. Cases themselves use hooks to attach; the only hardware needed is for the battery holders and for the magnets.
Hardware required
- 4x M3x8 countersunk screws
- 4x M3 nuts
- 6x M2x8 socket head screws
- 6x M2 nuts
- 4x Ø8x3 mm neodymium magnets with a hole for M3 countersunk screw
- 4x Ø8x3 mm neodymium magnets
- 2x magnetic pogo connector (Adafruit 5360, right angle)
- 1x 1N4007 diode
- 2x 9V battery holders
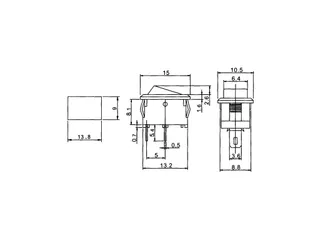
- 1x SMRS-101-1C3-B/B rocker switch (schematic included in the images)
Wiring and assembly
Arduino side
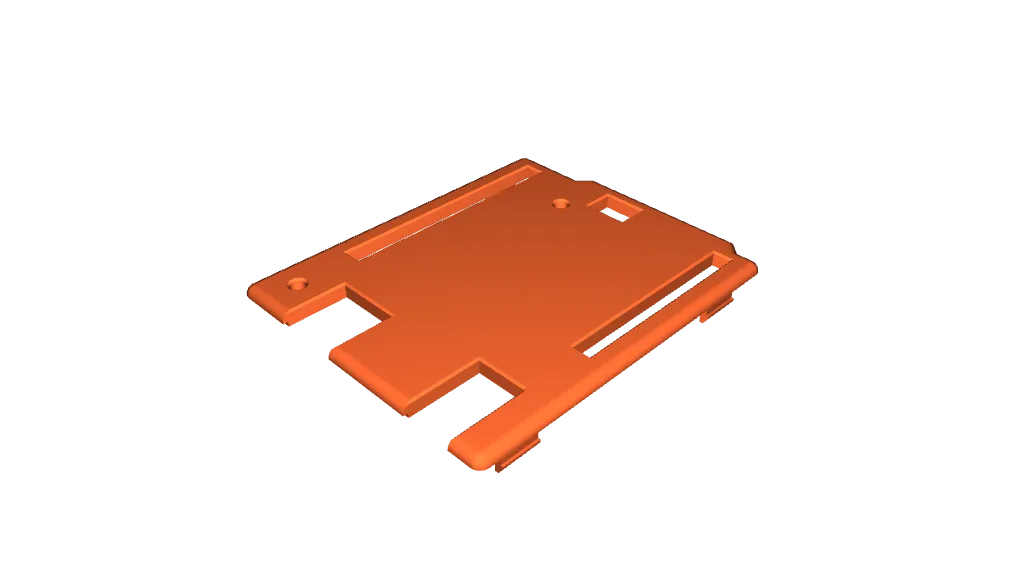
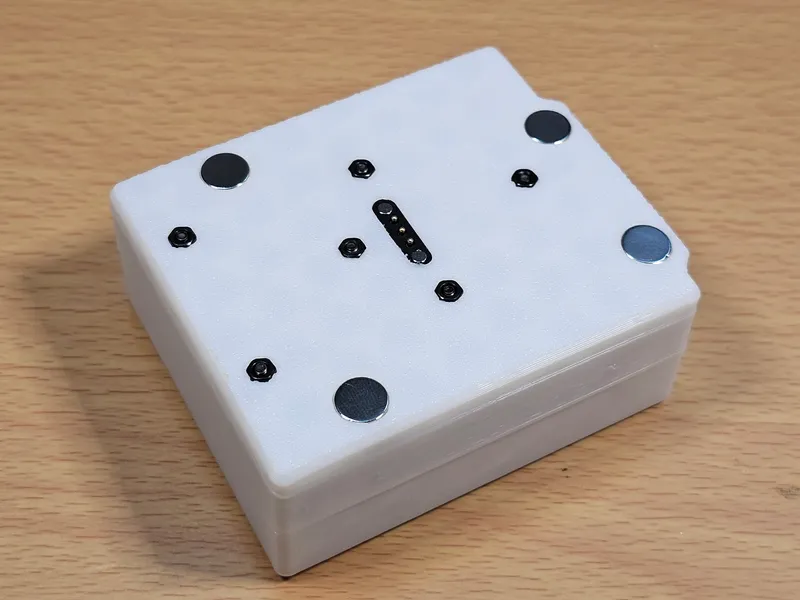
The wiring on the Arduino side is very simple: just two wires coming from the magnetic connector, positive via a 1N4007 diode to the Vin pin on the Arduino, and negative to the GND pin.
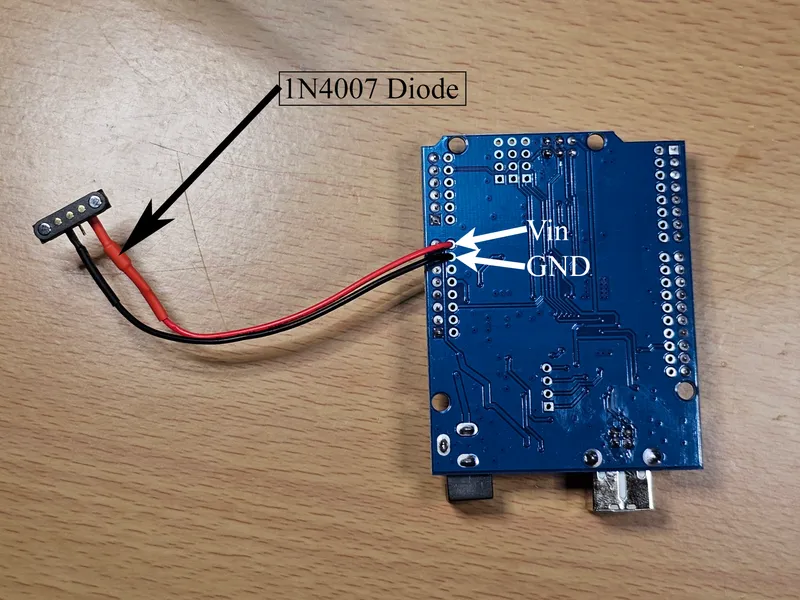
The magnetic connector should be a press fit. You can then install the magnets and screw the Arduino into the case.

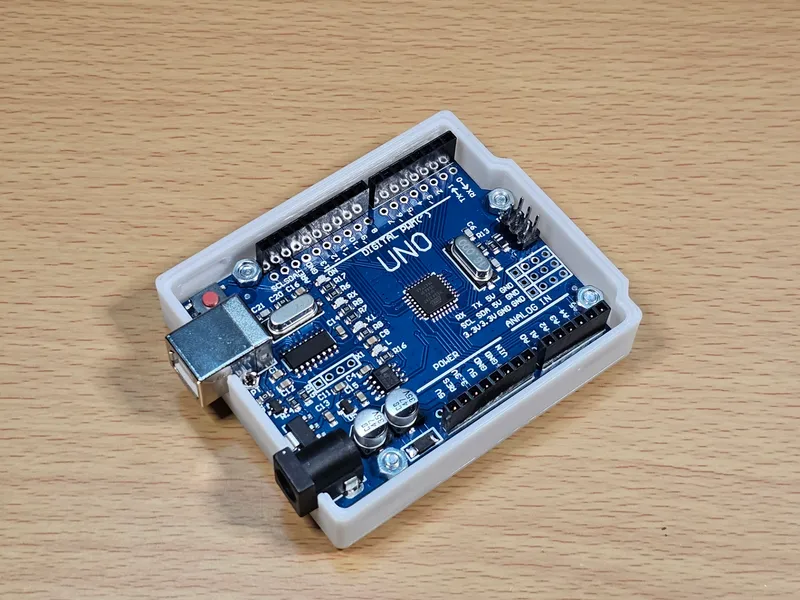
Finally, you can press in the upper case.

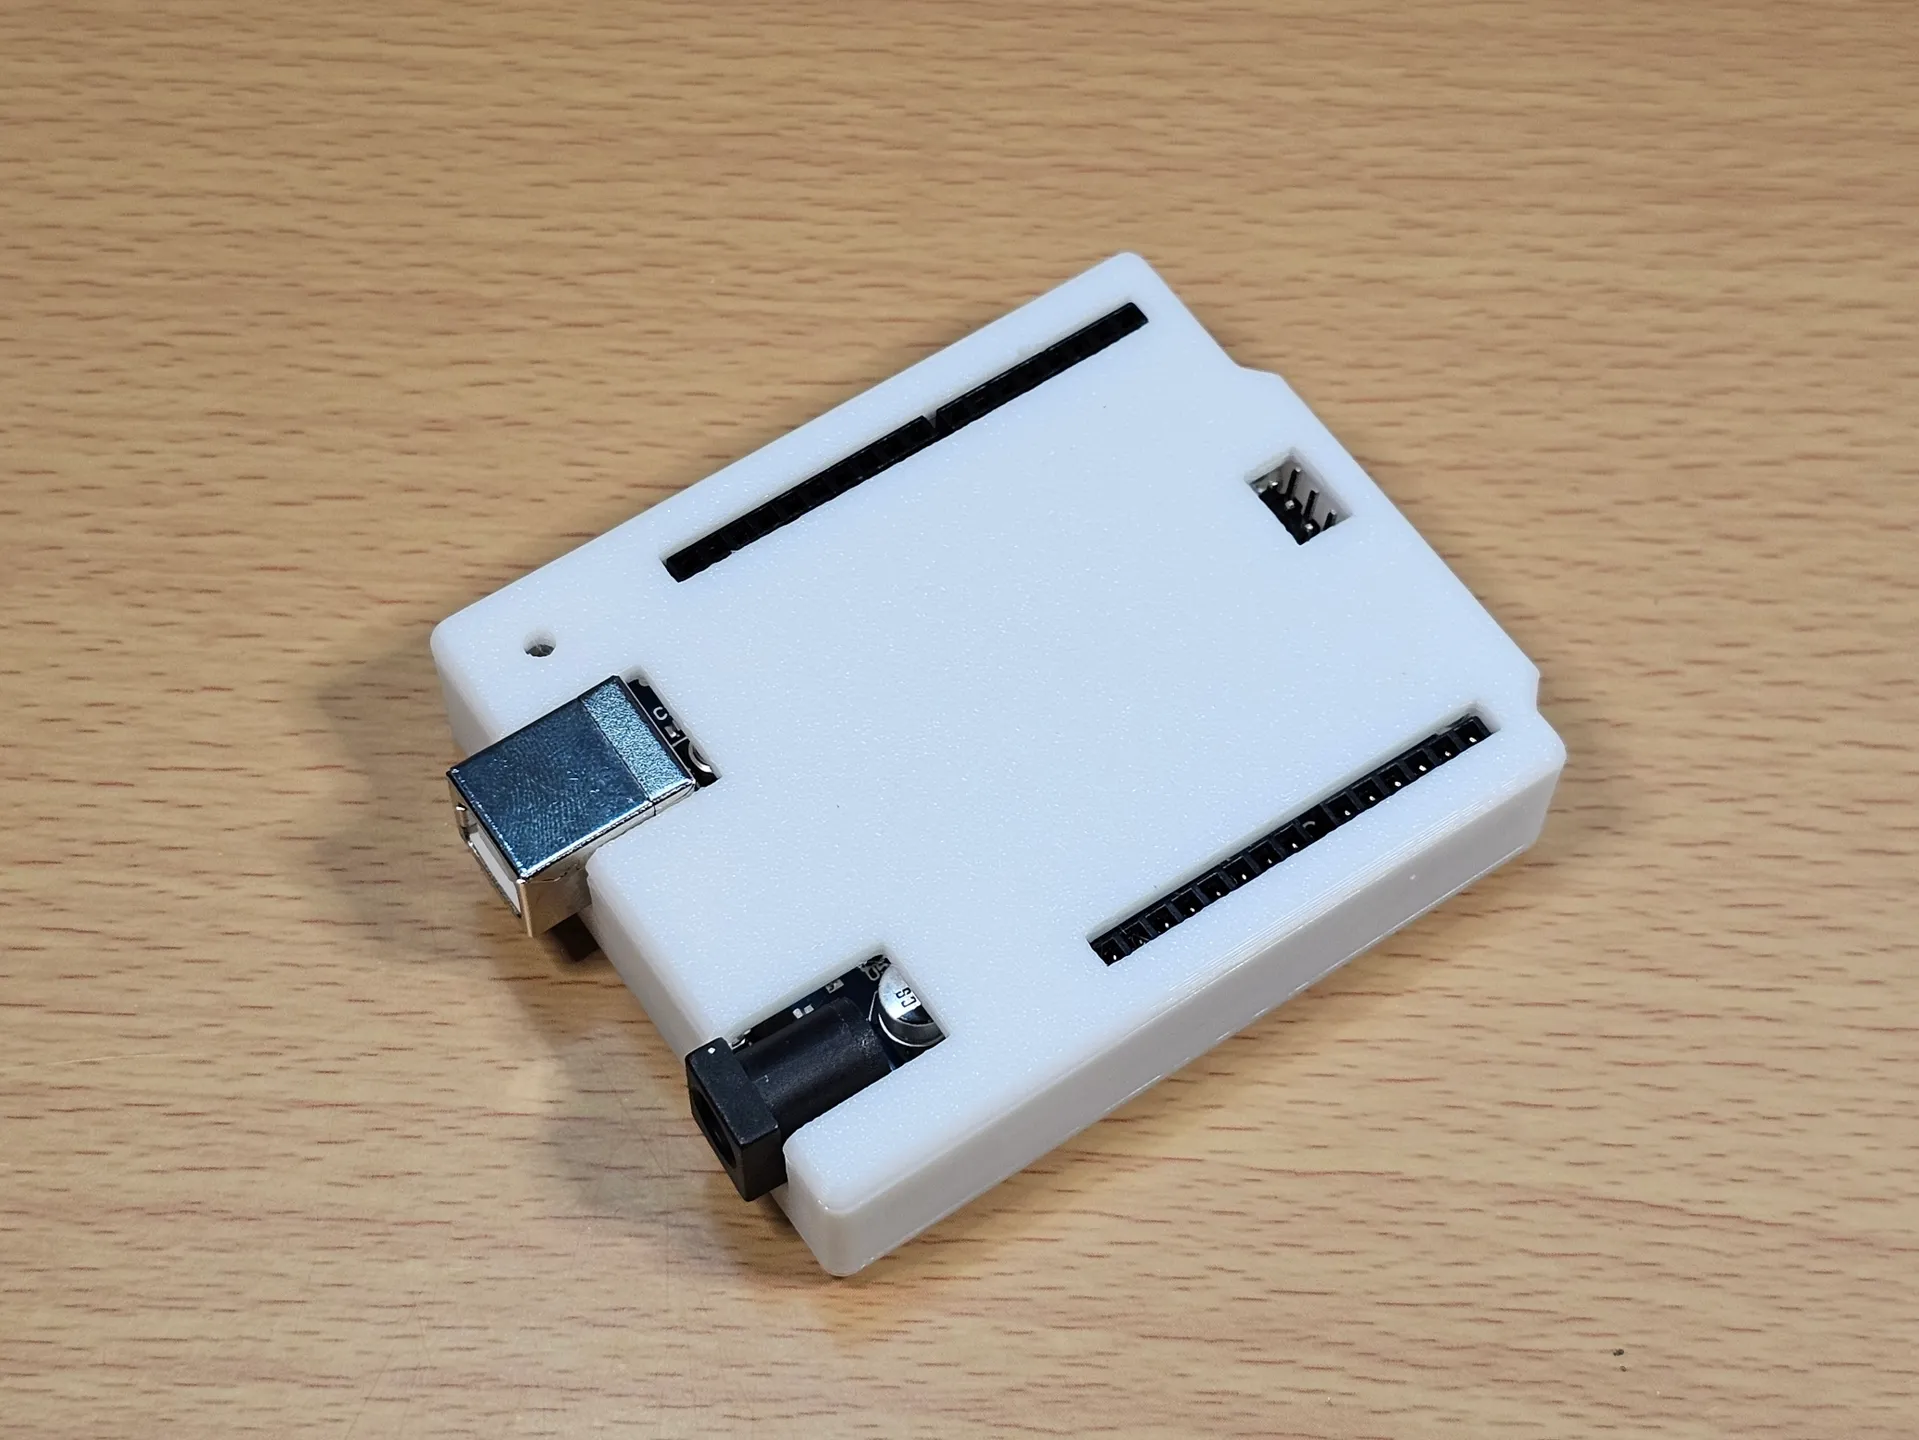
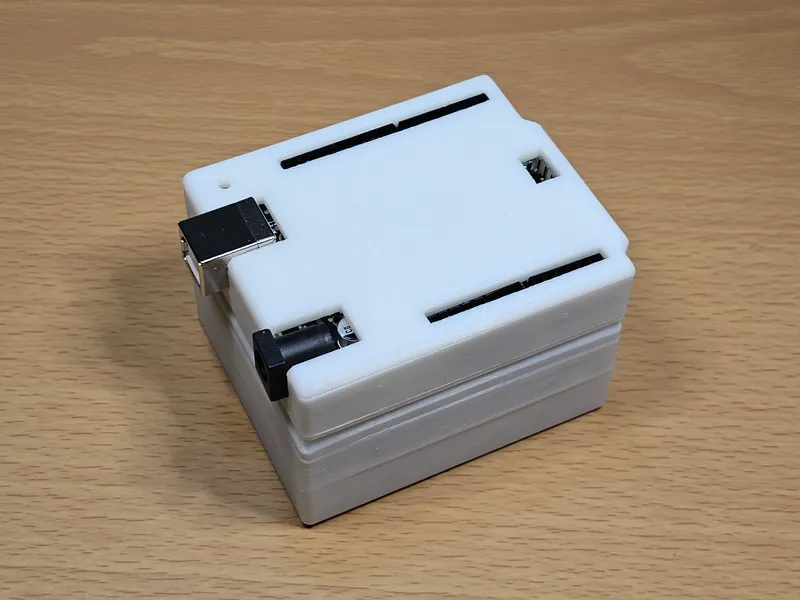
The Arduino side is now done. It will still function as a normal case, so you can still plug in the barrel jack connector or USB.
Battery box side
This is a bit more complicated, since any space is a premium. The positive wires coming from the 9V battery holders need to first go into the switch and then into the magnetic connector. The negative ones go straight to the connector. Do not leave too much slack, since you might not be able to close the case afterwards.
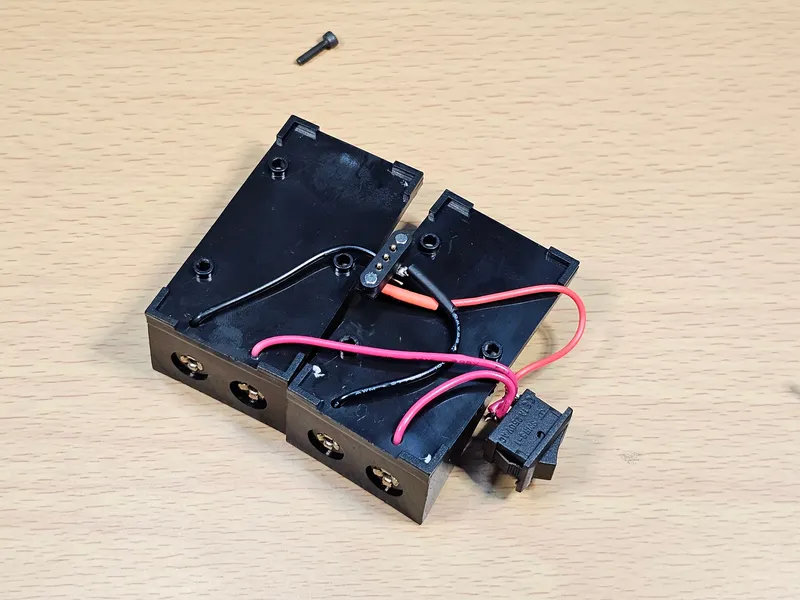
Again, the magnetic connector will be a press fit into the case. Secure the battery holders with M2 screws and nuts.

You can now add batteries and test the voltage on the pogo pins.
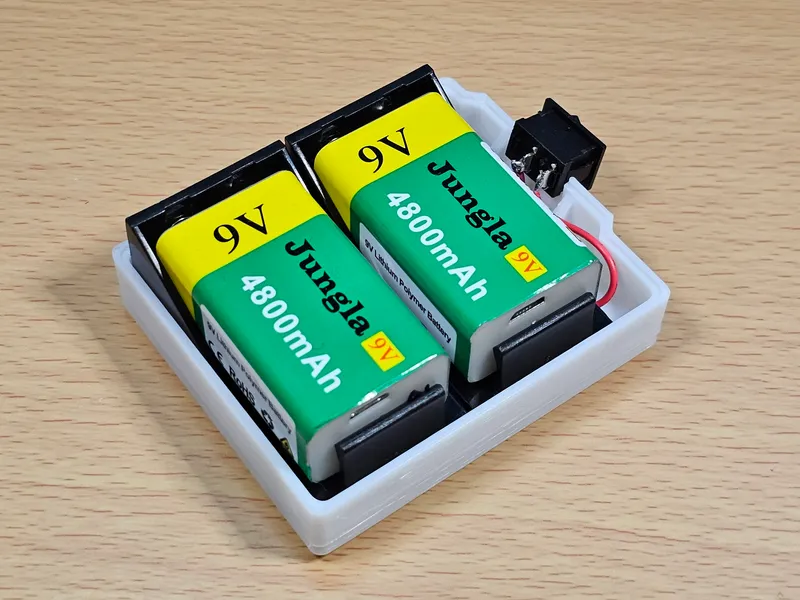
If everything looks good, you can close the case and put in the final magnets. Either press-fit them in or glue them in place.
Done!
Tags
Model origin
The author remixed this model.

Differences of the remix compared to the original
The top part of the case remains the same, but the bottom part has been significantly modified with magnets and a magnetic connector.


