Mini Iris Container

Description
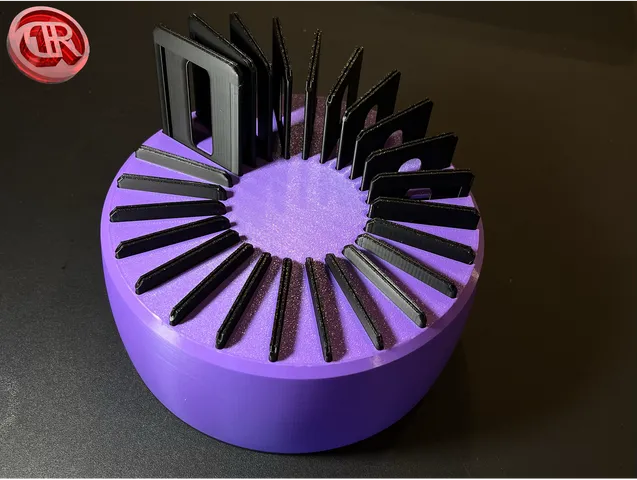
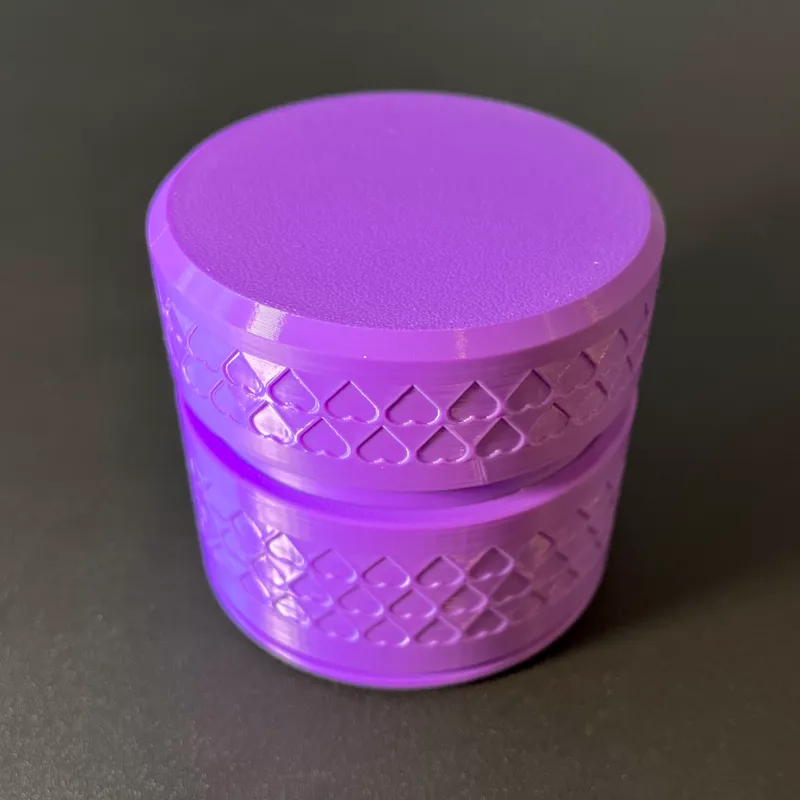
PDFThe Mini Iris Container easily opens and closes with a small twist. The mechanism can be operated with a single hand. The print requires about 100 grams of PLA depending on the settings. This is a good option for desktop storage while doubling as a fidget toy.
*Patterns will be interchangeable! Stay tuned for new patterns posted here.
Current Patterns:
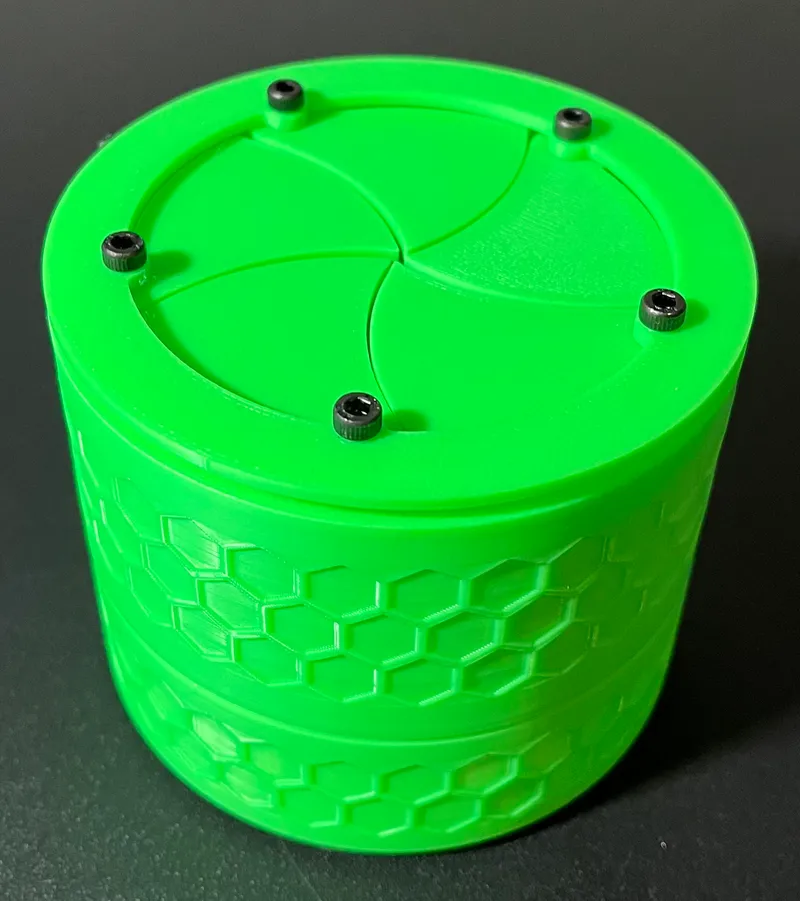
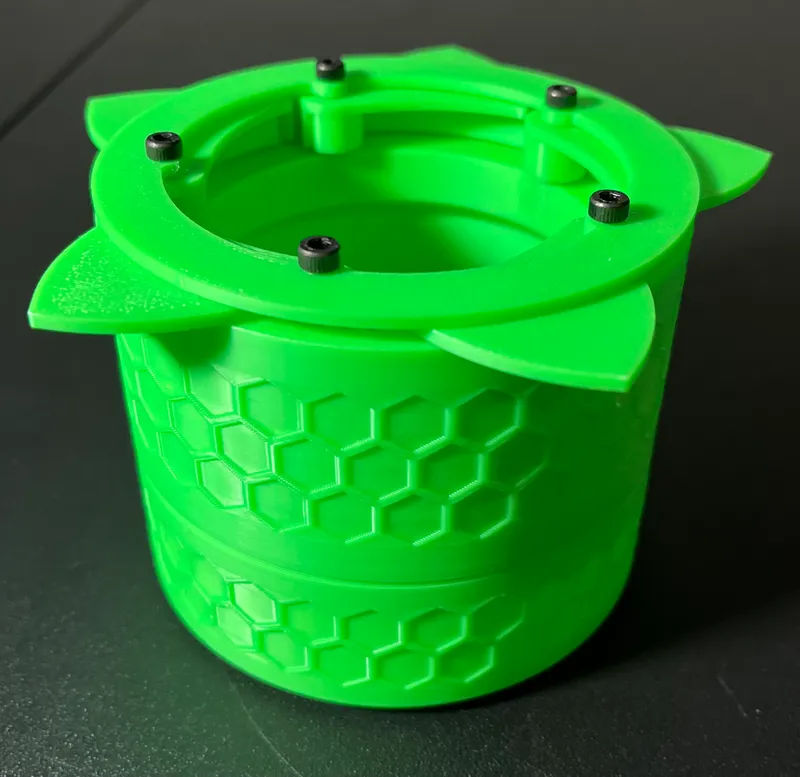
- Honeycomb
- Hearts → Iris Heart Box by RadDesign | Download free STL model | Printables.com
Required Parts
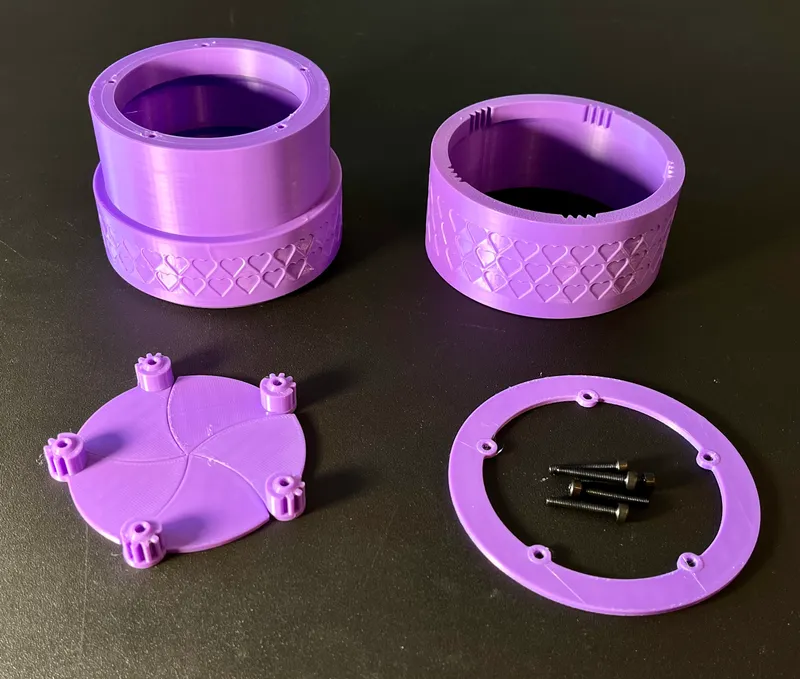
| Part | Amount | File |
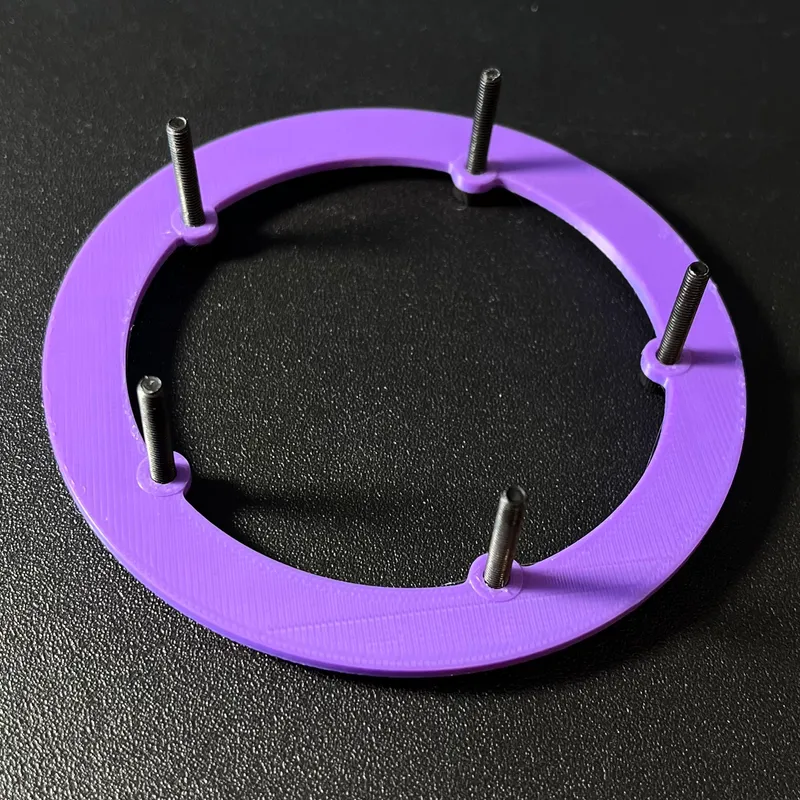
| M3x20 Screw | 5 | N/A |
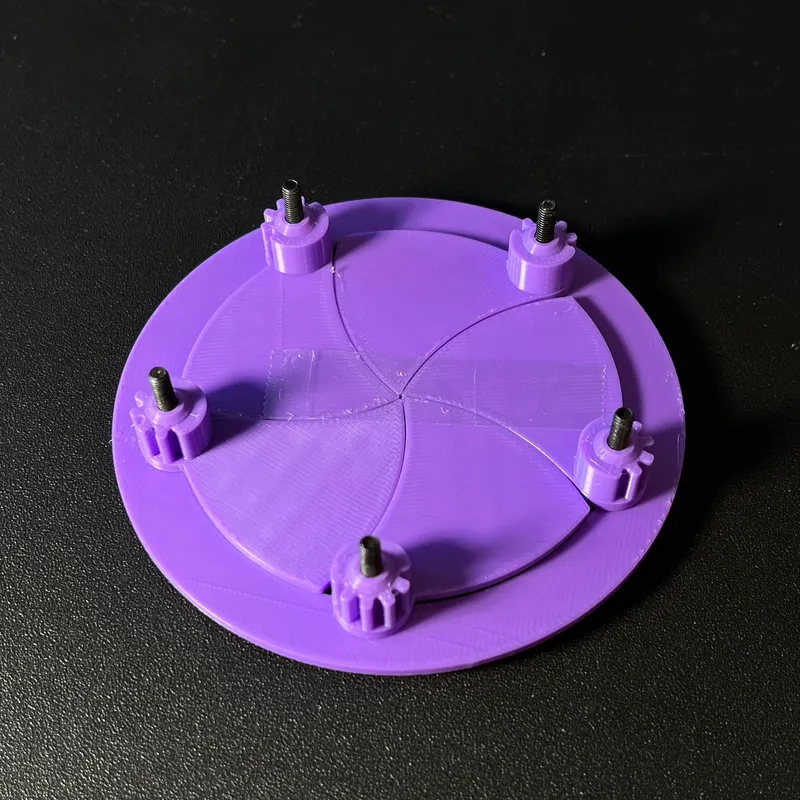
| Leaf | 5 | Leaf.stl or Leaf x5.stl |
| Bottom | 1 | Bottom-#####.stl |
| Top | 1 | Top.stl |
| Ring Gear | 1 | Ring Gear-#####.stl |
Print Instructions
I printed all of the models in PLA. The STL models are already oriented in the proper direction for printing. The print settings for this container are very flexible. I used an 18% infill with 2 shells and a 0.2mm layer height.
Assembly Instructions
*The following instructions apply to all patterns unless otherwise stated.
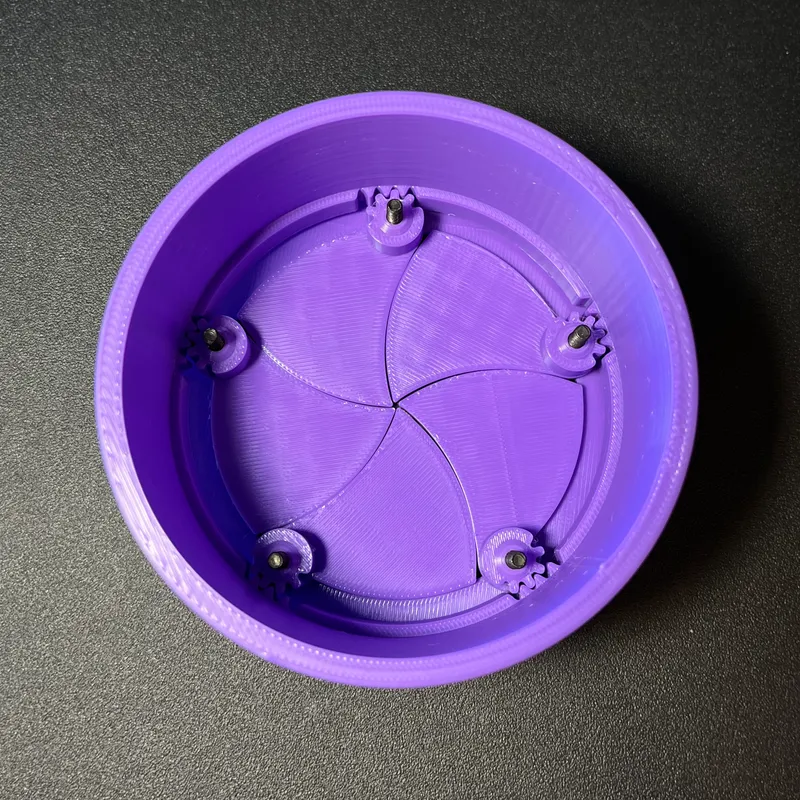
1. Print all the required models. Choose from the available patterns for the Bottom and Ring Gear.
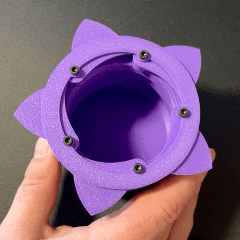
2. Partially screw in the M3 screws into the Bottom, as shown below. This will tap the holes to ease the assembly in later steps.
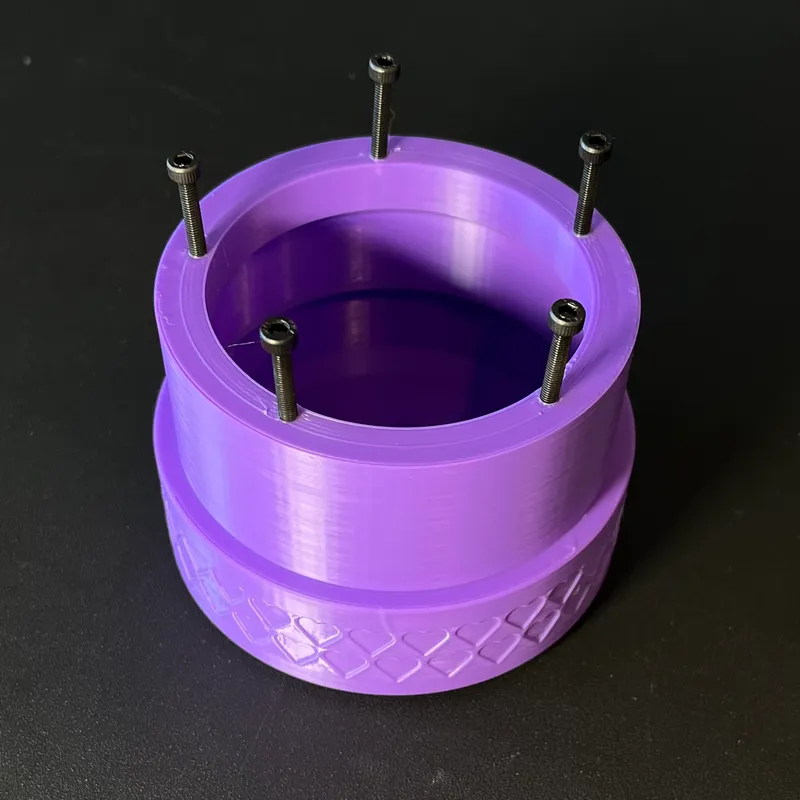
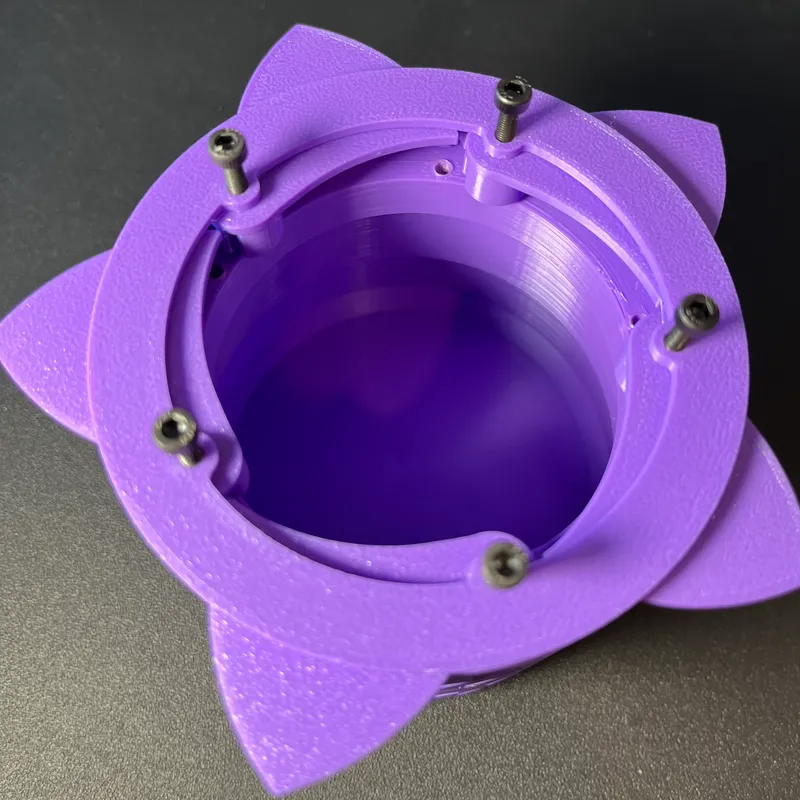
3. Remove the M3 screw from the Bottom and insert them into the Top. The fasteners should easily be pushed through the holes. One side of the Top has an extra layer around the holes, this should be opposite to the caps of the fasteners, as shown below.
4. Put the Leaf models on each of the screws. The screws should push through. The gear should face up, as shown below. Apply some tape to hold the leaves in the shut position, as shown below.
5. Lift up the assembly, careful to not let the screws fall out. Turn it on its side and apply tape to the other side to hold it shut. Place the assembly back down and remove the tape that was applied in step 4.
6. With the assembly once again laying face down on a table, put the Ring Gear on. The gaps in the Ring Gear should be able to line up with each of the teeth on the gears. This step requires a bit of precision, the Ring Gear must be aligned vertically to have it mesh properly with each gear.
7. Put the Bottom in the assembly. There will be a gap between it and the Ring Gear.
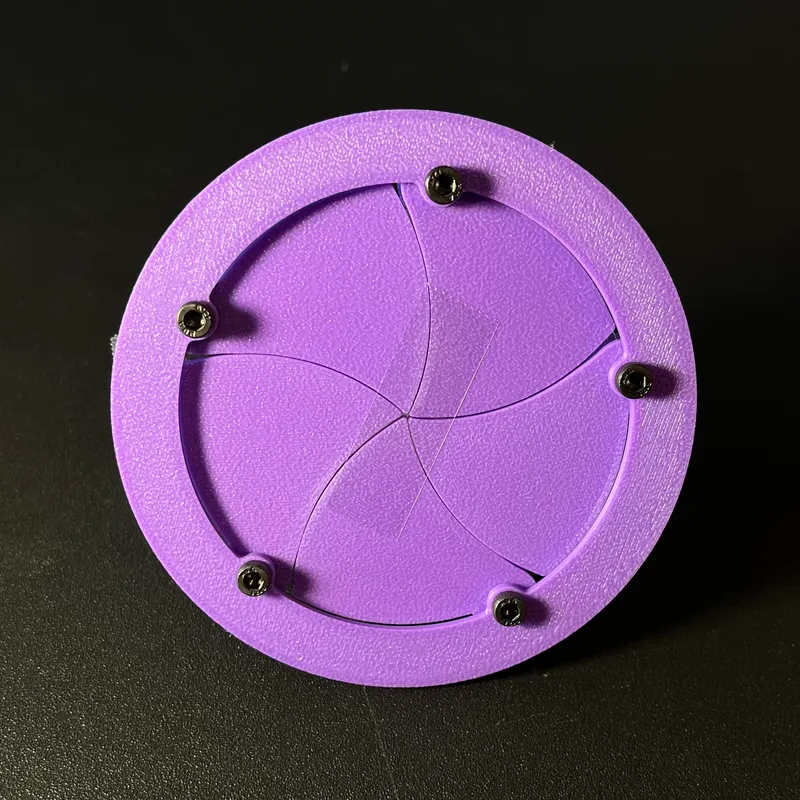
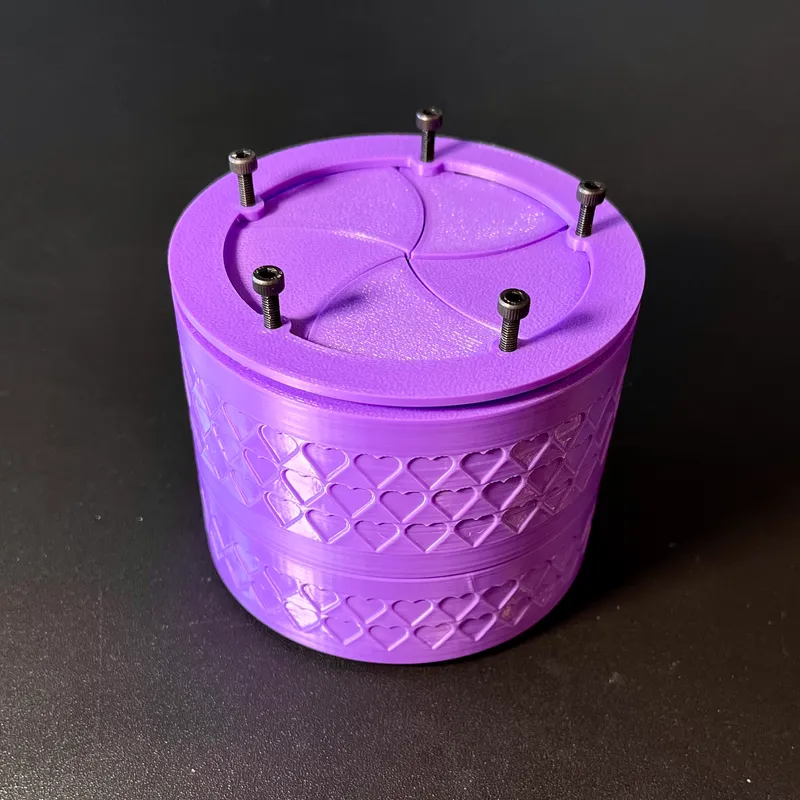
8. Holding the Top and Ring Gear together, flip the entire assembly over. Be careful not to allow the screws to fall out. Keep holding the Top and Ring Gear together and carefully press down. The screws will push up and the Ring Gear will be shouldered against the Top, as shown below. Remove the tape.
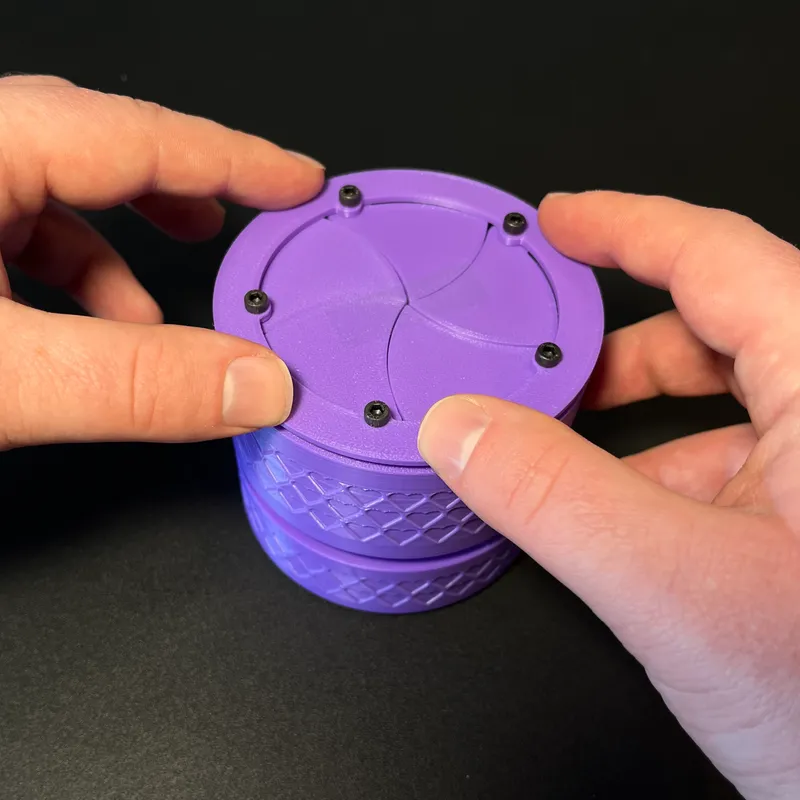
9. Turn the Top relative to the Ring Gear to open the container. This will allow you to see the holes in the Bottom, shown below. Once one of the fastener holes is located, turn the Bottom until the hole lines up with the fastener in the Leaf.
10. Screw in all of the fasteners. They should be fairly tight, but not so tight that the container cannot be opened.
11. If the container does not open smoothly, just repeatedly open and close it to break it in and smooth out the mechanism. Enjoy ;)
Tags
Model origin
The author marked this model as their own original creation.