Prusa Mini Plotter Addon V2
Description
PDFHere is the Prusa Mini Plotter Add-on V2!!!
For all those times when you need to draw but you can't. Good thing you bought that 3D printer. You can stop the 3DBenchy production live to write a card to all those people who told you you'd only use your printer for stupid toys, now you can use it for stupid cards too!!!
Now for the serious stuff…
Adjusting the design Files
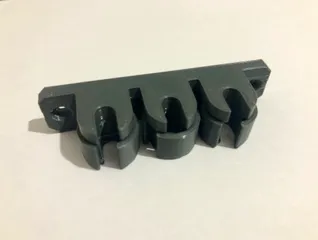
The STL comes with a holder for a 15mm diameter permanent marker, if the pen you want to use is a different size you can modify the design by opening the Fusion360 files. You can easily change the Clearance parameter if the pen holder doesn't slide into the extruder mount and the PenDiameter parameter to change, as you might have guessed, the diameter of the holder hole for the pen you intend to use.
Extra components you'll need
Once the components come out the printer you will need 2x10mm M3 screws (you can get those from the extra part baggy that came with your Prusa MINI) a rubber band and a pen/sharpie or other writing device. Some magnets will come in handy too to keep the paper firmly in place on the steel bed.
Fitting the parts
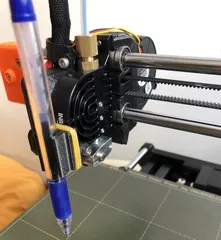
The Extruder mount is fixed to the extruder with the 2 M3 nuts. The pen holder can then be slid into place and a rubber band used to secure it in place. The spacer is meant to go behind the steel bed, so you can use it to support the paper and use all the workspace of the printer.
Operating the plotter
The best way I found to produce Gcode for the plotter is Inkscape. You can follow this tutorial by Uri Shaked on medium (https://urish.medium.com/how-to-turn-your-3d-printer-into-a-plotter-in-one-hour-d6fe14559f1a). I uploaded a picture of the settings I used for the feeds and speed. Once you have the Gcode, upload it on USB stick, MANUALLY HOME YOUR PRINTERS' AXIS and start the print like you normally would. In any case if the printer is moving too fast or too slow you can always adjust the speed from the printer's interface.
Thank you for downloading this design, I hope you will have fun with your new 2D printer!
ItsameWolf
Tags
Model origin
The author hasn't provided the model origin yet.


