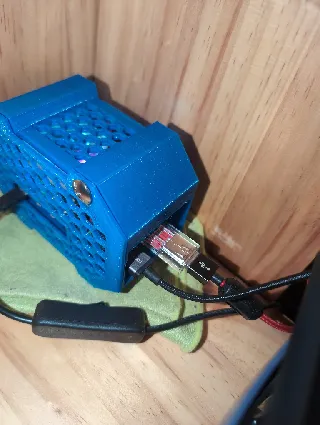
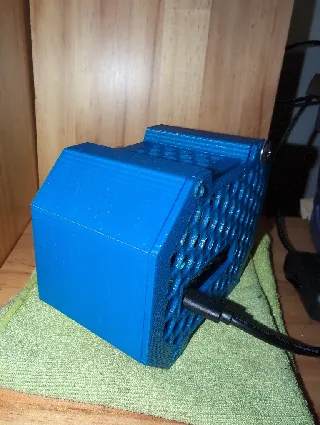
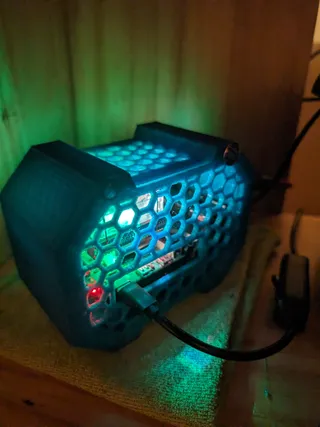
Great looking case. Prints well. I do wish there was other options for the side plates.
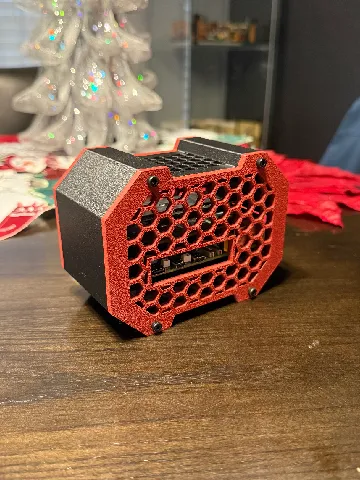
Great looking case. Prints well. I do wish there was other options for the side plates.

What sorts of screws did you use for this, and how did you set them into the PLA? I'm brand new to printing and would love some advice!
I printed this for my Pi 5. One issue is that the Pi 5 has an on/off button that is not considered in this design. I suggest a hole in the front with a button extension. If the button extension is printed with transparent filament then the led color would be visible.
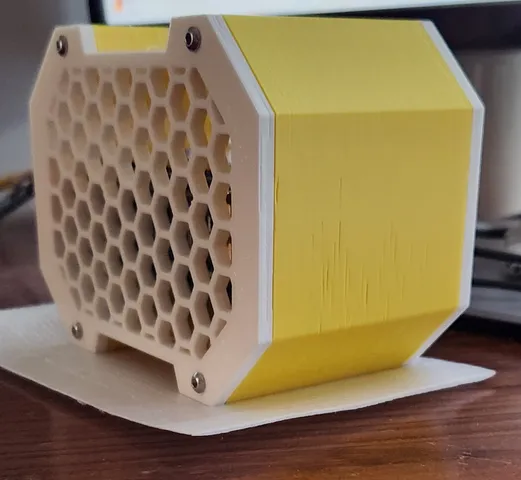
Printed in PETG, with the sled printed in black PC for no real reason other than I had it loaded in the printer.
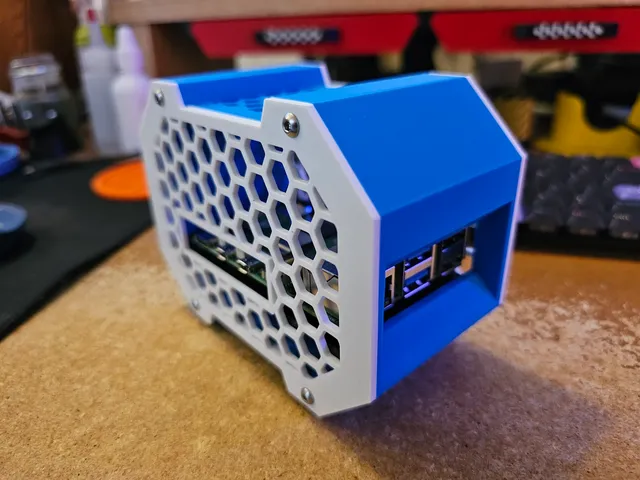
Printed perfectly with PLA on my prusa MK3.5, and looks to cool :)
I mistakenly thought the holes were for M2.5 brass inserts but it's not the case.
Not a big deal, I hot-inserted M2.5 nuts so I was able to screw the sides with the M2.5 screws I had left from my Prusa upgrade :)
Also I would add that if you want (like me) to drive screws through the slider part with holes, through the bottom aluminium plate and up to the inserts from the low-profile Ice Tower, you need to know two things:
- you need to make the holes bigger in the slider part for the M2.5 screws
- you need longer screws than the original ones provided with the Ice Tower cooler
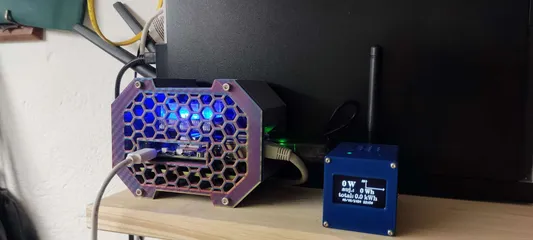
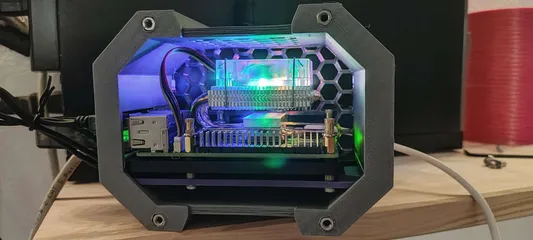
Printed on SV06 Plus (Klipperized). Total print time 12hrs using PETG.
Firstly, nice and clean design, prints well. However, you do need to add a brim or mouse ears to side panels and slide otherwise the edges can lift up and cause major print failure (which happened to me as I left the print unattended). Once I troubleshooted the print I found the problem curled corner which lifted from the bed. Reprinted with a brim, and all worked well.
Thank you for sharing your design.
