Giant Brightbloom Seed from Zelda : Tears of the Kingdom

Description
PDFFor anyone who's played the legend of zelda: Tears of the Kingdom, you know the utility of the Brightbloom seed, the light in the dark. When I looked around to print one, I couldn't believe it! Nobody had made a brightbloom seed lamp ?? This had to be fixed!
I modeled this lamp to be 3 things:
- Giant, as large as I could reasonably make it
- Easy to print and assemble
- Glow in the dark … because that's what a brightbloom seed does!
I'm very pleased with the result I got here in Prusament Mystic green PLA (leafs) and AMOLEN glow in the dark green PLA (seed dome), shown here.
Printing
This print contains 3 main parts, all of which should be printed at 0.2 layer height. Tolerances are built into the model for the default large size. If you scale down, you may have to shrink the seed dome a little and/or adjust the alignment hole sizes. I have provided a STEP file to make this easy to do in Fusion360/OnShape/whatever program you like. If people really want, leave me a comment and I can remodel a smaller size for you.
- Seed : meant to be printed in glow-in-the-dark PLA/PETG or at least another transparent clear filament.
- Leaf Top
- 2+3 are mated together with 3 printable alignment pins. Make sure to print 3! They are tapered for easy insertion. Mating the halves this way allows you to print each part separately instead of in a huge multi-color print that would waste tons of filament changes.
- Leaf Bottom
- This is designed to retain the dome in place with a lip.
Assembly
- Print all the parts as instructed above.
- Slot the seed dome into the Leaf top part. It should slide into place with a slightly loose fit.
- Add the printed alignment pins to the Leaf Bottom, and test-fit the whole assembly together.
- Note: they have a little ‘U’ on them to dictate which way is up, the bottom side is slightly longer, but it probably doesn't matter.
- If you're confident in the assembly, glue the pins in place on the bottom, and assemble the whole lamp. I did not glue the top to the bottom to make it easy to disassemble if desired, but you can of course bond them together.
- Place on the lamp base of your choice (see notes).
Notes
- In order to pull off this delightful little plant, you'll need a flat round LED lighting source. I used an old DIY lamp I had made from home depot recessed lighting lamp and some wood, but you can really use any upward firing round LED lamp and this should work well. You can scale the model to fit whatever lamp you happen to have for this, for example, you could make a small one with this type of lamp, also these things are found on aliexpress.
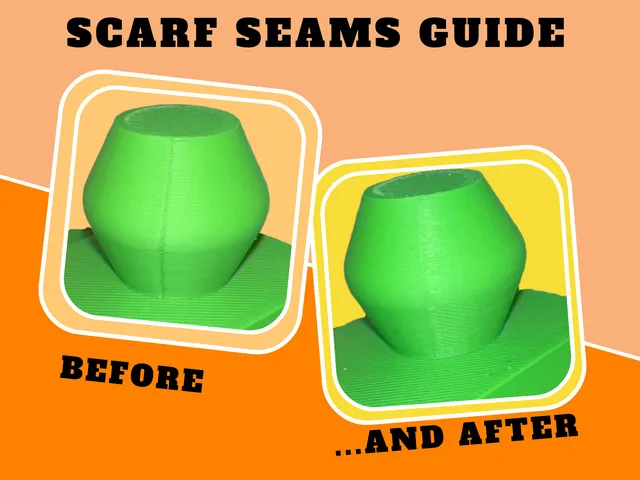
- You may wish to use a little black tape on the inside where the seams meet to block the light from leaking through the seam.
Tags
Model origin
The author marked this model as their own original creation.