Raspberry Pi NAS


Description
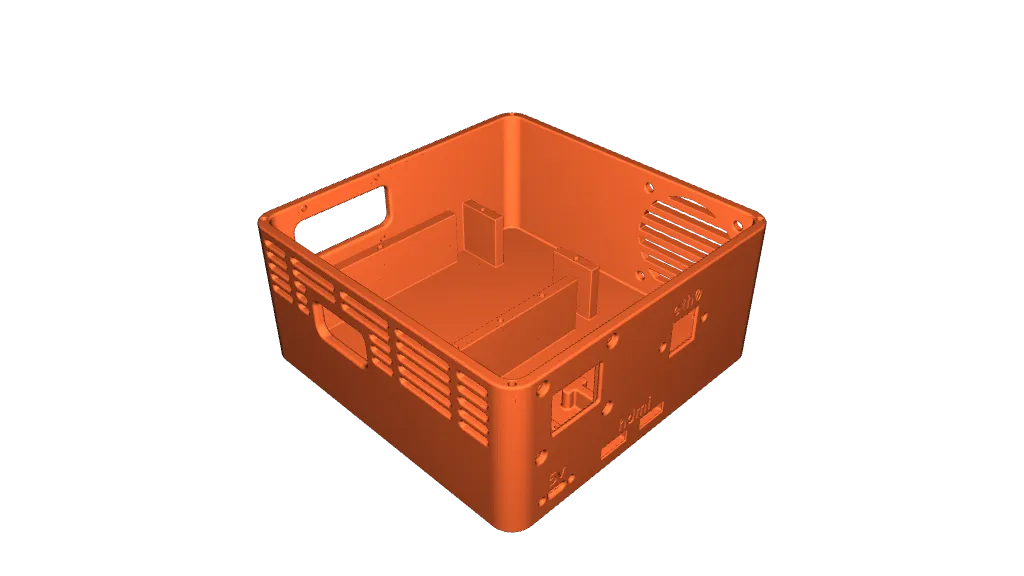
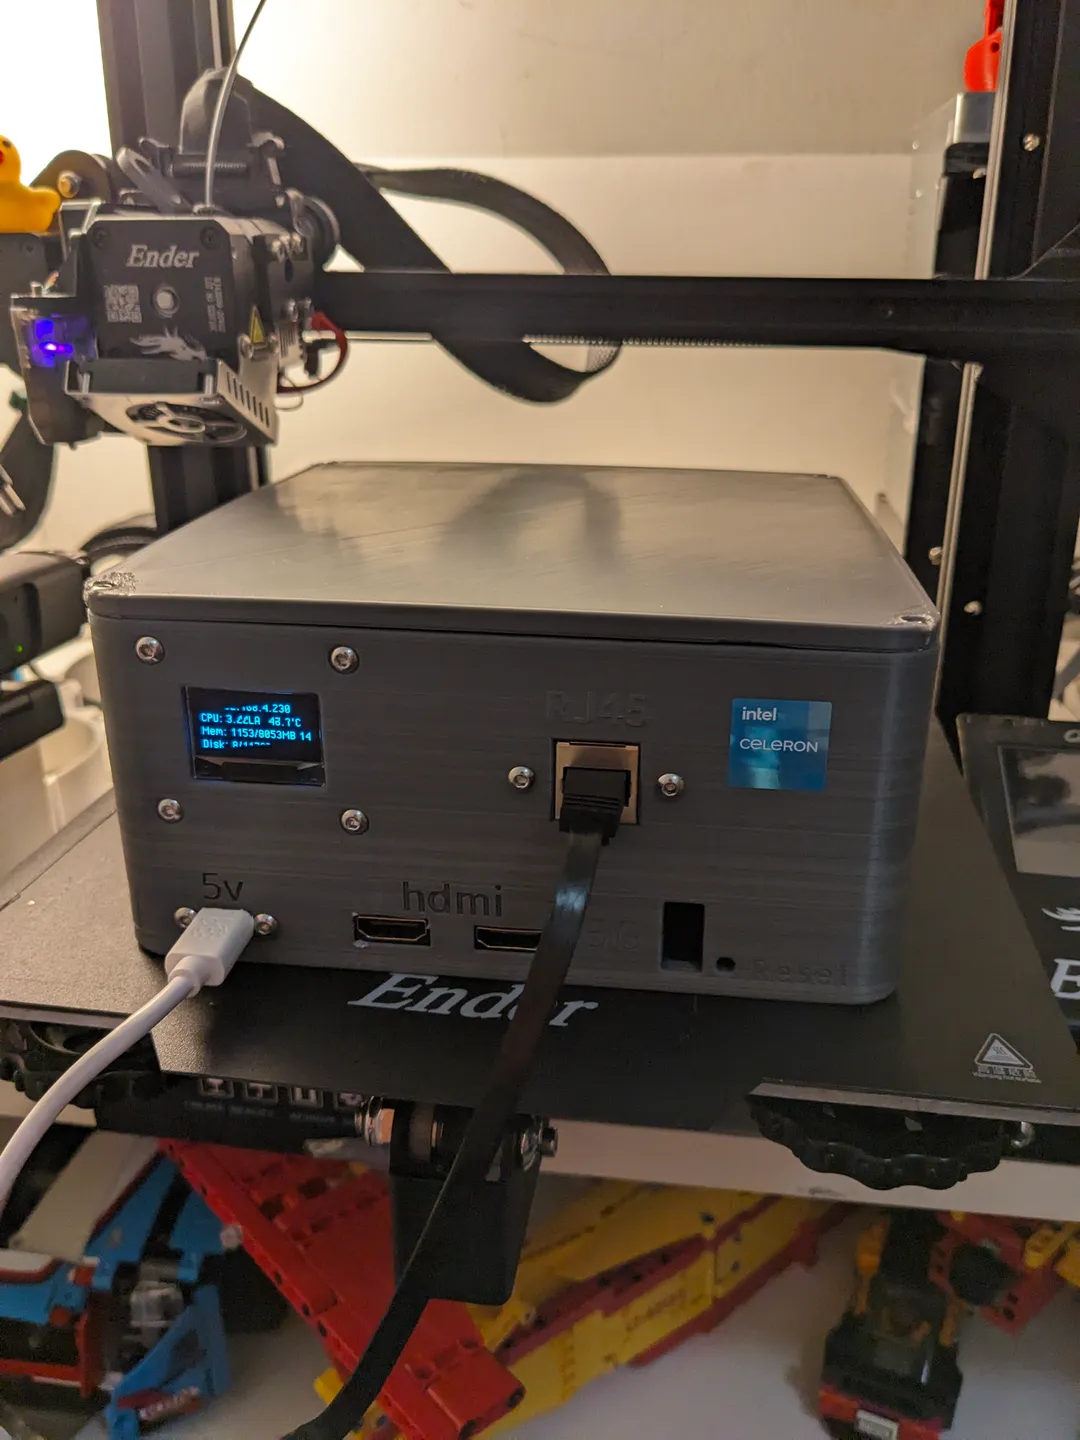
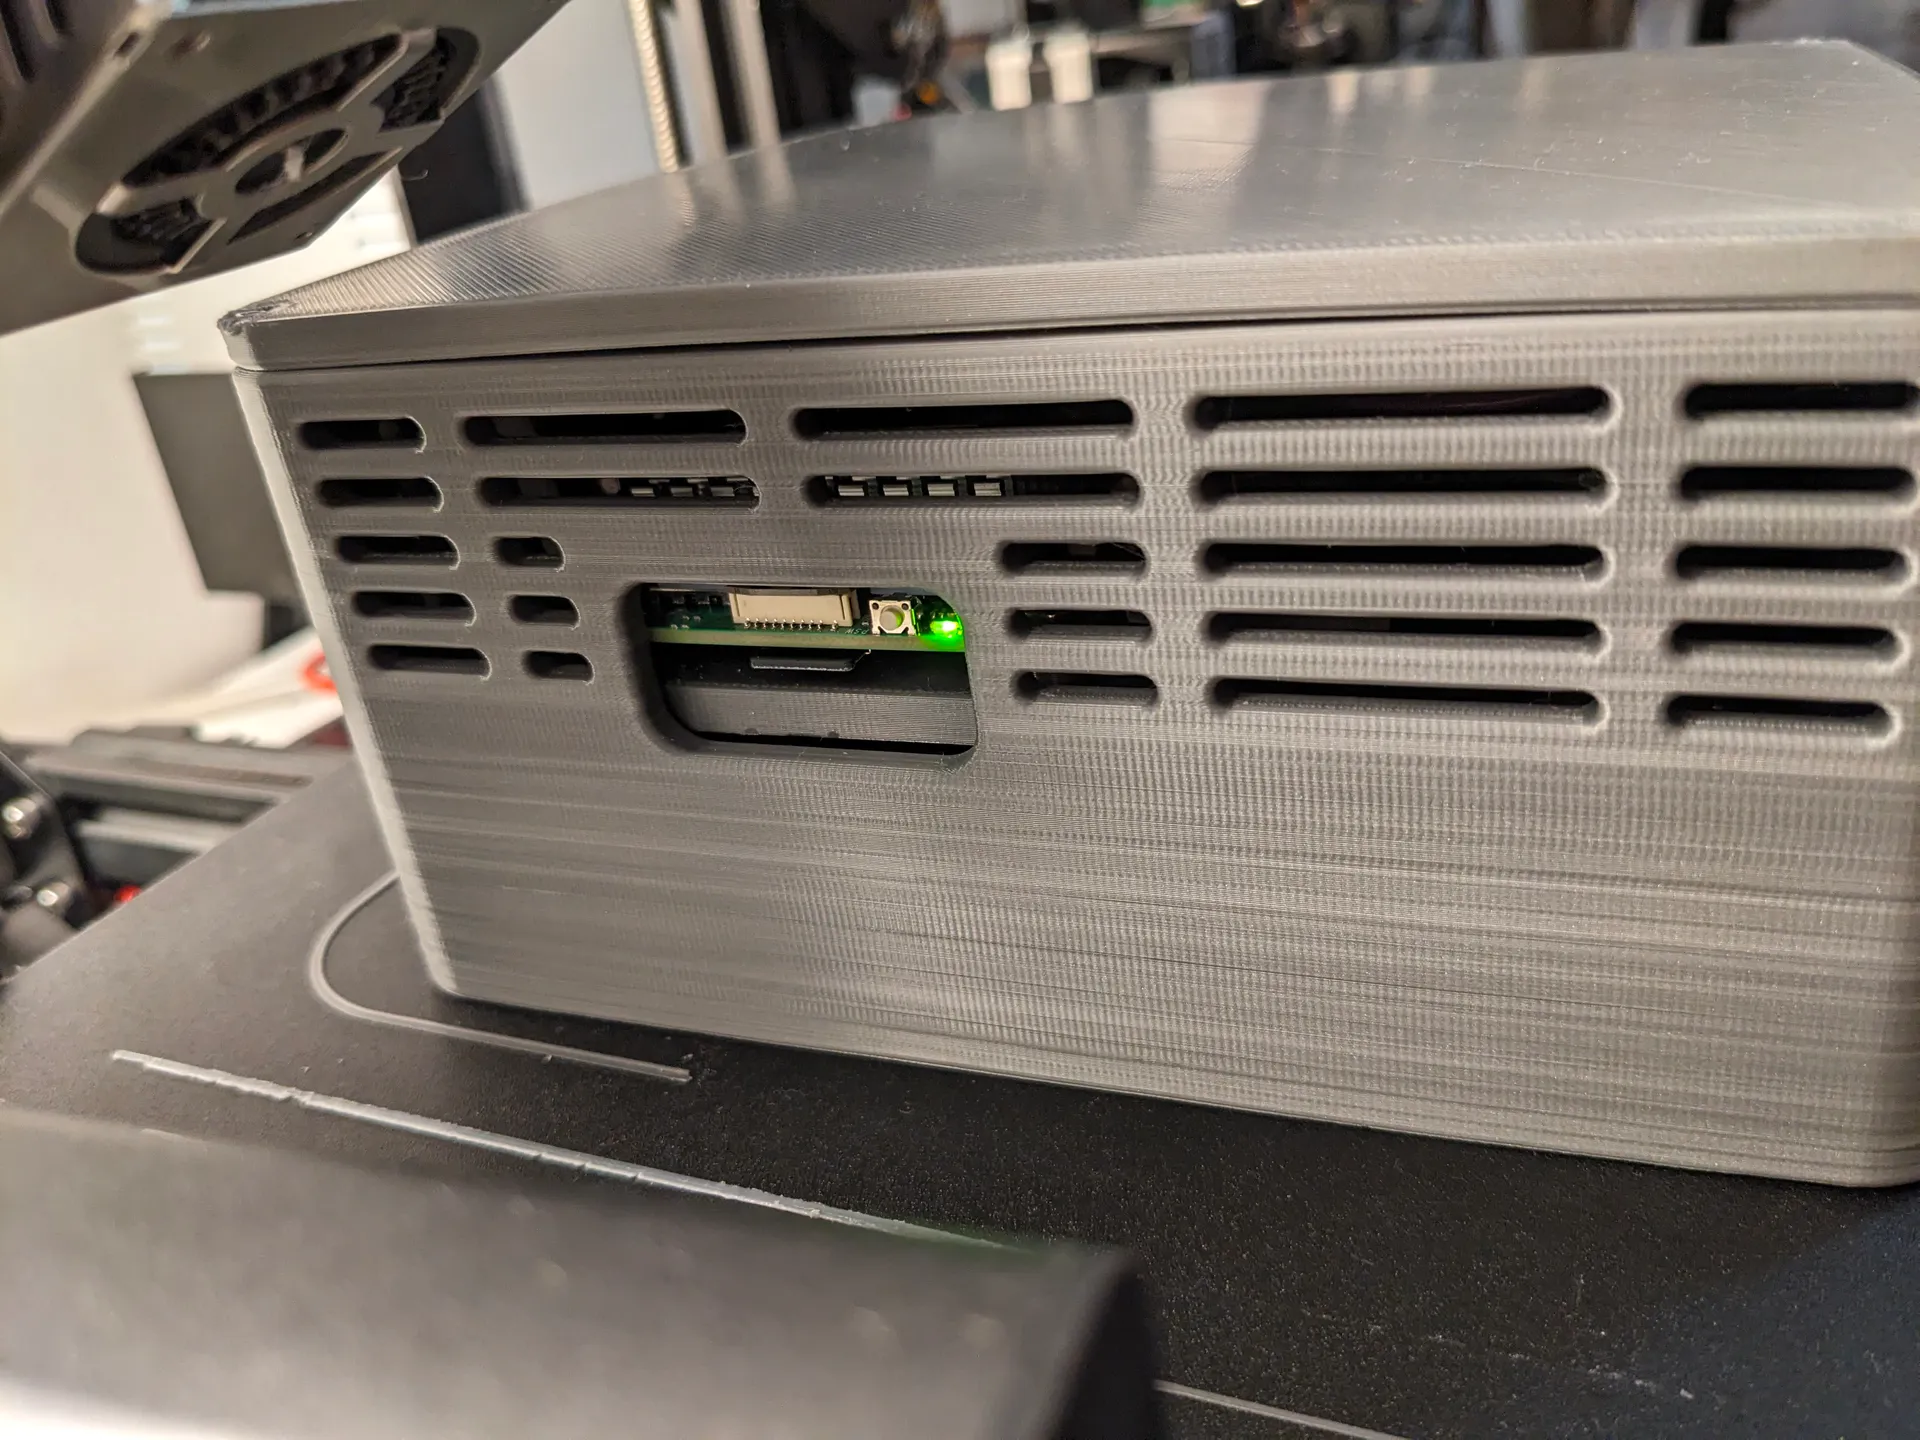
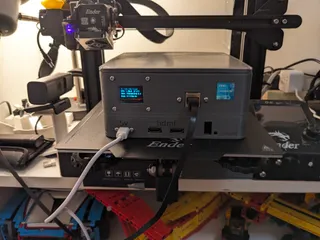
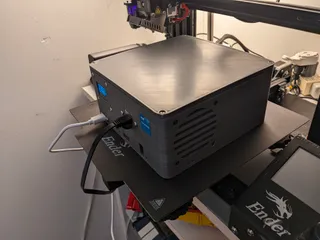
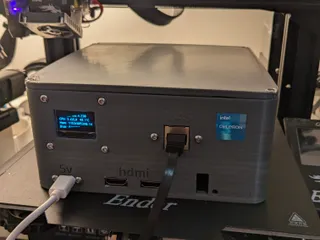
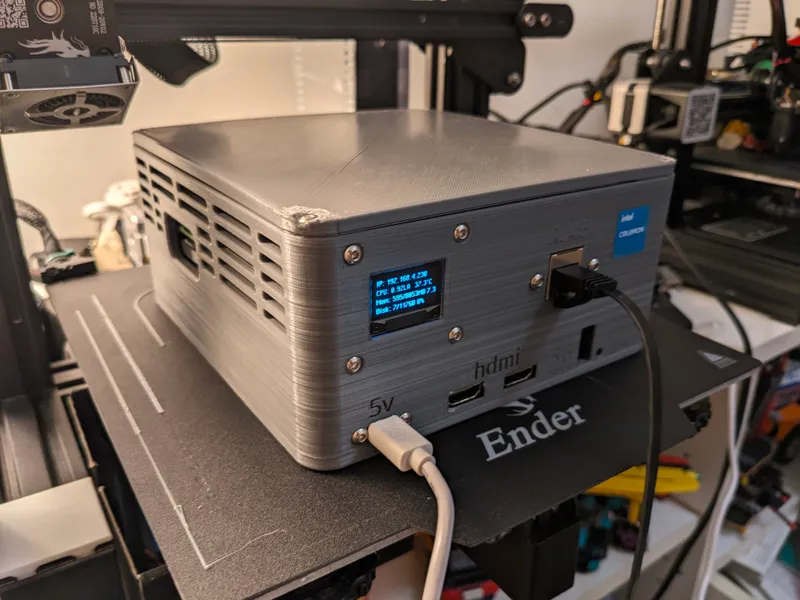
PDFThis case for your raspberry pi 5, 4, or 3 is designed to hold up to 10tb of storage. the case features 2 full sized HDMI ports, a USB c power in, Ethernet port, a screen to display stats and good airflow.
Parts:
1. https://www.amazon.com/gp/product/B07K21HSQX HDMI Adapters
2. https://www.amazon.com/gp/product/B08HS6X44P USB C extender
3. https://www.amazon.com/gp/product/B07CRG94G3 Hard Drives (up to 2 drives)
4. https://www.amazon.com/gp/product/B076WXR8N9 OLED Display
5. https://www.amazon.com/gp/product/B0BPY271V1 USB Hub
6. https://www.amazon.com/gp/product/B09XK592PF Ethernet Port
7. https://www.amazon.com/gp/product/B08H24W42K m3 Assorted Screws
8. https://www.amazon.com/gp/product/B07V6L6GGY 60x60mm Fan
9. https://www.amazon.com/gp/product/B074F3D22P Short Drive Cables
9. https://rpilocator.com/ Raspberry Pi 5 or 4 recommended
10. https://www.amazon.com/gp/product/B0B7NTY2S6 SD card
I used a Pi 5 8gb with a 128gb SD card for mine
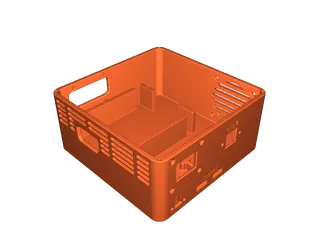
Printing Instructions:
all parts are already oriented correctly and do not need support. i printed mine at 0.16mm layer height in PLA.
Assembly Order:
Before begining, test everything out of the case.
You may need to cut the casing on the drive cables in order for them to fit
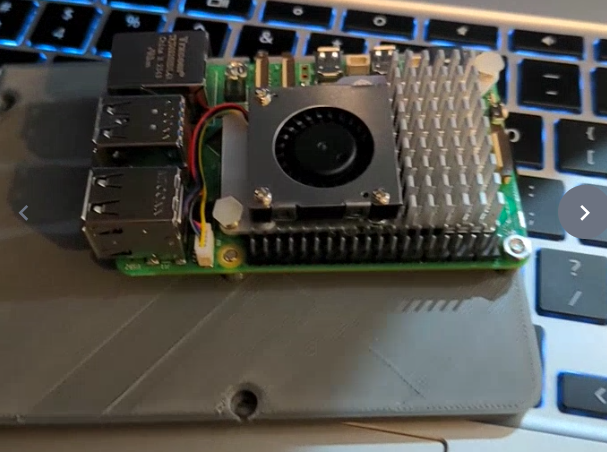
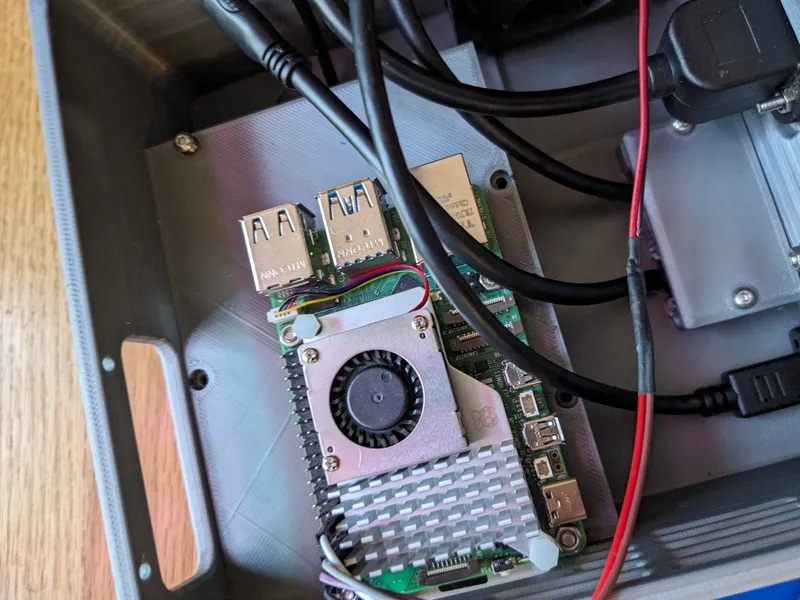
1. Attach Raspberry pi to Pi Mount: I used m3 screws for this, but the raspberry pi has m2.5 holes so i drilled out the holes to 3.5mm.
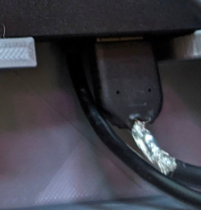
2. Attach HDMI and USB C power cables to their spots. the HDMI extensions may need to be cut down with a knife or Dremel. after placing the HDMI extensions use 2 m3 screws to screw the back plate on securing the HDMI ports.
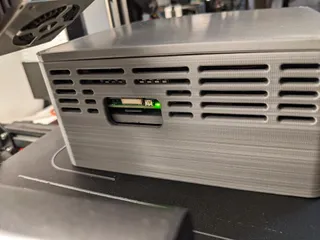
Now is a good time to add the drive(s): they should slide in with a small amount of pressure

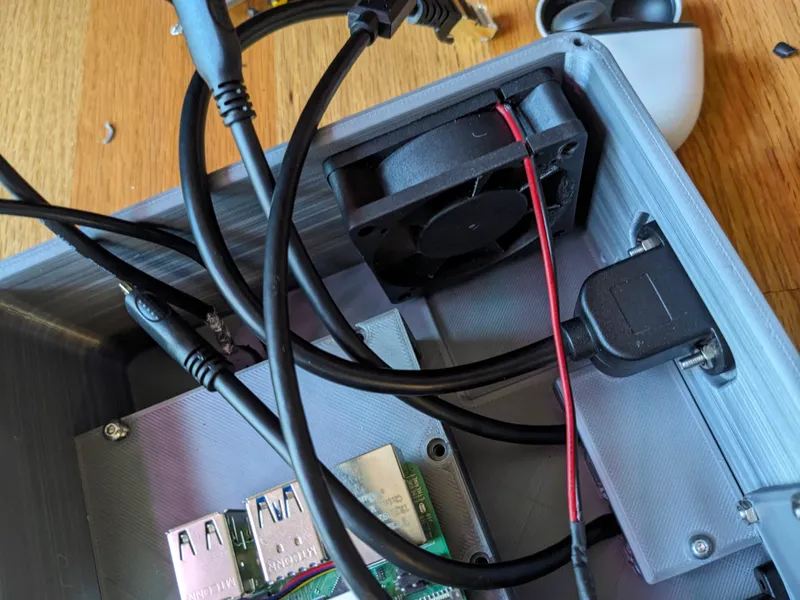
3. Mount fan, i used a 12v 60x60x20mm fan and ran it off of one of the Pi's USB port at 5v which worked fine. If you are using the active cooler, make the fan draw air in if not, make it blow air out the fan mount.
4. Attach screen: pay attention to what pins are which.
The screws do not go through the screen screw holes, they go through the case and the holes in the back plate
Here is a guide to install the screen software: https://www.the-diy-life.com/add-an-oled-stats-display-to-raspberry-pi-os-bullseye/
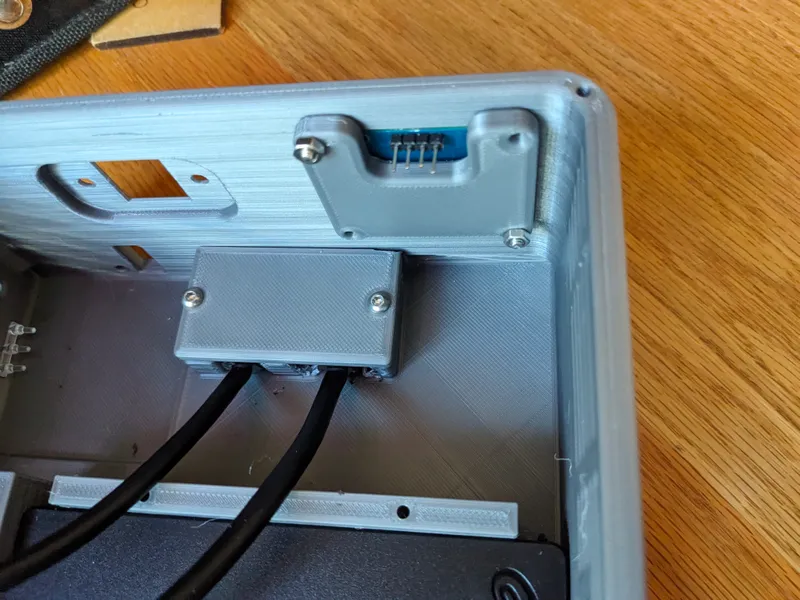
5. Attach Ethernet extension
6. Add Pi and mount to the case screwing it on top of the drives
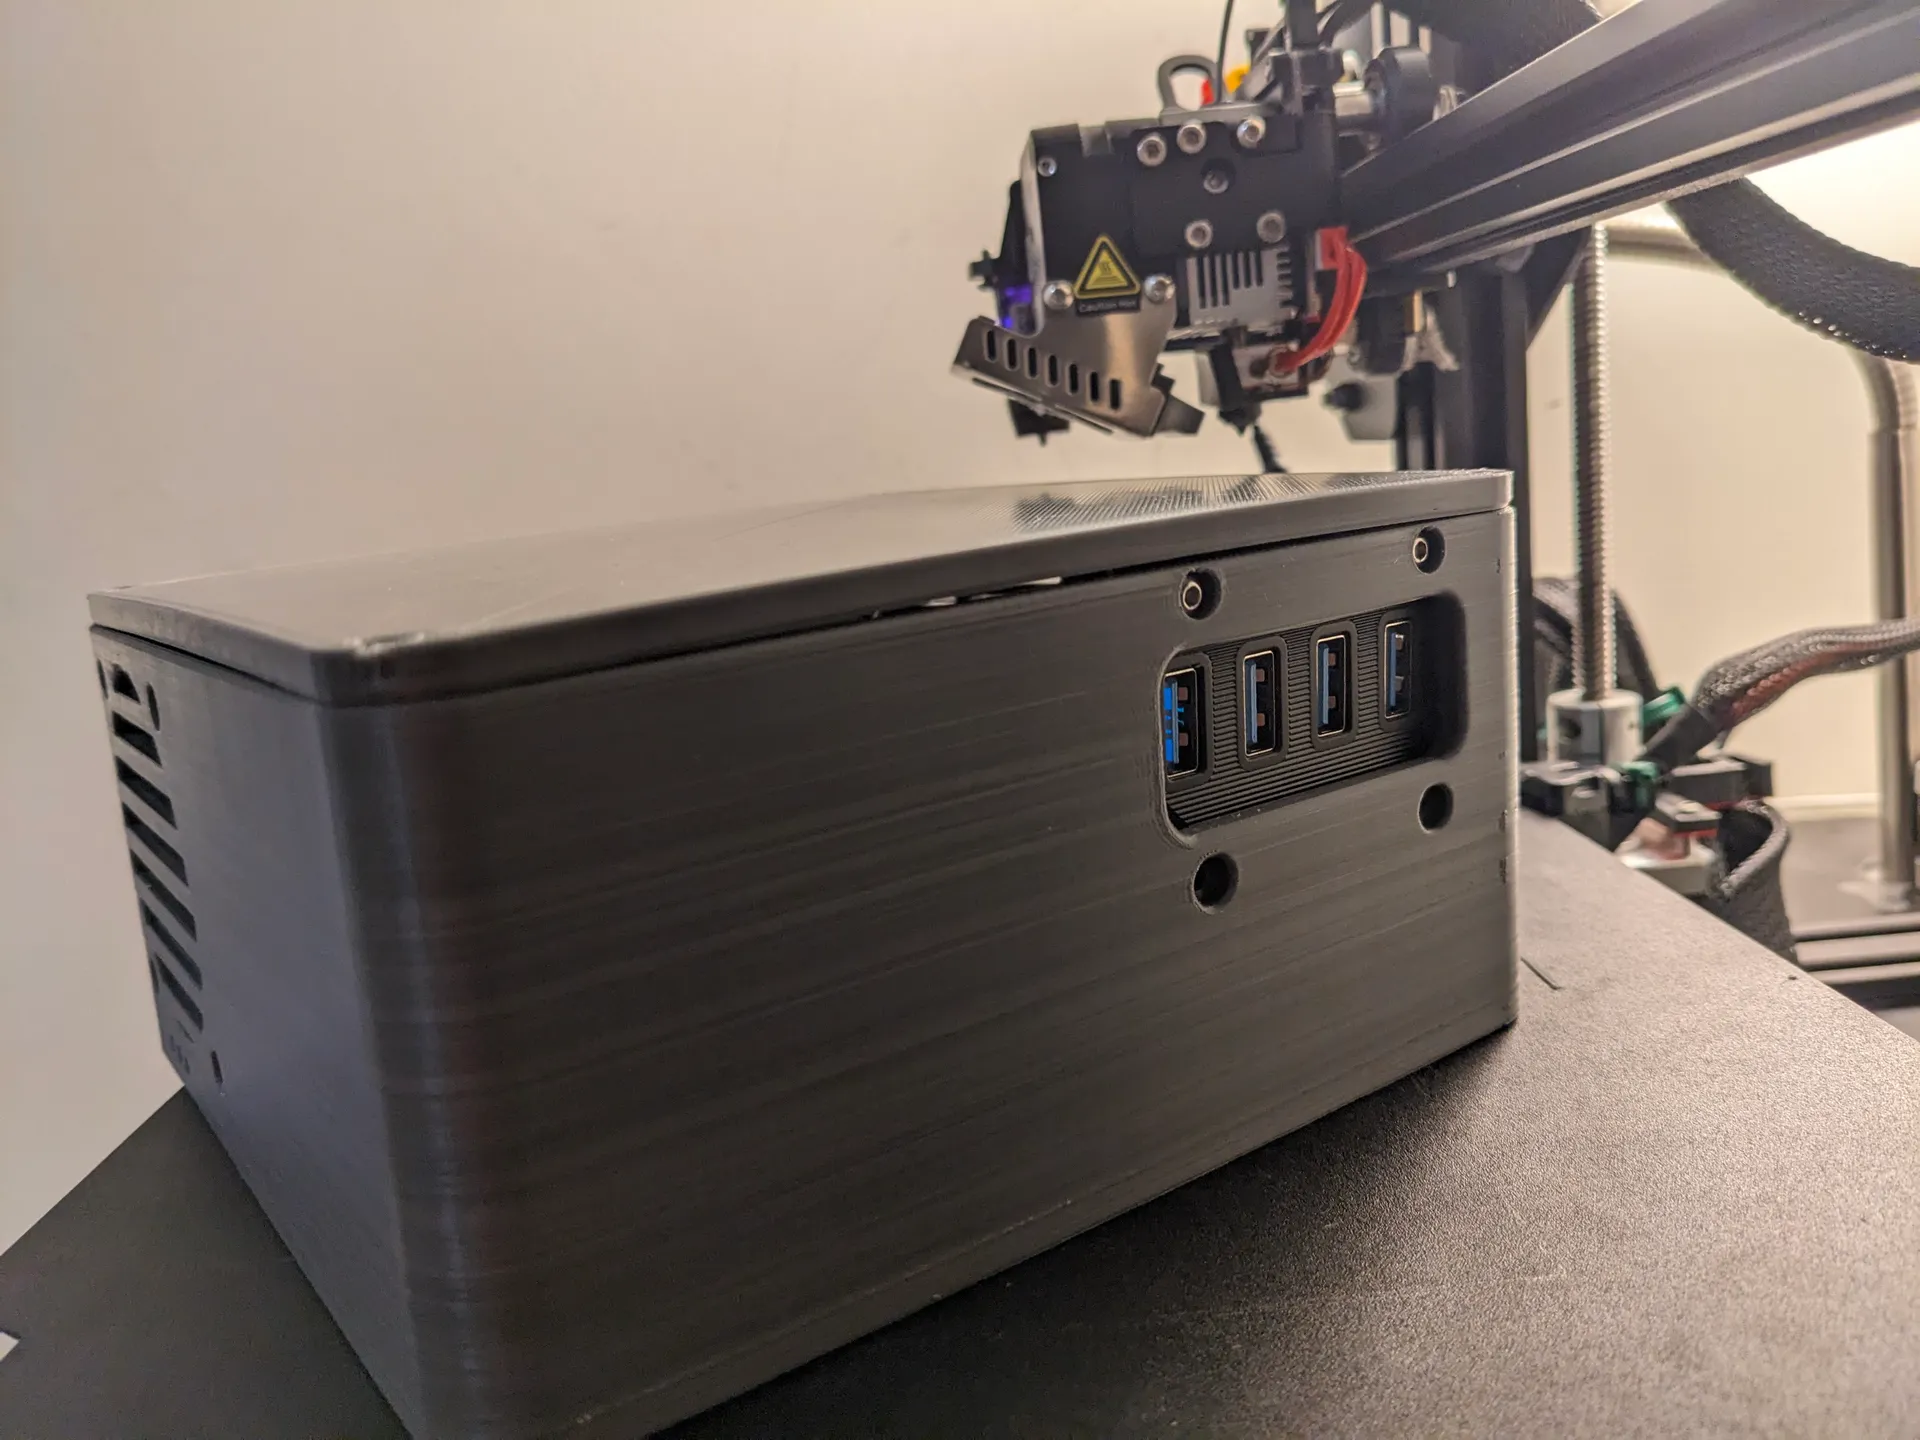
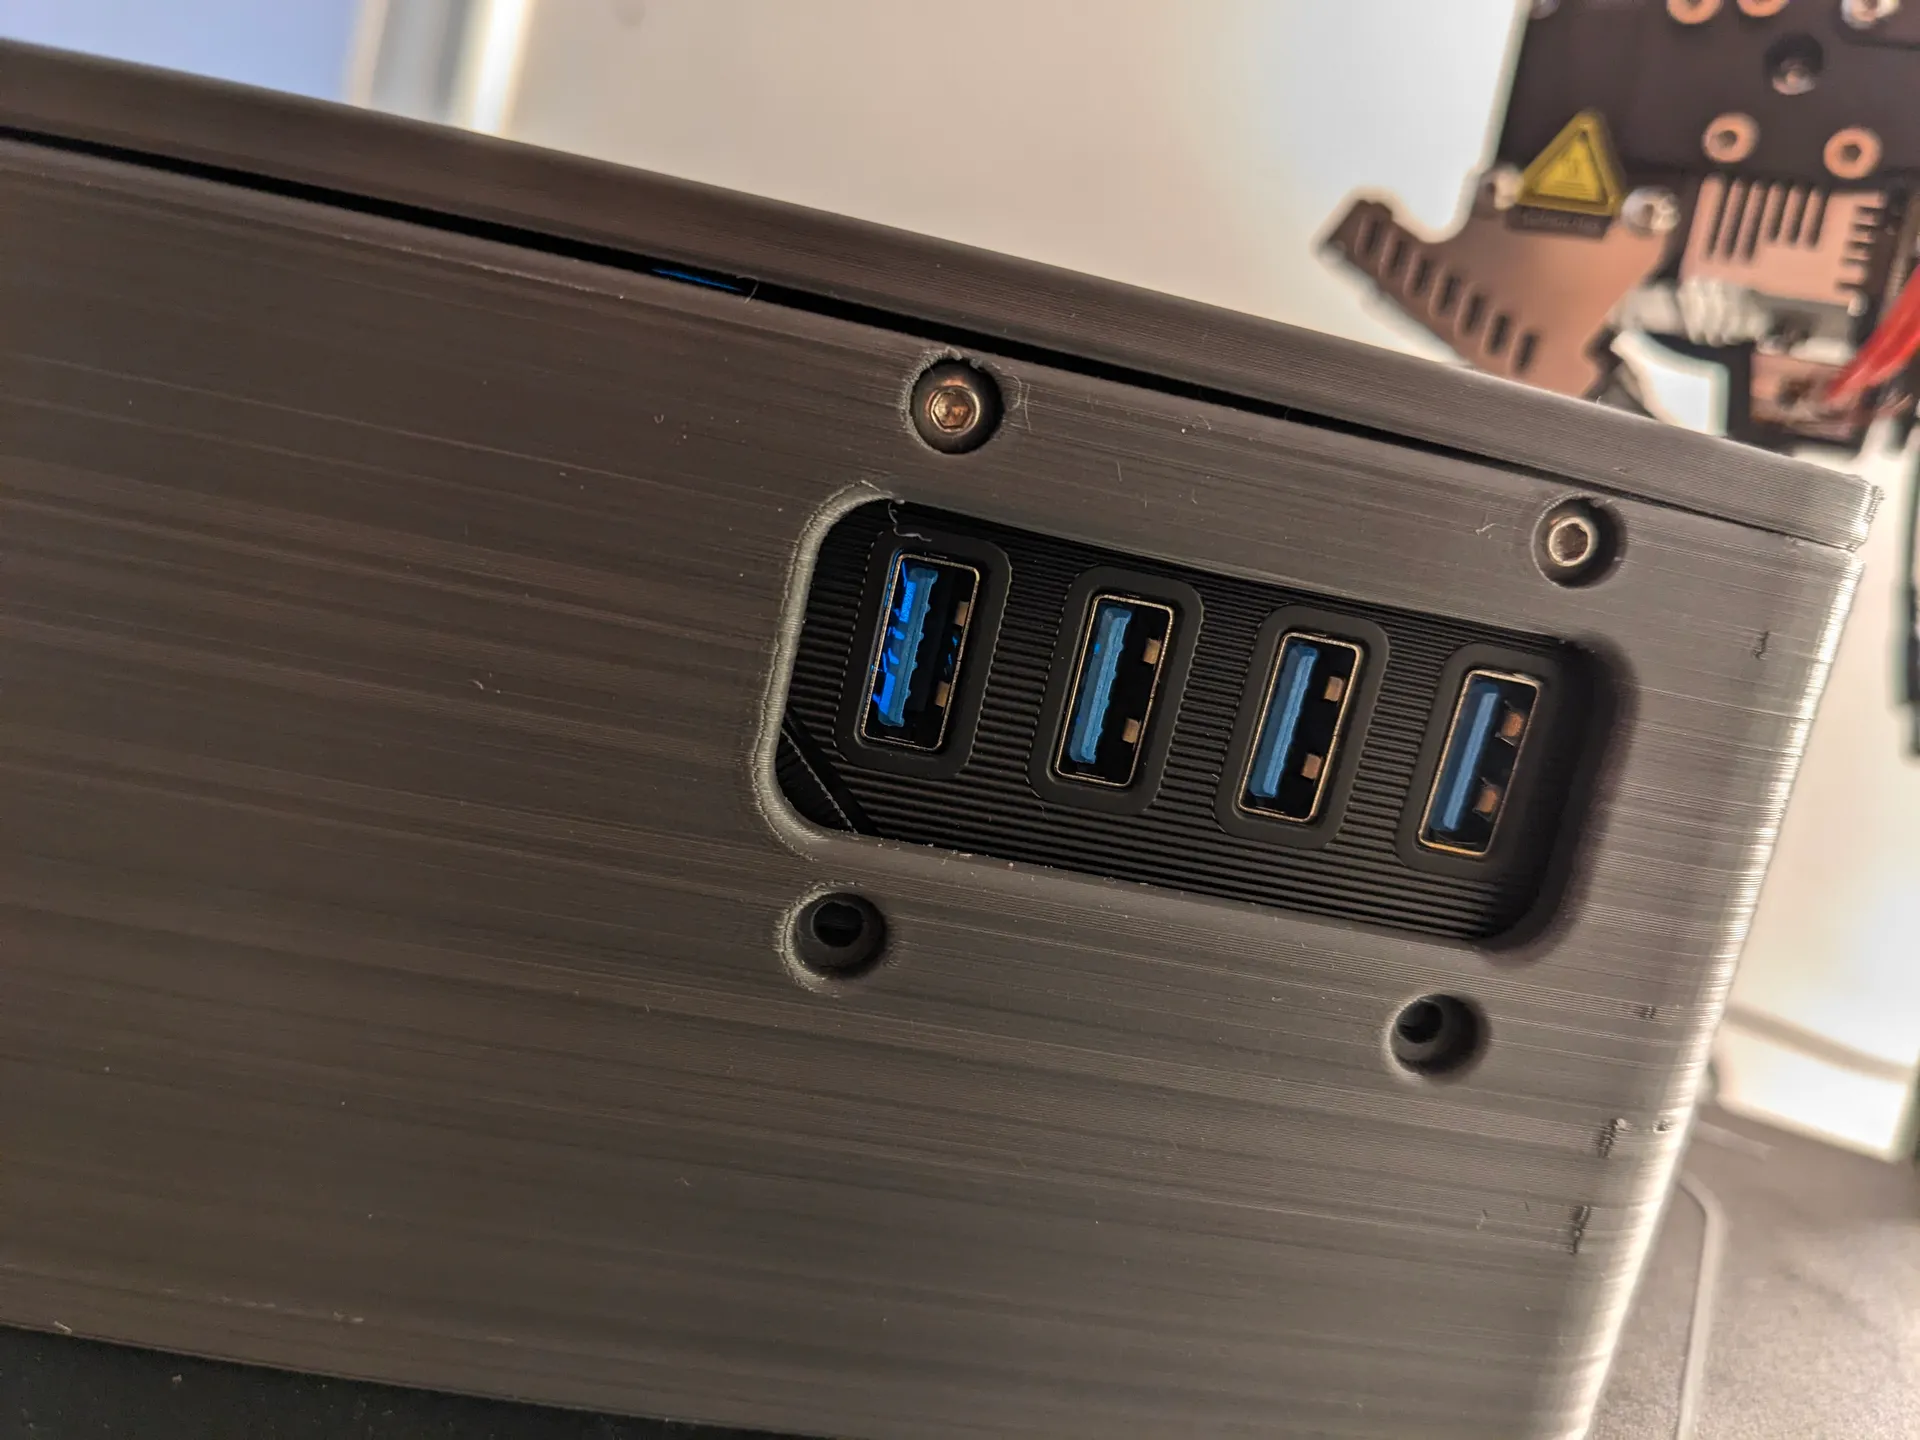
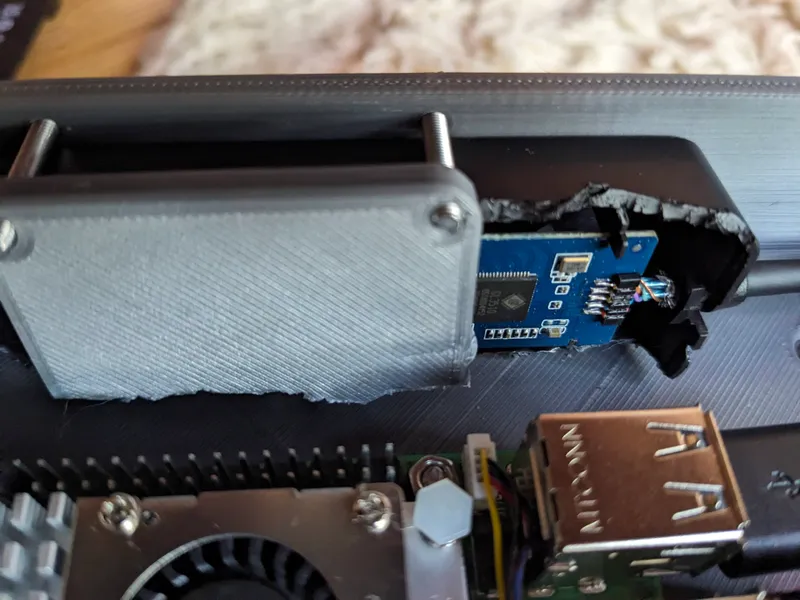
7. Mount the USB hub: i had to cut off the back with a pair of flush cutters to make it fit with my screws.
I would recommend using super glue as well as the back plate and the top two screw holes. the ports should line up to be able to access all four on the back of the case
8. Plug in the cables: I put the main drive USB cable in a USB 3.0 port, the secondary drive in a 2.0 port, the USB hub in the second 3.0 port and the fan in the second USB 2.0 port.
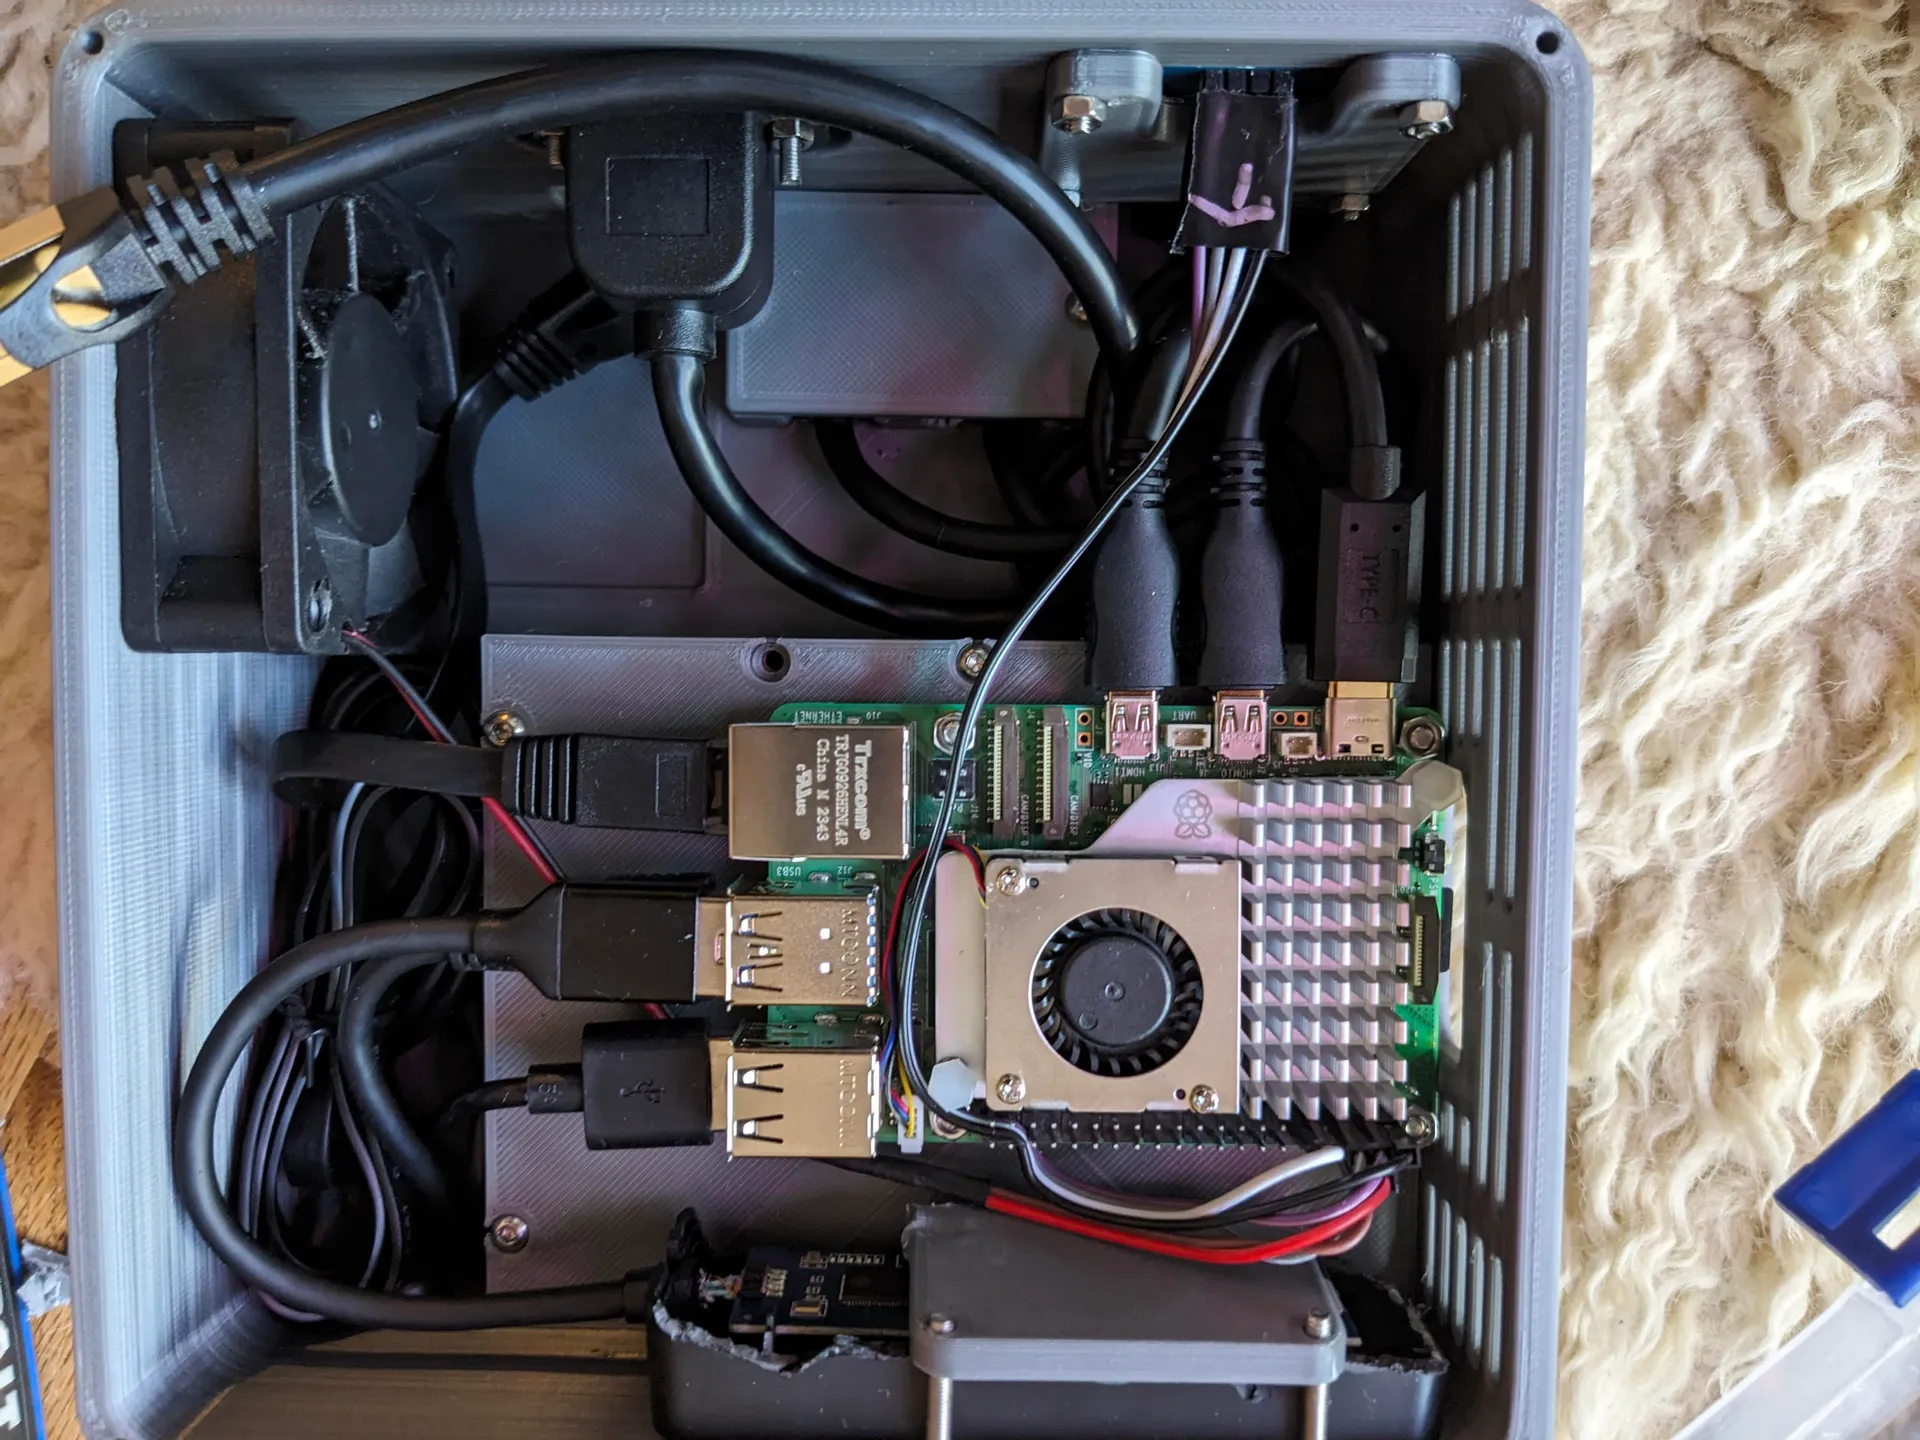
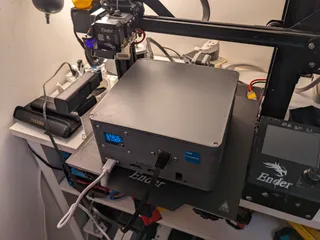
It should now look similar to this:
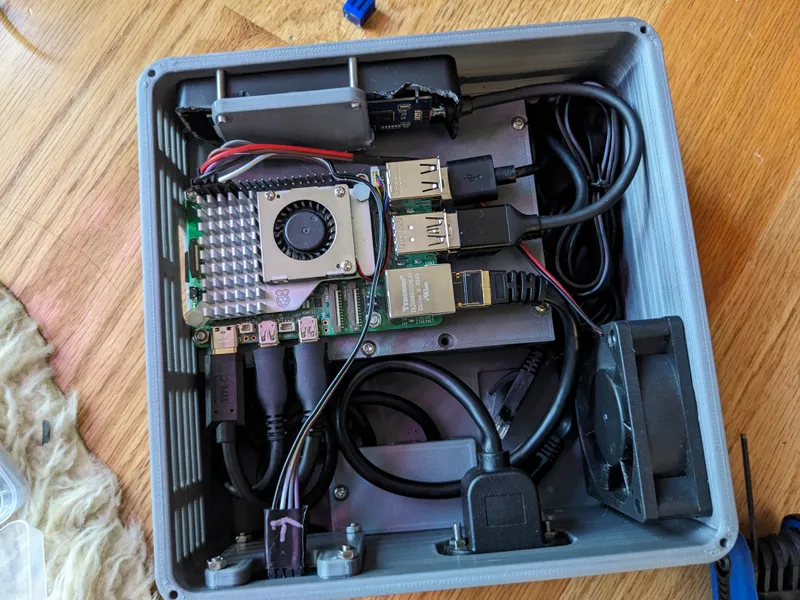
Test it and close it up.
9 Install the software:
I am running OMV and Immich but you can install whatever you want.
install guides:
1. OLED Stats Display:
https://www.the-diy-life.com/add-an-oled-stats-display-to-raspberry-pi-os-bullseye/
2. OMV:
3. Immich:
https://pimylifeup.com/raspberry-pi-immich/
10. Enjoy!
You now have a raspberry pi nas with up to 10tb of storage and a mini stats display
Tags
Model origin
The author marked this model as their own original creation.