DIY Claw Game - 3x 840mm
Description
PDFHow did never played the Claw Game and lost money?
This DIY project help you to build your own Claw Game.
Costs will be around 500€.
If you ever build a 3D printer, you can also build this.
Special Thanks to Voron Design, that inspired me for this project and where some parts where also reused from.
BOM for the frame:
4x Aluminum Extrusions 20×20 B-Typ Nut 6 each 840mm
8x Aluminum Extrusions 20×20 B-Typ Nut 6 each 805mm
16x DIN 7380 Screw M6x16
In Germany I bought mine from Dold.
4x Feeds with M8
BOM for Side panels:
4x 814x814x3mm Acryl or PETG clear
I got mine from kunststoffplattenprofis.de
M3 screws and T-Nuts or twist nuts or 3D printed Nuts to hold in place.
BOM Base panel:
You can also use Acryl or something like this. But also Wood is fine!
1x 812x812x6mm (see Cutsheet for the corners)
BOM electronics:
Gantry Game itself. I purchased one from AliExpress. The one with so called better PSU.
https://a.aliexpress.com/_uRDiGz
Rubberbands
BOM Gantry:
To move in Y, steel rods are needed. Any 10 x 800 mm will do.
1 Set of “BOSCH Führungsstange 10 x 800 mm”
2x M3 Screws plus and Threaded inserts (Screw length >20 to adjust the Y Endstops)
8x M5 Screws with T-Nuts
Cable:
Some cables to extend the LED.
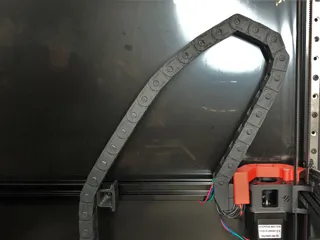
Cable clips for 2020 extrusions can be found on all platforms.
Donations: the0bone.mb@gmail.com
I printed the visible parts in Rainbow PETG (https://amzn.to/3tzERAe). 20% Infil and 4 Outer.
LED holder and Y-Gantry in ABS+ (https://amzn.to/397u0DW) with 40% Infill and 4 Outer.
Rest with whatever I had.
And all fits on a Prusa Mini Buildplate.
Frame assembly is just with the screws and blind joints like in the Voron 2 assembly instructions. The same for the side panels.
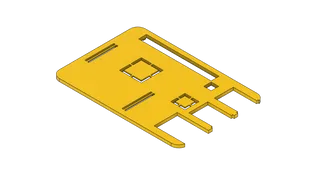
The mainboard is above the PSU with the corner parts. Just put them with rubber bands around. I melted the plastic after it sticks thru the mainboard.
Installation of the Joystick is tricky because I designed it with no much space. You have to partly disassemble it.
Model origin
The author hasn't provided the model origin yet.


