Simple magnetic switch

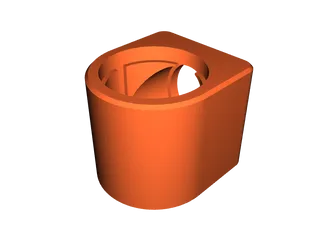

Simple magnetic switch using 2 magnets and 3 steel washers.
27
113
0
956
updated January 22, 2024
Description
PDFAfter seeing several versions of home made magnetic switches online, I wanted to make the simplest version possible without using lots of parts - especially magnets. So I came up with this design using only 2 magnets and 3 steel washers.
Non-printed materials required
- 2 x 12mm dia. x 20mm long neodymium cylinder magnets (N42 grade).
- 3 x 32mm dia. x 1.5mm thick steel washers.
- Cyanoacrylate glue (or 5 min epoxy glue).
- Grease e.g. PTFE grease, petroleum jelly, or similar.
Print settings
| Property | Value | Notes |
| Filament type | PLA | |
| Filament color | Any | |
| Layer height | 0.2mm | |
| Infill | 15-30% | |
| Perimeters | 4 | |
| Support material | Yes | |
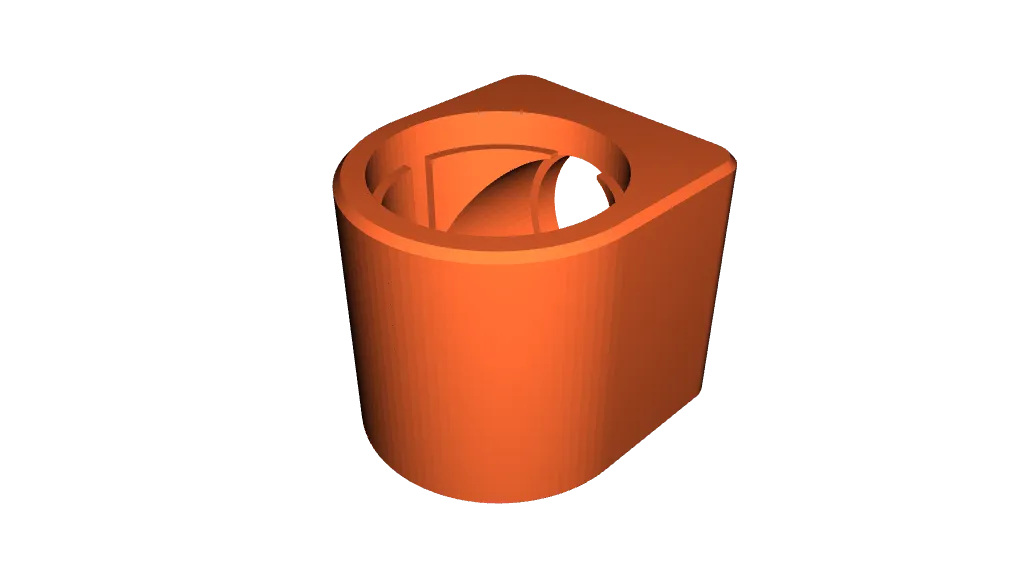
| Model orientation |
| |
| Clean up | Pliers and Hobby knife. |
Assembly
- Use a marker pen to mark the North pole on the first magnet, and the South pole on the second.
- Grease up the handle hole in the case to make switching easier.
- Press the handle down into the top hole in the case then snug against the side - a small slot is cut out of the case as a guide for orientation.
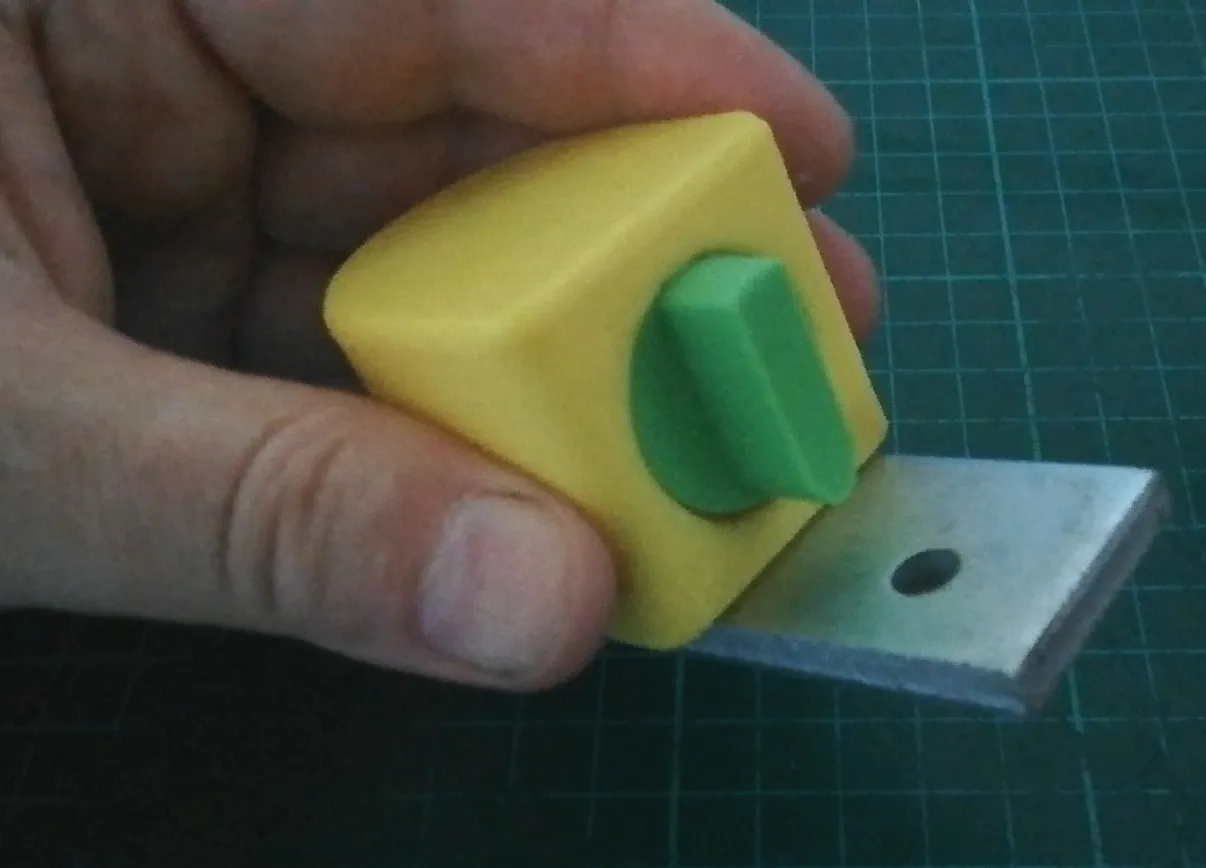
- Make sure the ‘arrow’ end of the handle is pointed toward you as this indicates when the switch is on.
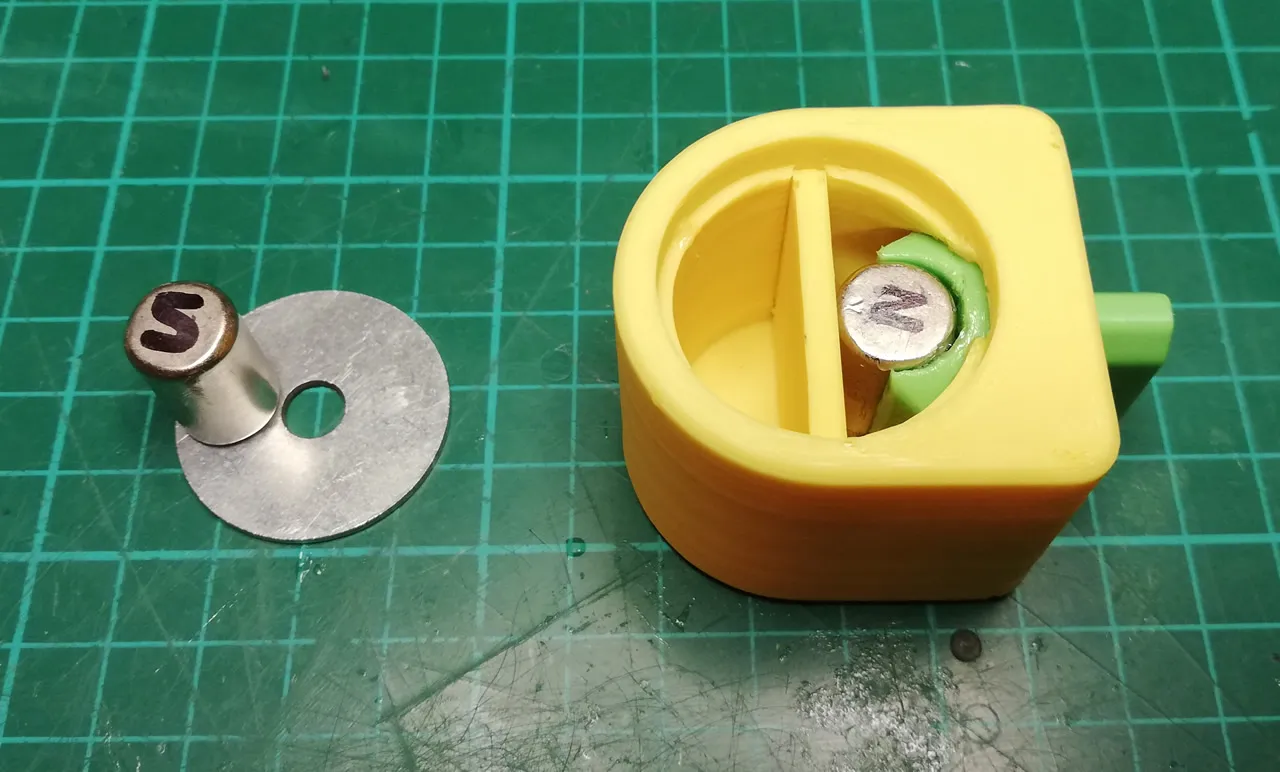
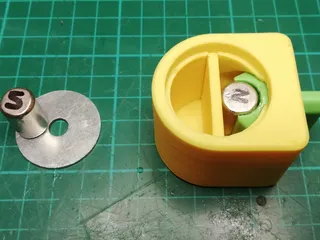
- Push a magnet - North face toward you - into the slot provided on the inside of the handle (see image).
- Glue the retainer into the slot provided inside the case.
- Take the other magnet - South face toward you - and place it on the left side of a steel washer (see image).
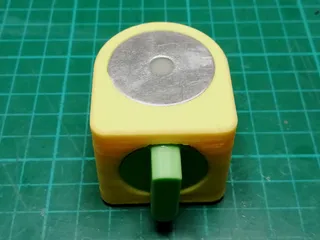
- Place a bead of glue around the washer recess in the case.
- Carefully drop the washer and magnet into the case so the washer magnet is 180 degrees to the handle's magnet (don't get the magnets to close to each other!).
- Glue the remaining washers into the recess in the case.
- Wait for everything to dry.
Tags
Model origin
The author marked this model as their own original creation.


