x-axis visualizer (bear x-end upgrade)

Description
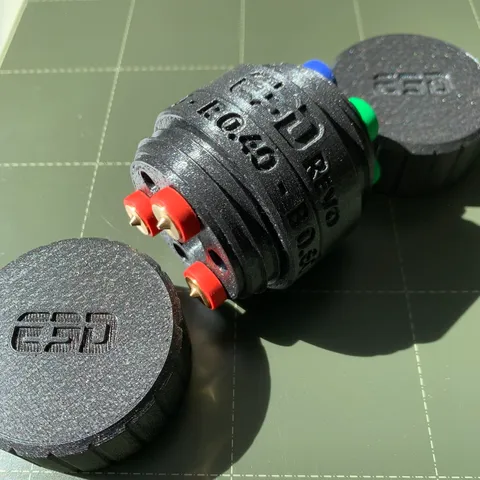
PDFI always liked the idea of the iOS settings icon on top of a stepper, but didn't wanted to cover my extruder stepper, because of the cooling of the motor bottom.
Then I found the solution from Félix but it doesn't fit on the bear motor x-end and (sorry Félix) it isn't exactly the iOS icon.
A new solution was therefore needed. Thanks to the STEP files provided, I was able to generate a solution that I would like to share.
In order not to summarise all the tips in detail here: Read the articles by Félix and GerryPB about the tricks and settings for printing - they also apply here. I will only go into the specifics of my design here. The whole model is attached to the free thread of the X-axis motor with just one screw (M3x20). The cover is held in place by a keyway and 2 magnets on the base.
Printing
All parts in PLA because of the precision - but to be honest I haven't tried any other material. Base, axis and cover with 0.4 nozzle + 0.2 layer thickness, gears with 0.25 nozzle and 0.7 layer thickness (maybe a bit exaggerated).
Always print parts face down (3mf or gcode shows the right direction)
Assembly
- First, the axle and the large gearwheel are put together with a small piece of black filament and glued together with the thinnest possible glue (superglue or acetone). Use as little glue as possible - it should not be visible anywhere. The protruding piece of filament is cut off with a sharp knife (chisel) - voilá the striking black centre is there. In my case the big gear isn't glued to the axle, it just fits well enough for rotation and makes disassembling easier.
- The two magnets are then pressed into the respective recesses - no glue is required here (assuming a well-calibrated printer)
- glue the small gear into the groove of the base (the cover has a recess, so it slips over it)
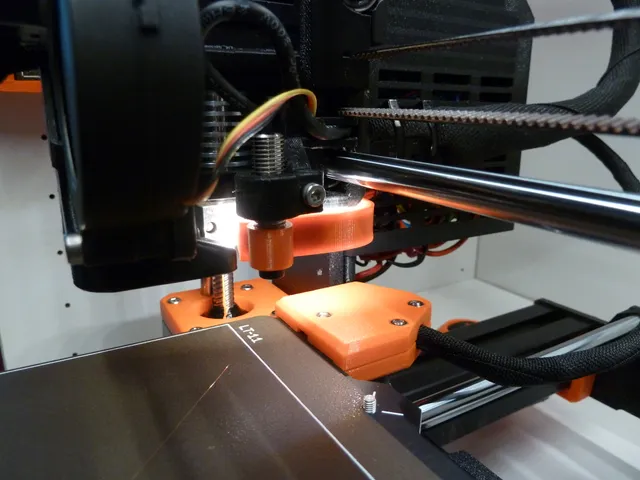
- screw the base onto the free thread of the stepper. The head of the screw is a little bit visible after all, so painting it black is a nice detail.
- Slide the cover from the left side into its position on the base (magnets will klick)
- Find the flat peace of the steppers axle and turn it in a specified position (top, left…). Press the printed axle with the same position onto it. Control the exact fit with moving the belt of the x-axis, the gear should not bum around.
- Your done!
Disassembling
In case of maintenance you have to remove the whole visualizer to reach the screws of the motor or the belt.
If the big gear and axle are glued together, take a pliers or a opening tool (iFixit) to grip the axle and pop it from the stepper axle. Do not touch the gear, its very fragile. If the gear isn't glued remove it before.
Additional parts required
M3 x 20 mm (head shape does not matter)
2 round magnets 6 x 2 mm
1.5 cm black film
Tags
Model origin
The author remixed this model.


Differences of the remix compared to the original
- Fits the bear x-axis upgrade
- looks like the original apple icon
- designed for printing - e.g. needs no printing support
- easy assembling and disassembling