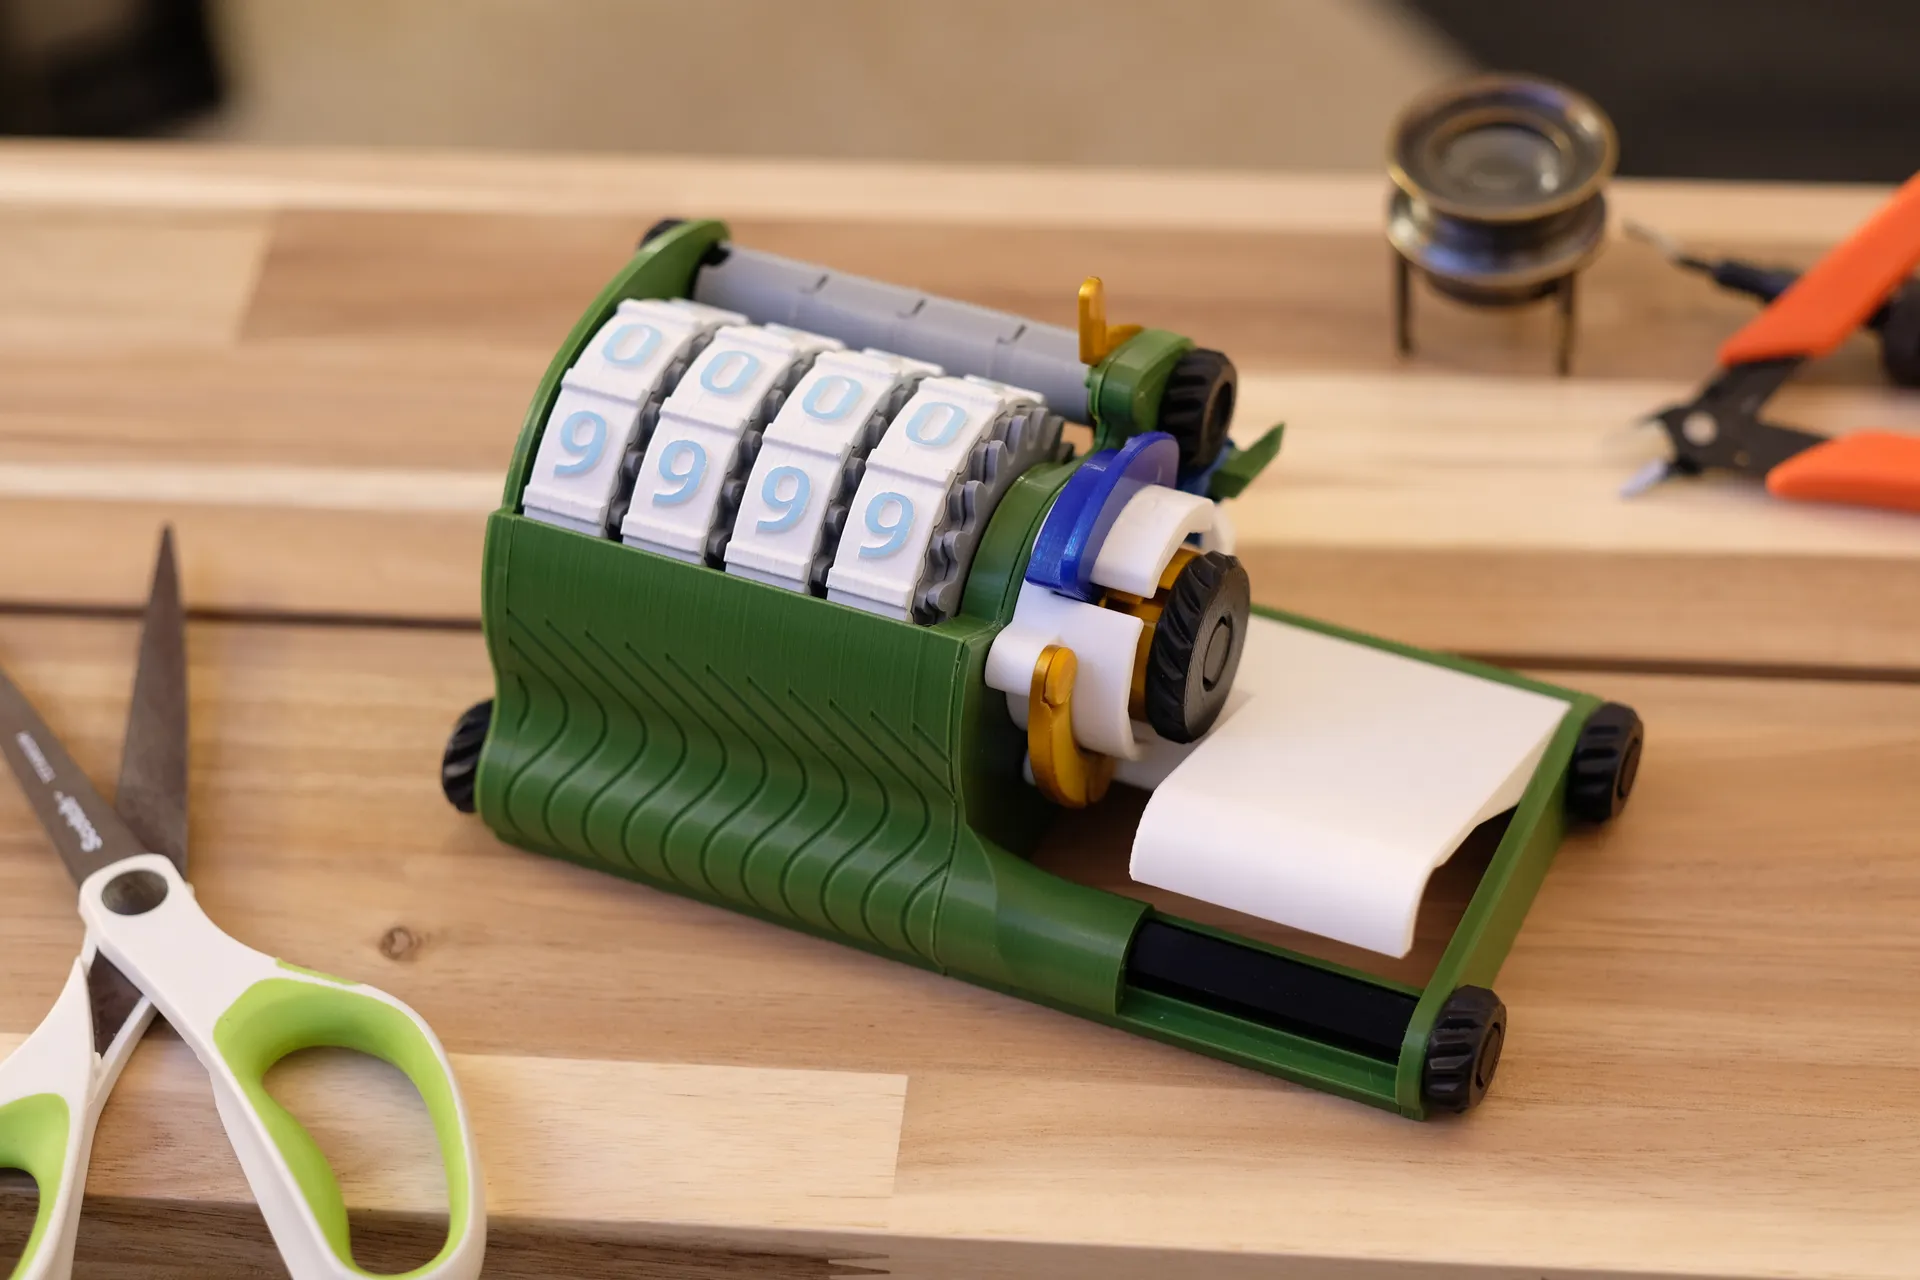
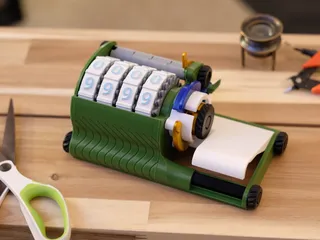
Hands-free Counting Machine 9000 v1.2


Description
PDFVersion 1.2 changes
- Reworked the selector ring to be less likely to catch on the ratchet springs when changing modes.
- Added modeled knurling to the thumb screws and nuts.
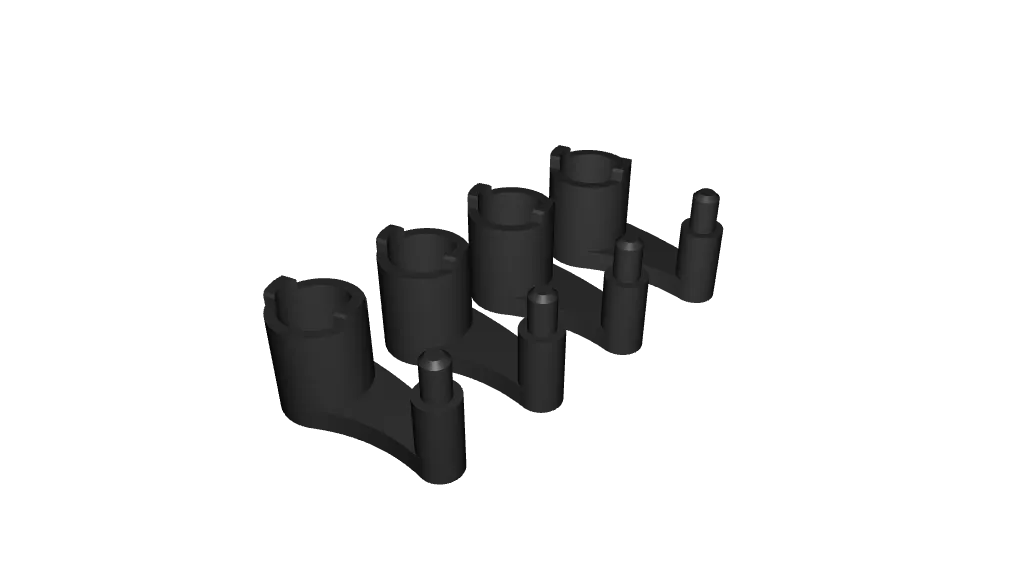
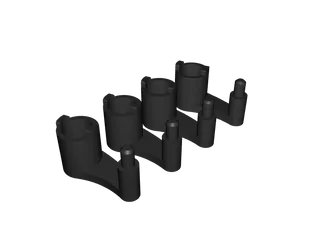
- Reworked link part to multiple parts to better optimize for layer line direction.
- Added decorative texture to the front of the main body.
Design Goals
This counter's concept is rooted in the question, “What if someone is making some stuff and needs to count things, but they can't use a normal counter because their hands are full making things?” To that end I have made a counting machine that can count up to the thousands for the big projects. Its number wheels can be disengaged from the counting mechanism to quickly reset the number without counting all the way around to get to zero again. It can count down from a specifically set number to zero if you like to work that way. The increment button is very generous in size, and place off to the side of the rest of the machine so it super easy to reach over and press it with a tired hand, or a side of a hand that still holding something, or a wrist, or an elbow, or if you put it on the floor a toe tap, or a heel bounce. And of course the display has a big enough font as to be readable from the floor.
Beyond that initial question I also figured the end user may not be there person who initial built it, so how to use should it be as self-explanatory and any part that might need replacing because of wear should be accessed without tools or significant disassembly. To that end there are no non-printed fasteners, and the only part likely to wear is a common rubber band that requires zero disassembly to change.
Printing
All part files have been rotated to their proper printing orientation and the only part that requires support is the Pedal, who's supports will be every easy to remove and supported surface faces inward toward the machine when assembled.
It is possible to print every part in PLA, but a few parts that need to flex as part of their intended use perform better when printed in PETG. These parts being:
- Clutch Lever
- Ratchet Springs
- Link Parts A, B, and C
Also there are some parts with quite fine details in the layer plane the require no larger then a 0.4mm nozzle be used in printing those parts. Those parts being:
- Ratchet Springs
- Ratchet Selector Ring
- Dial Number Rings
- Link Parts B, and C
- Center Shaft
- Upper Double Bolt
- Lower Double Bolts
Assembly
non-printed parts required:
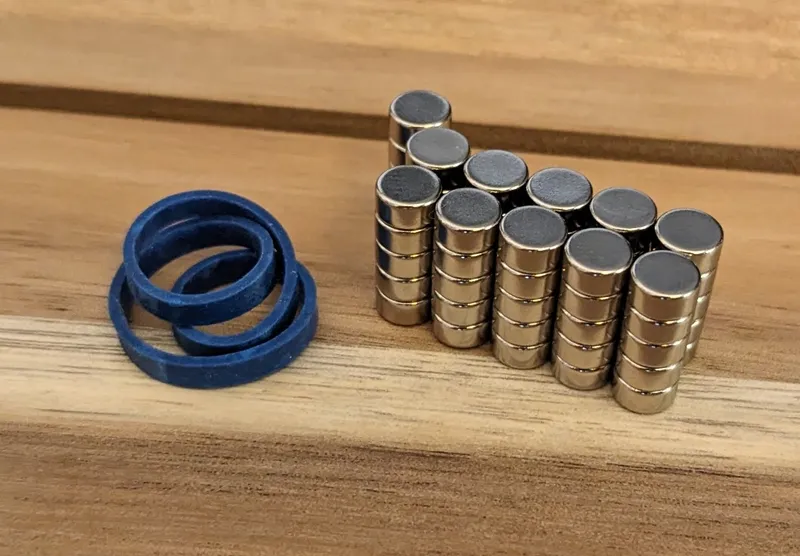
- 50-60 magnets 6mm Round x 3mm Thick
- 1 household rubber band
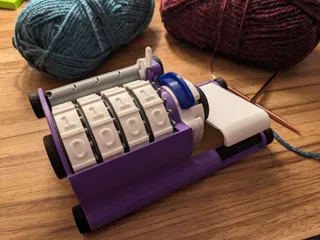
The Number Wheel
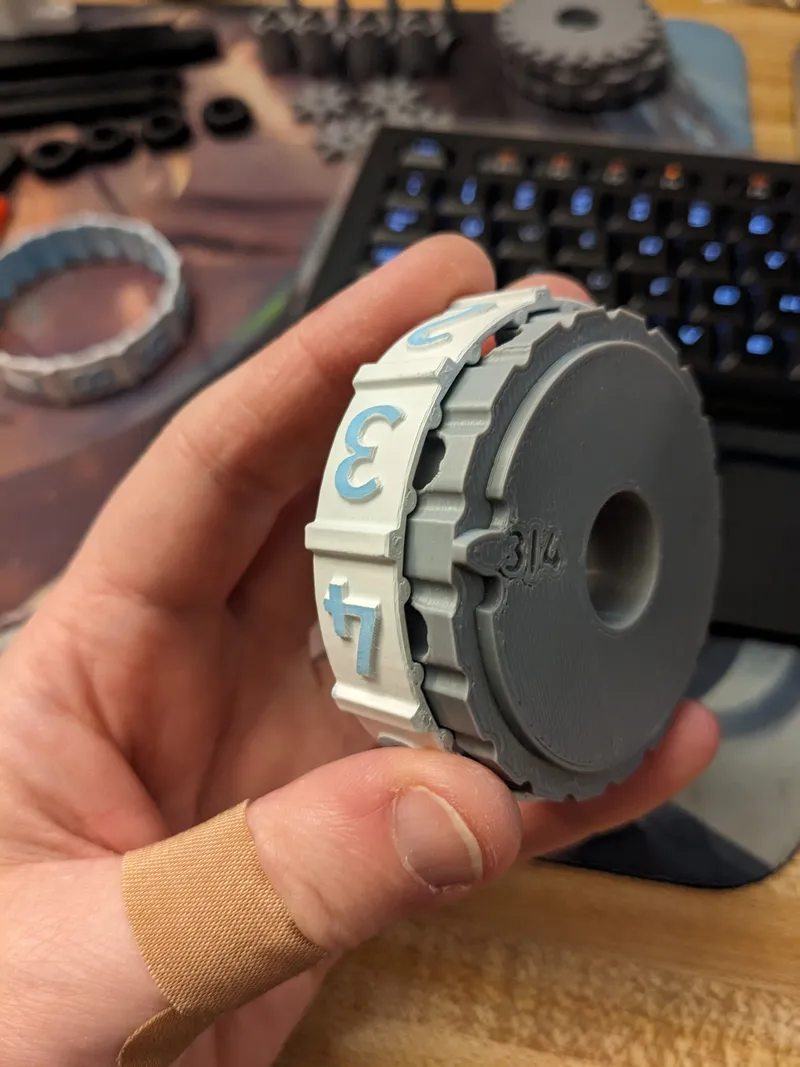
The number wheels each consist of 3 printed parts and 10 magnets. the side with only one embossed gear tooth is slid into the number ring first, with the tooth aligned to the raised ridge between the numbers 3 and 4 as noted on the part itself.

You can now pop the 10 magnets into place. All the magnets need to have the same pole facing out. It doesn't matter which ends of the magnets are actually north or south, but what does matter is consistency. Glue is technically optional but the magnets tend to rattle around in the number wheels if you don't add a drop of glue to each pocket.
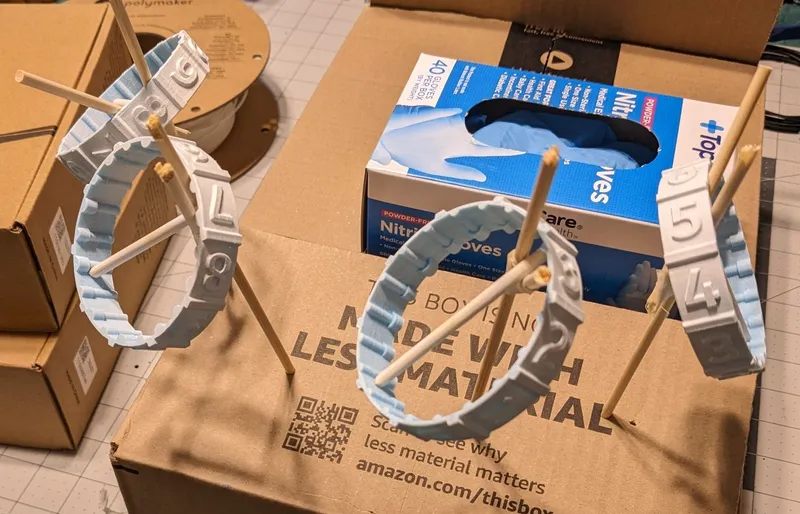
If you want the numbers on the number wheels to stand out from the background and you don't have a multi-color printer (like me :/ ) you can try to paint the numbers after the part is printed, or like I did here, print the parts in the color you want the numbers to show up as, then spray paint the whole thing white, and sand away the with paint from the numbers to reveal the color again.
The Everything Else
Model origin
The author marked this model as their own original creation.