Cube Background Panels (self assembling)
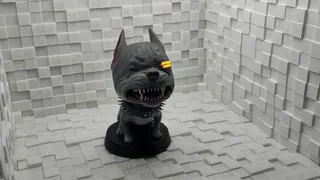
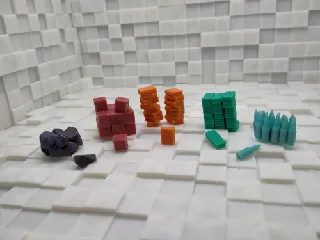
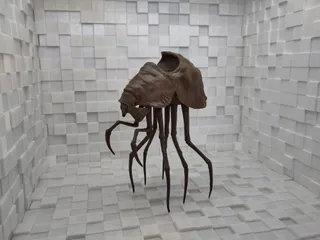
These background panels slot together into a box, which serves as a background for photography
1,278
1554
4
21 k
updated January 21, 2024
Description
PDFThe original cube background panels look wonderful, but I really wanted panels that assemble into a cube and I also wanted to spend less material per panel.
So I made my own version. Simply print three or four panels and slot them together at a 90° angle to make a cube. You might have to puzzle a bit to match the right edges. You can then use the corner cubes to slot into the corners. I use white painters tape to help hold the panels together and block any slits that might show.
You now have a beautiful background for photos of your 3D-prints! Add multiple strong light sources for beautiful pictures. Use bright filaments, perhaps with a speckle to break up any sheen.
There are three versions:
- A single large panel of 34cm (pictured)
- print 3 or 4 panels, 2 or 4 corner cubes and assemble
- A single small panel of 17 cm
- print 3 or 4 panels, 2 or 4 corner cubes and assemble
- A modular large panel of 34cm, cut into four pieces for printing on smaller machines
- print 1 of each piece and correctly assemble into single panel using the letters
- A = top left
- B = top right
- C = bottom left
- D = bottom right
- Glue all pieces onto an appropiate panel, e.g. plexiglass or cardboard or wood
- repeat this process 3 or 4 times, print 2-4 corner cubes and assemble
- print 1 of each piece and correctly assemble into single panel using the letters
Tags
Model origin
The author remixed this model.
Differences of the remix compared to the original
- Panel edges slot together to assemble a cube
- Less material use
- Removed rounded edges to reduce perimeters
- Lower height of cubic pattern


