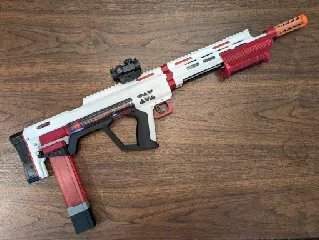
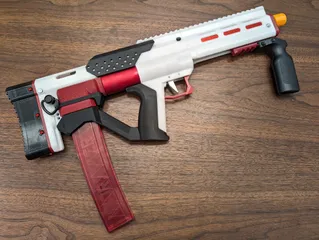
Lynx (and Minx/Lonx) 2.1 Ergo stock with QD slot. Designed for TPU
Description
PDFUpdated 5/12/24 - Embiggened holes to clear stock attachment screws in the buttpads. I noticed the screws heads seemed larger in the most recent lynx kit I got. Also added 1.25 inch pad option.
Updated 5/23/24 - Added an additional attachment plate version with a looser fit for the hex nuts.
Designed specifically for a flexible TPU butt-plate. A significant issue I ran into with other ergo stock options for the Lynx was that they always attached with just a few screws straight down the middle. If you have a flexible butt-plate, then lateral force at the shoulder can cause warping and make the butt-plate wiggle from side to side. This can make them annoying to use, especially with heavy spring loads and also the aesthetically unappealing when the edges curl back.
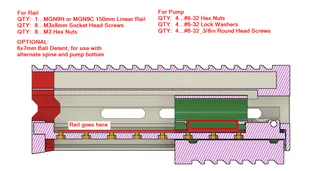
This Ergo stock translates the existing in-line attachment geometry, to one that attaches along the edges of the plate instead. This is done by an attachment plate that sits between the stock and butt-plate itself. Aside from the normal lynx 2.1 hardware, you will need:
7 - m3 nuts
7 - m3x6mm screws, I used socket head. These will show, so you can get nice ones (see pics)
7 - m3 washers, optional, but the increased surface contact is nice.
1 - Whatever screw is normally used to attach the butt-plate to the stock, cant reminder the size, you need 1 extra since this stock and plate are longer.
Printing:
All files are aligned for printing.
The stock should be printed just like the normal lynx. It couldn't hurt to add an extra perimeter or two to the attachment plate, but otherwise it can be printed like any other lynx part. I did mine in PETG, but it should be fine in PLA.
Pick a butt-pad length. The measurement is done from the very top flat portion of the plate, where it would be closest to your neck when shouldered. There are 1", 1.5", 1.7" and 2" variants with STEPS if you want to make a custom length. I recommend printing the bottom 6mms of the plate at 100% infill, since this is where the screws attach. The rest done according to how you like your TPU. I like 2 perimeters, 10% gyroid infill.
Assembly:
Attach the stock per normal Lynx assembly. Affix the attachment plate to the stock the same way you would normally attach a default Lynx butt-plate. Slide in the 7 m3 nuts into the raised portions of the attachment plate, being careful not to apply too much force. If you used a material that does not bridge as well (PETG) you may need to clean up the holes slightly. Once all 7 nuts are inserted slide on the chosen butt-plate and affix it with the m3 screws, use the washers if you have em.
I used the word butt 9 times in this description.
Tags
Model origin
The author remixed this model.
Differences of the remix compared to the original
Elongated stock to accommodate a larger stock. Added new attachment system, per description.


