Audi Visor Clip

Description
PDFThis is a replacement visor clip for a 2022 Audi A5 Quattro. It's possible that it might also work for other models or other model years. However, the only vehicle this has been tested on is the 2022 Audi A5 Quattro.
Materials required
In addition to the printed parts, the following materials are required.
Super glue: required to adhere the individually printed parts together
Clip cover: recovered from the existing visor clip
Metal spring: recovered from the existing visor clip
Small screw driver: required to remove the existing clip from the car
Parts
The Base
This part forms the base of the clip. All other parts, including the clip cover and metal spring, attach to this.
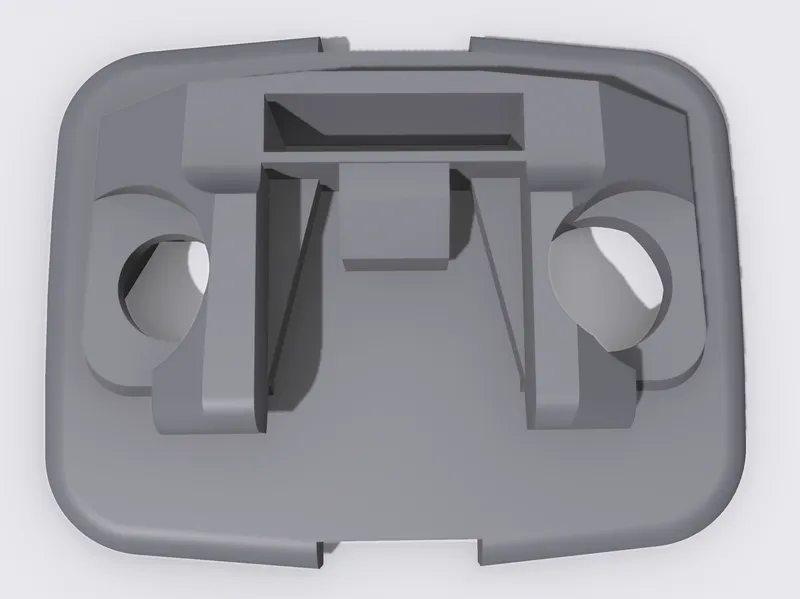
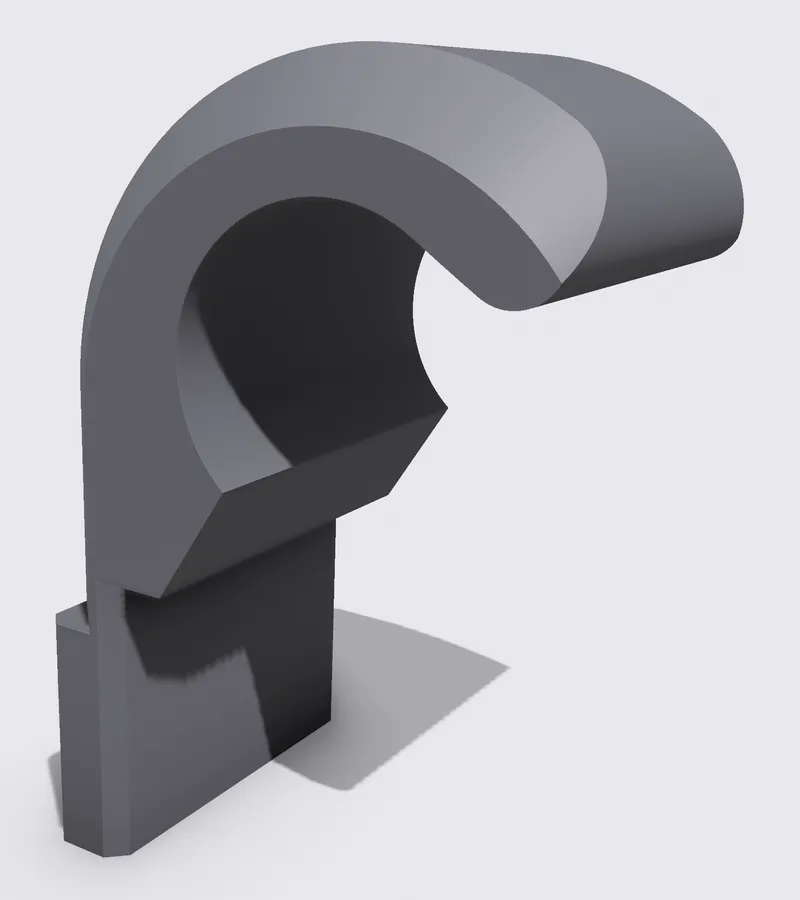
The Hook
The car's visor snaps into the space between this and the metal spring.
The Legs (large and small)
These, along with the clip cover, secure the clip to the roof of the car.
Print settings
Printer Type
An FDM printer is recommended. Resin printed parts might not have the tensile strength necessary for the clip to function as designed.
Material
All parts should be printed with ABS, or an equally strong material.
Perimeters & Top/Bottom Layers
Two perimeters and four top/bottom layers should be used.
Layer Height
The base and legs should be printed with 0.2mm layer height. The hook is the only part visible once installed and should therefore be printed at the smallest layer height the printer supports.
Infill Density
The base and legs should be printed with 15% infill. The hook should be printed with 70% infill.
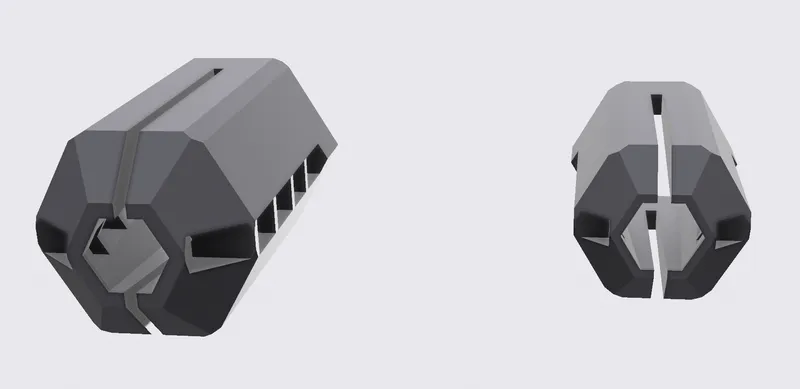
Supports
The large and small legs already have supports necessary to print. No additional supports are required.
Elephant Foot Compensation
This model has been designed to provide some resilience to elephant foot. However, if the printer introduces significant elephant foot, the parts may not fit together without filing or cutting away excess material. It is highly recommended that elephant foot compensation be set to a large enough value to completely eliminate all elephant foot.
Ironing
The hook should have its top layer ironed to ensure the best possible appearance.
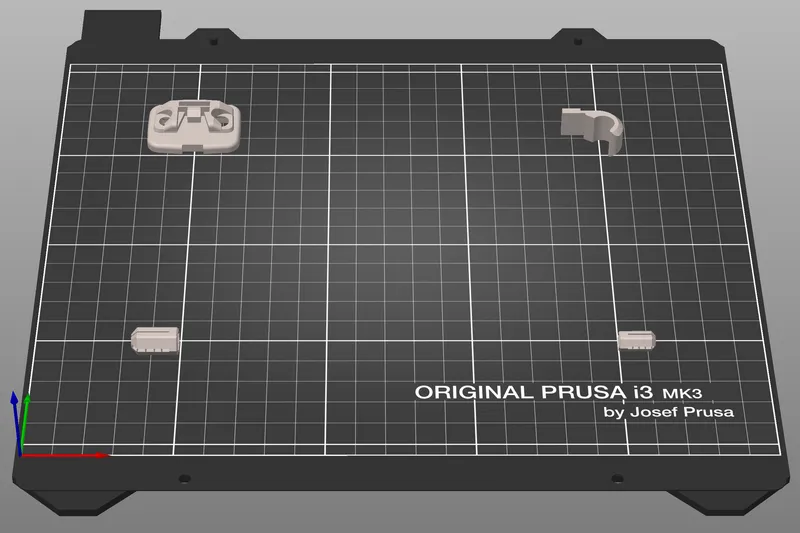
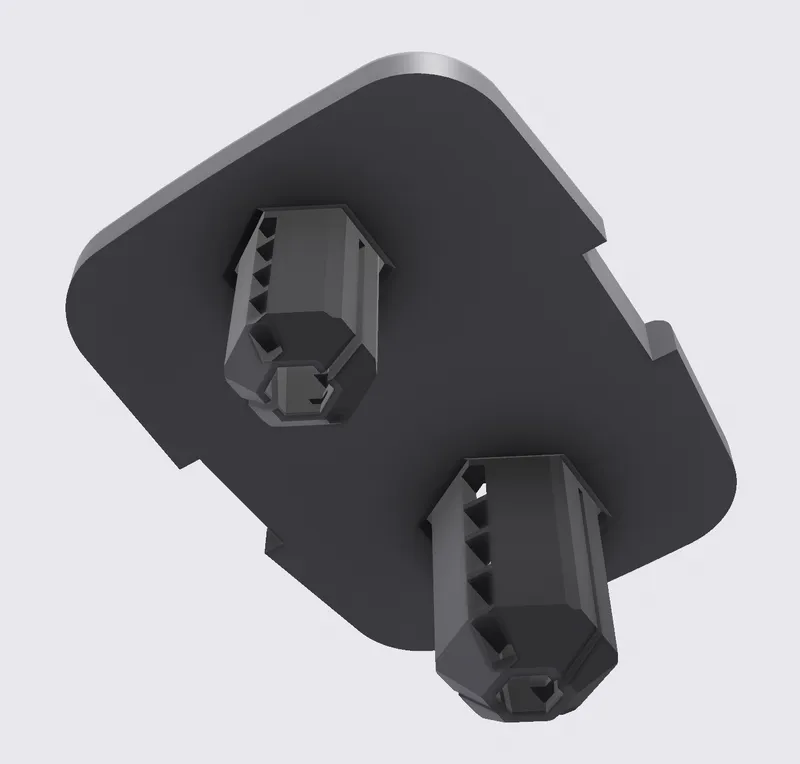
Layout
The parts should be oriented on the print bed as shown in the image below. This orientation is required to ensure that layer lines run in the correct direction, and details are printed in sufficiently high resolution, for the clip to function as designed.
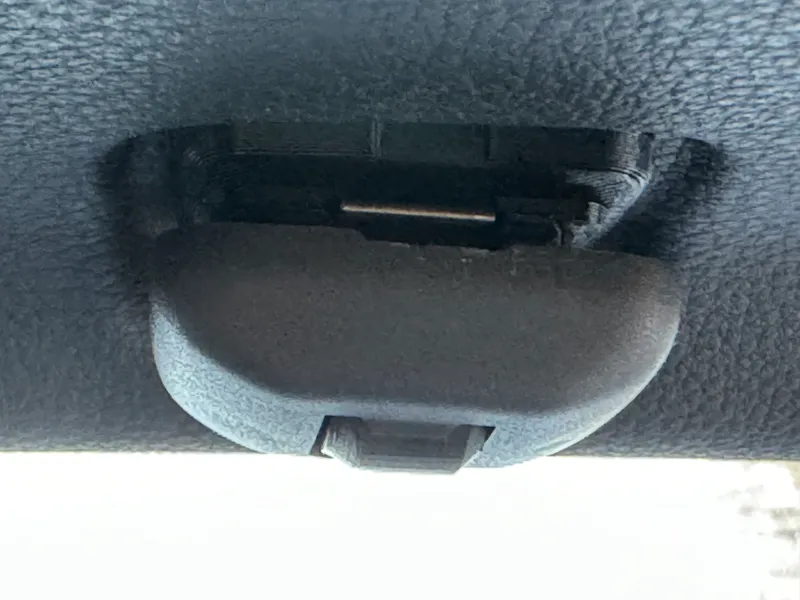
Original Clip Removal
To recover the clip cover and the metal spring, remove the existing clip from the car.
- Carefully insert the tip of a small screw driver under the lip of the clip cover and gently pry it down.
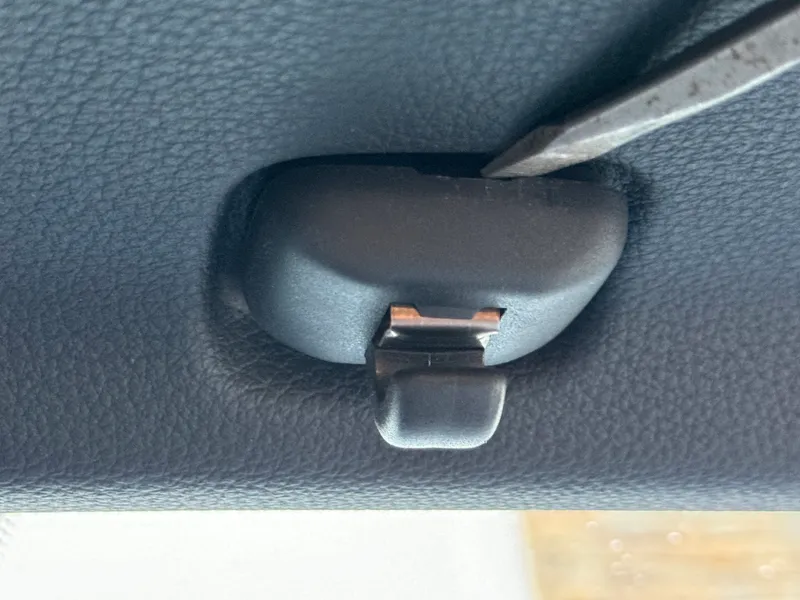
- Continue to pry the cover down until it comes free.
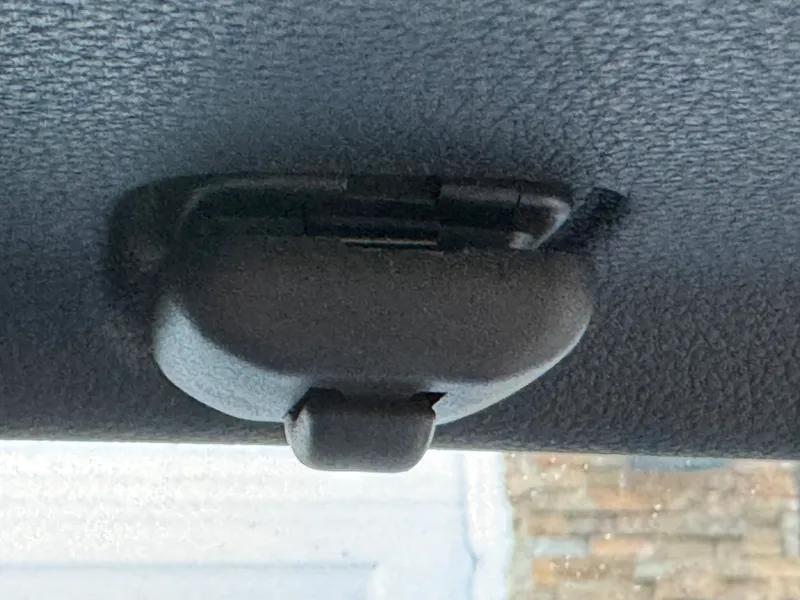
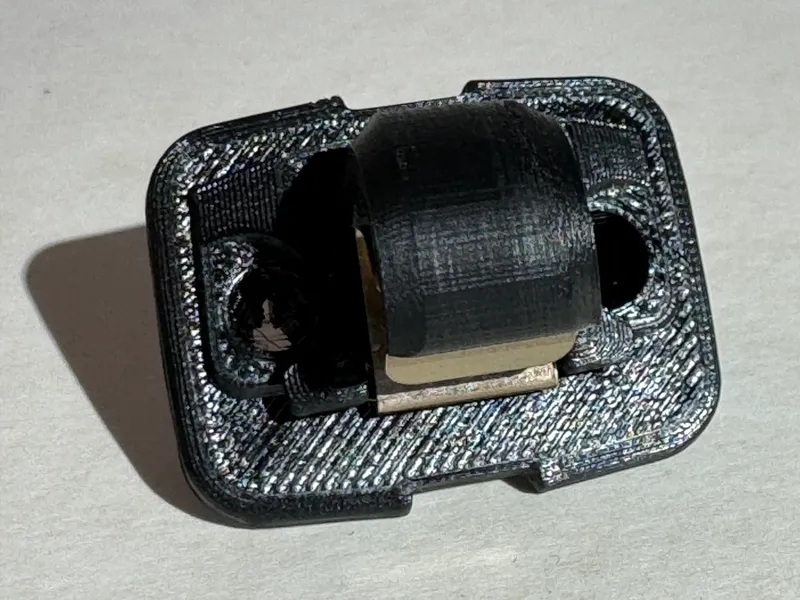
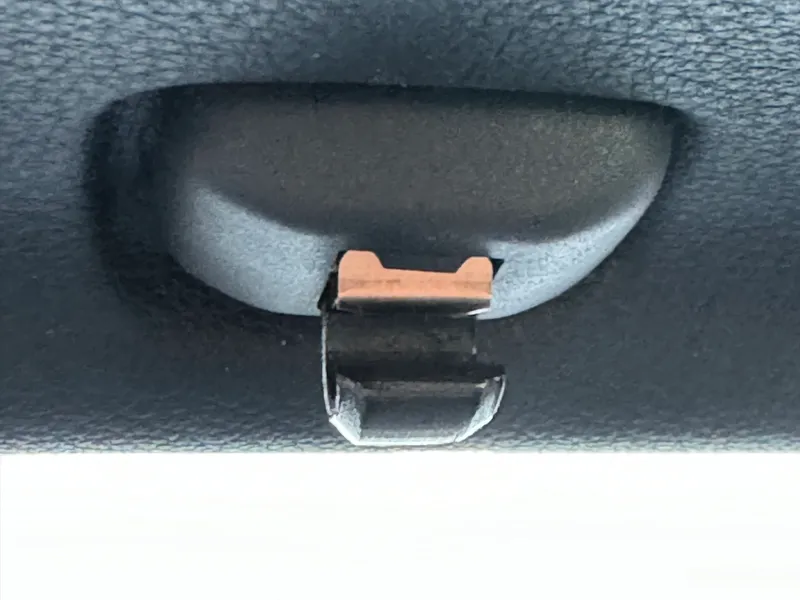
- Remove the clip cover, exposing the existing clip.
- Pull the existing clip down and out of the mounting holes.
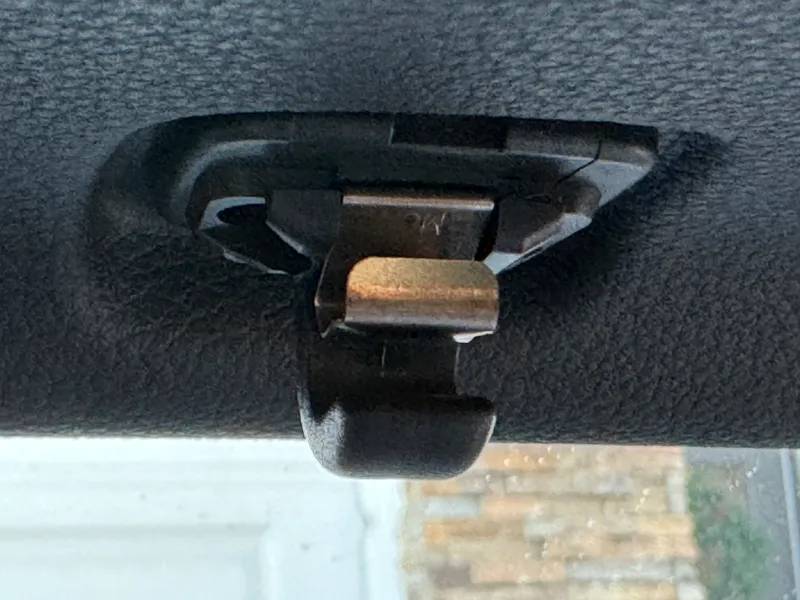
- Use a pair of needle-nose pliers to remove the metal spring from the existing clip.
Assembly
- Dry-fit the hook and legs into the base to ensure proper fit. Orient the legs as shown.
- Remove the legs, but leave the hook dry-fitted in place. Insert the metal spring by hand into the small groove indicated by the arrow.
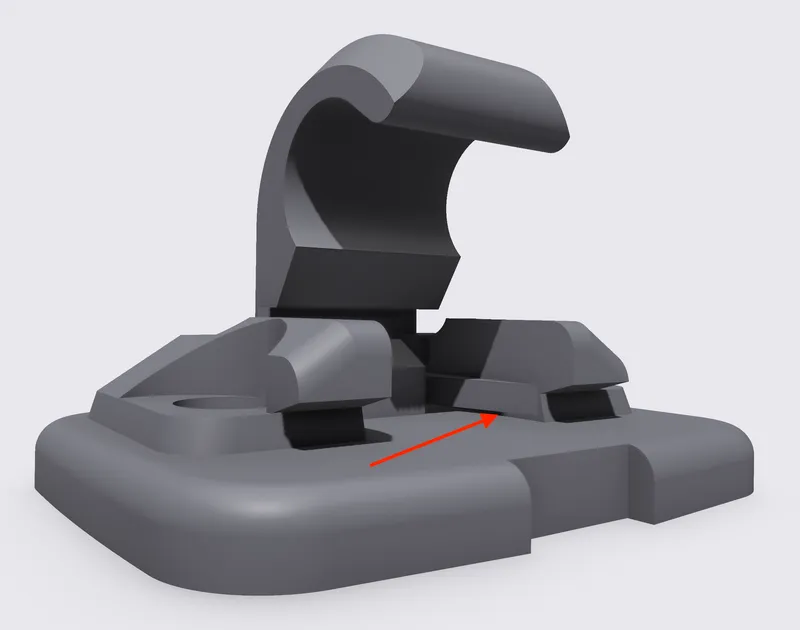
- Carefully press the spring into place with a pair of pliers until it fits as shown.

- Remove the hook. Apply superglue on the lower half of the portion of the hook to be re-inserted into the base. Immediately and fully re-insert the hook into the base.
- Apply superglue to the portion of the large leg to be re-inserted into the base. Immediately and fully re-insert the leg into the base.
- Repeat with the small leg.
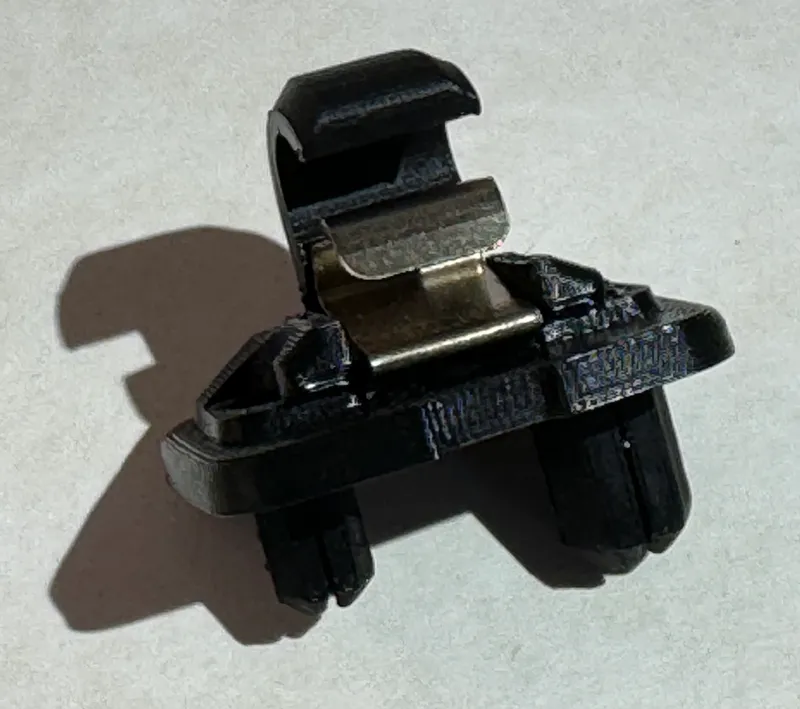
- When complete the clip should appear as shown.
- Allow superglue to fully cure before installing the clip into the car.
Installation
- Prior to installing the visor clip into the car, cut the built-in supports with a razor blade on both the large and small legs.

- Insert the clip in to the mounting holes.
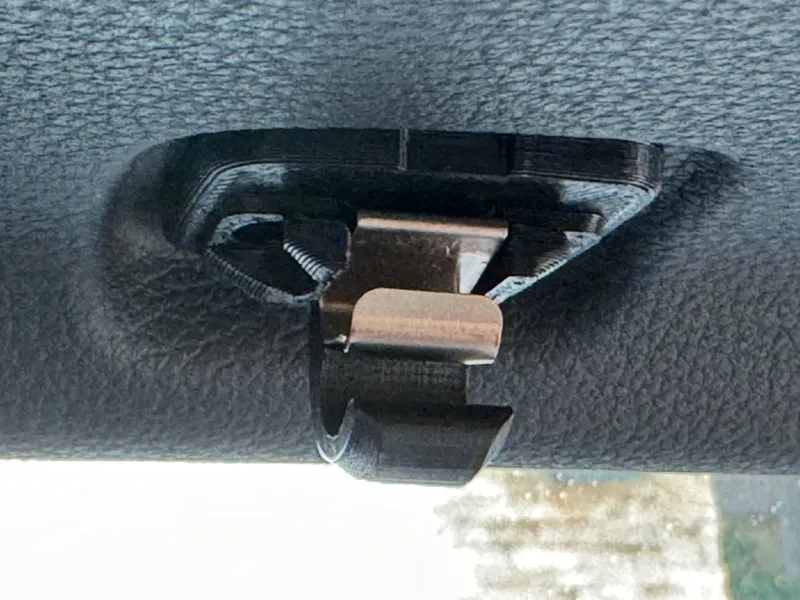
- Insert the clip cover into the clip.
- Push the clip cover up into place until it is fully seated.
Tags
Model origin
The author marked this model as their own original creation.


