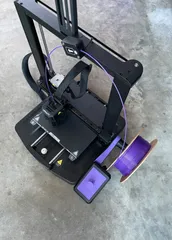
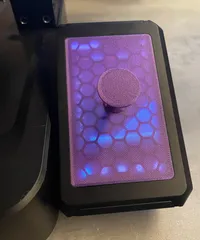
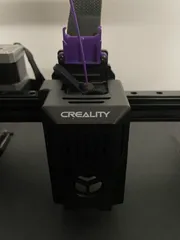
Creality Ender 3 v3 SE/KE gantry shims for non-vertical gantry
Description
PDFI recently came across another Creality owner that had noticed his gantry was off axis, this will off course cause some serious layer shifting on bigger prints. Upon checking myself (I used the PEI sheet that comes along with the printer it slots directly into the grooves of the extrusion profiles for easy measurements, caution: the printing sheet is sharp so can scratch the plastic) I saw mine wasn't great either.
This is apparently a known problem but the Creality wiki unfortunately doesn't really provide a solution. Thus I used the idea from this video to create some shims. Couldn't find the STL so created my own which also accounts for the runout sensor cable.
I printed the shims using Creality Print High Quality (.1mm layer height) settings using Eryone Standard PLA.
When testing which shim gives the best results make sure to tighten all screws on both sides because they highly affect each other.
In my case I ended up using a 0.4-0.6mm shim for the screen side and a 0.4-0.8mm shim for the Z-axis motor side for the best results. (If this is your only printer make sure to print out 2 of each before disassembly!)
If the 0.4-1.0mm shim is not enough I guess you could stack multiple together although I'd advise against it because of the length of the screws. Probably best to contact Creality for some replacement parts in that case.
If you have a runout sensor you might want to put the cable through the shim first before going to the frame because it's a bit tight.
Note: this doesn't fix a crooked or bend printing bed, or crooked x/y axis, however before trying to level those I'd advise leveling the gantry/z-axis first.
Note.2: might also work for the CR10-SE, cause I think they have the same extrusion profiles for the gantry? But don't know if it's a problem for those.
Tags
Model origin
The author marked this model as their own original creation.


