Eibos Polyphemus Stacker - stackable filament dryer

Description
PDFThe main riser parts attach to the top of the existing lid and provide a surface for the four rubber feet of another unit to sit on top. You need two riser parts per lid. The existing screws from the Polyphemus lid are reused.
There are two variations of the riser, the regular riser, and the riser with vent. The vented riser moves the main top vent of the Polyphemus to the front of the unit and allows hot air to be vented when the units are stacked. You could use the vented version if you want to run active drying with the units stacked. If you only wanted to use the units with the vents closed (eg, as a drybox or in humidity maintenance mode), then you could use the regular riser.
You will need two of the riser parts for each Polyphemus: either two of the regular “riser” parts, or one “riser” and one “riser with vent”.
The riser is designed to minimize forces on the (rather small) lid screws, which is why the riser part is not just a pair of corner platforms.
Printing
Use PETG or another material that will withstand the 70C+ heat generated by the Polyphemus. I've printed using eSUN PETG, 0.32 layers SPEED, 0.6 nozzle on a Prusa XL with input shaper. The model should work ok with 0.4 nozzle and other common smaller layer heights. 15% grid infill is fine, use more if you want. 2 perimeters is fine.
Part sets
For the non-vented configuration (you must never open the top vent of the lid when units are stacked, so no active drying!), print:
- 2 x “riser.stl”
For the vented configuration, print:
- 1 x “riser with vent.stl”
- 1 x “riser.stl”
- 1 x “vent cap.stl”
- 1 x “pipe connector.stl”
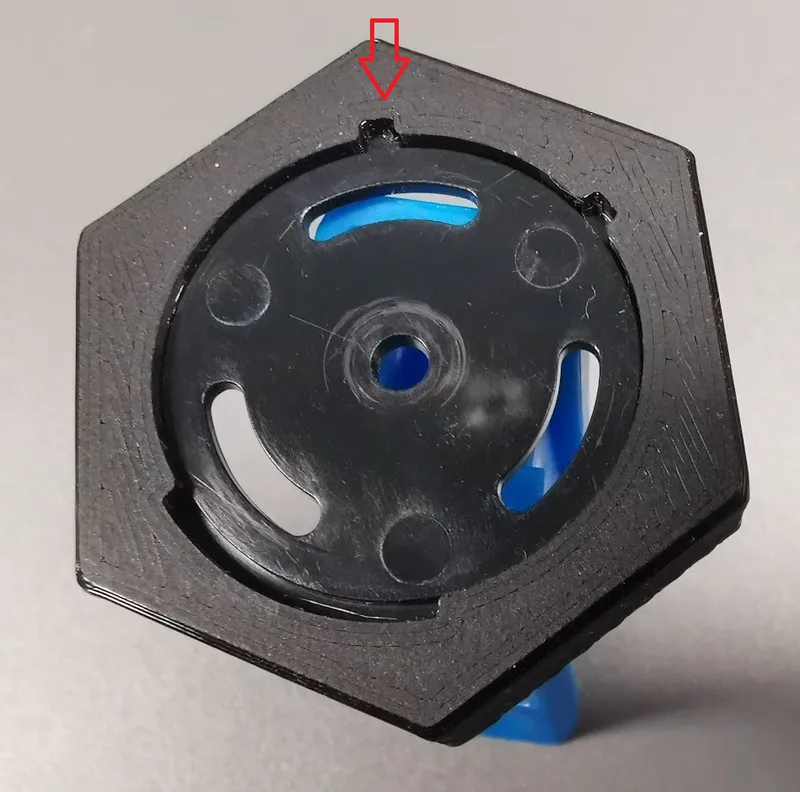
NOTE: Be careful when removing the riser parts from the build plate. The thin tabs which will slide under the Polyphemus lid handle can be snapped off if the print is well stuck to the build plate.
Assembly
For the non-vented configuration:
- This assumes that you start with an assembled Polyphemus lid. This is recommend so that the lid is well-aligned.
- Loosen the lid handle screws a few turns so that the centre tabs of the riser parts can slide underneath.
- Remove the screws from the two corners at the front of the lid.
- Align one of the riser parts with the front edge of the lid, sliding the thin tabs under the Polyphemus handle.
- Drop the two front edge screws into the deep holes in each of the corner platforms of the riser part, align with the holes in the lid and carefully tighten. Do not over-tighten!
- Repeat steps 3-5 for the rear of the lid.
- Carefully tighten the lid handle screws so that the riser tabs are held in place. Do not over-tighten!
For the vented configuration:
- This assumes that you start with an assembled Polyphemus lid. This is recommend so that the lid is well-aligned.
- Using a PH2 screwdriver (like the one that comes with Prusa printers), unscrew the existing vent in the lid. Observe how the vent is assembled as you remove it.
- Fit the vent you just removed to the vent cap part. The vent part fitted inside the cap must have its little tab aligned with one of the small notches in the vent cap:
The part fitted outside the cap must have its little tab aligned with the wide notch in the vent cap: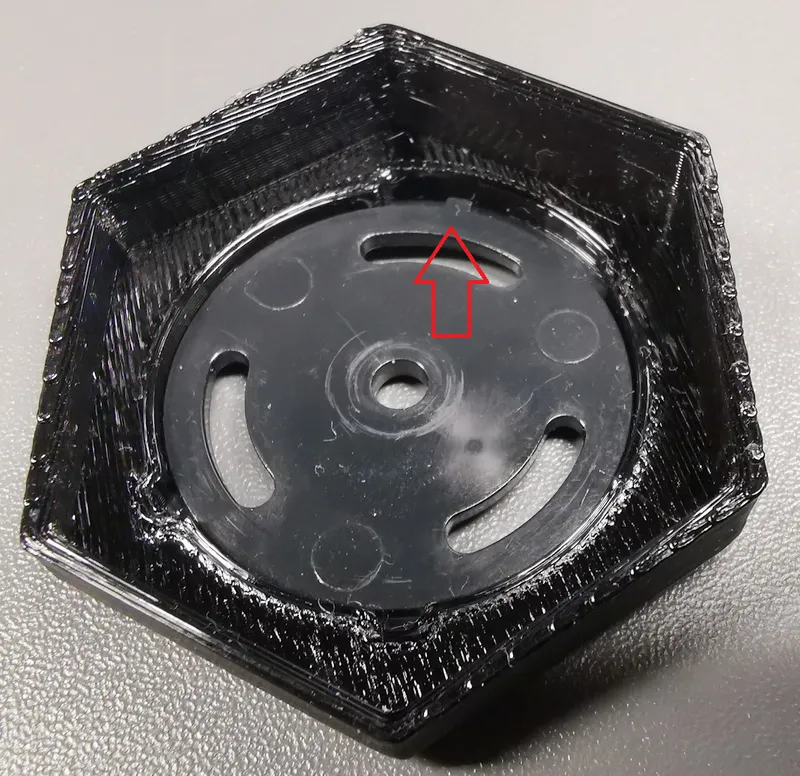
Tighten the vent screw so it's snug but so that the vent can still be opened and closed comfortably.
- The vent cap fits over the hexagonal boss on the front of the riser with vent part, in a specific orientation (see photos). The cap should easily fit over the boss. To get a more airtight fit, wrap one or two layers of masking tape (aka painters' tape) around the boss as required, and trim with a knife. It's easier to do this now before the riser with vent part is attached to the lid. Remove the vent cap from the riser with vent part before proceeding.
Note: The vent cap fit is intentionally designed to be forgiving of variations between different printers/slicers/filaments etc.
- Loosen the lid handle screws a few turns so that the centre tabs of the riser parts can slide underneath.
- Remove the screws from the two corners at the front of the lid.
- Align the riser with vent part with the front edge of the lid, sliding the thin tabs under the Polyphemus handle. The printed vent pipe should be covering the hole where the lid vent used to be.
- Drop the two front edge screws into the deep holes in each of the corner platforms of the riser with vent part, align with the holes in the lid and carefully tighten. Do not over-tighten!
- Remove the screws from the two corners at the rear of the lid.
- Align the riser part with the rear edge of the lid, sliding the thin tabs under the Polyphemus handle.
- Drop the two rear edge screws into the deep holes in each of the corner platforms of the riser part, align with the holes in the lid and carefully tighten. Do not over-tighten!
- Carefully tighten the lid handle screws so that the riser tabs are held in place. Do not over-tighten!
- Turn the lid upside down.
- Screw the pipe connector part through the vent hole in the lid and into the vent pipe of the riser with vent part. Be patient to find the correct threading. Use the lugs on the inside of the pipe connector to hand-tighten it.
- Turn the lid the right way up.
- Reattach the vent cap.
Disclaimer
You use this model entirely at your own risk! You must make your own assessment regarding safety and suitability for any purpose. The author accepts absolutely no liability whatsoever.
Tags
Model origin
The author marked this model as their own original creation.

