The Mechanical Dial Clock


Description
PDFCAD
This project was made with a free web-based browser named OnShape. If you would like to view and interact with the model, you can click here. (You can hide parts by clicking and pressing ‘y’ on your keyboard)
About
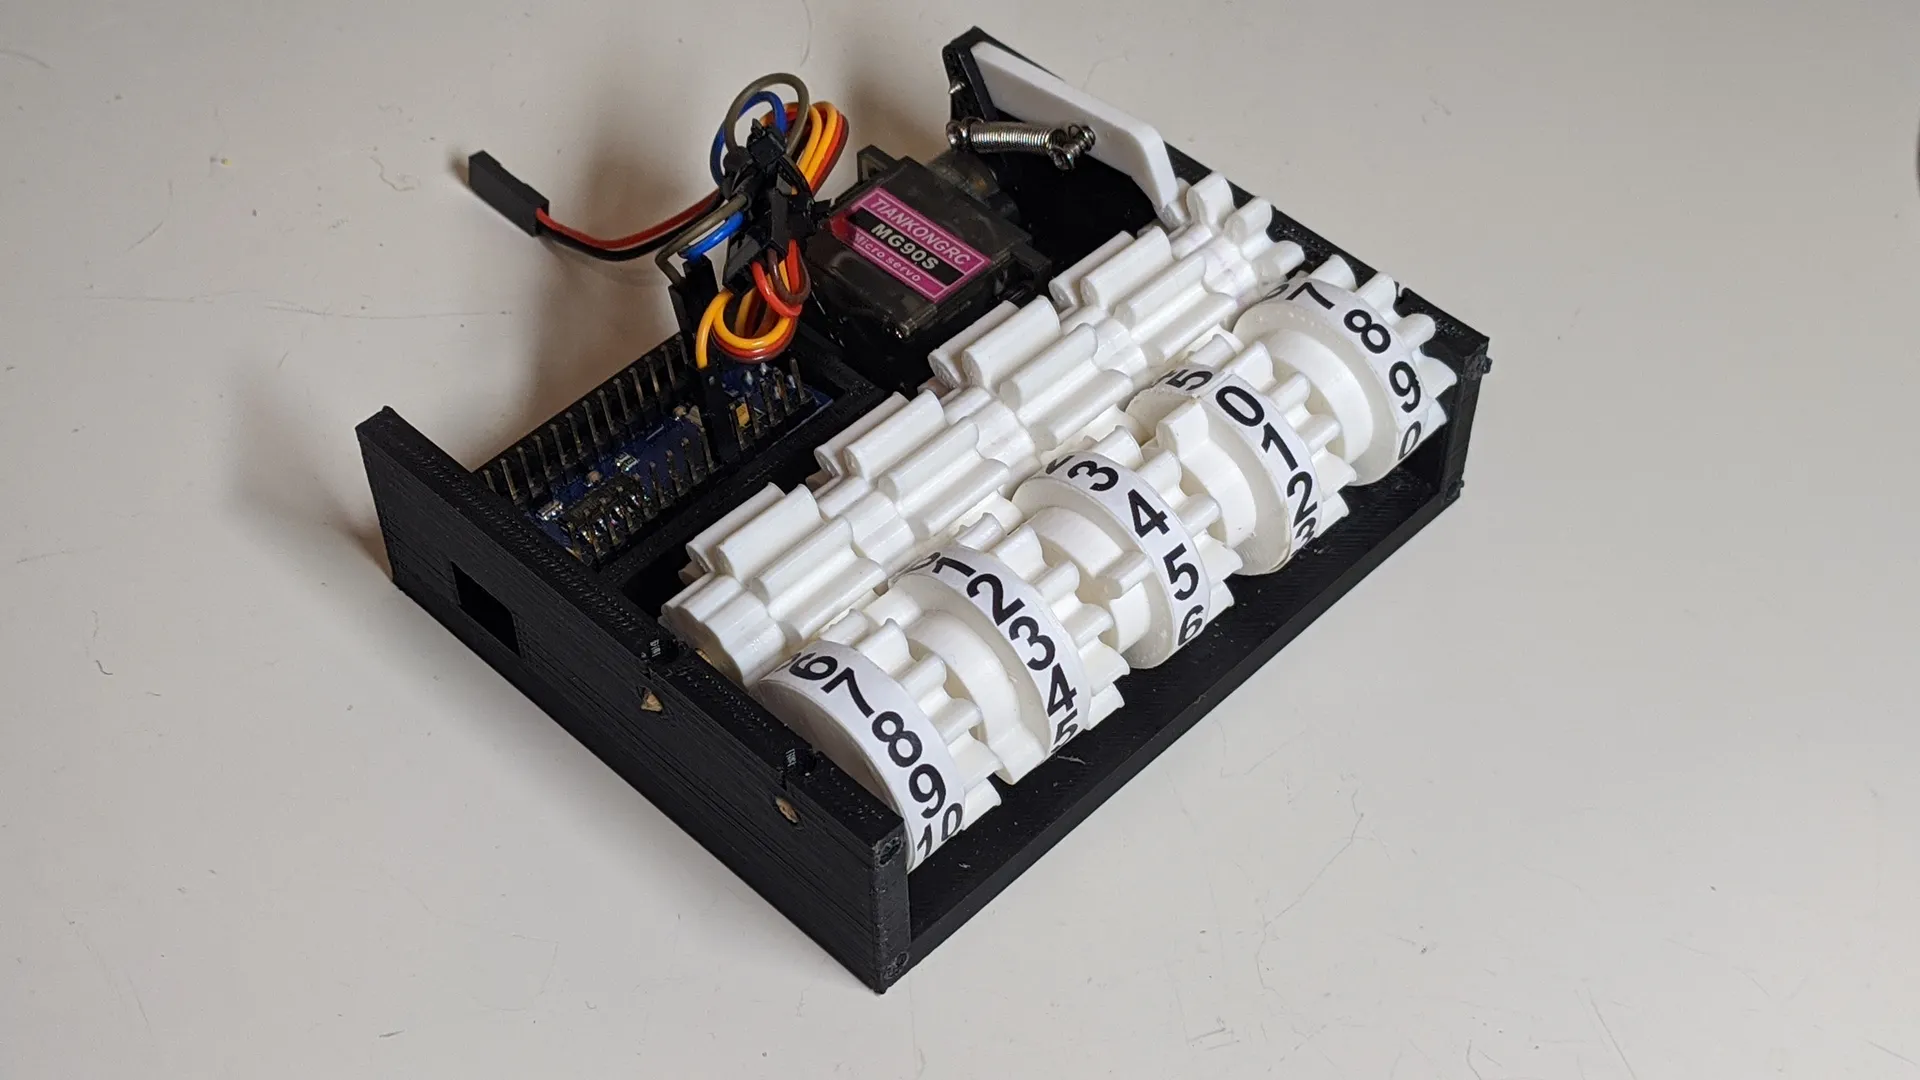
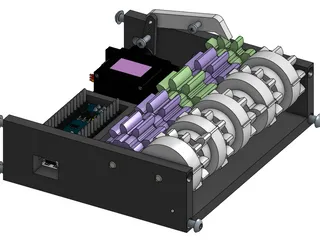
This clock was created for the Timekeepers contest and utilizes the mechanism from inside of a standard 10-digit mechanical counter.
Matthias Wandel has an awesome video going over how mechanical counters work.
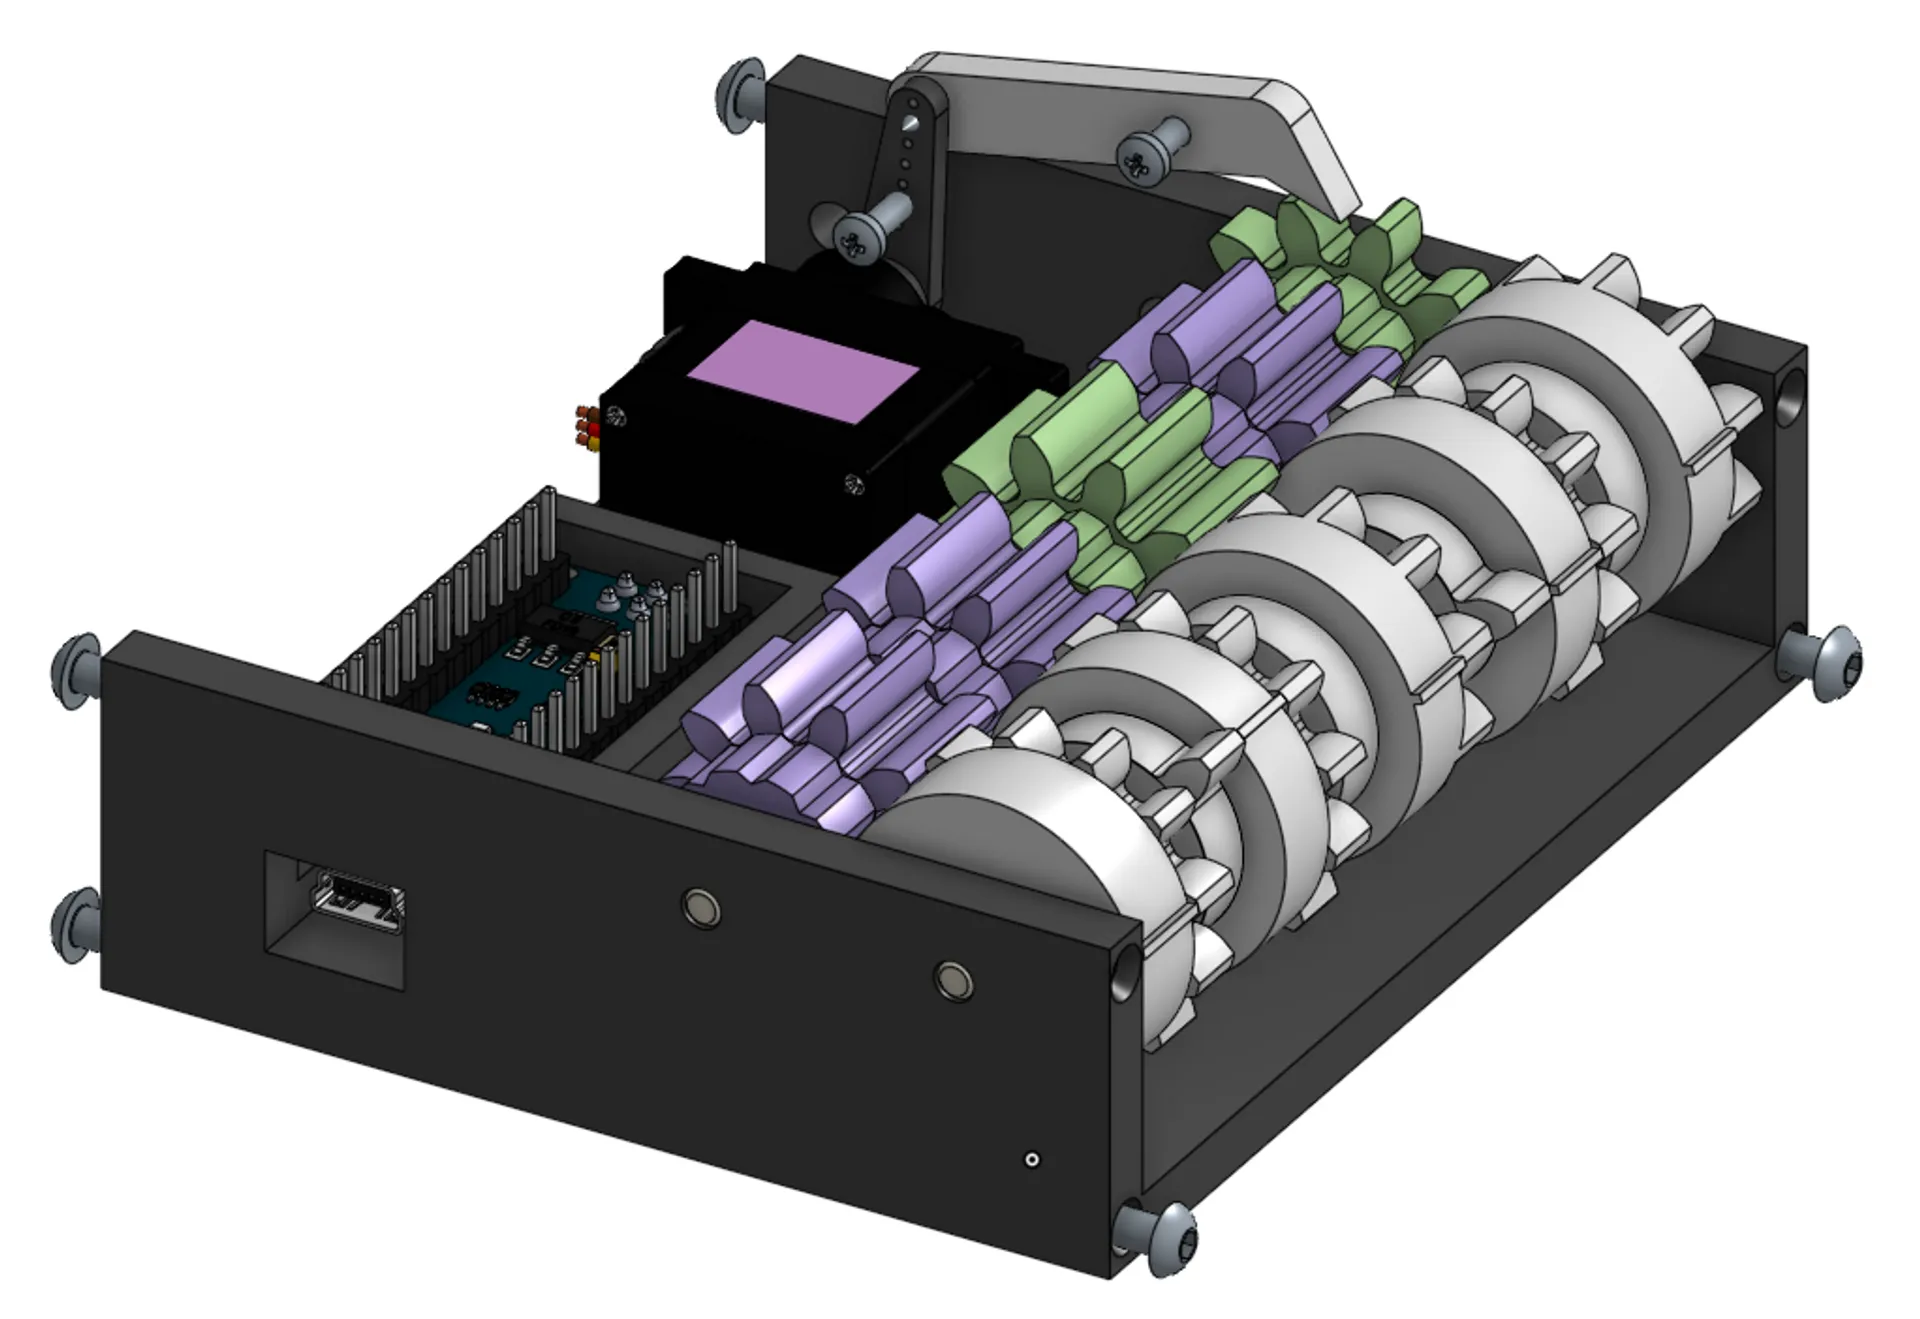
An MG90s servo and Arduino Nano indexes the farthest right dial by one digit every single second. Similar to a mechanical counter, when the right dial completes one full revolution, the dial to the left will index by one digit. And so on and so forth.
The two right-most digits parallel to the table display the seconds, next to that are the minutes, and the leftmost show the hour. (e.g. the thumbnail of the video below shows that the time is 1:59:54)
Design Considerations
There were some hurdles to overcome in order to make this clock work. Instead of all wheels counting from 0-9 like a traditional counter, some needed to count from 0-5 or 1-12.
To solve this, I doubled the 0-5 numbers (the dial now had 12 different numbers it had to display instead of 6) and used a 10:12 gear ratio for those certain dials.

This ratio allows the white dial wheel to have 12 distinct positions that it can rotate. The purple gear (input gear for the dial) would need to rotate 1.2 revolutions for the white gear to turn one full revolution.

Due to the small size of the dials, 3D printing each number was not feasible. Instead, I printed the numbers on a regular printer, cut them out carefully, and then used a glue stick to glue them onto each wheel. It worked relatively well, though sometimes I needed to use a thick layer of glue to make it stick.

A nub on each dial wheel helps to line up the number strip for when it's time to assemble.
Instead of locking each dial wheel in place, there is a spring loaded pin which holds each dial in one of the 10 or 12 different positions. This means that it's much easier and satisfying to set the time than with a jog-wheel.


BOM
| Name | Quantity Needed |
| Arduino Nano | 1 |
| MG90s Servo | 1 |
| 1/8" Wooden Dowel | 1 |
| Loose Wires / Soldering Iron | |
| Small Pen Springs | 5 |
| Small Extension Spring / Rubber Band | 1 |
| M4 Grub Screw | 5 |
| M3 x 8 Bolts | 6 |
Print Instructions
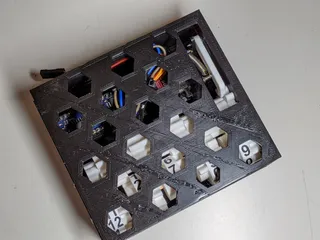
- Print the “Clicky Pins” at 0.1mm layer height for increased resolution

- You only need a few supports (see image) for the overhang on the “Main Outer components.stl”. All other parts can be printed without supports
- Additionally, you need to print the Numbers.pdf file on a 2D printer
Assembly Instructions
Click here
Tags
Model origin
The author hasn't provided the model origin yet.


