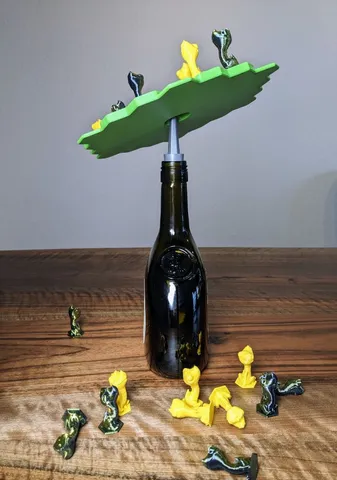
Tiny Christmas ornaments for beard and hair

Description
PDFChristmas ornaments for beard and hair
These tiny ornaments will turn You into a festive decoration! 😁
Assembly instructions
Simply clip the base into the cone or sphere and insert a hairpin into the base's loop.
Use a big hairpin that allows the base to move more or less freely within. If too tight, the loop might break.
In case you only have small hairpins, you can use a pair of pliers to widen them.
Last step: Decorate yourself 😎
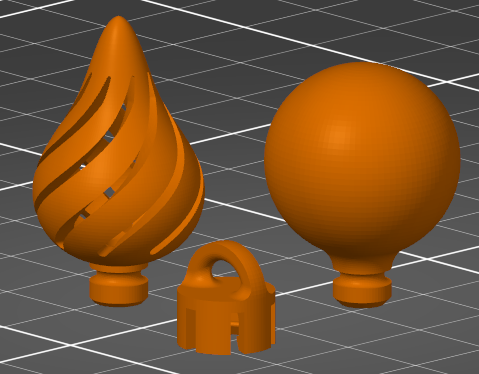
Chose the base of the ornaments
The base comes in two versions: base_clips.stl and base_snug.stl. Both versions fit for both, cone and sphere.
The first base will clip into the notch of the ornaments using a little force. It then allows to spin them, which I think is a nice effect. However, the clip mechanism is really prone to breaks during attachment (some materials are more brittle than others). And once attached, you cannot remove the base from the ornaments without breaking it. So print a few bases, just in case. Carefully using a lighter to temporarily soften the base prior to attachment also worked for me.
The second version will work just fine as well. It fits snuggly onto the decorations and the friction should ensure a secure hold. If too loose, you can add a droplet of superglue in between. This base is the “safe version” and less prone to breaks.
Enjoy and Merry Christmas!
Print settings
| Material | PLA, PETG, or other. Color is more important ;-) |
| Layer height | 0.2mm works fine |
| Orientation | Print all models in an upright position!
I recommend printing the cone and the sphere individually. You can print several bases at once. |
| Supports | No supports required |
Other settings  | Printing the cone and sphere is challenging. I recommend using a brim of ~3mm and reduce the printing speed to ~70%! |
| Optional | You can also play around with Prusa Slicer and mirror the cone to add some variety. Or cut the sphere and add a fuzzy skin to one half: 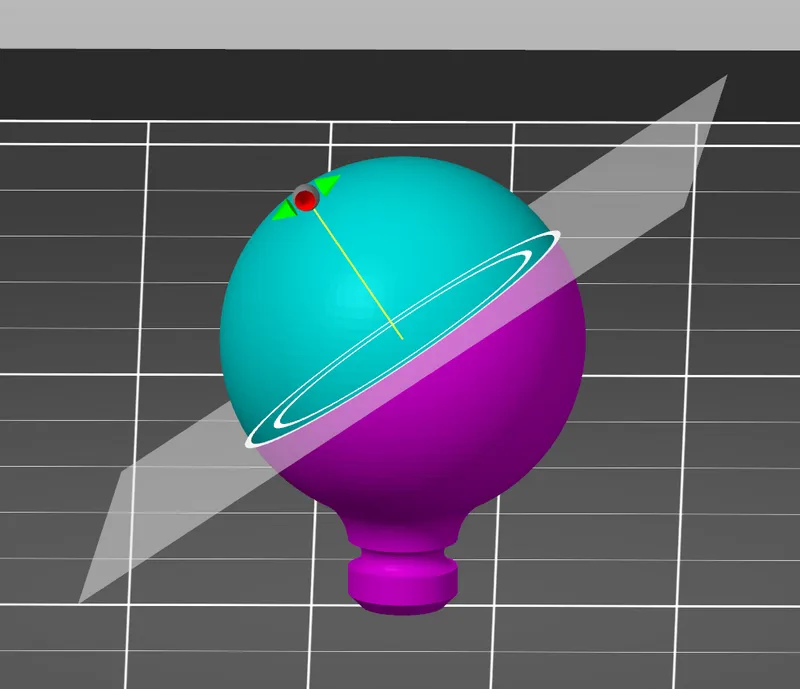 |
Tags
Model origin
The author marked this model as their own original creation.