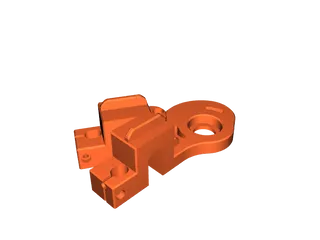
CSM improved ribber with tappet drive pin

Description
PDFNormally, you can set the needle switch on the tappet plate to the needles-IN-work or needles-OUT-of-work position, with which you can avoid ribbing per se, but you are not able to crank backwards, let's say for heels and toes, as the tappet plate is still moving and this can only be done in counterclockwise direction.
With this modification you can not only deactivate the needles, but take the tappet plate totally out of play, so that you are able to knit back and forth as you like. This makes knitting heels and toes a bit more comfortable, as you are not forced to park the needles and take the ribber off completely.
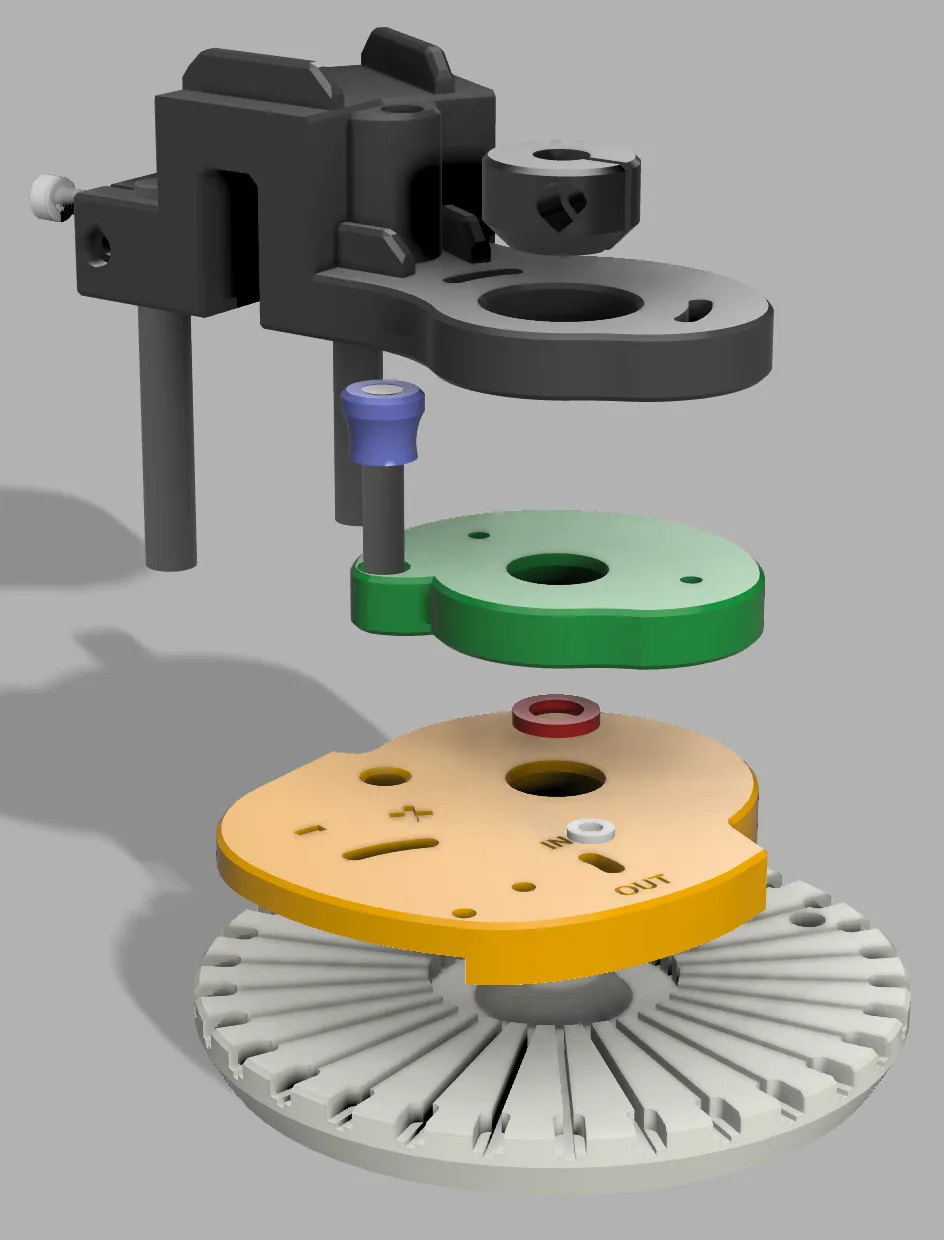
Additional parts for assembly (see original ribber for screws and nuts for the cams, etc.):
- 2x 8mm shafts, 110 mm - to mount the ribber to the cam shell
- 1x 8mm shaft, 62 mm - shaft for the ribber dial
- 1x 6mm shaft, 38 mm - drive pin
- 2x M4 screws - horizontal ribber dial adjustment
Assembly:
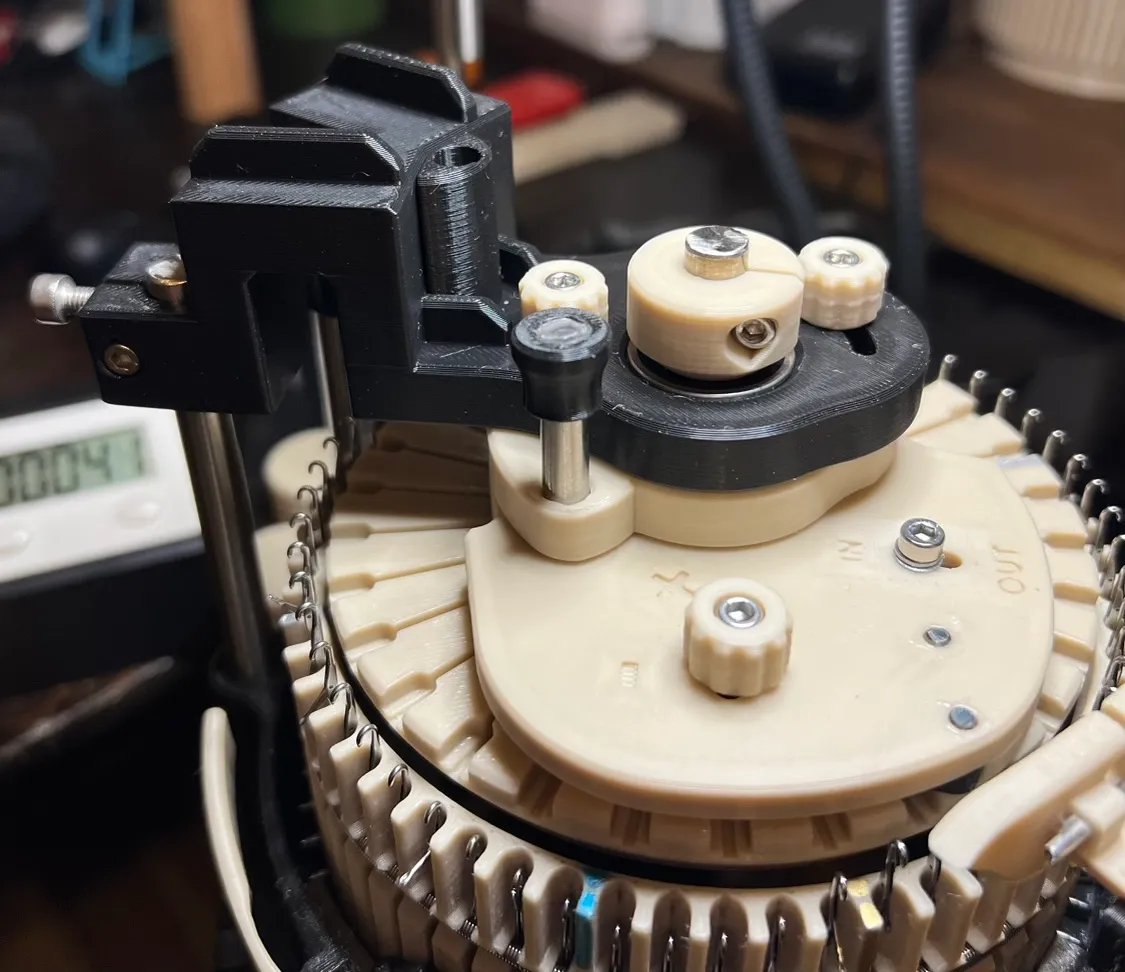
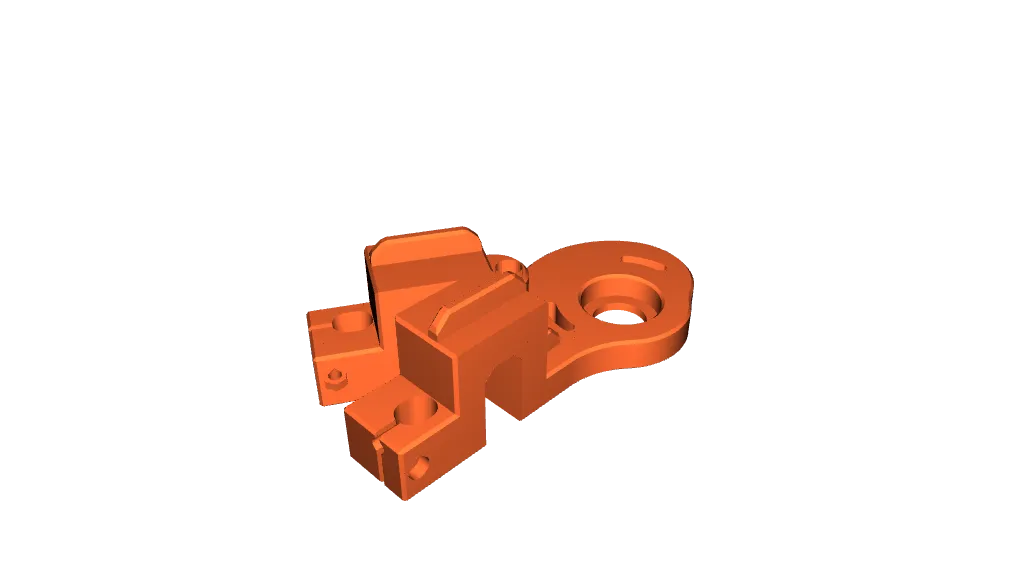
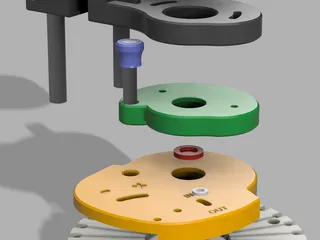
See the CAD picture for how things go together. Especially, don't forget the (red) “Tappet v2 washer”!
Hints:
- The through-hole in the tappet driver and the blind hole in the tappet plate itself are really tight in relation to the 6mm shaft. You may have to carefully sand them for the pin to fit nicely, but without any backlash. It is made like this on purpose, so that it is definitely a smooth but wiggle-free fit. I usually roll up a piece of sand paper and carefully turn it in the holes to slowly widen them to the correct measurement. Double check with your pin during sanding.
- You don't necessarily need the small “in/out washer”, but it helps a lot to not let the M3 screw head damage your tappet plate.
- Regarding the ribber arm, “adjustable” means that you can adjust the angle between the ribber dial and the cylinder top to align them by screwing the two M4 screws on the side of the arm in and out.
The easiest way is to initially set the shafts square with the screws during assembly and then fine tune, when yarn and weight are in use.
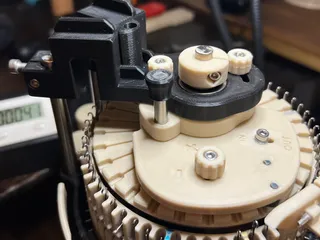
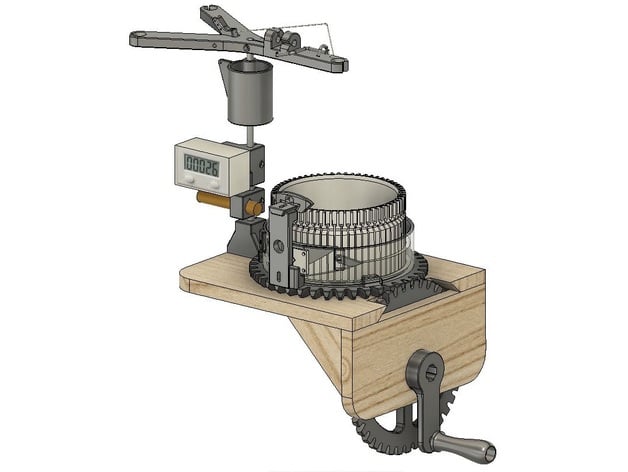
Here you can see how it works:
Tags
Model origin
The author remixed this model.


Differences of the remix compared to the original
Improved version of the ribber with drive pin for the tappet plate.


