TE 160783-7 Gaggia boiler terminal Crimper HS Jaws

Description
PDFDescription
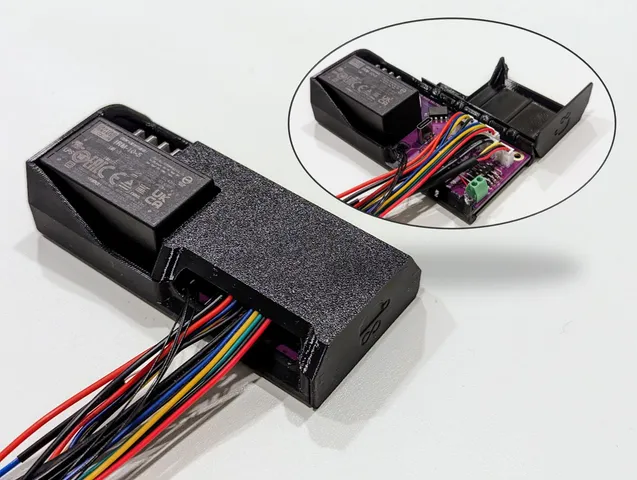
Crimper jaws and spacers to help with crimping the TE 160783-7 Gaggia boiler terminal connectors.
While the wire connection can be crimped with a standard open-barrel terminal crimper such as the Engineer PA-20 in multiple steps along the length of the crimp, there are few crimpers of this size wide enough to crimp the whole wire section at once. I'm unaware of any other option to crimp the insulation holding tab.
Hardware Required
- 1 HS series crimper (Jaw width 6 mm, closed jaw gap 12-12.5 mm, jaw length 33.5+ mm)
- Examples: Amazon, AliExpress
- 4 M3x12 mm socket head cap screws or dowel pins (screws used in example)
Fab/Print Instructions
Crimping jaws must be laser-cut out of steel for the wire crimp to work. Don't try to cut the whole jaw out of one piece of steel as the accuracy will suffer through the depth of the cut. It's recommended to stack multiple jaws cut from 0.8-1.0 mm thick material to get to a final jaw width of 3, 3.2, or 4 mm (3.2-4 mm recommended). For example, 5 jaws cut from 0.8 mm material will be 4 mm thick.
Spacing jaws should be 3d printed (PETG recommended) with a 0.4 mm nozzle and line width. The top and bottom spacing jaws come in 3 different widths so there are options for the different crimping jaw widths (3, 3.2, and 4 mm). For example, if you had 4 mm thick crimping jaws you would print HS 160783 CrimpBot_Back_4mm.STL and HS 160783 CrimpTop_Back_4mm.STL.
Assembly
Screw the M3 screws through the 3D printed spacer jaws from the back side. Slide the laser-cut crimping jaws over them, then insert into the crimper. Tighten the holding screw on one jaw while leaving the other one loose. Gently close and manually align the jaws, then tighten the other holding screw.
Operation
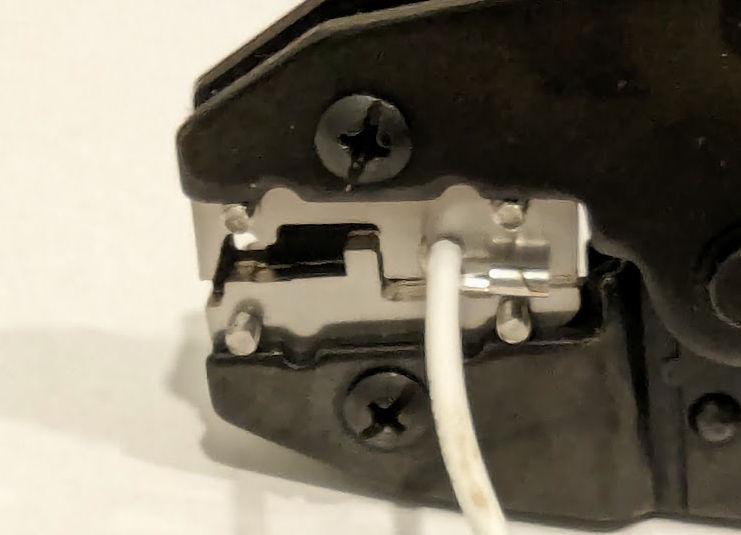
Wire crimp position:
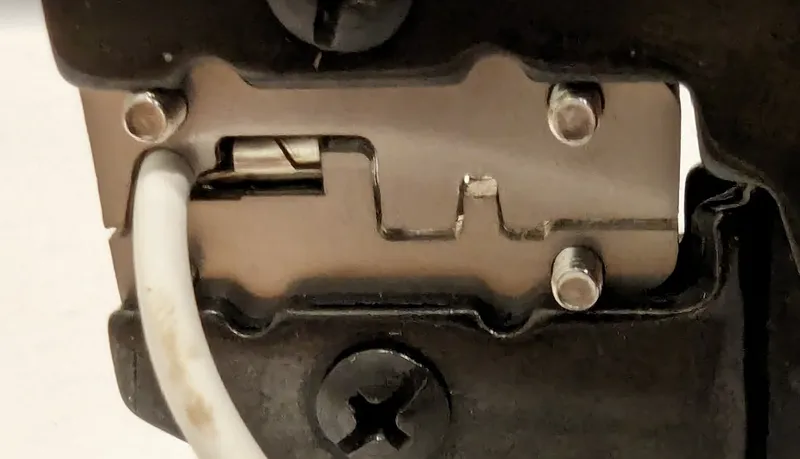
Insulation crimp position:
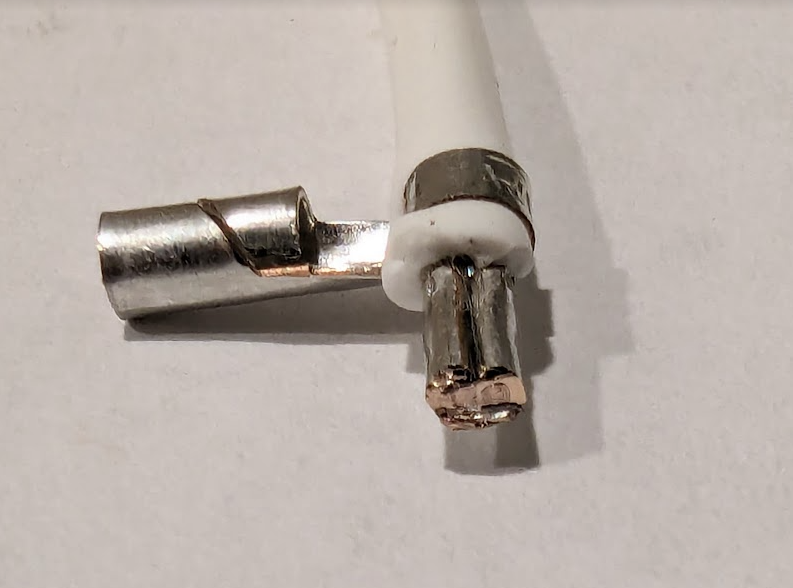
Finished crimp. I cut the end off to verify that the wire compression was adequate. Don't forget to adjust the force of the crimper with the adjustment dial if needed.
Tags
Model origin
The author marked this model as their own original creation.