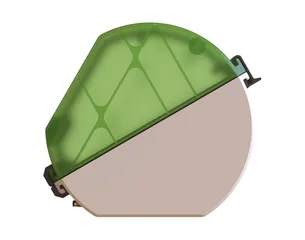
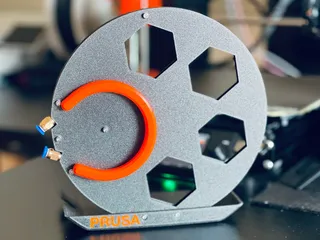
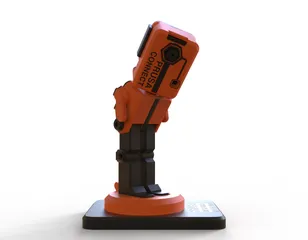
Ergo Capsule for the A1 Print series
Description
PDFPlease consider following me if you download and print my work. It’s a simple way to support my activity and stay connected with me in the future. Your interest helps me understand the value of my work to the community. Thank you!
Introduction
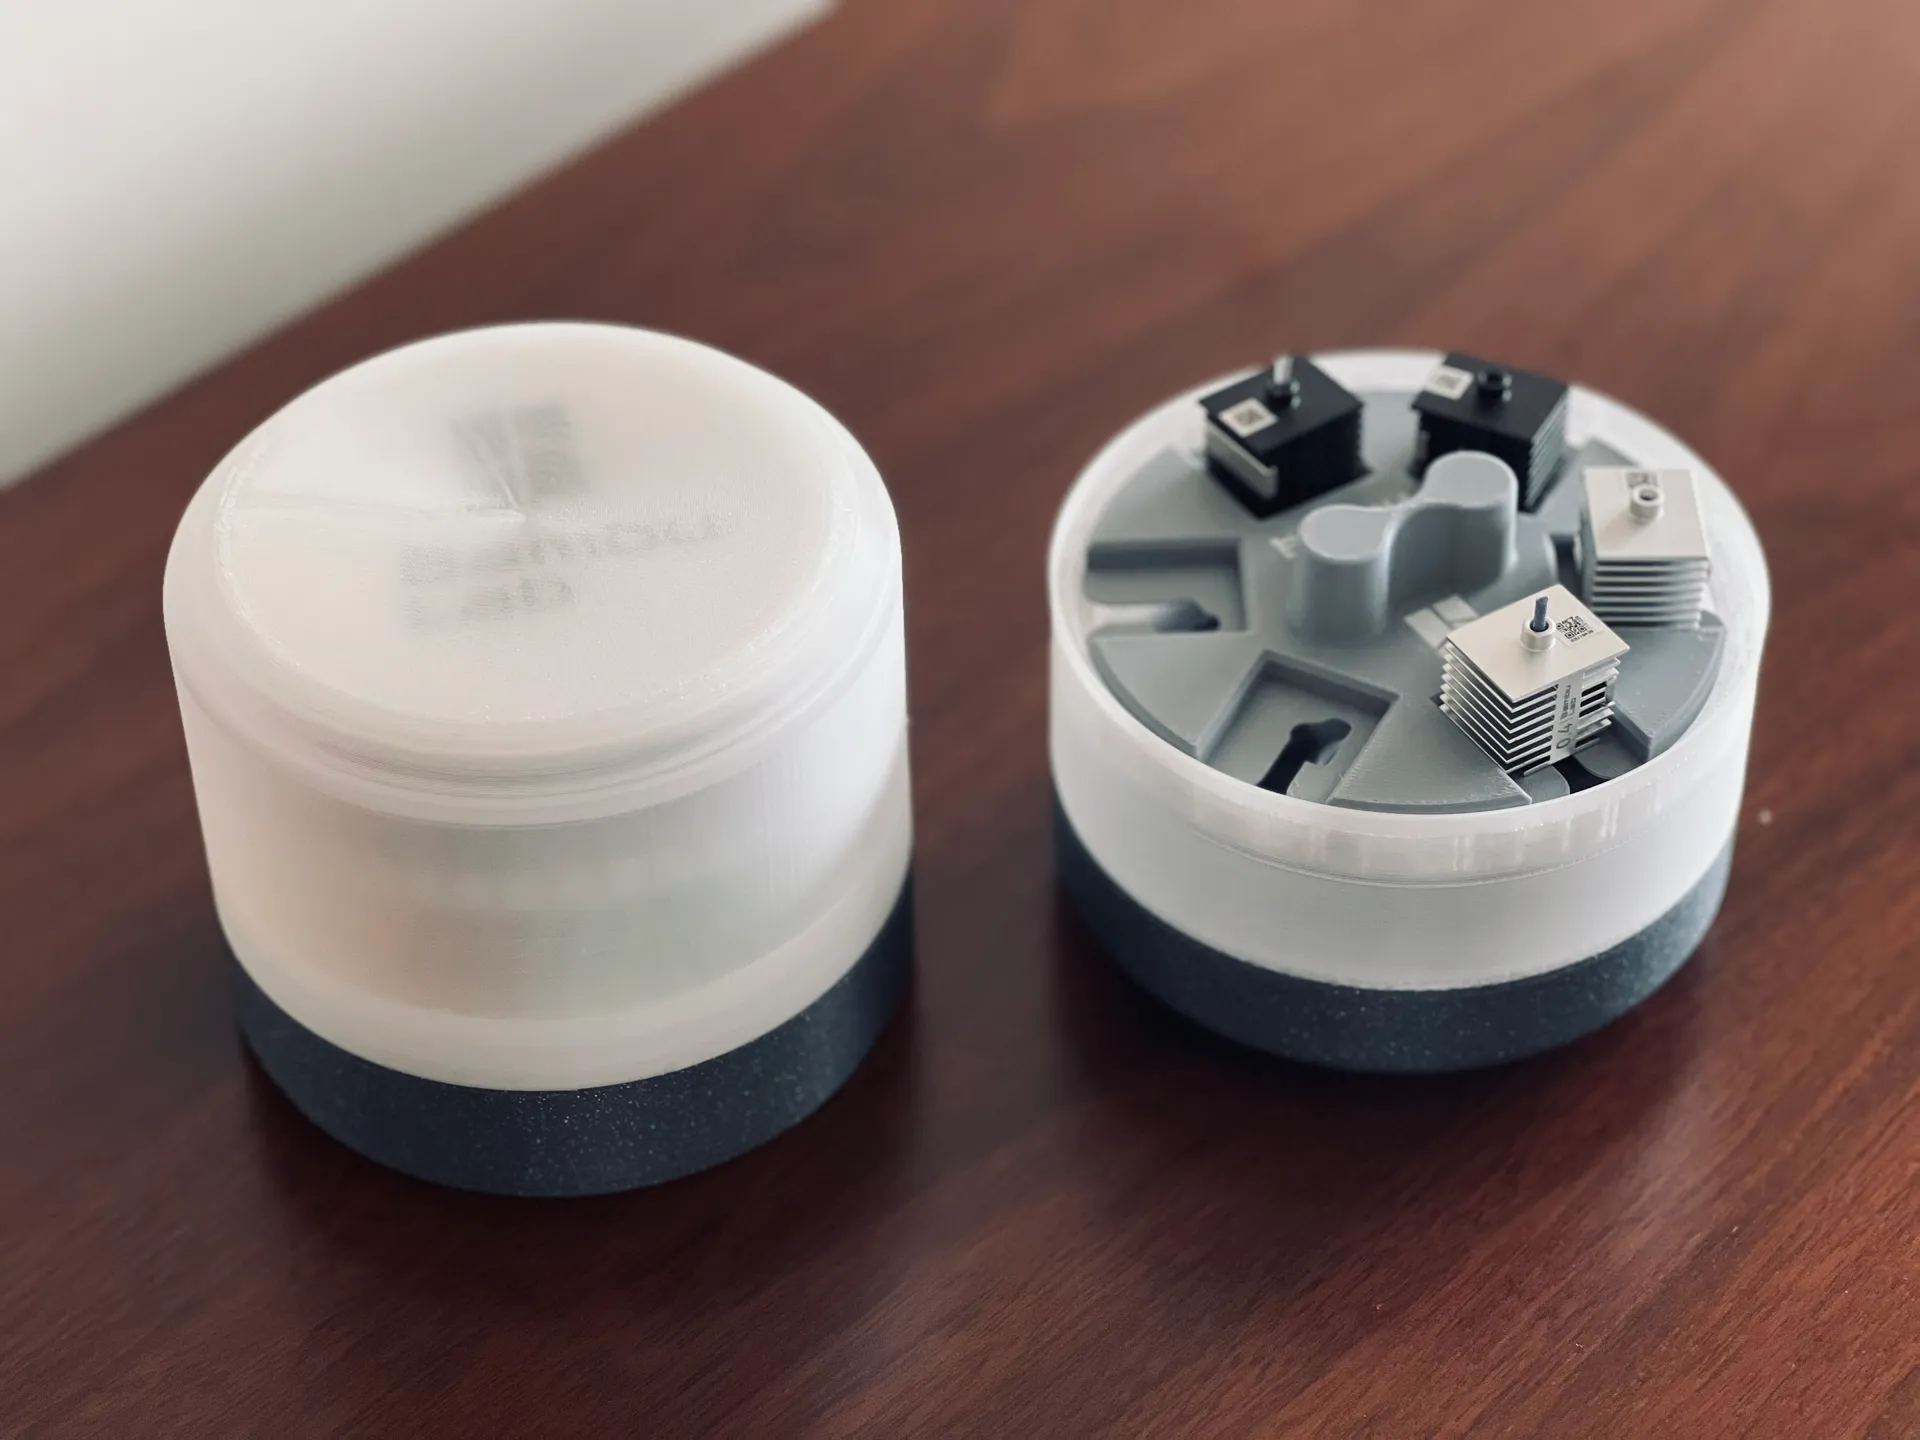
Once again, this project brings something that might be new to some – The printing of translucent materials.
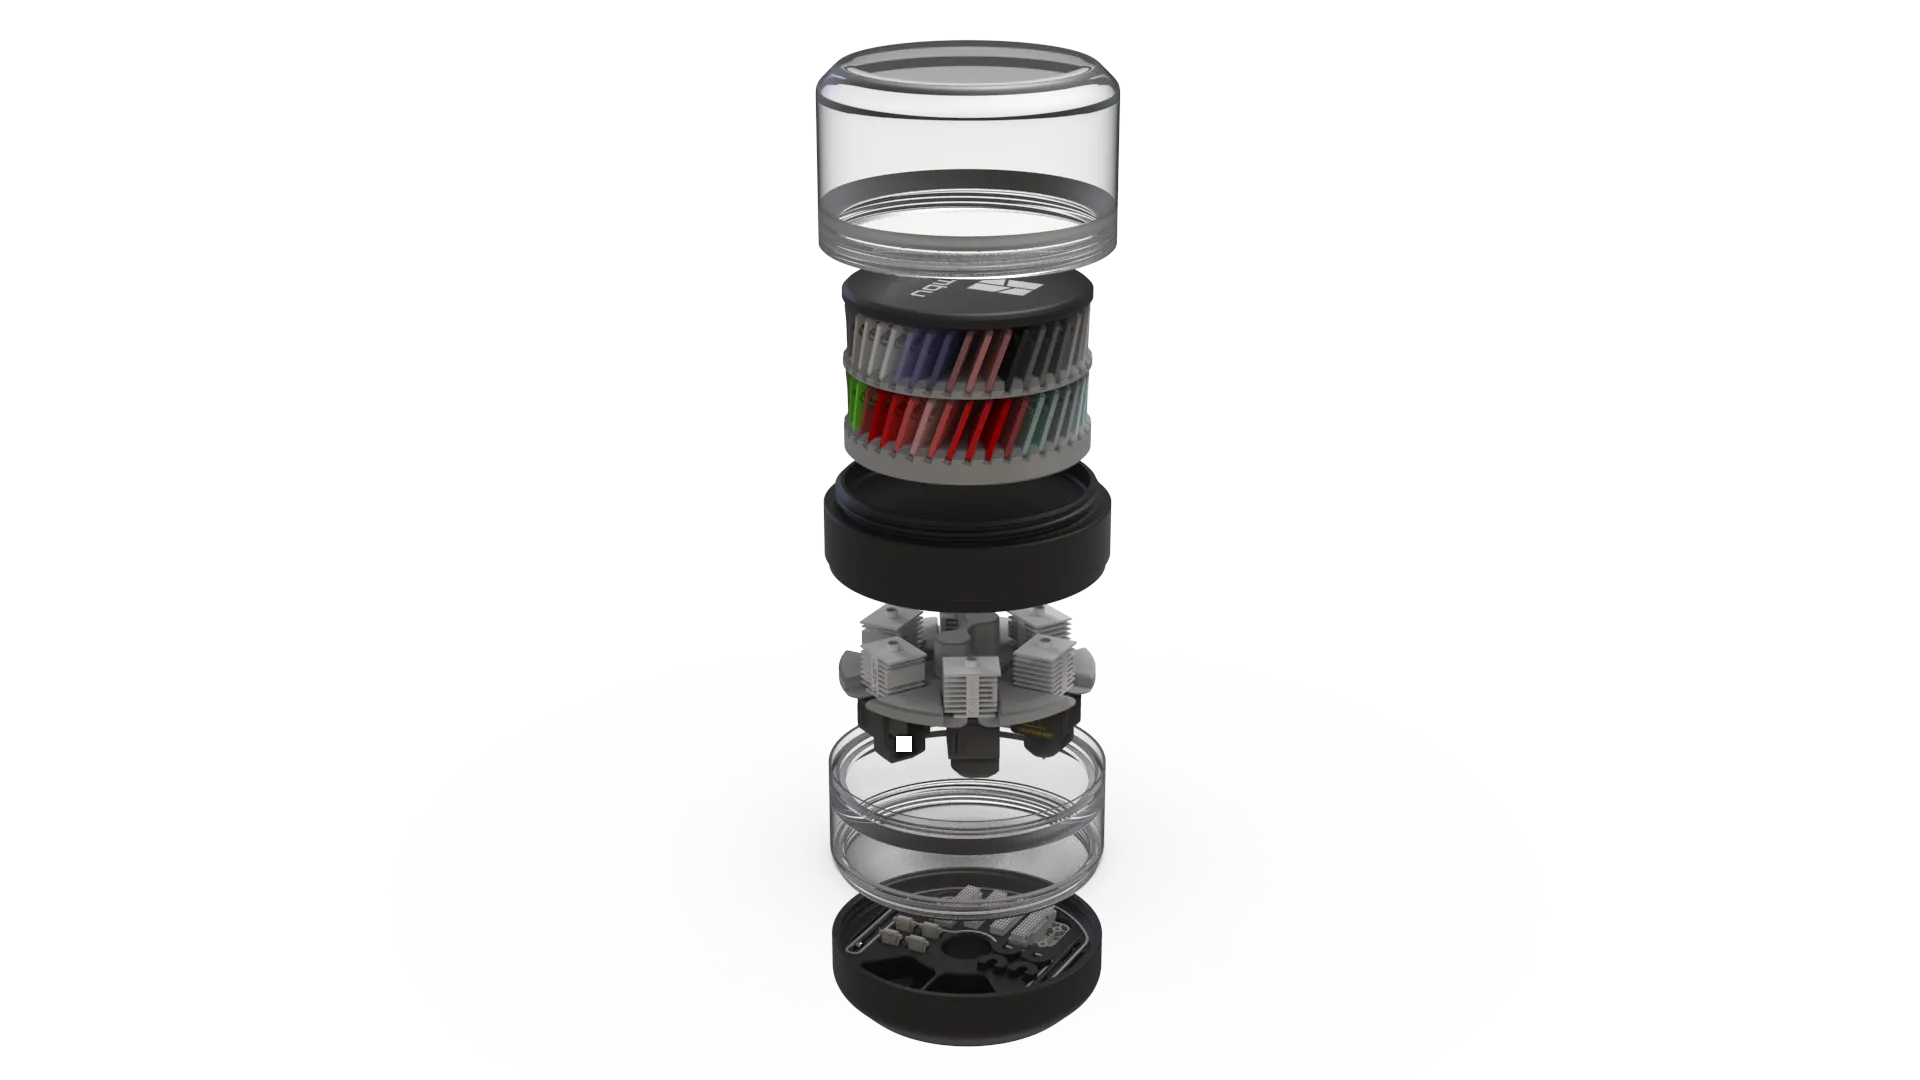
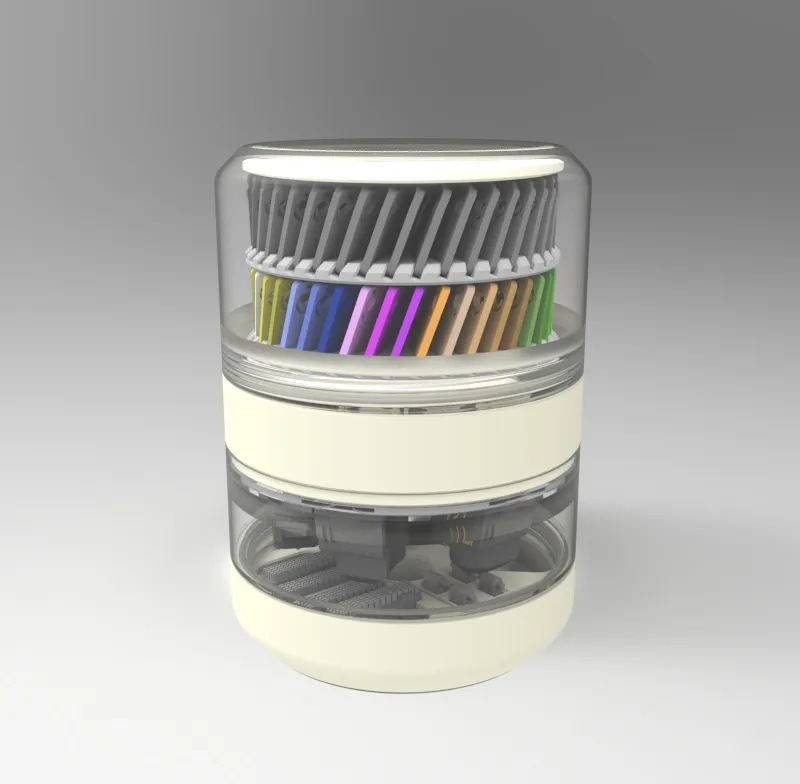
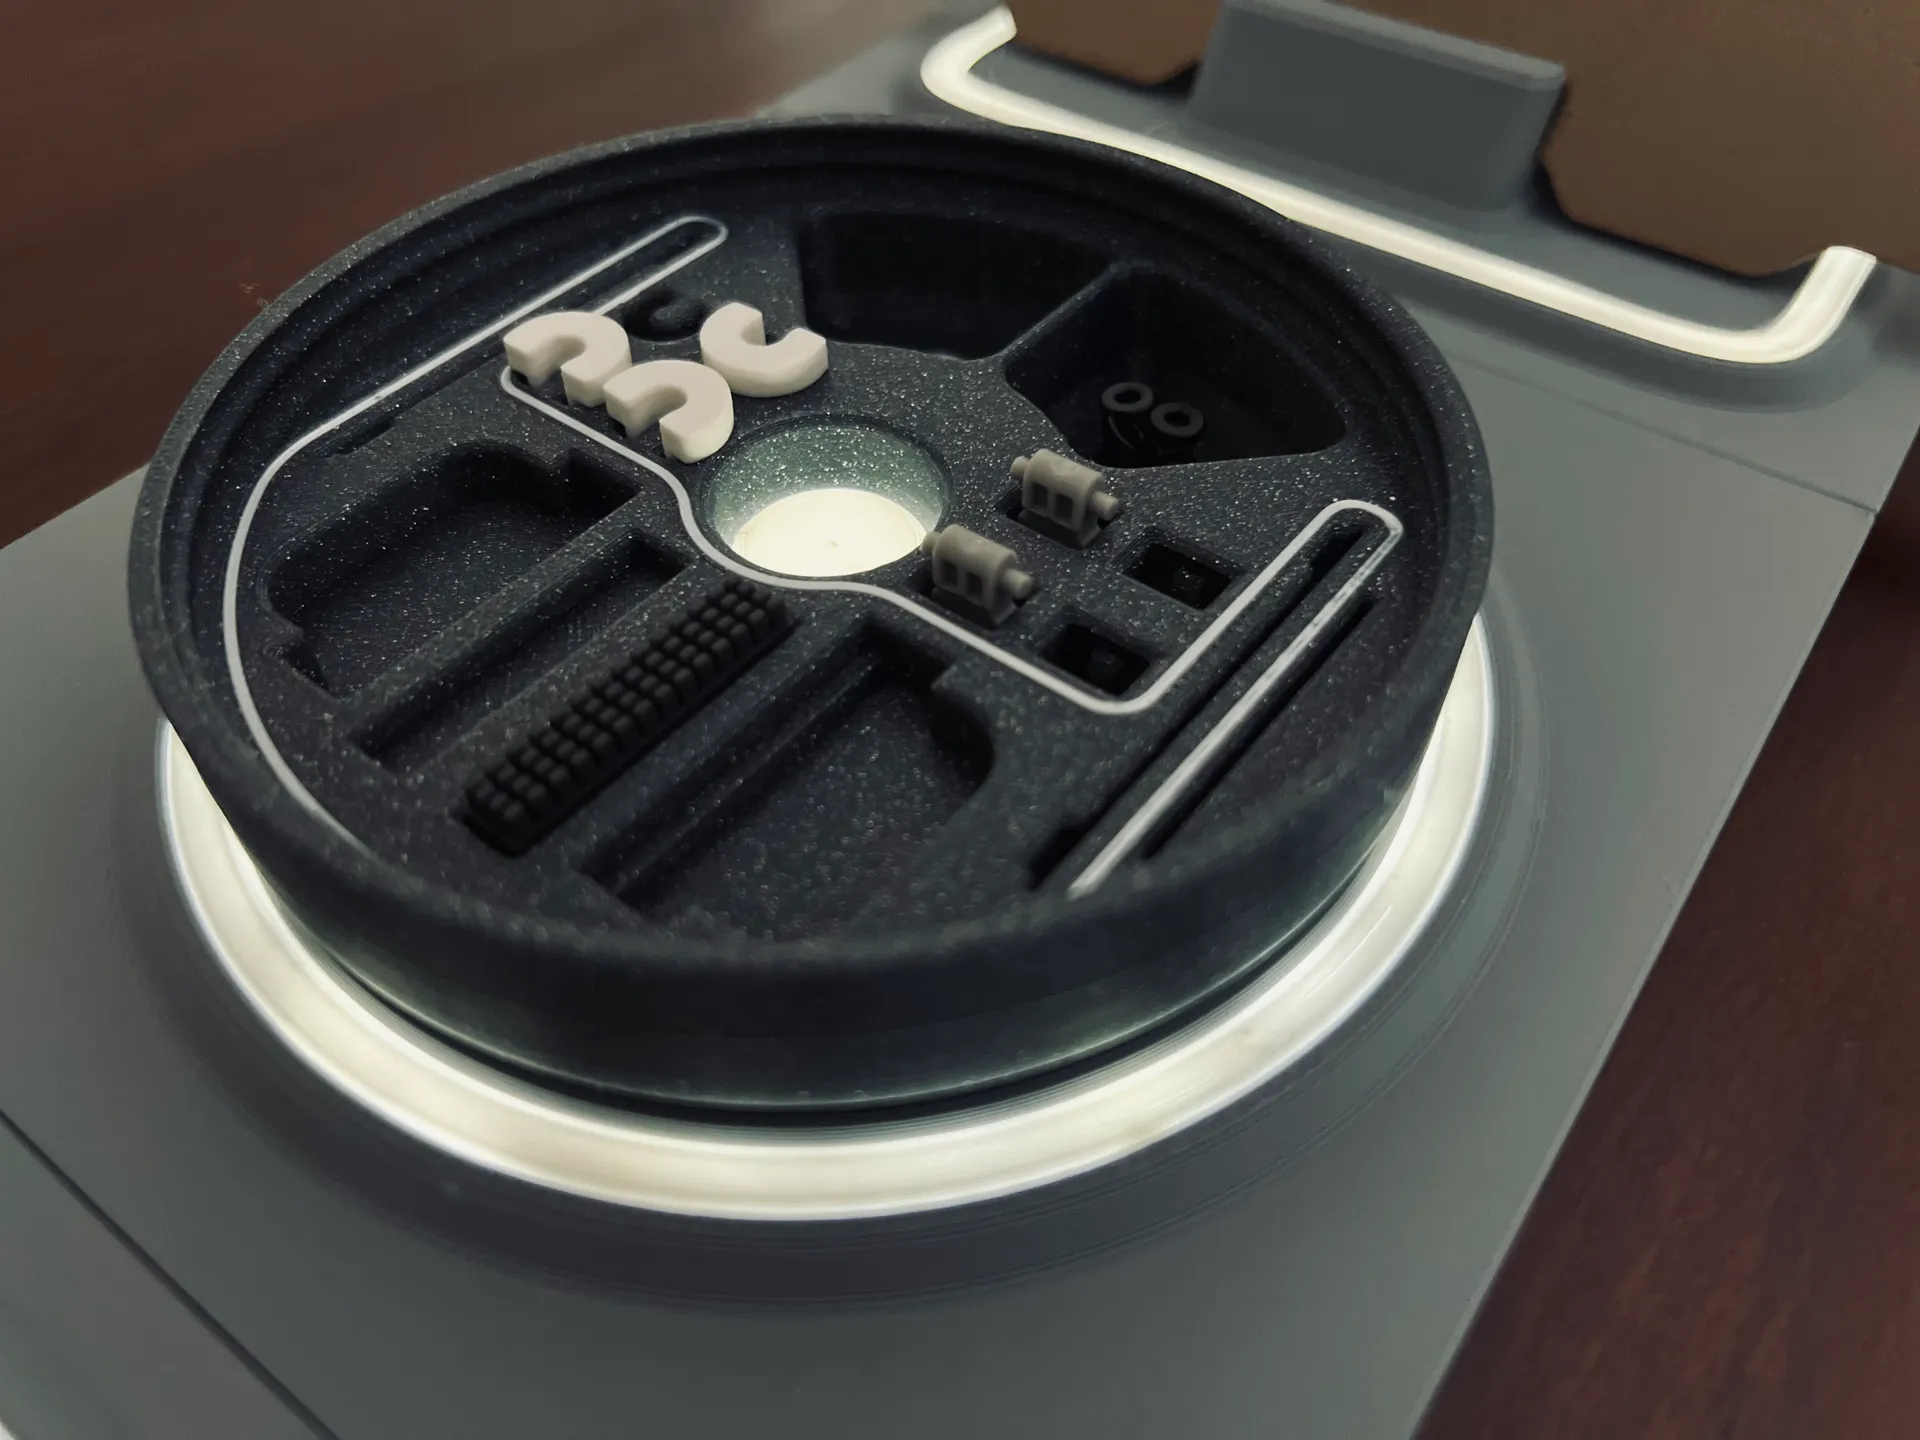
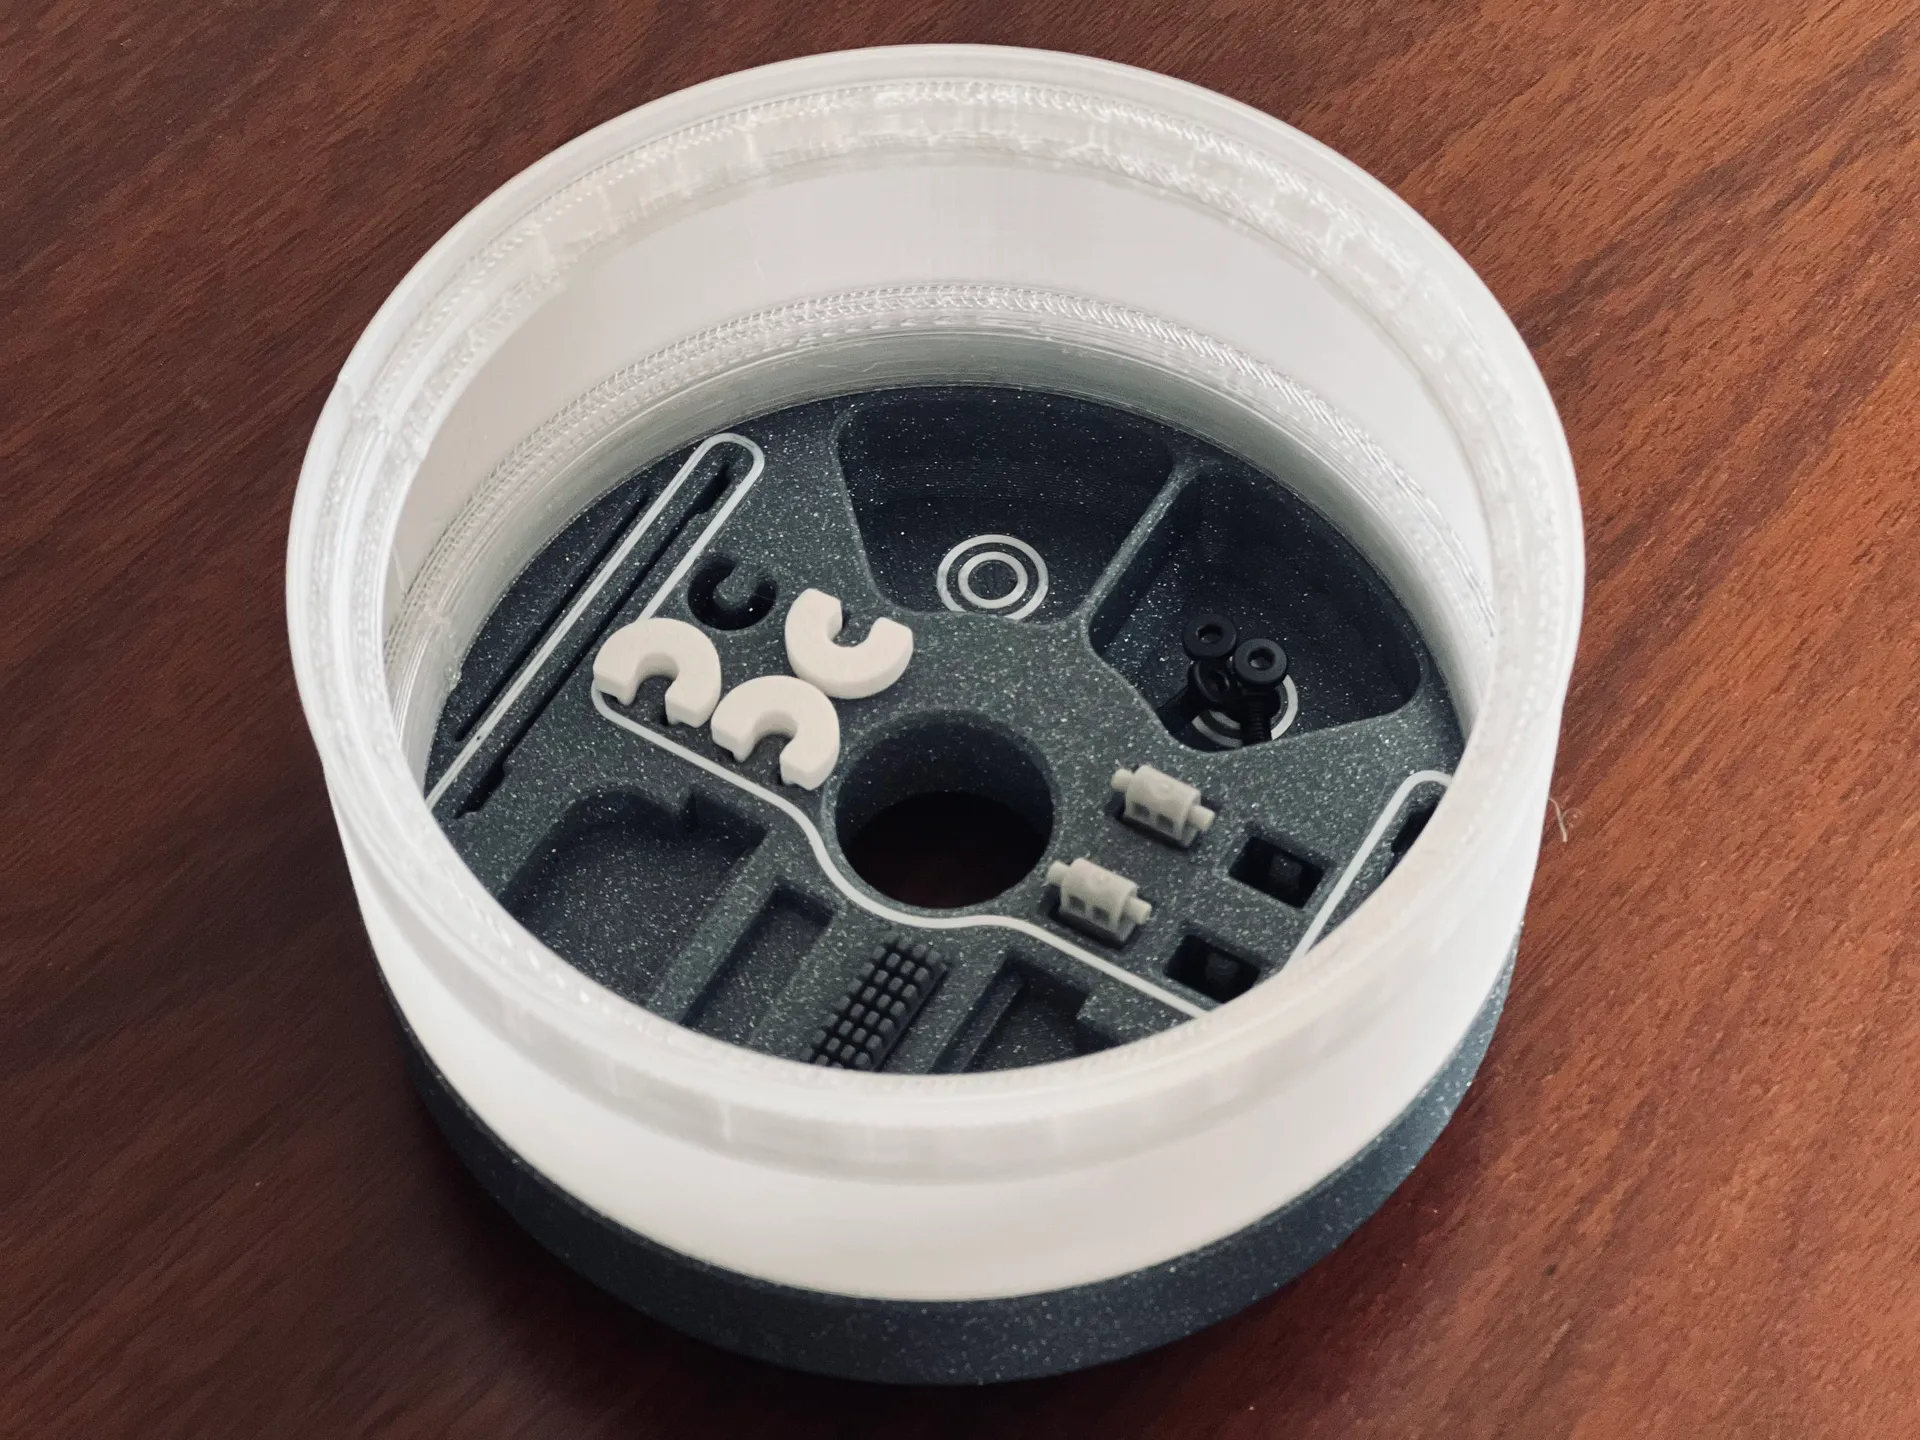
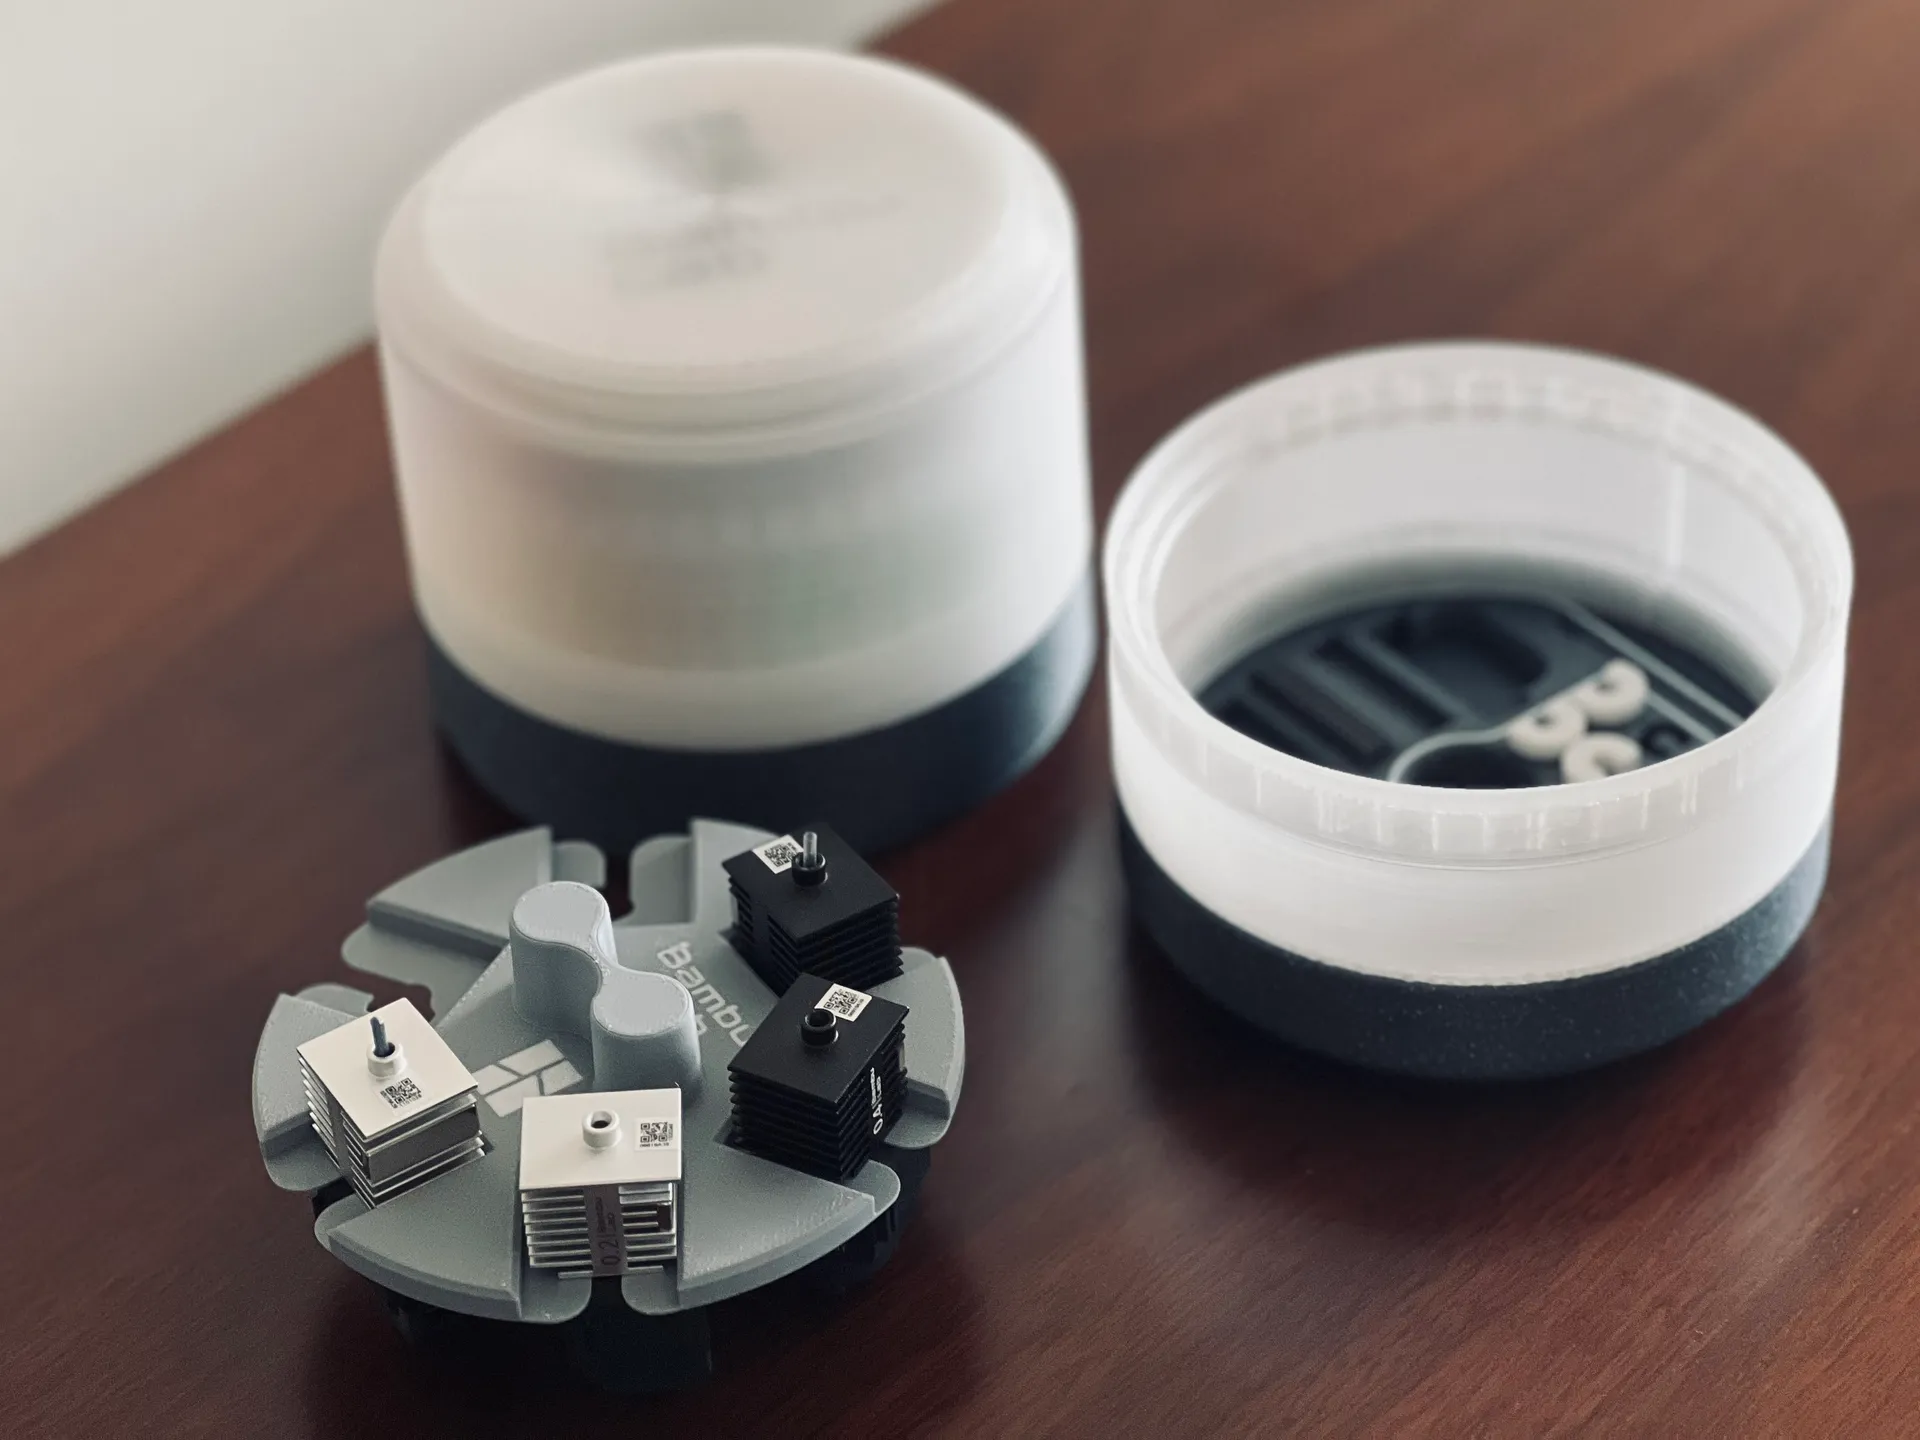
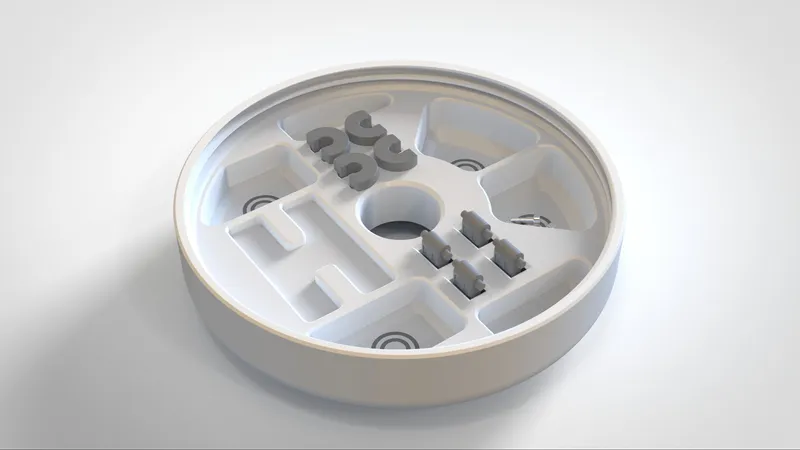
This version of the capsule is for the A1 and includes areas for:
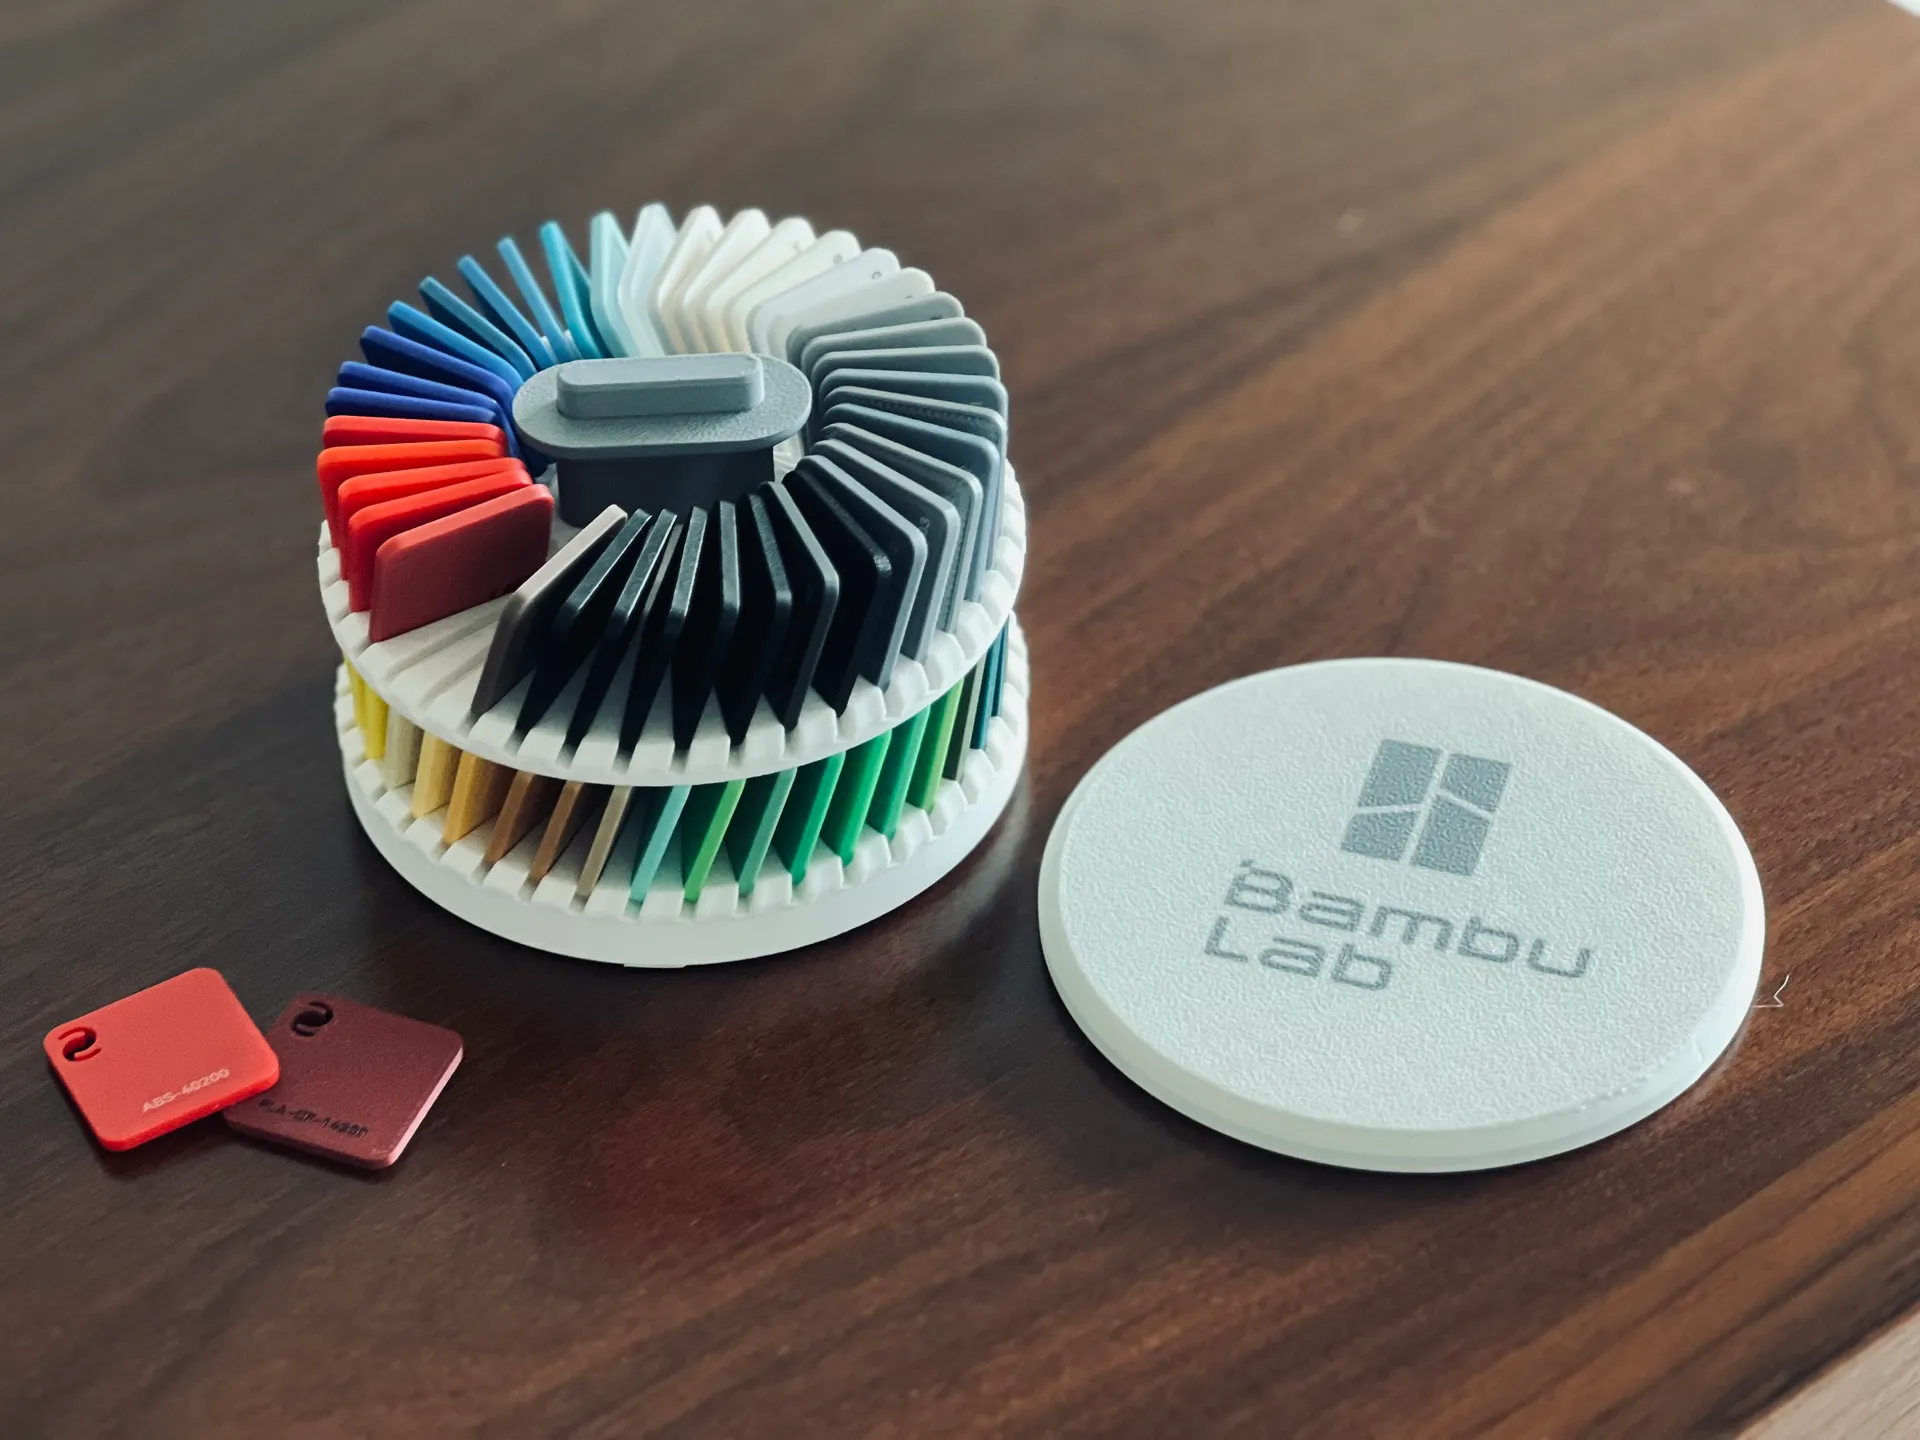
- Color Swatches
- All nozzle Sizes:
- Heatbed Nozzle Wiper - A1 mini (A1 already added)
- Replacement Filament Cutter - A1 Series
If you need any of this, use this links, I will get a small help and will cost you the same as they are affiliated links.
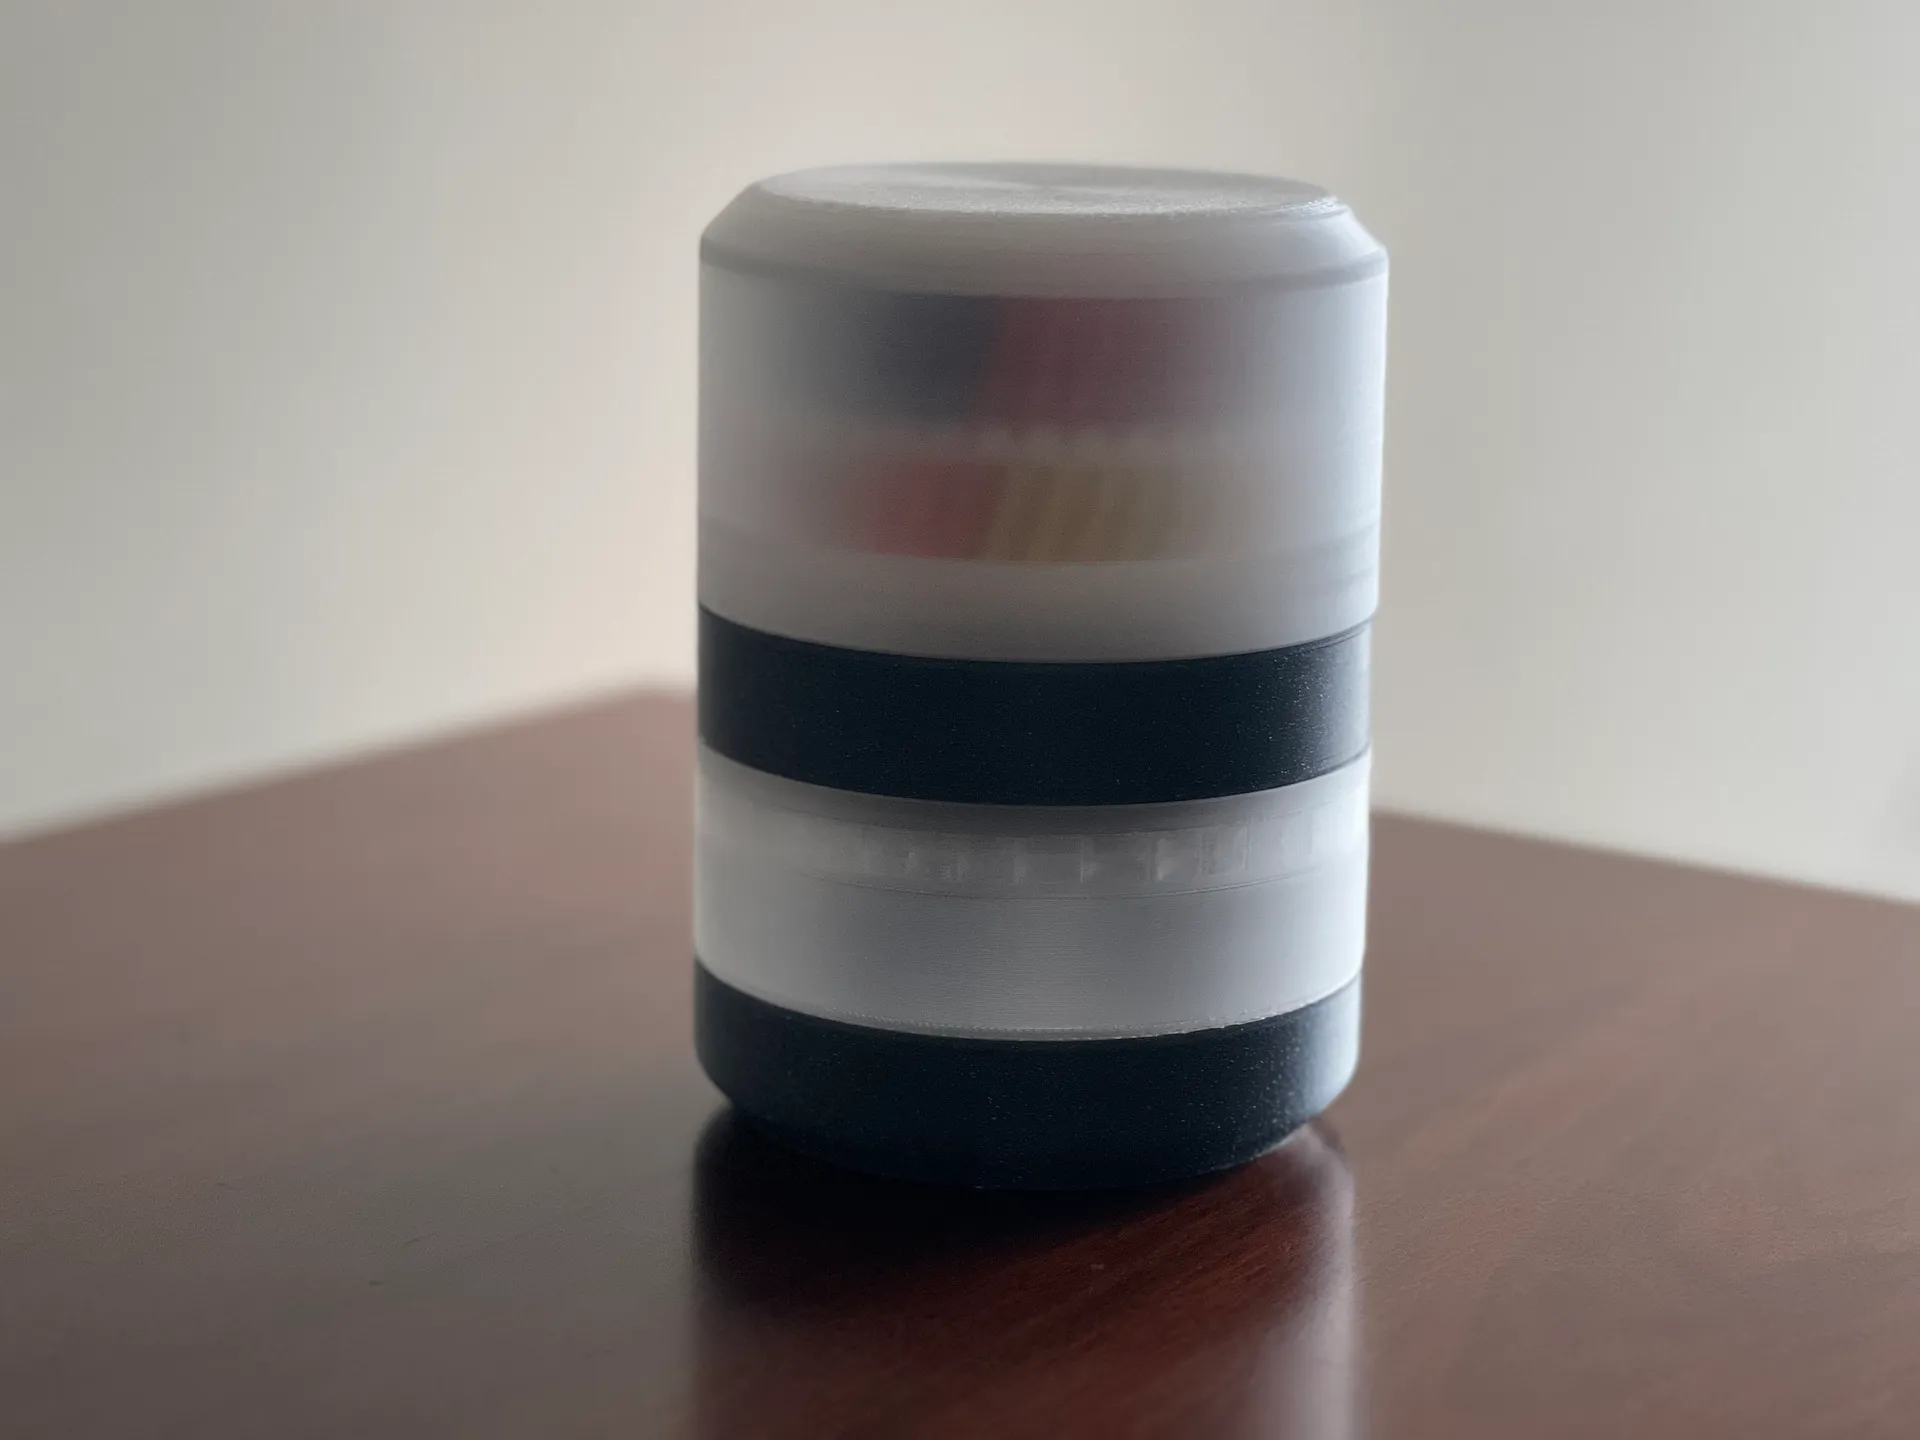
Despite being discussed in previous projects, it's something I find interesting and quite challenging to achieve with an FDM printer like the A1. The trick is to print slowly and at a high temperature, as widely shared on the internet. With this information in mind, it becomes evident that increasing the number of layers will result in a higher level of opacity for the wall. If you possess a nozzle with a diameter of 0.6mm or even 0.8mm, now is the opportune moment to employ it. Experimentation is key in determining what works best for your specific needs, as optimal results may be influenced by various variables. Your goal is to achieve both translucency and mechanical resistance, making it essential to explore and find the most suitable approach for your desired outcome.
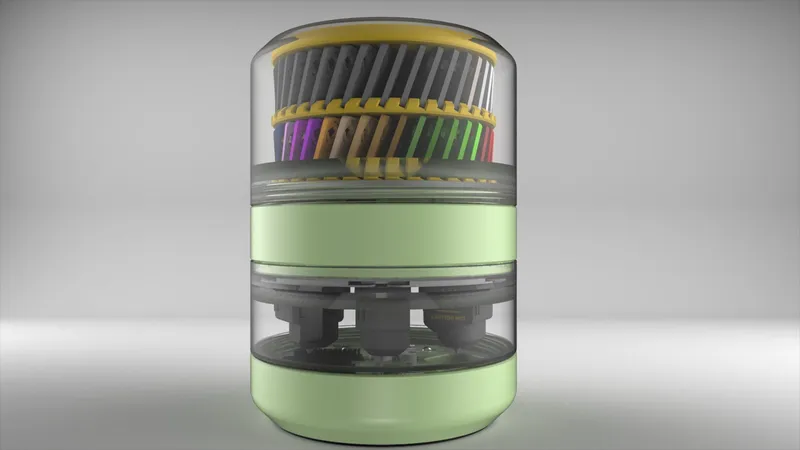
For achieving a "frost" effect, a 0.4mm nozzle is the optimal choice. Remarkably, there's no need for any intricate settings—simply stick to the default ones, and the outcome will perfectly mirror the images you've seen. Ensuring the material, especially transparent PETG, is as dry as possible is paramount. Excess moisture significantly impacts the performance of this material. Additionally, transparent PLA is also available for those seeking alternatives.
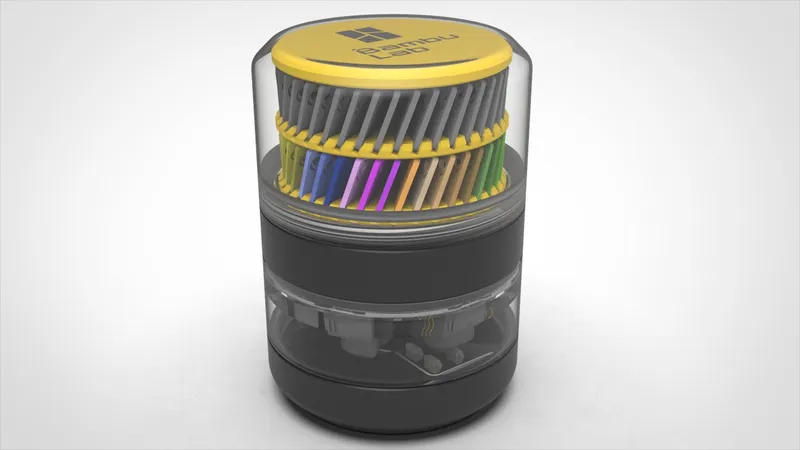
Regarding the base, you can make a TPU Ring or you can use a foam with the same shape. If you are interested in a foam ring, please send me a message.
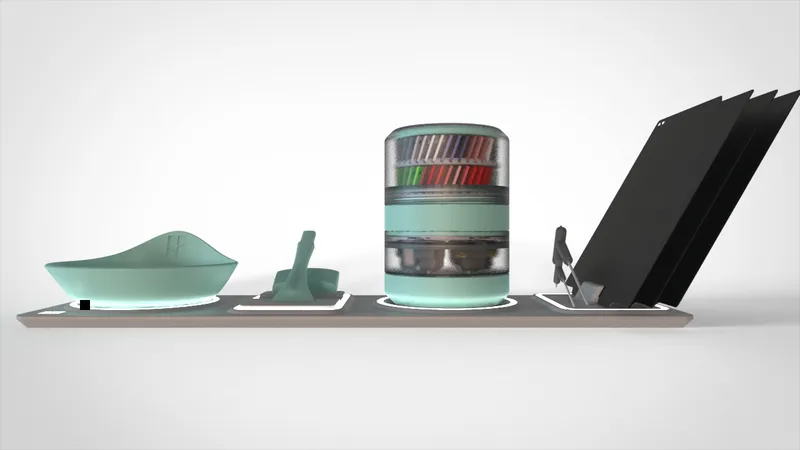
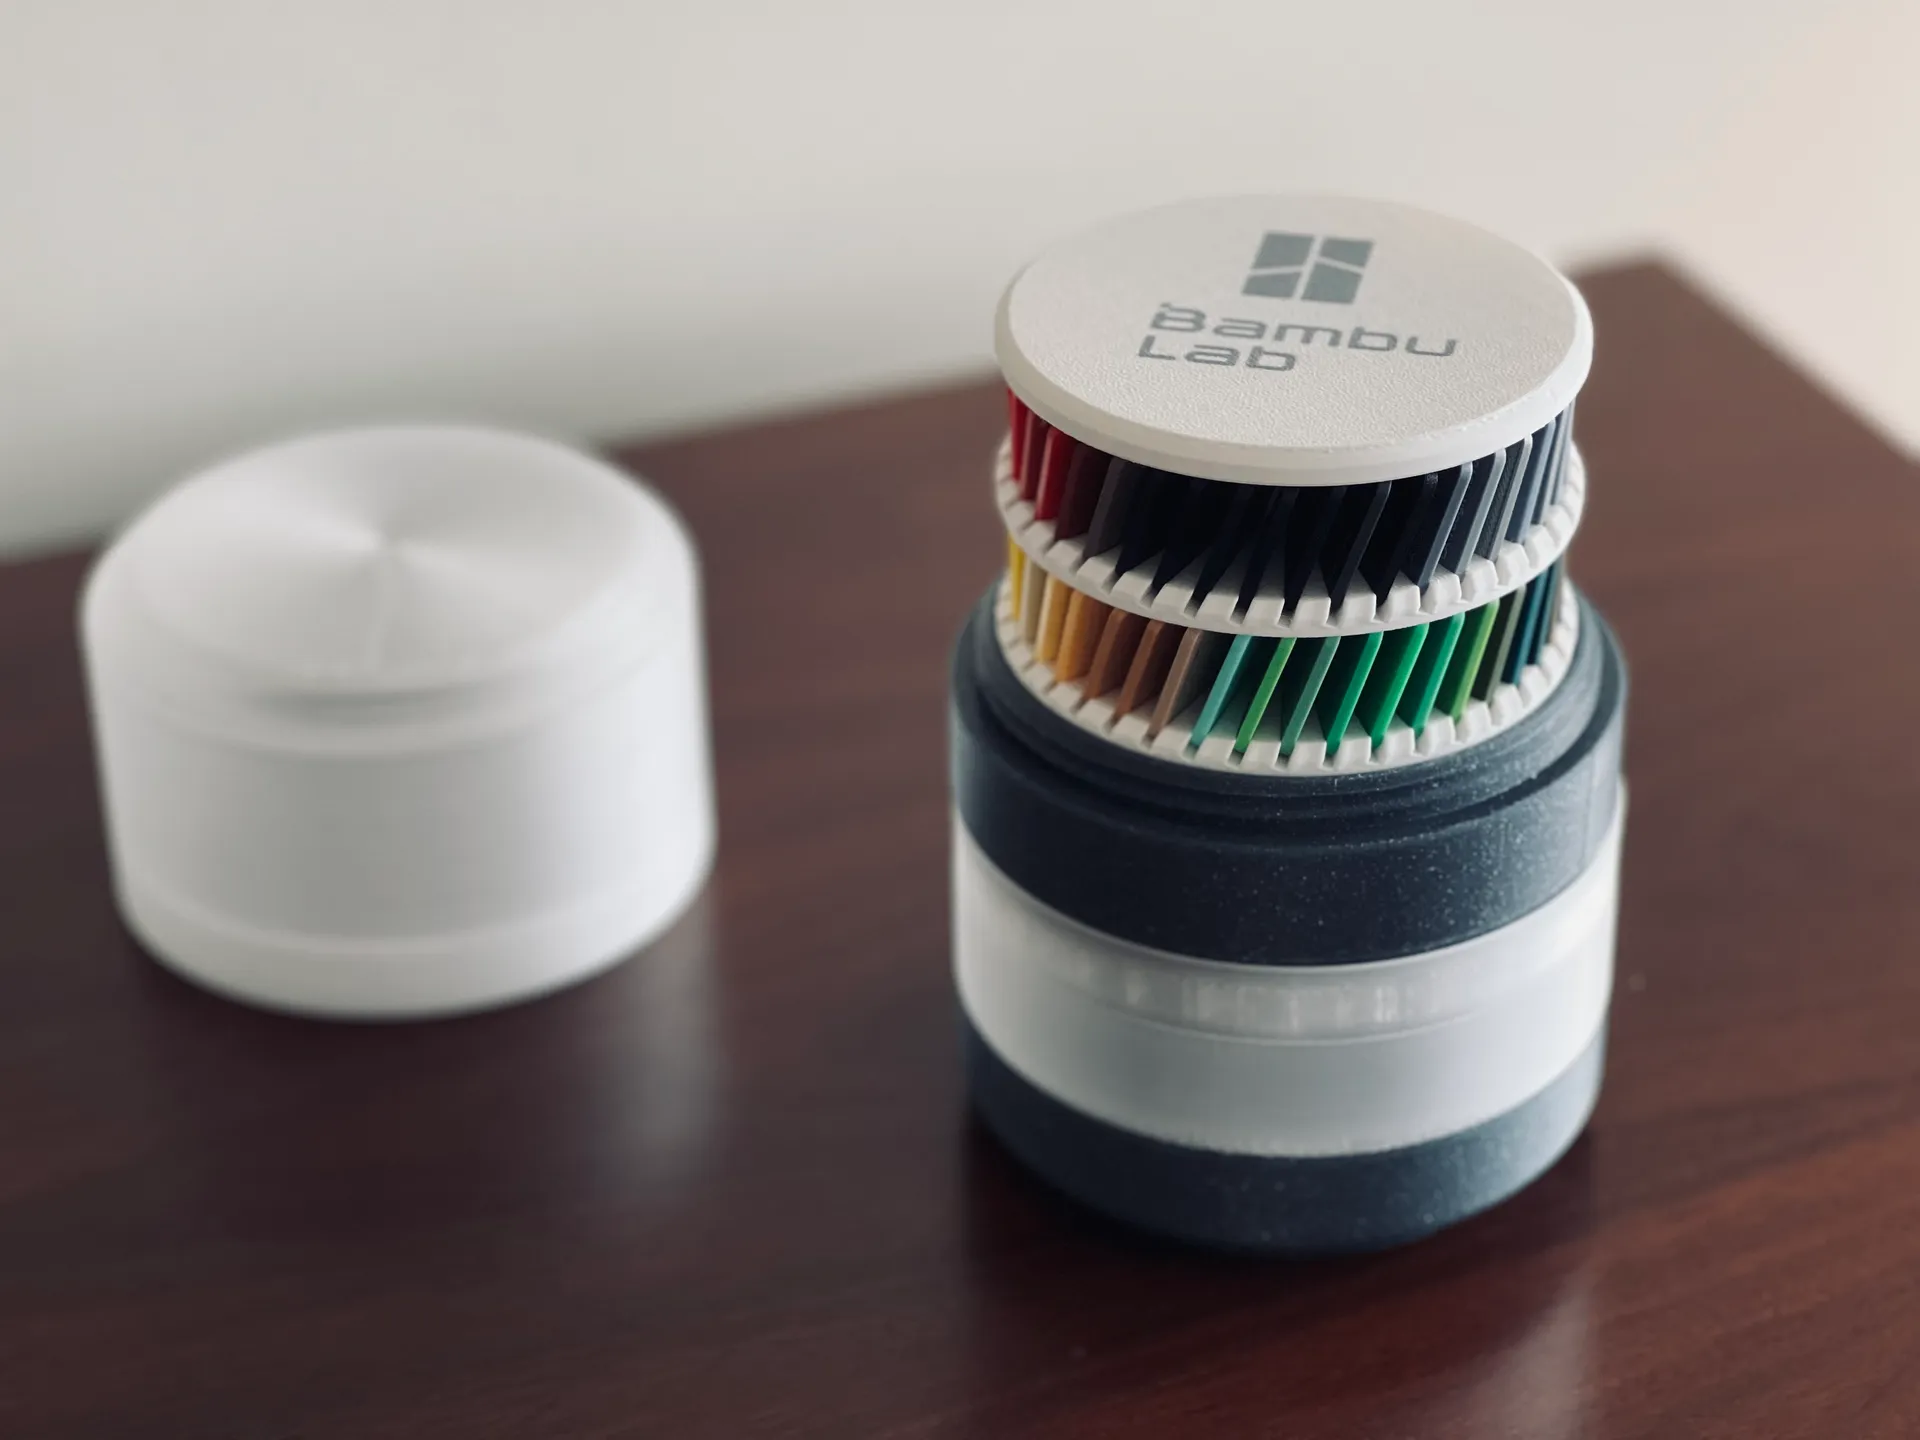
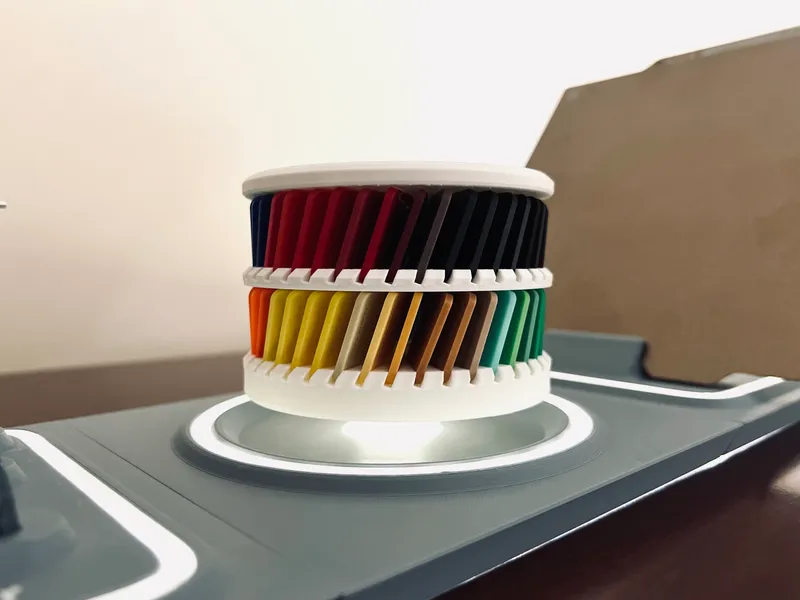
Suspended swatches configuration
This effect can be easily achieved with a downloadable special part.
You can find these color swatches here.
Print Instructions
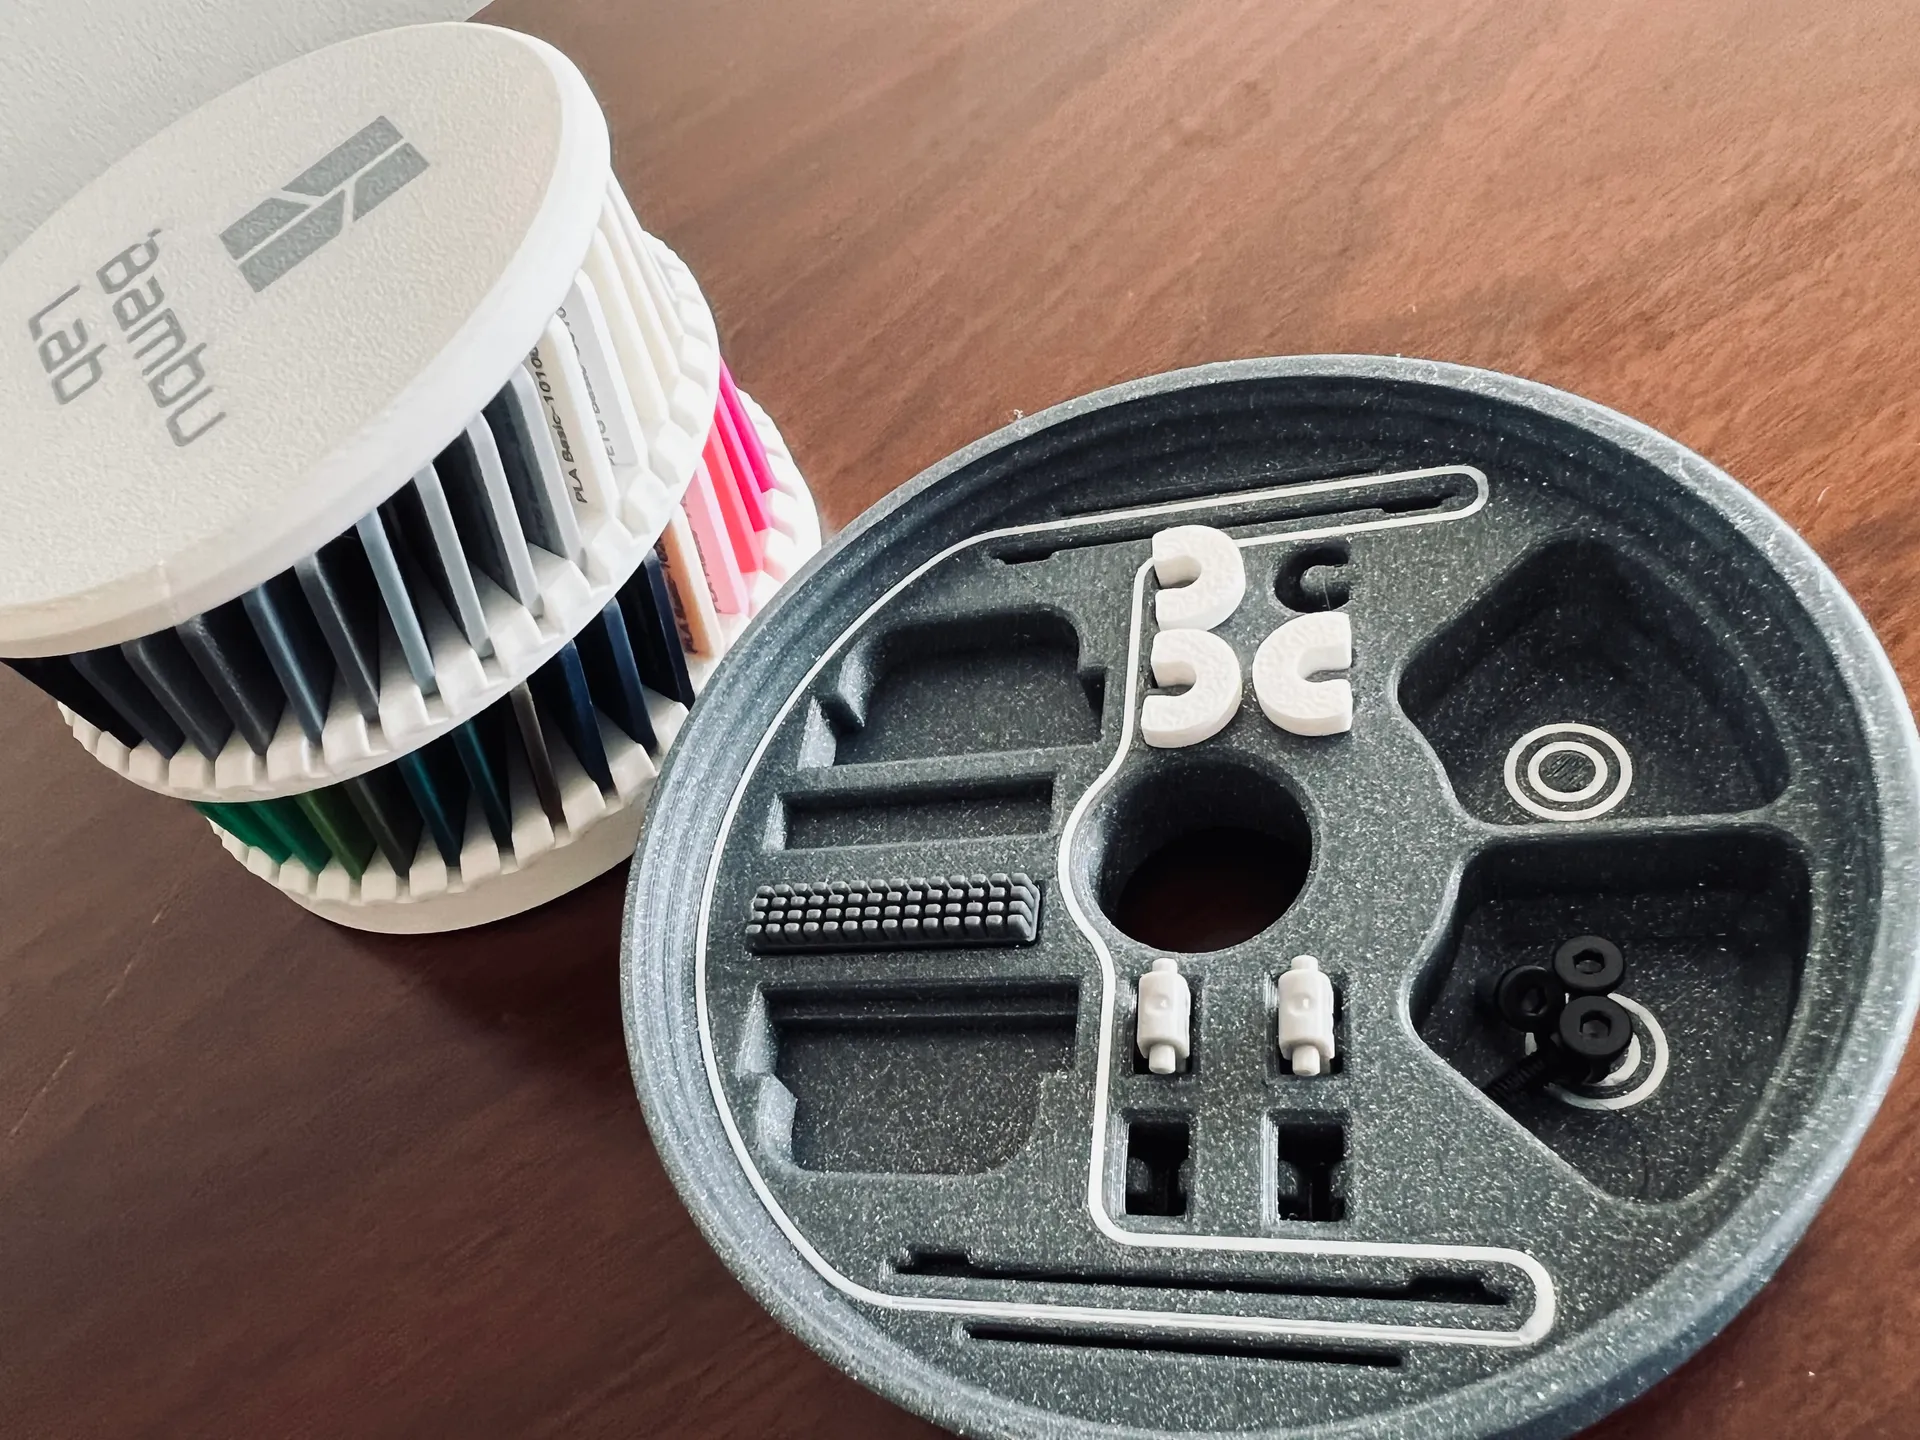
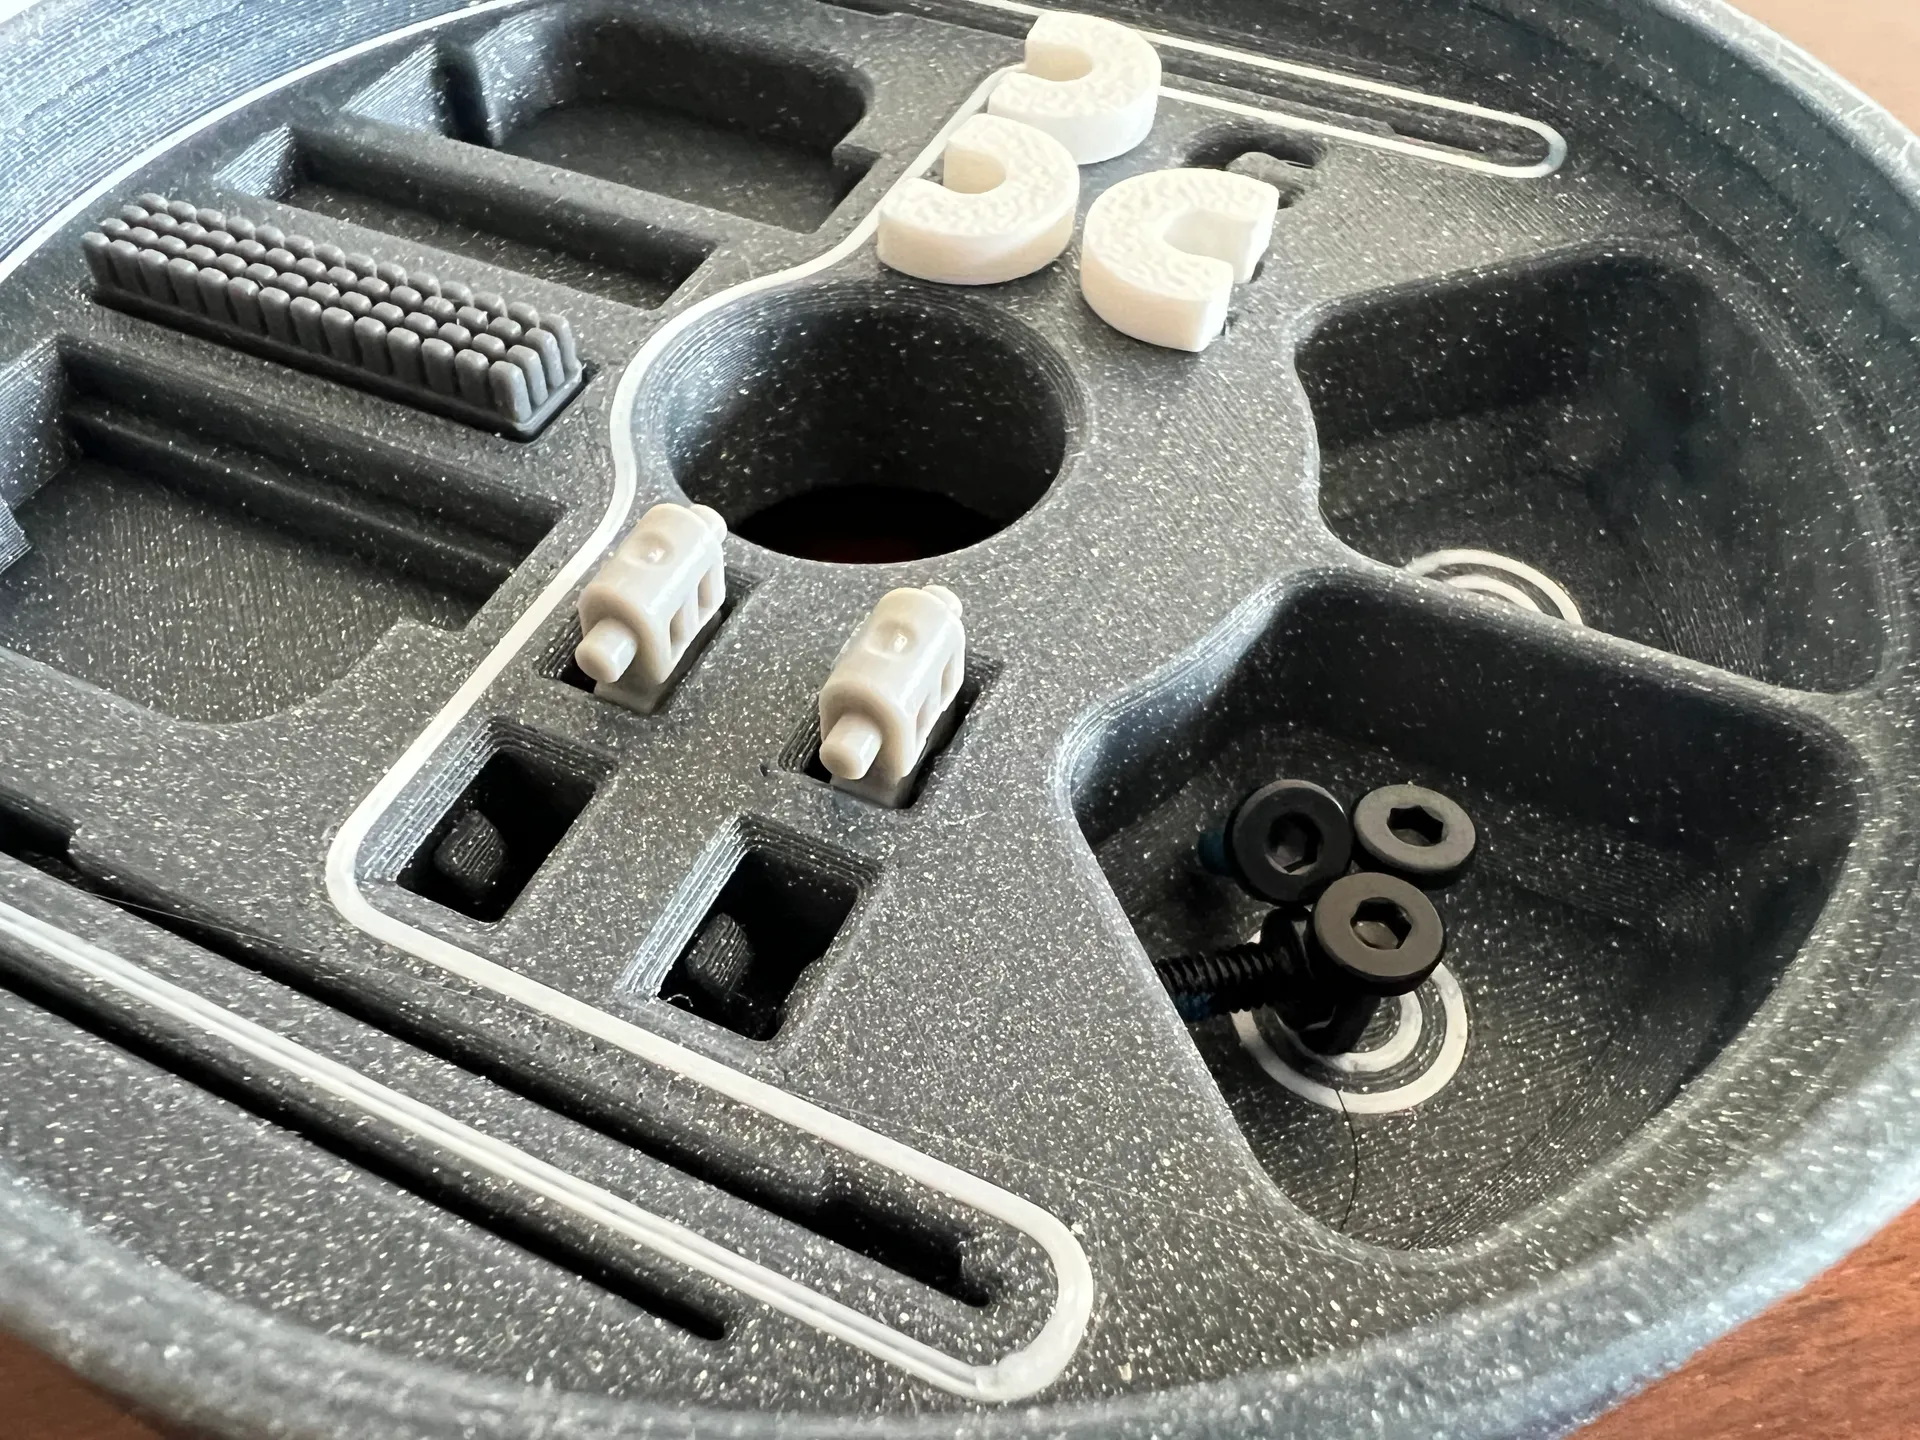
The accessories base, has 2 pockets for bolts, below the 2 concentric circles I've added a magnet on both sides. If you use my printer profile (3mf), the printer will pause at a certain time for you to insert the magnets. Make sure they do NOT protrude before resuming the print.
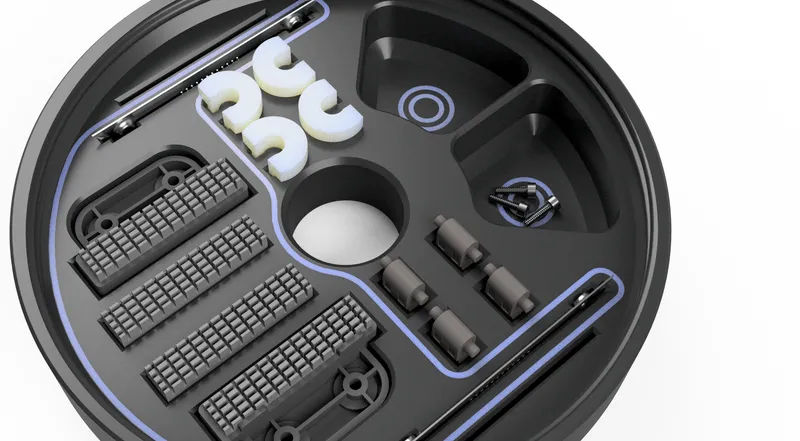
Bolts compartment on the top right. Below the 3 concentric circles are the magnets.
- 2x neodymium magnets of 10x3mm (Amazon associate link)
Just change the filament settings as needed to suite your preferences, all the rest should be ok.
This design is free for the benefit of the community, but If you like my designs and want to contribute, you can make a donation on PayPal, or even better, join “My Club” on printables.com, that will be greatly appreciated.
Change log
- (09-01-2024) - Added the A1 printer Bottom part.
- (15-04-2024) - Update to the A1 (not mini) bottom part. This printer has a larger Silicone nozzle now wiper, and no metallic nozzle scraper, so I've added 2more areas for screws, and more pockets (Bottom_ring_A1.3mf). You will need more 4 magnets, total 6 magnets of 10x3mm.
Tags
Model origin
The author marked this model as their own original creation.

