Christmas Gift Bow - Foldable!


Description
PDFCHo Ho Ho, and a Merry Christmas!
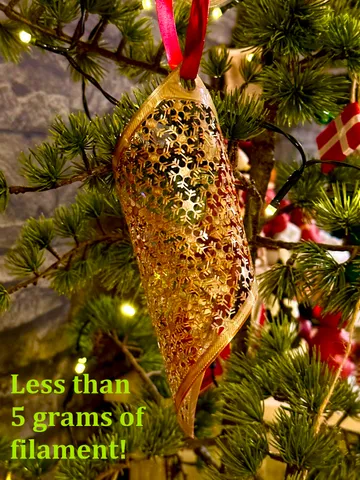
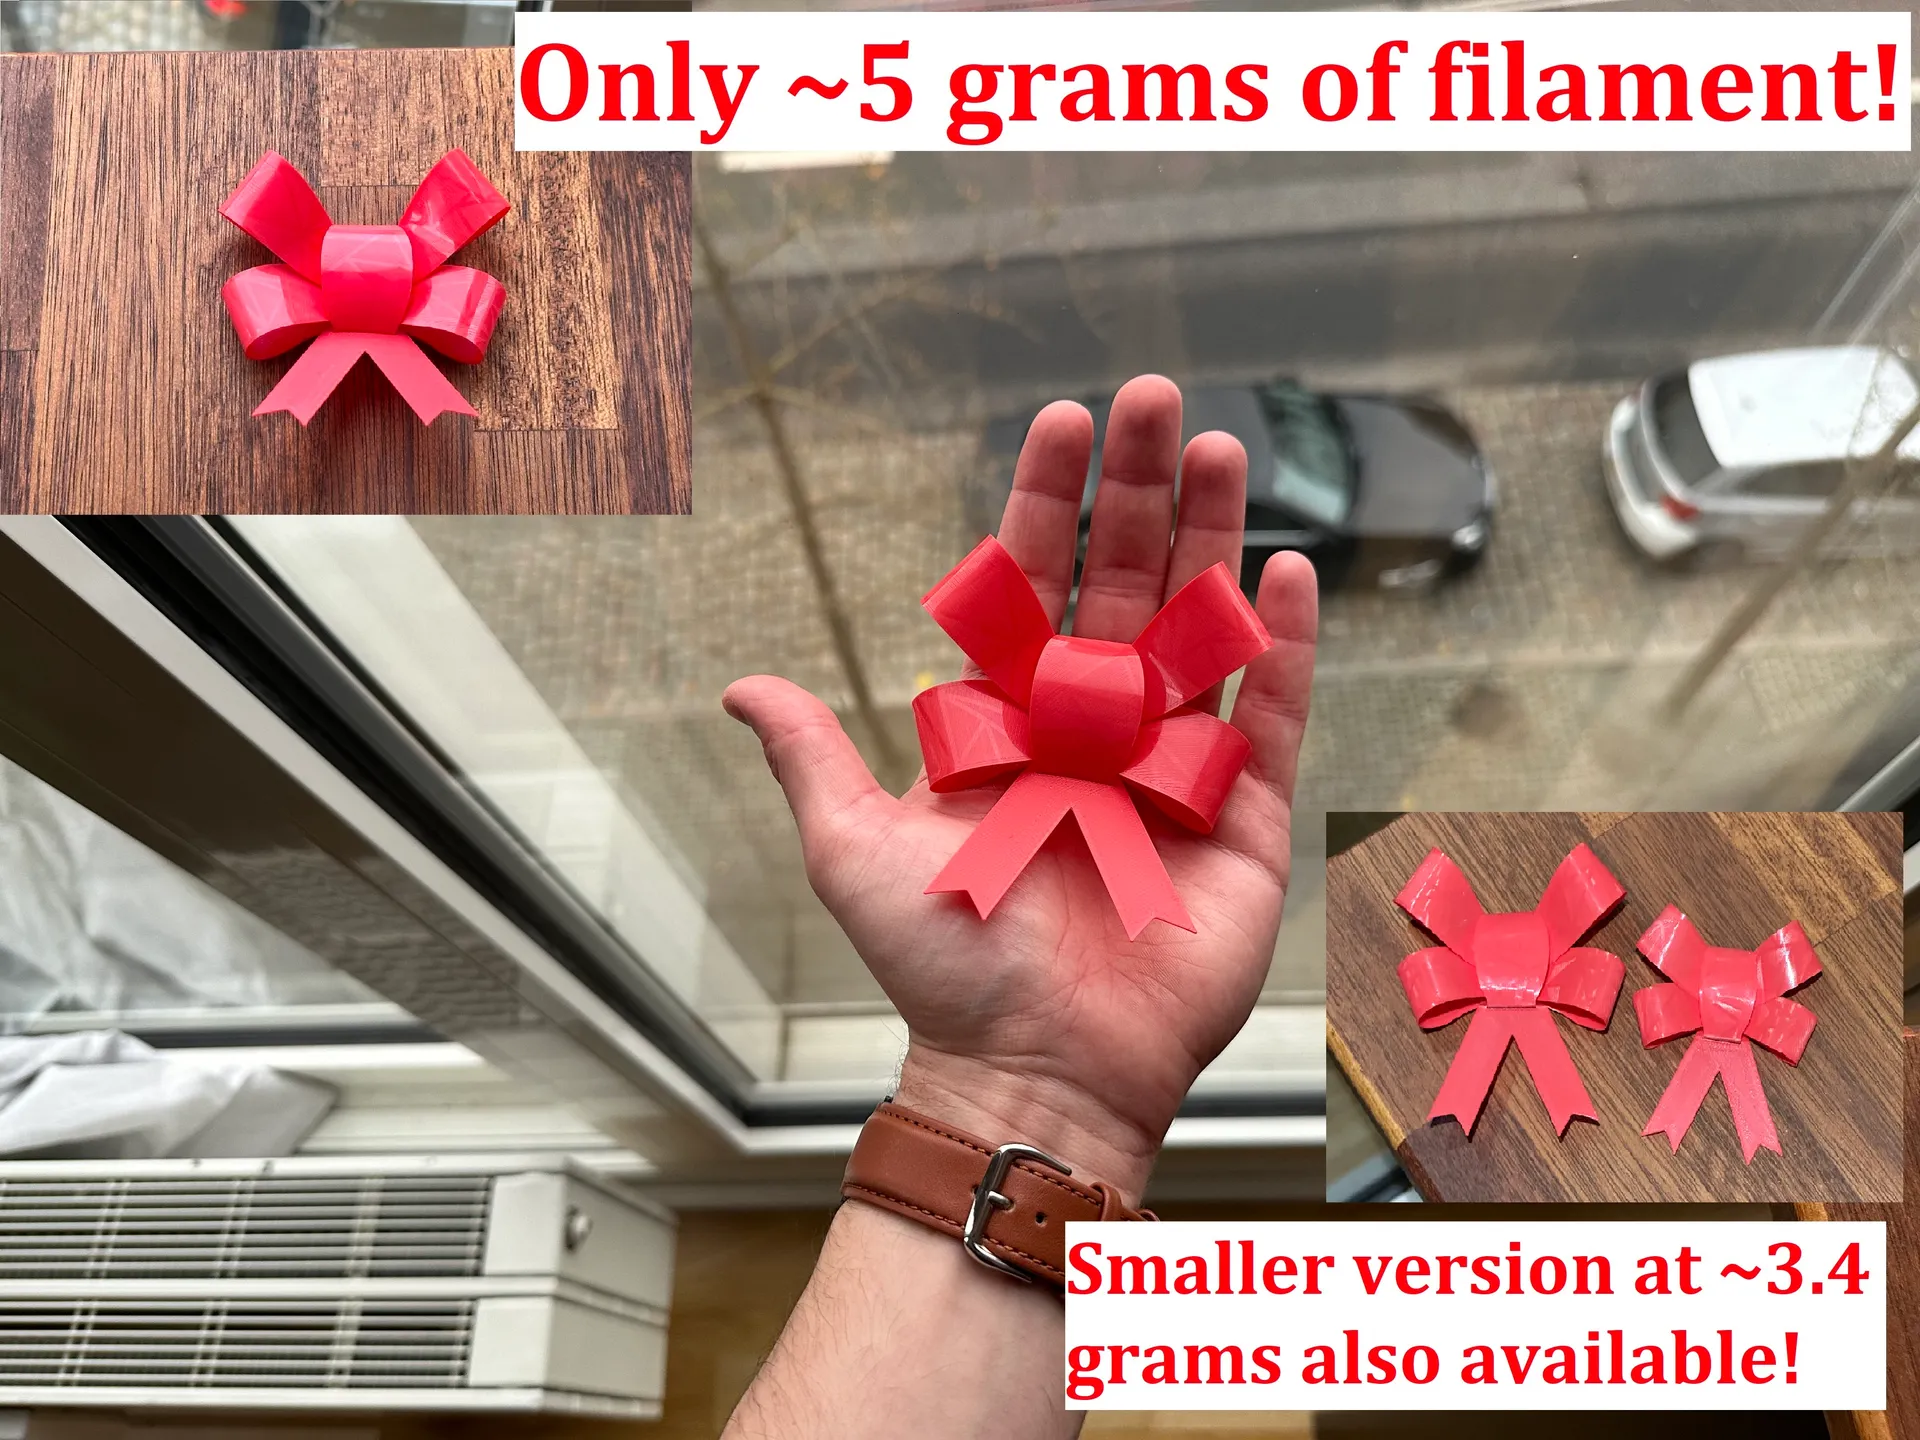
Presenting the 5 gram Christmas Gift Bow! As seen on MakerWorld!
Easy to print, easy to assemble and easy to enjoy!
Personally, I suck at making a nice bow on Christmas Gifts. I am, however, quite good at letting my 3D-printer do the work for me, while I sit back and relax. So, here we are!
Update:
A smaller version at ~3.4 grams is also available now!
Be aware that the smaller version does require tighter bending, so the flexibility of your PLA needs to be even higher.
I have tested it with a few of the regular PLAs I currently have in stock, and all worked fine. But your mileage may vary.
Just be extra careful when bending. And if it keeps failing, consider just sticking to the standard version or follow the tip at the bottom of this description :-)
Assembly
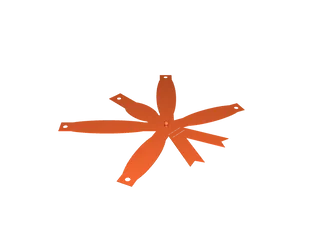
Assembly is done by first feeding the top ribbon through the slots at the bottom, and then pressing it onto the circle mount in the middle (bending the ribbon a bit first does make the assembly a bit easier - please refer to my poorly filmed assembly video below).
After that, the rest of the ribbons can be pressed onto the circle mount in any order, you like!
The ribbons are supposed to be a bit tight, when pressing them onto the ‘circle mount’ - this is to ensure they stay in place, without having to glue everything in place. I wanted this bow to require no additional materials to assemble!
If you find the fit to be a bit too tight or a bit too loose, please try changing the X-Y Hole compensation in the slicer.
Now all that is left to do, is to attach the bow to the gift using some glue/tape/etc.
Filament to Use + Tips&Tricks
I've personally succesfully printed and assembled the bow with both cheap, generic PLA, brand name PLA, PLA+, High-Speed PLA, etc.
However, Silk PLA, Matte PLA and other “special” types of PLA might not work as well, as they can be too brittle to bend like this.
You could try placing the print on the hot bed, set to 70-80 degrees, to heat up the bow after it has been removed from the build plate. That will soften up the PLA and might make assembly with these materials possible. I personally haven't tested this yet, so I won't guarantee anything :-)
Shout-out to Paul Elrod for this idea of heating up the print using the hot bed prior to assembly.
If you have issues with the ribbons creasing/breaking, it is often due to how the lines line up with the bend. Changing the Top and Bottom Surface to Concentric can mitigate this issue. Increasing your wall count is also one way of making the print stronger!
Merry Christmas and Happy Printing!
(Originally uploaded on MakerWorld, 22nd of November, under profile “TheBear”)
Tags
Model origin
The author marked this model as their own original creation.