Drill guide for concrete drilling


Description
PDFI live in a flat, built from reinforced concrete blocks, which have coarse aggregates in it. So, the use of an SDS hammer-drill is a must whenever I have to mount something on the wall. But precision drilling was a real struggle for me in the beginning because no matter how slowly and carefully I started and how hard I tried to maintain the position of the bit on the right spot, the bit almost always hit a hard pebble and jumped away. Sometimes the hole was almost 10 mm off, which is a tragedy if you have a shelf with a mounting system that relies heavily on the position of the holes. I tried a lot of techniques with no luck.
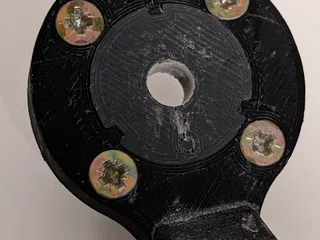
So, I came up with this simple solution of using a guide that has screws in it pushing into the wall and providing enough grip to counter the lateral forces on the bit. The first version was just from a block of scrap wood, but it worked so well, that I designed this 3D printed version with easily replaceable inserts. It doesn’t seem like a big thing, but it really helps, and I'm using this guide for more than a year now and love it and have drilled a lot of holes with it.
The ring shaped frame and the handle can be from regular PLA or PETG or anything that is rigid enough. The swappable inserts should be from a heat tolerant and flexible material like TPU. Maybe other materials could work too, but I don’t recommend PLA, because the heat from the bit will destroy it in no time. I used Extrudr Medium TPU, and it worked really well for me. I am still using the first set of inserts I printed more than a year ago. Also, the design makes use of the softness of the TPU because the inserts are compressed into the slot and held there only by friction. The only known issue for me is that sometimes the insert loosens because of the hammering action, especially if the slot is dusty, but with a bit of care in the changing process this happens very rarely, maybe 1 out of 20 drilling.
Feel free to remix or modify the design, I’m sure it can be enhanced in many ways. My printer is an Artillery Genius Pro and I use IdeaMaker as a slicer. I hope the tolerances will work well for your setup too, but I cannot guarantee it, because I never tested the model on other printers.
Update 2023.11.19: I've included a single piece version for the frame that doesn't require the M6x40 bolt.
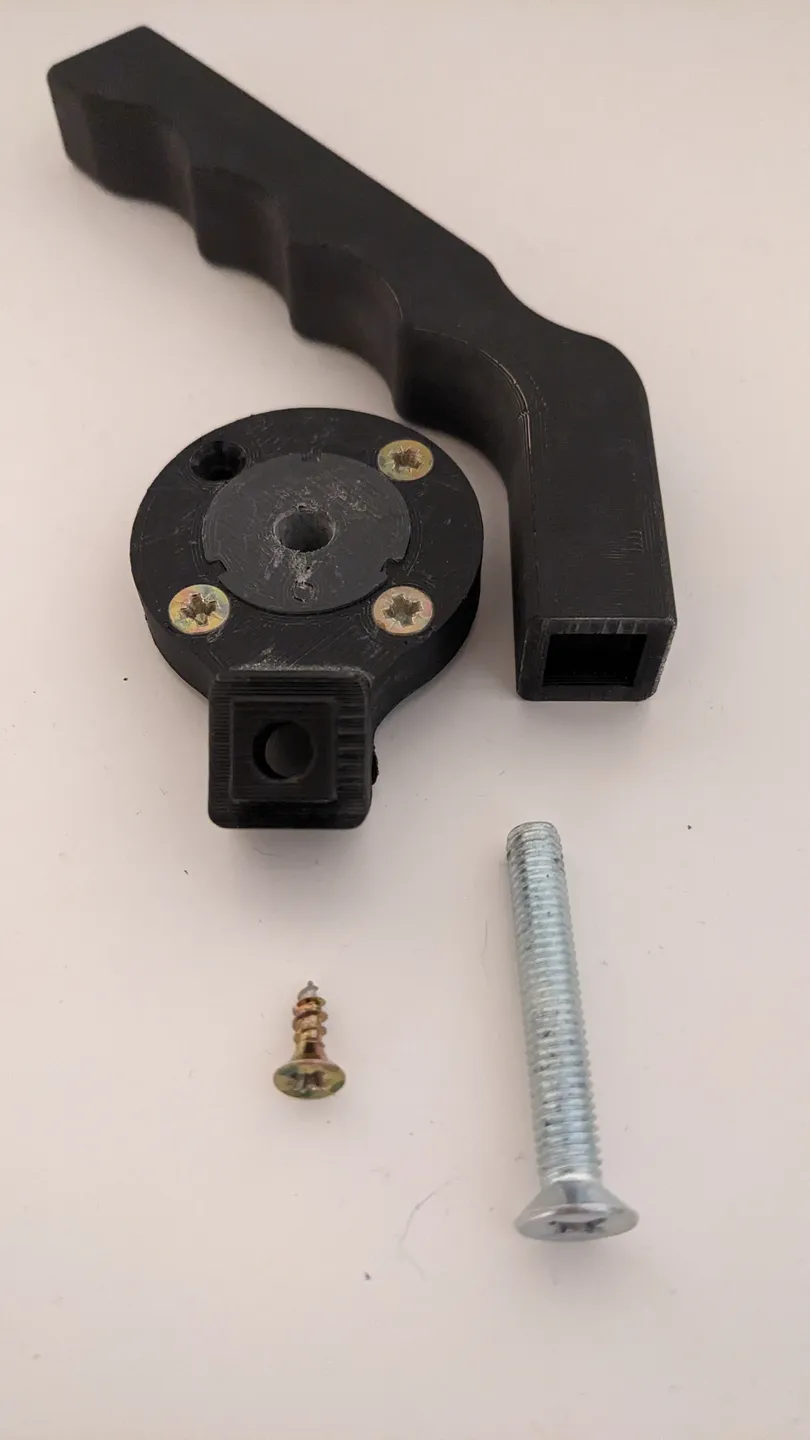
3D printed parts:
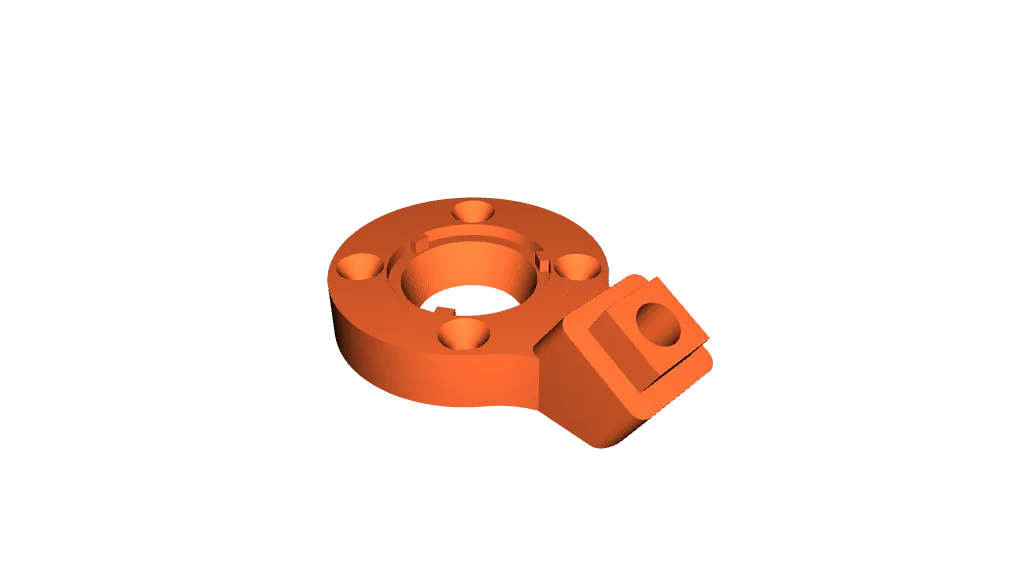
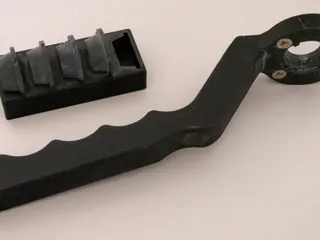
- P1: This is the ring shaped frame with the slot where the inserts go
- P2: The handle of the device
- P3: A piece to cover the top hole on the handle where the nut go
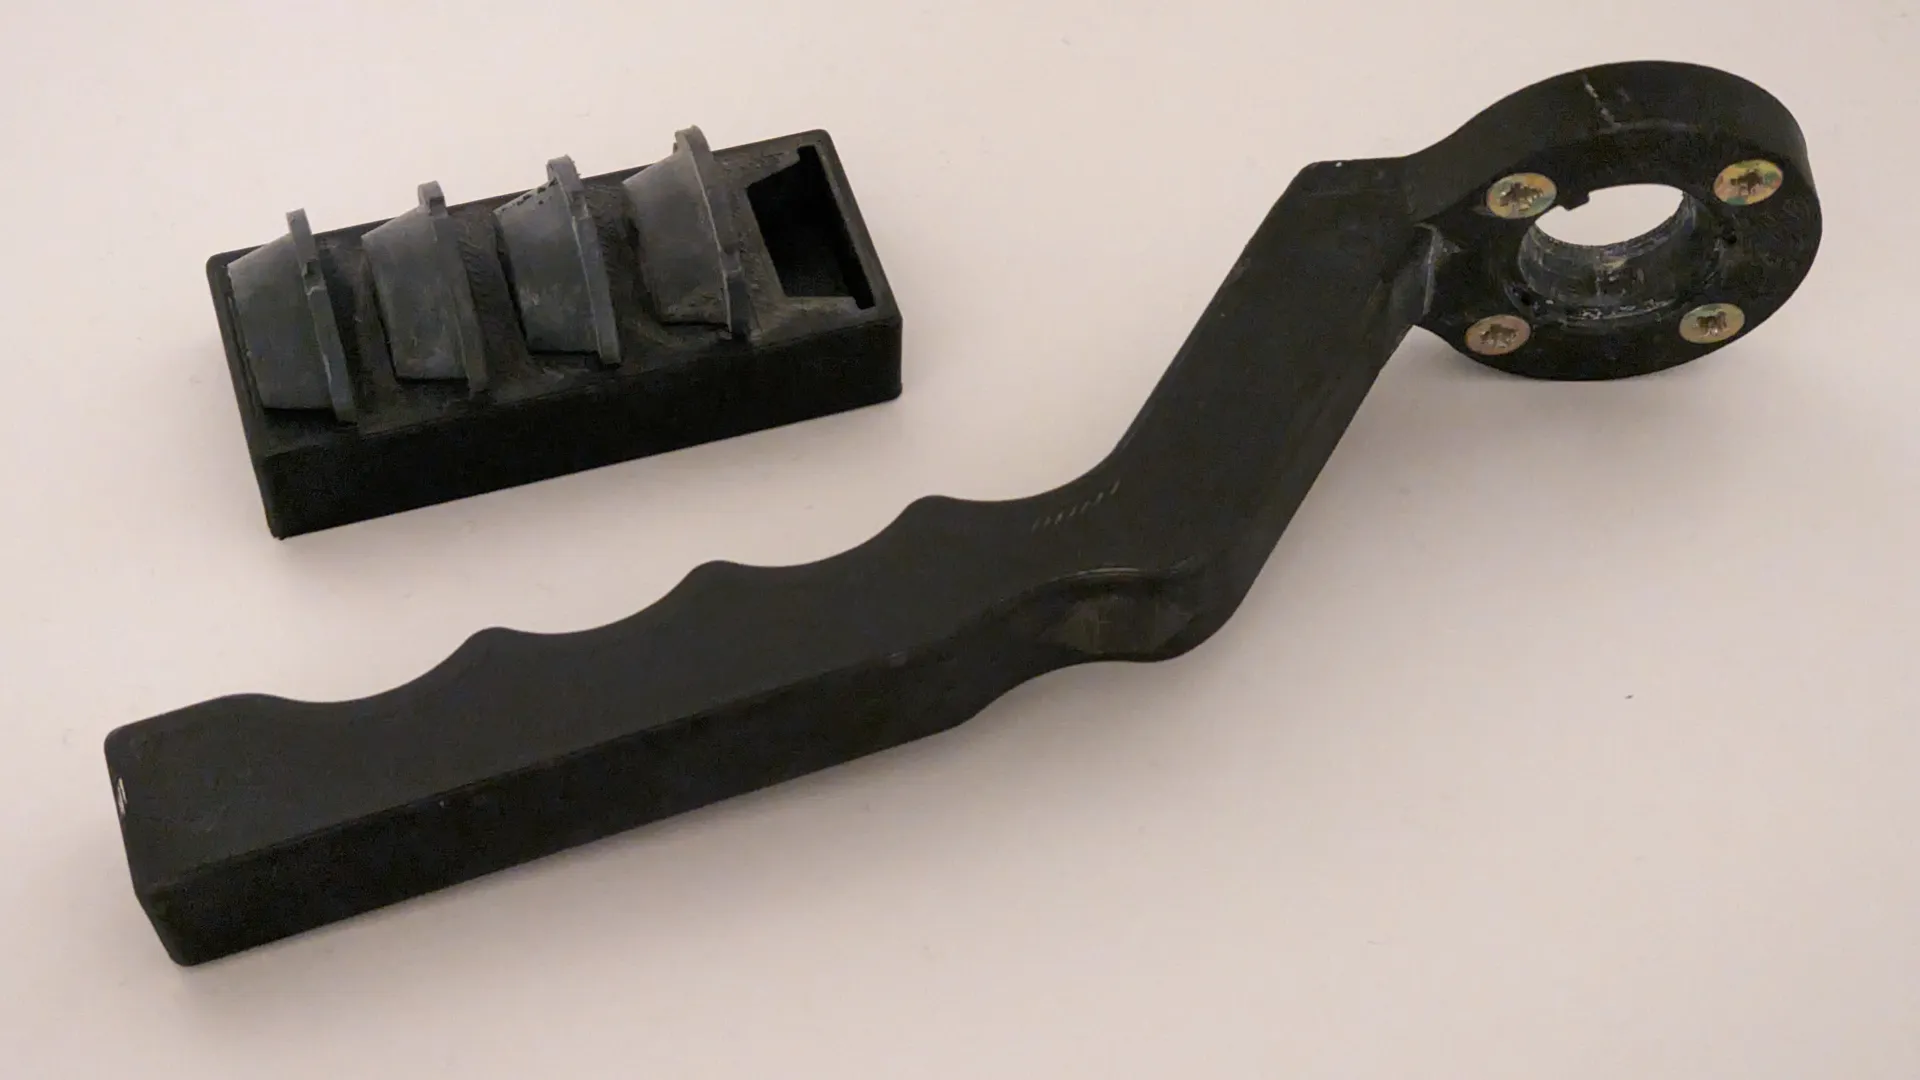
- P4: Just a simple holder for 5 inserts
- P5: The inserts with 5 different hole sizes
- P1-P2 single piece: alternative version that doesn't require a bolt and nut, but can only be printed with supports.
Other parts needed:
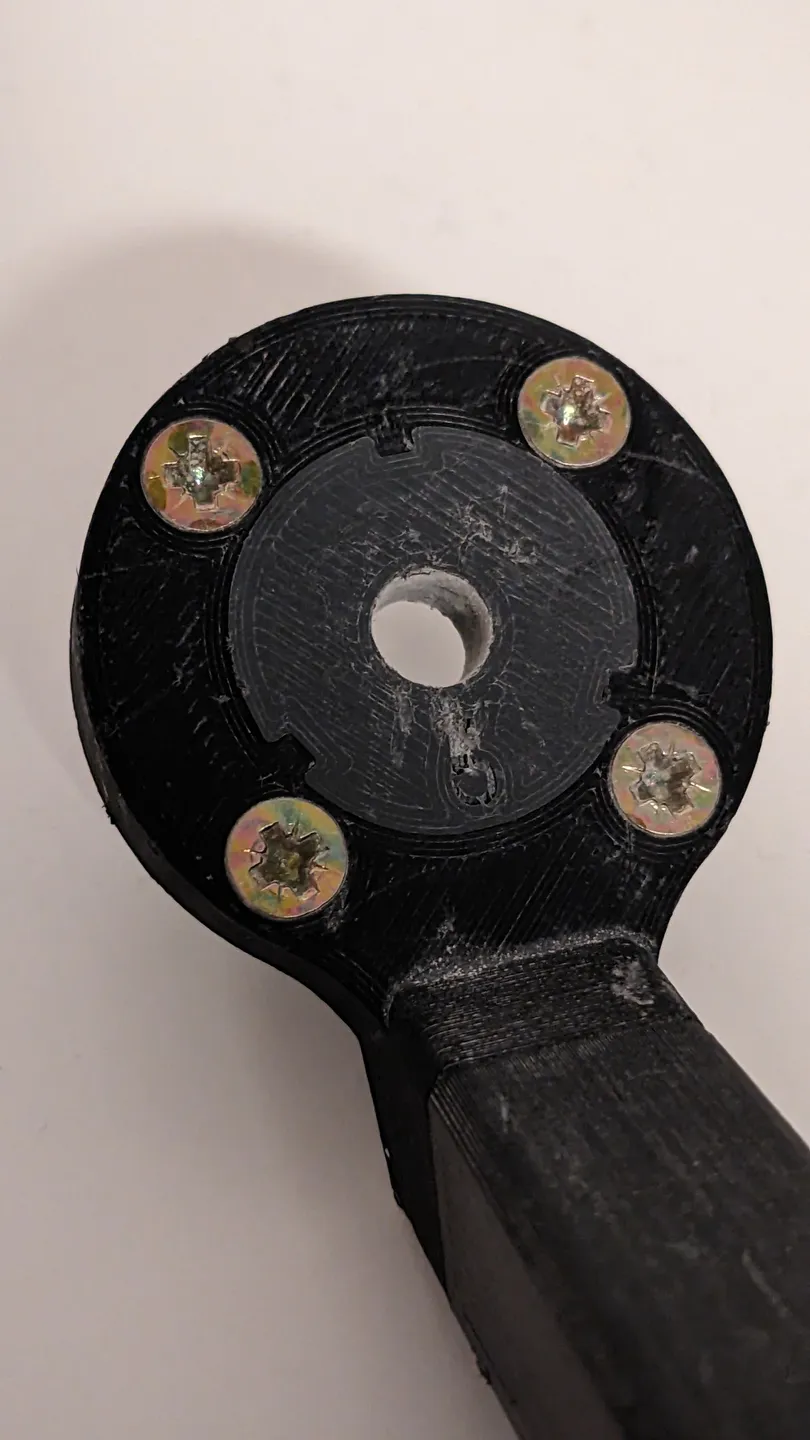
- 4 pcs 3.5x12 mm wood screws (countersunk head)
- 1 pcs M6x40 mm bolt (countersunk head) (for the no support version)
- 1 pcs M6 nut (for the no support version)
Printing tips:
- Choose either the multipart or the single piece version. The first option requires a bolt and a nut but can be printed much faster and without supports. The single piece variant requires a lot of supports, but no bolt and nut.
- The insert and the ring must be printed precisely. If the insert is not snapping into place making that satisfying click sound, then try to adjust the extrusion width, flow rate, thin wall settings etc. Here’s a short video that demonstrates how the two parts should snap together:
- Layer heights: 0.2 mm
- Extrusion widths: p1: 0.43 mm, p2: 0.43 mm, p3: 0.4 mm, p4: 0.5 mm, p5: 0.4 mm. Of course, these are just my settings, feel free to adjust them.
- Infill: for the ring and the handle, use at least 30%. No need to go above 50%.
- I included my gcode files for reference only because they are very printer specific and probably won’t work on your machine, even if you have the same brand and type.
Assembly:
- (no support version) Press together the handle and the ring and use the bolt and nut to hold them together. Push the cover piece into the hole of the nut.
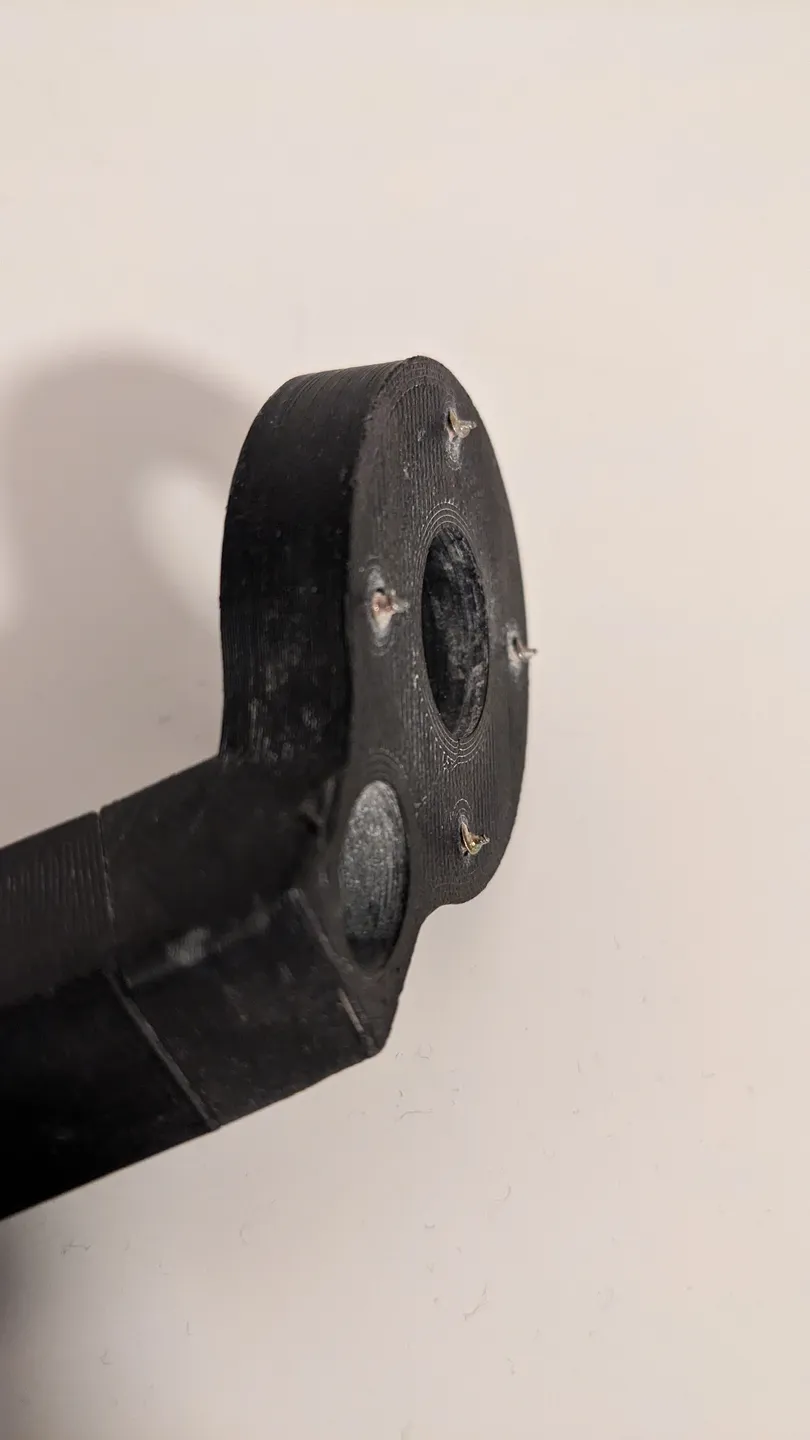
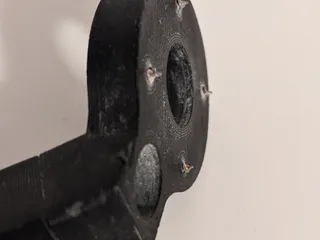
- Screw the 4 wood screws into the 4 holes on the ring until their points protrude about 2 mm on the bottom side of the ring.
Usage tips:
- Try to clean the slot in the ring before pressing the insert into it.
- Press the insert firmly and evenly into the slot.
- Don’t forget to factor in the width of the device, when you use a depth stop. For example, if you need to drill a 30 mm deep hole, then mark the bit at about 42 mm.
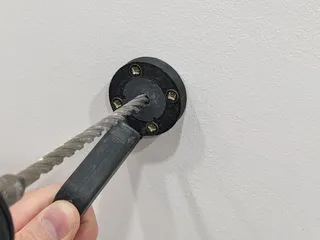
- I always put the bit through the guide hole first, then move the point of the bit to the target spot, then push the device to the wall, while holding the drill and the bit in place. I found this method more precise than trying to aim the center of the guide hole over the target point and then inserting the bit into the guide.
- The 4 screws will make little holes on the wall around the final, drilled hole. This is a side effect of this method, but 99% of the times these tiny holes don’t matter, because the mounted object will cover them, or you have to repair the wall around the hole anyway. By rotating the device, you can make a small adjustment over where the holes will go.
Tags
Model origin
The author marked this model as their own original creation.