Drill bits holder for Skadis (metric)

Description
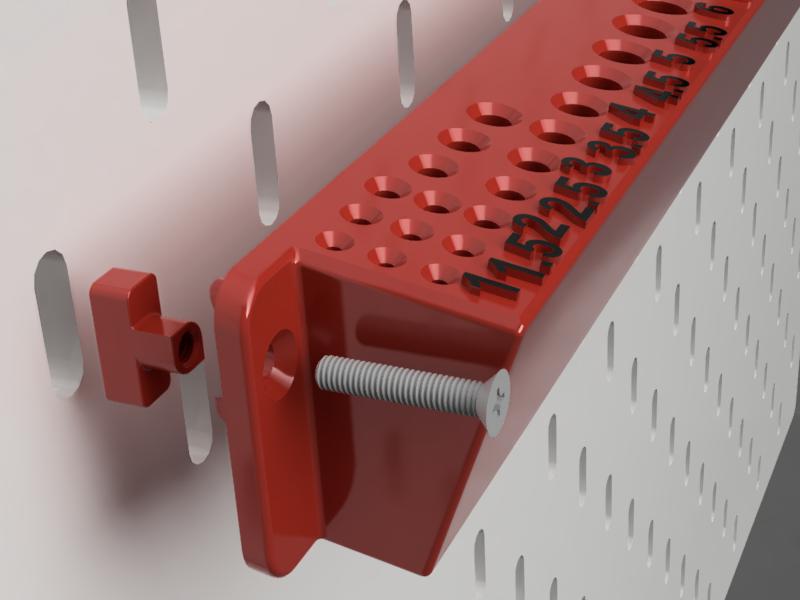
PDFThis is a holder for metric drill bits from 1 to 10 mm in 0.5 mm steps. I have added a couple of extra holes for the narrower drill bits, I like to have some extra because I tend to lose them or they can break off from time to time. The drill bits holder is designed for good visibility and access and easy drill bit removal and insertion, so the holes are oversized by 0.5mm and the holder is tilted by 10 degrees.
Update 2024-01-01: In response to a requests, I have created a variant for drills in the 10.5 - 13 mm range.
If you are looking for a imperial drill bits holder, take a look at this one: Inch drill bits holder for Skadis.
Installation
The drill bits holder is mounted on the Skadis board using a T-nut that fits M3 screws. T-nuts provide a strong and secure hold and are easy to install and remove by using a screwdriver. There are two different versions of the drill bits holder, one with countersunk holes and the other with flat holes, which one to use depends on the type of screw you are using. The screws that will fit should be about 15 mm in length.
Place the screw in the T-nut through the holes in the drill bits holder and screw it in until the T-nut is about 2-3 mm from the back of the holder, insert the T-nuts vertically through the Skadis holes, then as you tighten the screw the T-nut will turn and lock the drill bits holder to the board.
You can find and download the matching T-nut here: Skadis T-nut for M3 screw.
Printing and print settings
The best way to print the drill bits holder is flat on the bottom side. In the model files the parts are oriented in the best direction for printing. Use PLA for printing with a layer height of 0.2mm or less and a nozzle width of 0.4mm or less. A wall thickness of at least 4 lines and an infill of 25%. A support structure for the screw hole are recommended for the printing.
The numbers are on the top of the model, so it is possible to change the filament colour for the last few layers to make the numbers stand out better.
After printing, the holes may need to be adjusted to the correct size by drilling the holes with a drill bit 0.5mm larger in diameter than the intended drill bit.
More of my models
You might be interested in some of my other models.
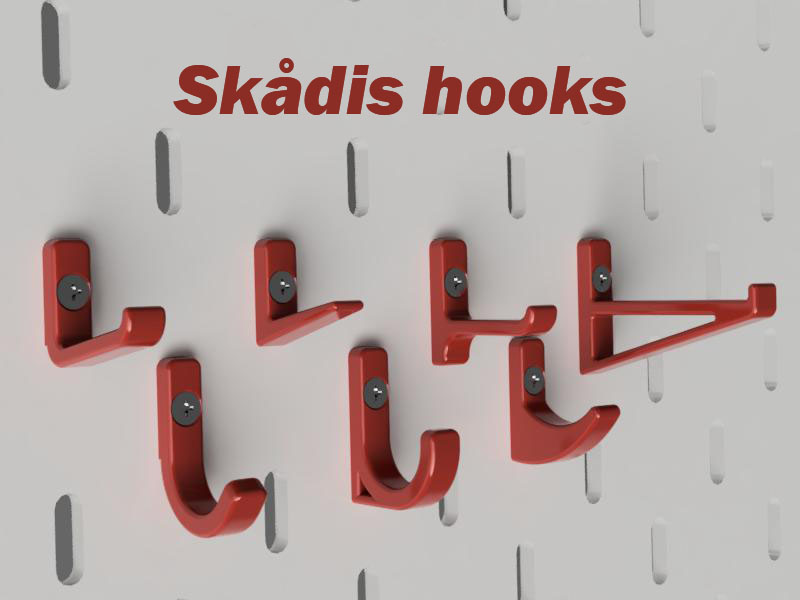
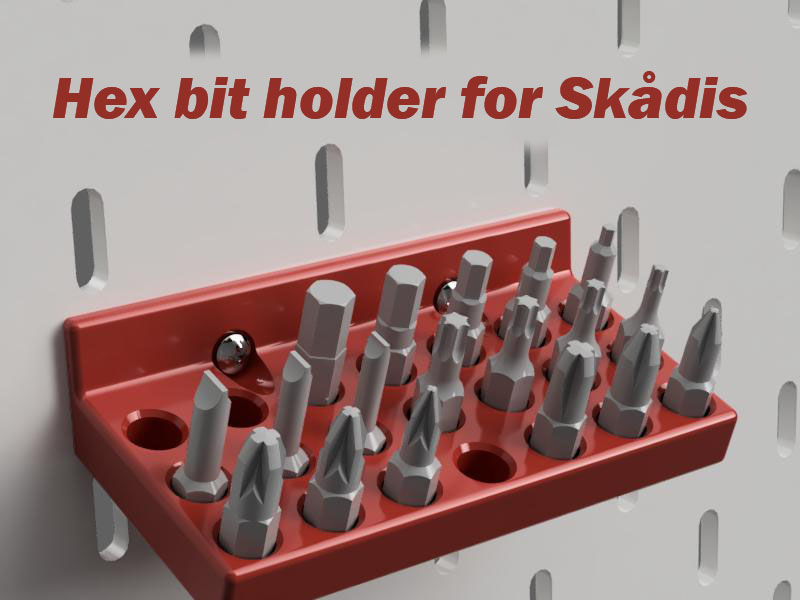
Set of hex bit holders for the Skadis board
Click here if you are interested in seeing more of my models for IKEA Skådis board.
Feedback is always a good thing. To encourage me or other designers to make more models, hit like and/or post your makes. If something doesn't work or is missing and can be improved, please leave a comment.
Tags
Model origin
The author marked this model as their own original creation.