Elsa Frozen Lightbox LED Lamp


Description
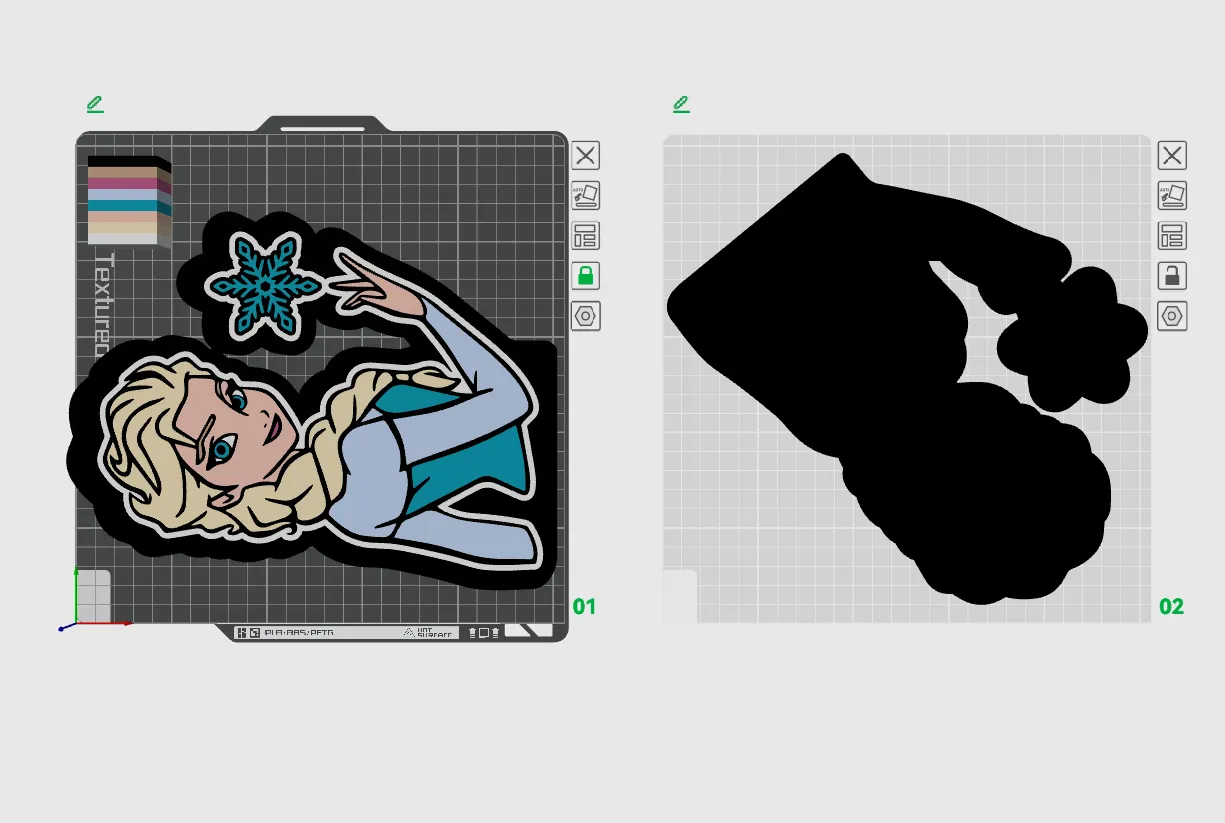
Transform your space into a winter wonderland with this enchanting 3D model showcasing Elsa from the beloved movie Frozen. The ice queen herself takes center stage, radiating her magical presence and bringing a touch of Disney magic to your surroundings. This lightbox captures Elsa's elegance and the essence of her icy powers, making it a captivating addition to any Frozen fan's collection. When illuminated, the lightbox creates a magical glow, further enhancing the enchantment of Elsa's character. Let the Snow Queen grace your space with her timeless charm and add a touch of Disney magic to your decor. ❄👑✨
If you don't have or don't want to install LED's you can just glue the parts together and have an awesome sign!
WARNING!
- remove purge line at the beginning of the print, it may interfere, specially with bigger prints!
Materials and tools:
- glue gun
- aluminum tape
- led strip (here is the one I use): simple 1m white led USB
- soldering iron (optional)
RECOMMENDATIONS
- use a textured PEI sheet
- remove purge line at the beginning of the print!
- use the print profile, it has quite a few setting changes that help achieve the best results
- make a hole for the USB strip wherever you like it best with a soldering iron, drill or in the slicer
- use the aluminum tape on the inside of the backplate to help with light diffusion
- glue the LED's the further away from the colored design possible; placing them too close ruins the diffusion and the individual LED's become visible
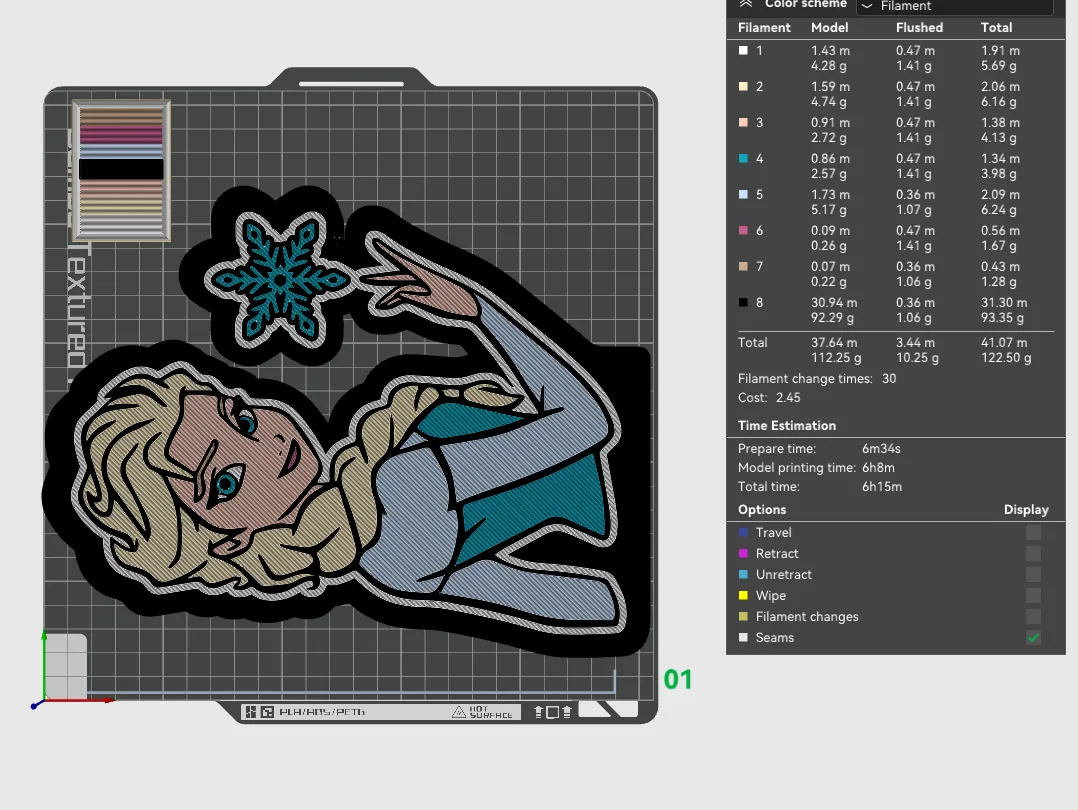
Bambu Studio Settings:
I always recommend using the print profile I provided since it has settings with which I've been able to get the best results.
If you choose not to here are the main slicer settings I recommend:
- preferences (ctrl + P) → activate developer settings → Quality →Advanced → First Layer Flow Ratio: 1.04
- Quality → Wall generator → Arachne
- Quality → Wall transitioning threshold angle → 50º
- Strength → Advanced → Infill/wall overlap → 20%
- Quality → Advanced → Avoid crossing walls
- Increasing retraction / reducing temperature can help reducing wisps
- Order color printing from lightest to darkest color
How to make a hole in Bambu Studio:
Assembly video:
How to print without AMS:
Tags
Model origin
The author marked this model as their own original creation.


