Ender 3 v2 Front ON OFF switch

Description
PDFAfter using my printer for few weeks I got tired of constantly having to push my hand behind it to turn it off, so I came up with this design.
By creating a power supply bracket that keeps the hooks extension on half of the button each, I was able to come up with a design that allows for the control of both the ON and OFF state from the front of the printer, without the use of wires or more advance ways to turn it on or off.
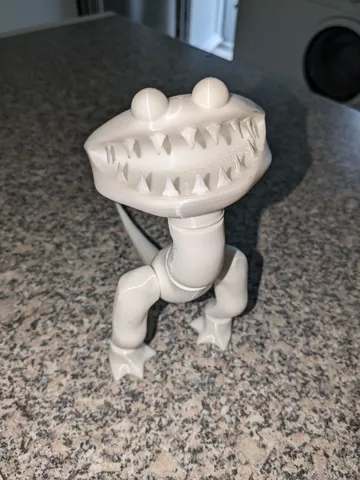
The parts look messy on some pictures because I am still using the “patched up” design on some.
About the design:
This design uses multiple parts:
- 2 Hooks.
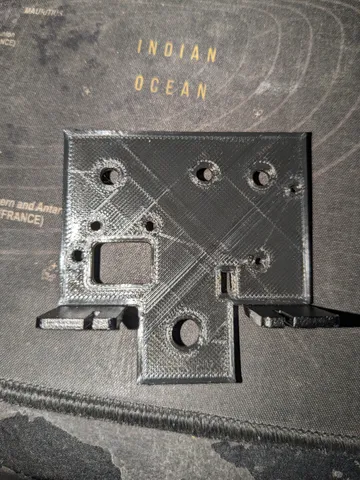
- A bracket that holds the hooks in place. ( it should be ok to printed them 40% shorter, but taller sits better and provides better guides for the hooks.)
- Link extension that connects the hooks and the switch (you need 2 of them).
- Switch mechanism or simple pull hook if you prefer.
There are 2 types of files
- Files marked as (parts) are the same but have sub parts (e.g. 2 parts for a hook instead of one. Just added them because I have them.
- Files marked as (combined) have the whole part combined.
Generally, both types should work the same, I am using the parts version because it made it easier for me to improve the design.
Note: If you are using the printed chains/sleeve for the cables coming underneath power supply, make sure there is enough space behind the power supply for the hooks to extend, otherwise this design might not work for you.
Printing tip: If you want to save on supports you can print top side and taller puller under/above other parts and just clean them well after.
Assembly
- In order to install the bracket on the power supply you will need to remove 1 screw underneath the power supply, then put the hooks though bracket and slide the bracket over the power supply, once it is in place you can screw in the screw.
- Connect the remaining parts* and then connect link extension parts*.
- The last small parts of link extension are adjustable, I recommend putting them on 2nd to last position.
Button mechanism
Currently, the bottom button is used as On and the top is OFF, if you would like them to be reversed, (top being ON and bottom being OFF) you can just switch the hooks around,
however if you plan to use the string method to turn off your printer, having off hook on the left might not work well, in that case you might need to mirror the pulleys, so they are reversed.
For the screws you can use 4mm screws and print 4mm T nut to hold it to the base, however even with that you might still need to apply some down force when pressing buttons on the right.
It is recommend you press the buttons on the side they interact with the gear, otherwise it might not work.
The assembly should be relatively simple:
- 1 base,
- 2 walls,
- 1 gear in the middle
- 2 buttons
- 2 pulleys.
Instructions:
- Clean the parts after printing and make sure the buttons can slide smoothly in the side walls and the base.
- Put the buttons inside the front wall and slide it few times to make them smoother. Remove the button and place the front wall on the base.
- Push the bottom button (ON) as far as it goes,
- Place the small pulley on the opposite side from the back as far as it goes.
- Position the top button (OFF) and the tall pulley just a little inside, while at the same time insert the gear so that it just barely catches the teeth. If it does not want to go in, just wiggle the components a little so it goes in.
- Put the top side on and test (side matters), make sure to press the buttons on the side where they link with gear/labelled side.
- Push the buttons several times to make them more smoother.
Update:
| 29 OCT 2023 | Deleted wrong button mechanism files. |
|---|---|
| 30 OCT 2023 | Added correct button mechanism files, with updated same size buttons and label-less buttons. |
Extras
This design supports auto off feature using “string" method.
You can check it out under the link below where you can download the string attaching part and the end G-code:.
https://www.thingiverse.com/thing:5329665
Tags
Model origin
The author marked this model as their own original creation.