Spiderman Logo

Description
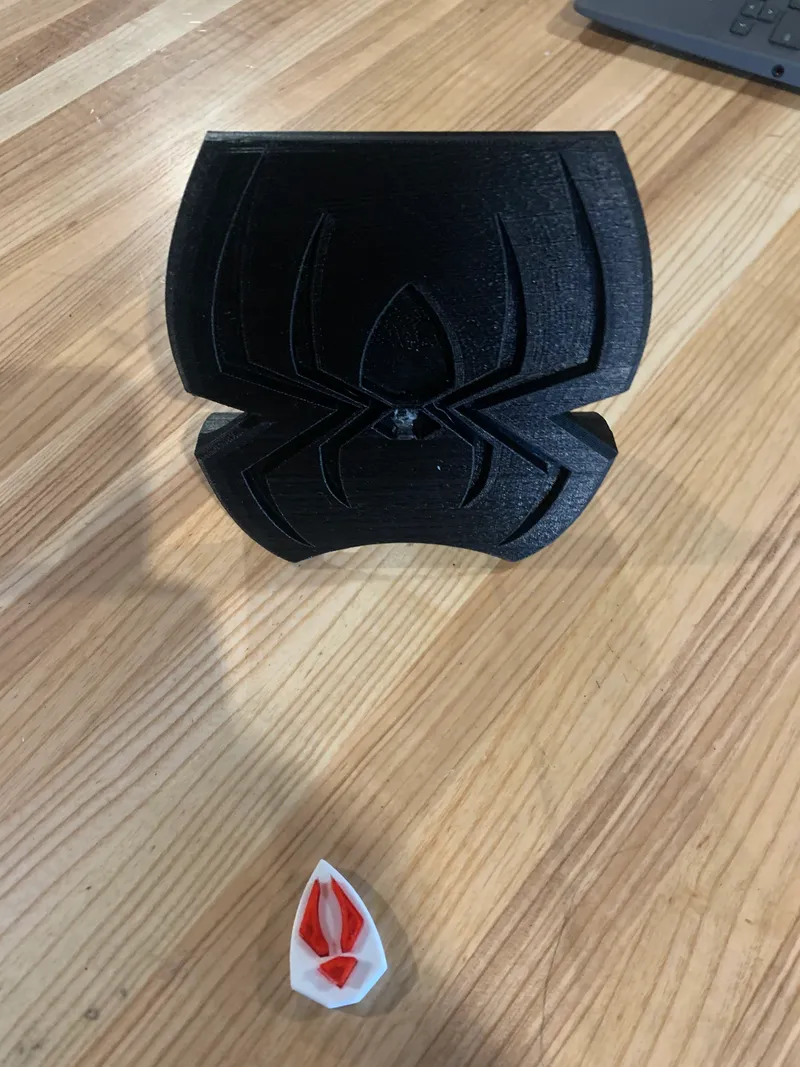
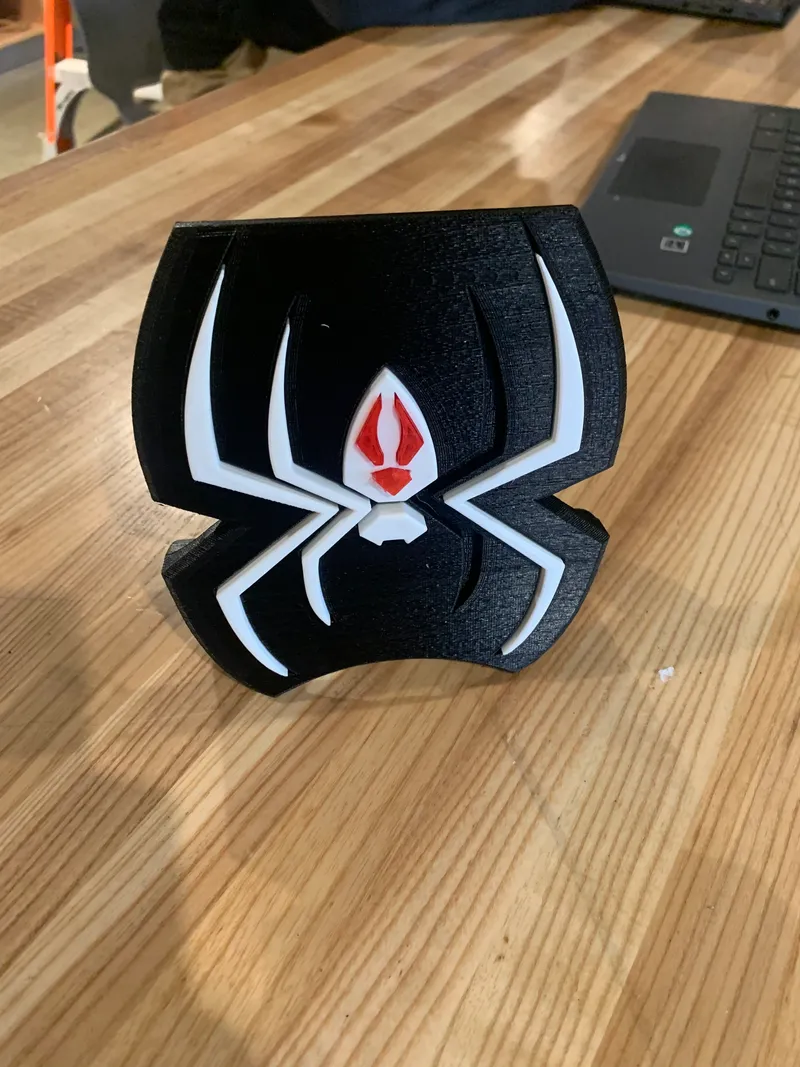
PDFSummary: Represent the SpiderVerse with this model of the iconic spiderman logo! The model consists of a dish, individual legs, and pieces for the eyes and mouth of the spider. The model was designed to fit within a 15x15cm area. The dish is designed with a support to help the model stand at a 75.00 degree angle.
Lesson Plan + Activity: In this project my partner, Rishit Wadekar, and I were tasked with designing a piece of 2D art in SolidWorks software. The end goal was to create identical designs whilst developing our collaboration and 3D modeling skills in the SolidWorks software.
Parts List:
| File Name | Description | Color | Qty: |
|---|---|---|---|
| Rishitski_Bk_Dish_D.3mf | Dish | Black | 1 |
| Rishitski_W_BigLeftLeg_D.3mf | Big Left Leg | White | 1 |
| Rishitski_W_BigRightLeg_D.3mf | Big Right Leg | White | 1 |
| Rishitski_W_SmallLeftLeg_D.3mf | Small Left Leg | White | 1 |
| Rishitski_W_SmallRightLeg_D.3mf | Small Right Leg | White | 1 |
| Rishitski_W_Body_D.3mf | Body | White | 1 |
| Rishitski_W_Head_D.3mf | Head | White | 1 |
| Rishitski_Rpg_LeftEye_D.3mf | Left Eye | Red | 1 |
| Rishitski_Rpg_RightEye_D.3mf | Right Eye | Red | 1 |
| Rishitski_Rpg_Mouth_D.3mf | Mouth | Red | 1 |
Assembly/Construction Instructions:
Once you have your pieces printed follow these steps.
Additionally, I would recommend having: wire cutters, a deburring tool, a hot glue gun, sandpaper, and a file. These tools will help us with assembly and repairing our parts if there are any issues.
- Start by taking the body of the spider (Rishitski_W_Body_D) and the right side eye piece (Rishitski_Rpg_RightEye_D). Place the right eye into the right eye slot on the body.


- Take the left side eye piece (Rishitski_Rpg_LeftEye_D) and place it into the left eye slot.
- Take the mouth piece (Rishitski_Rpg_Mouth_D) and place it into the slot for the mouth.

- Take the assembled body piece and place it into the dish (Rishitski_Bk_Dish_D)
- Take the head piece (Rishitski_W_Head_D) and place it into the dish.
- Take the Large Left Leg piece (Rishitski_W_BigLeftLeg__D) and place it into the biggest leg slot on the left
- Take the Large Right Leg piece (Rishitski_W_BigRightLeg_D) and place it into the biggest leg slot on the right.

- Take the Small Left Leg piece (Rishitski_W_SmallLeftLeg_D) and place it into the smaller leg slot on the left
- Take the small Right Leg piece (Rishitski_W_SmallRightLeg_D) and place it into the smaller leg slot on the right.
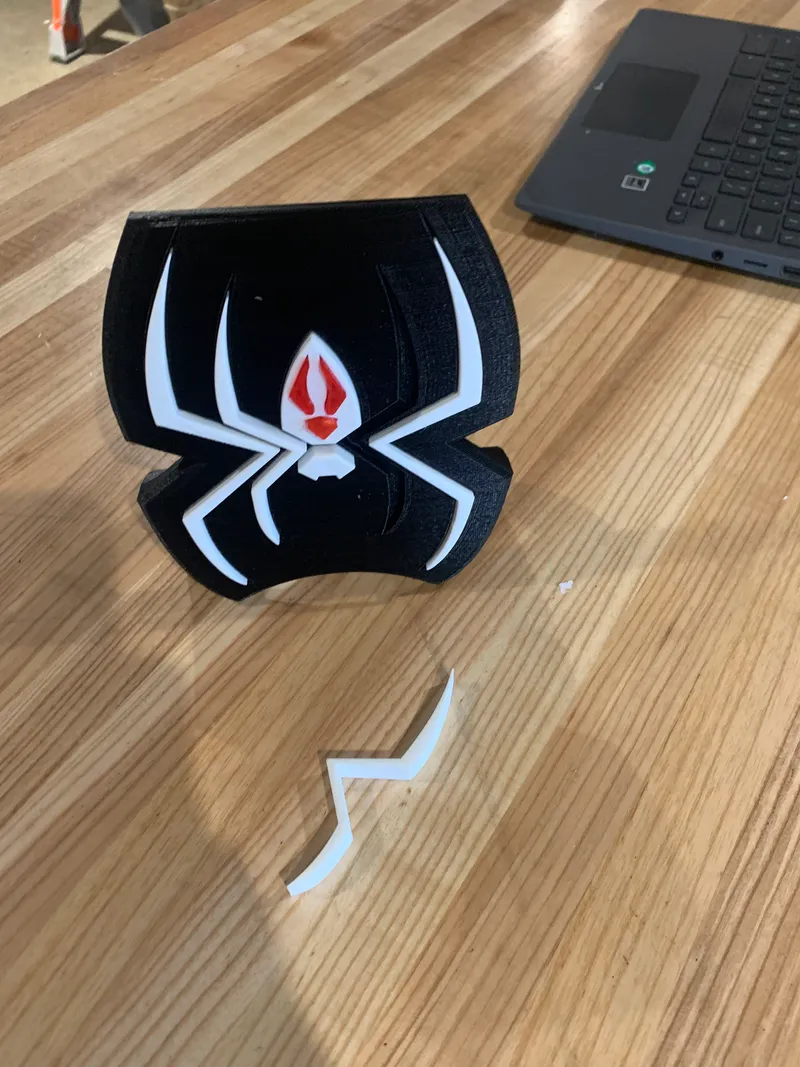

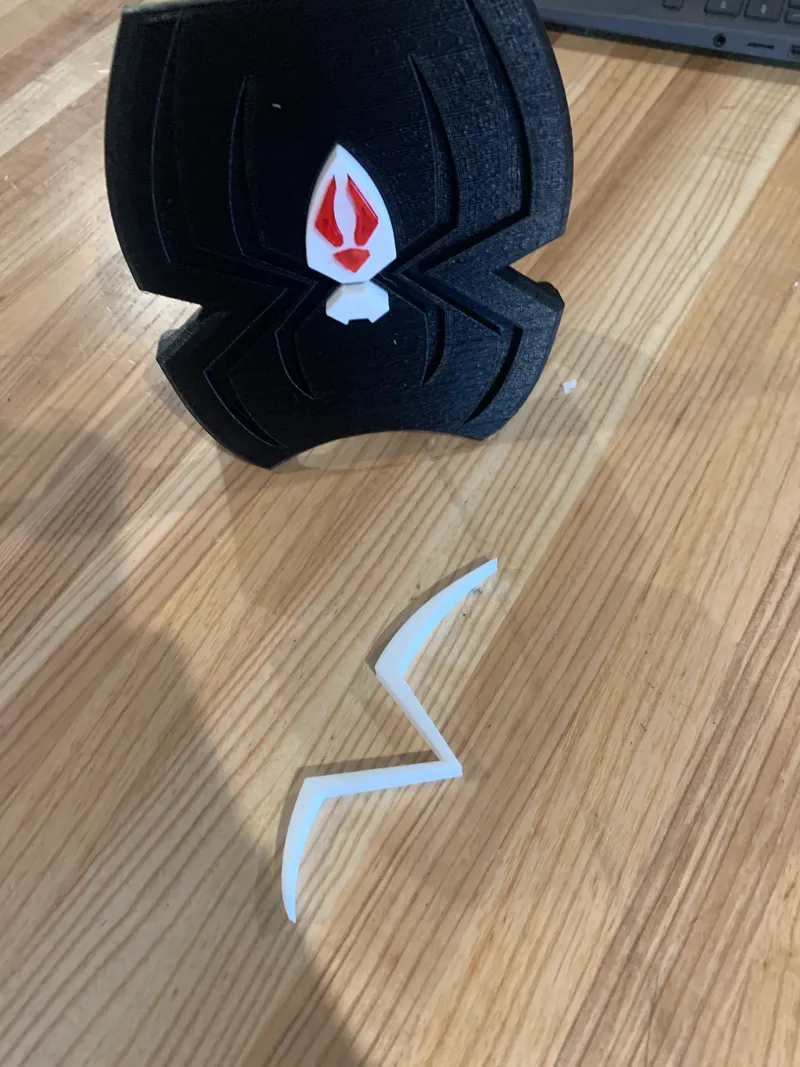
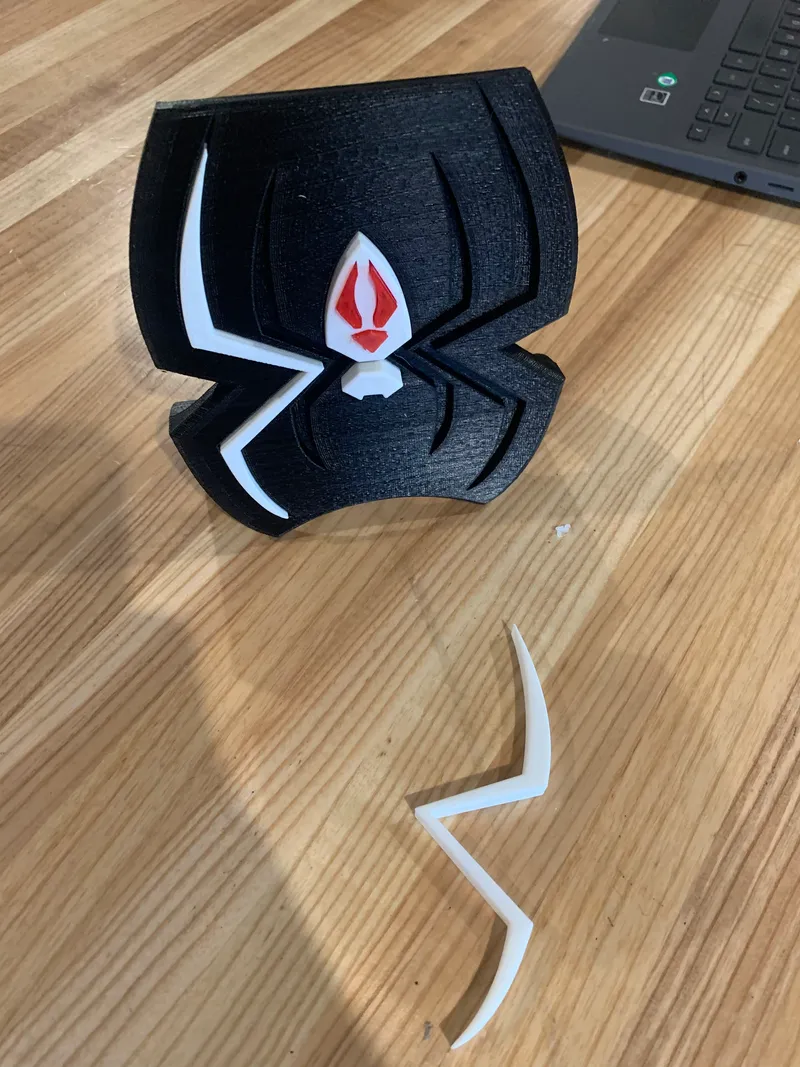
- By this step your model should be ‘fully’ assembled. Despite this there still may be some issues. If any of your pieces are loose and fall out of the model you will want to hot glue them. You can apply a bit of hot glue onto the dish into the correct slot and fit the piece back into the model.
- If you have any pieces struggling to fit in because they are too big or suffering from the 3d printing phenomenon called ‘elephant's foot,’ this is the time to take out your file, sandpaper, and deburring tool.
- You want to use the deburring tool on any edges suffering from elephants foot. After this you can try fitting the pieces in.
- If the pieces still do not fit, repeat the deburring process. You can also file down or sandpaper the edge to help out. Keep repeating these processes until the pieces fit into the dish.
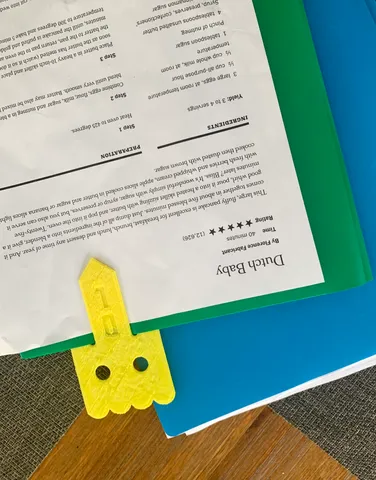
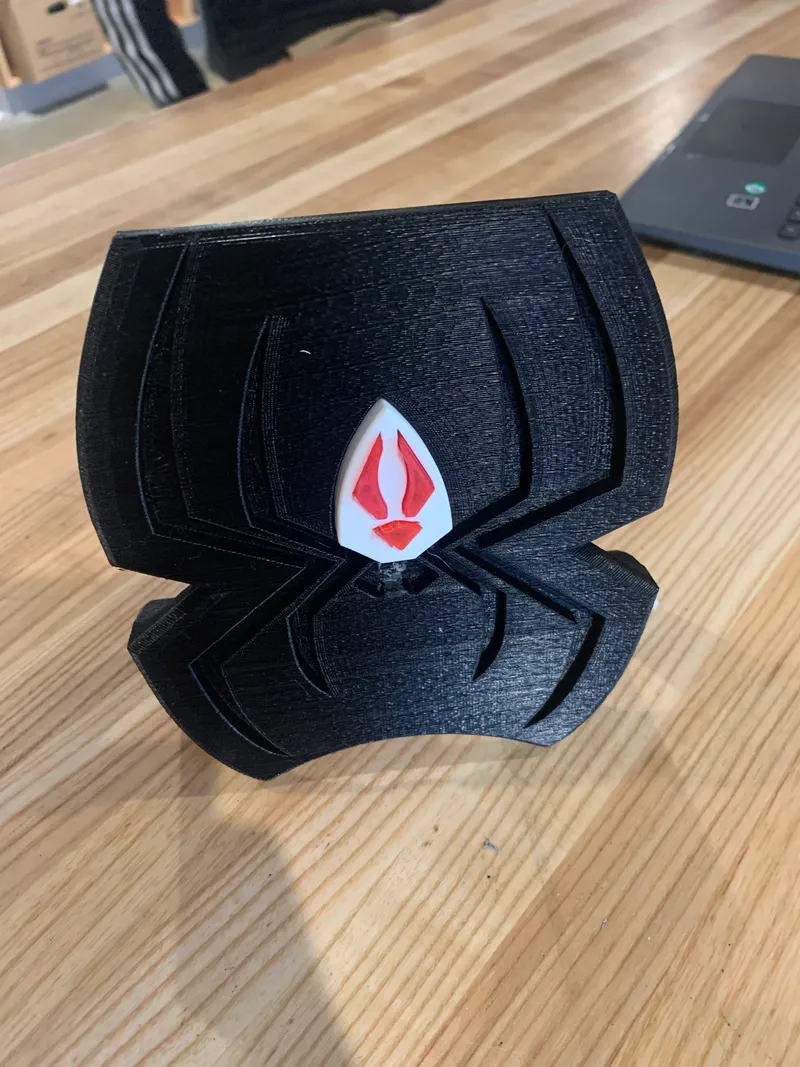
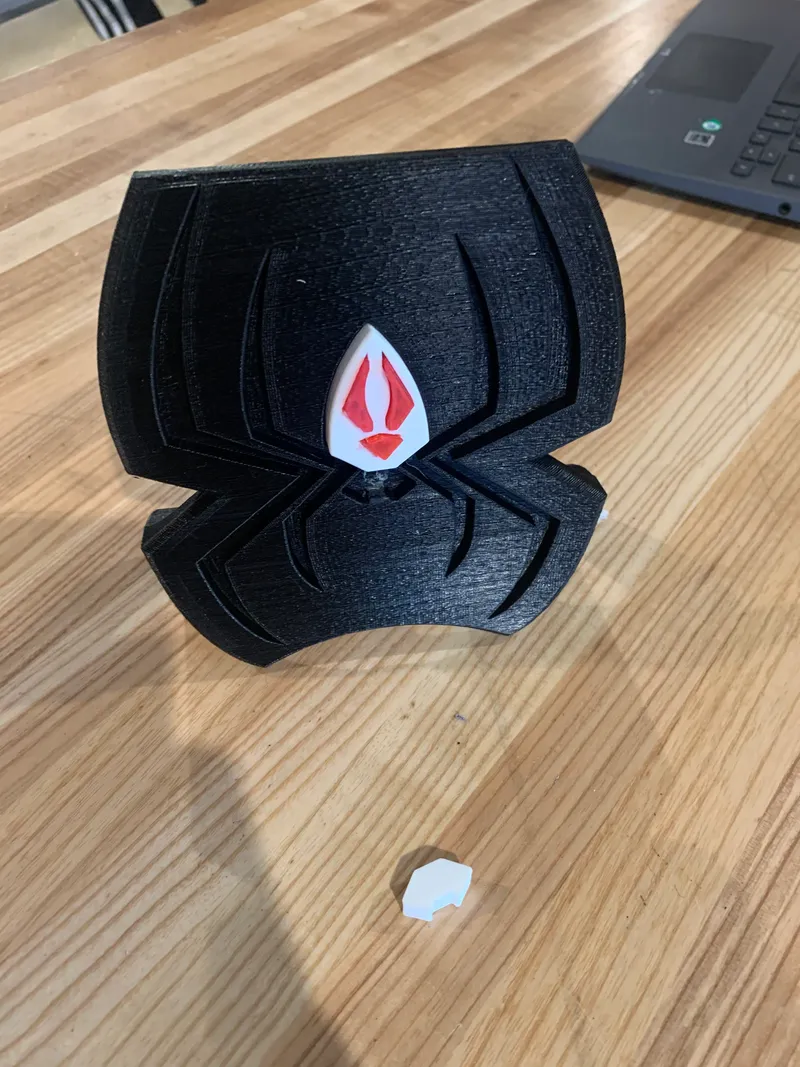
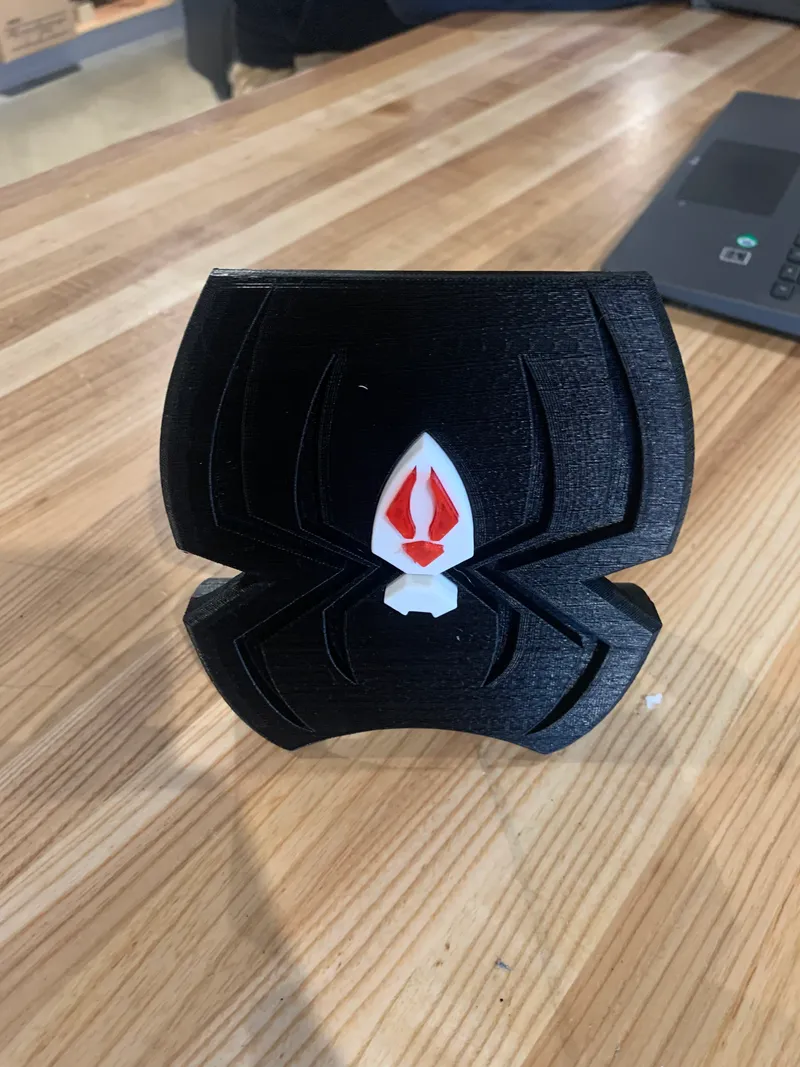
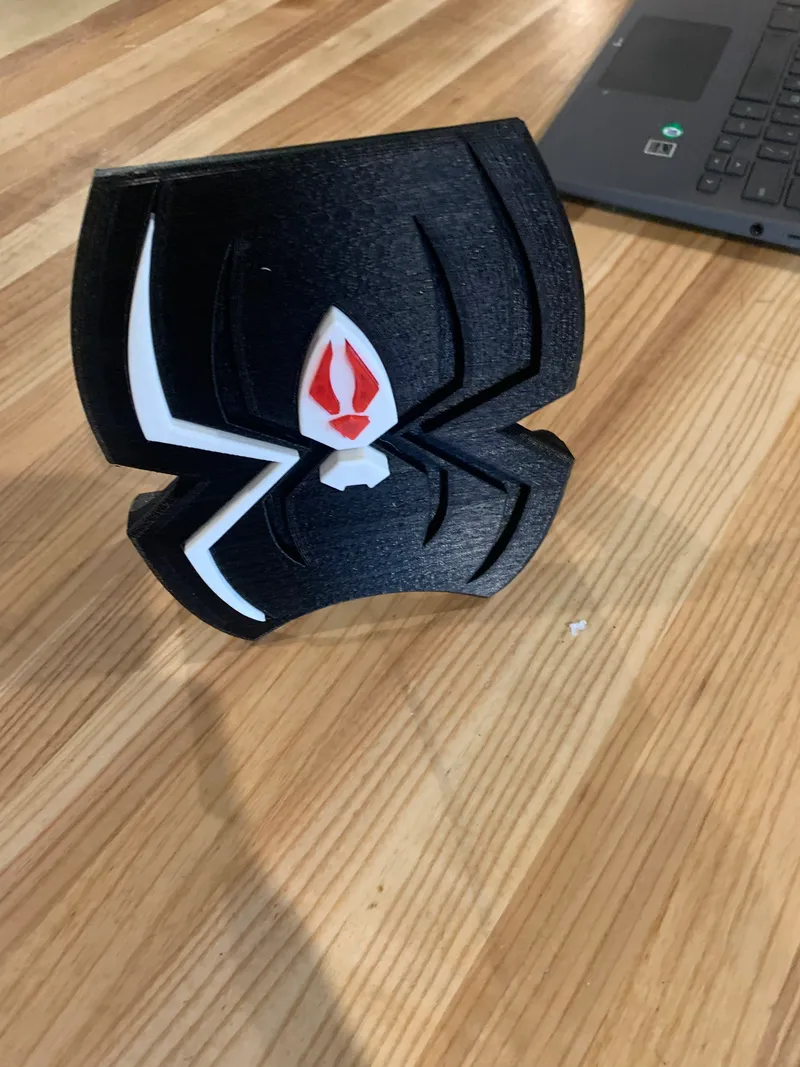
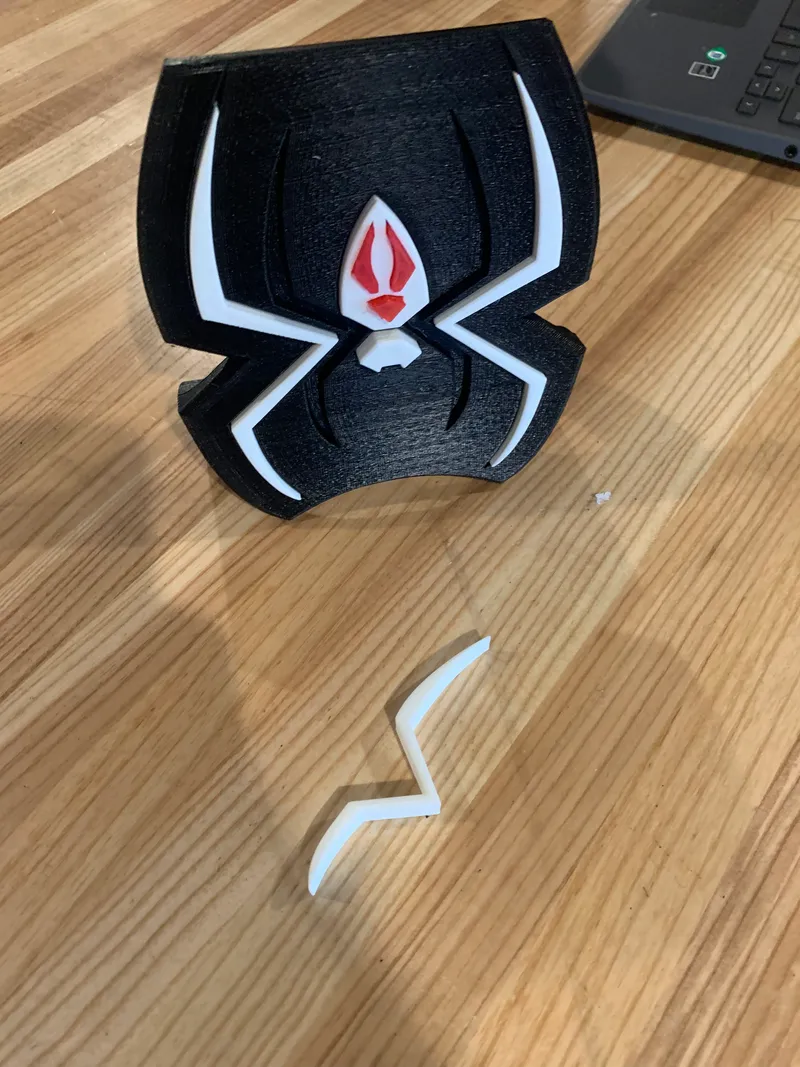
- Your model should be fully assembled and should look something like this:
Design Choices:
Spiderman Logo: For our 2D Art we decided to go with the spiderman logo. Just searching ‘spiderman logo’ on google yields a large range of results. To narrow down our search we looked for logos that would allow us to make a model that would consist of multiple pieces and had sufficient space to create cutouts. In the end we settled on this logo as our reference image, and a second logo for inspiration:


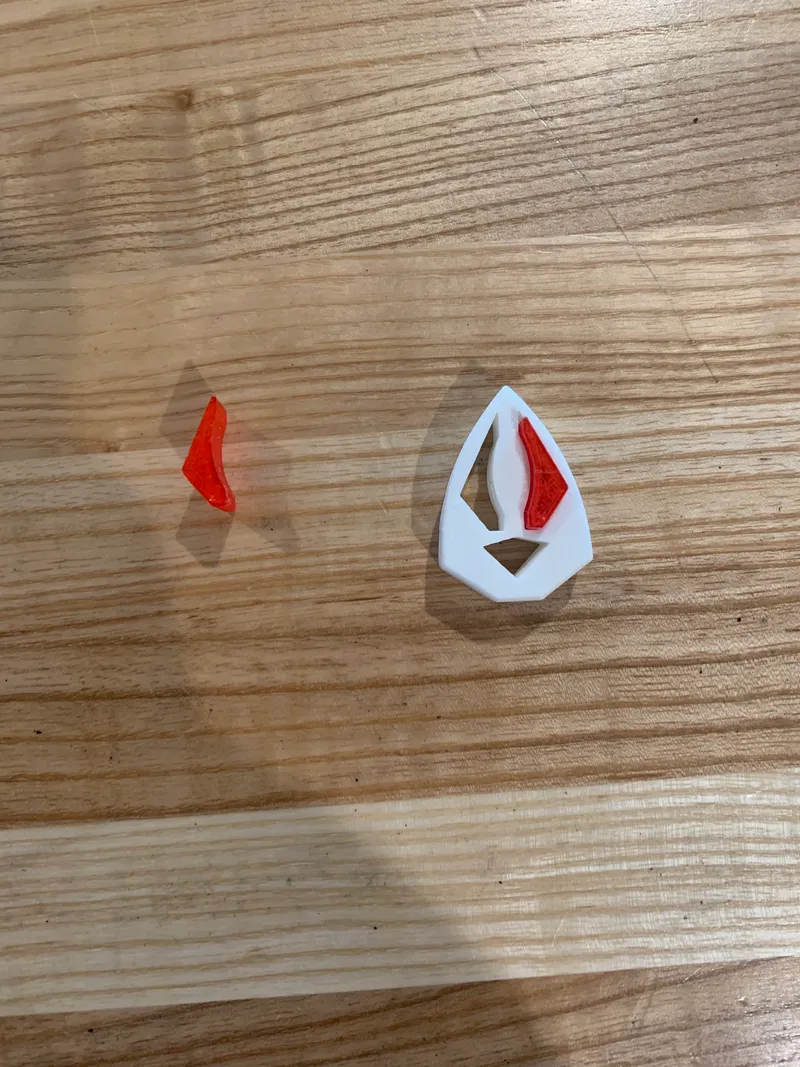
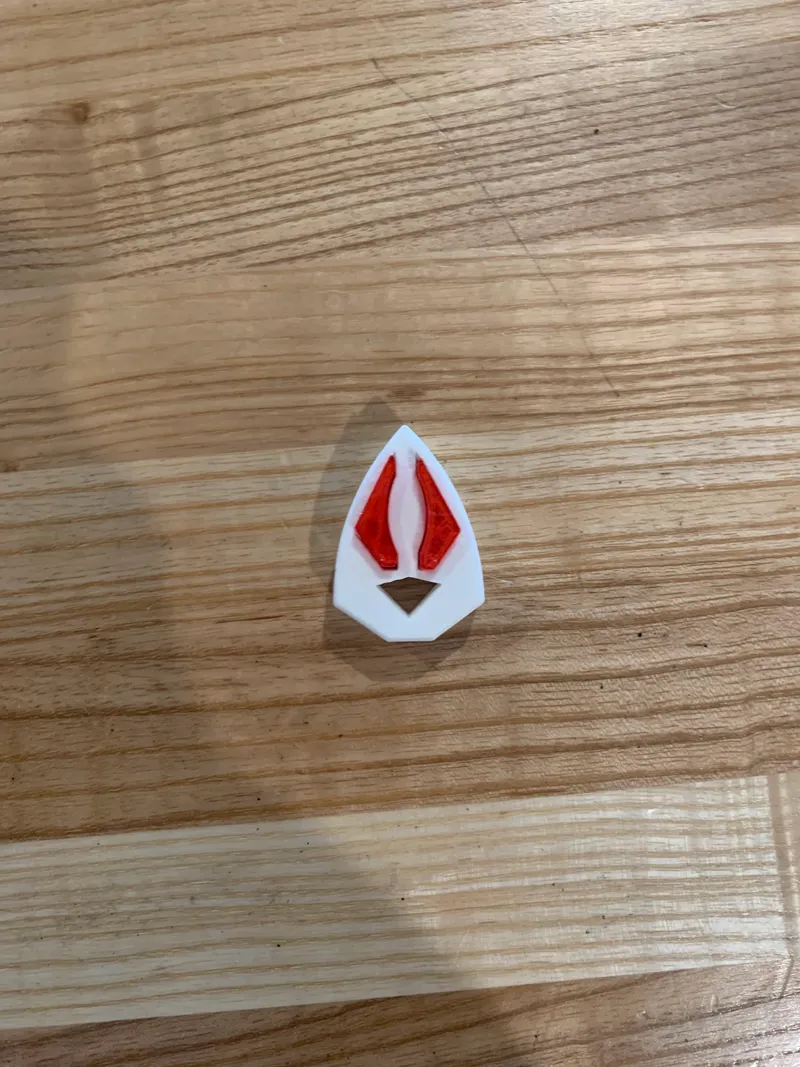
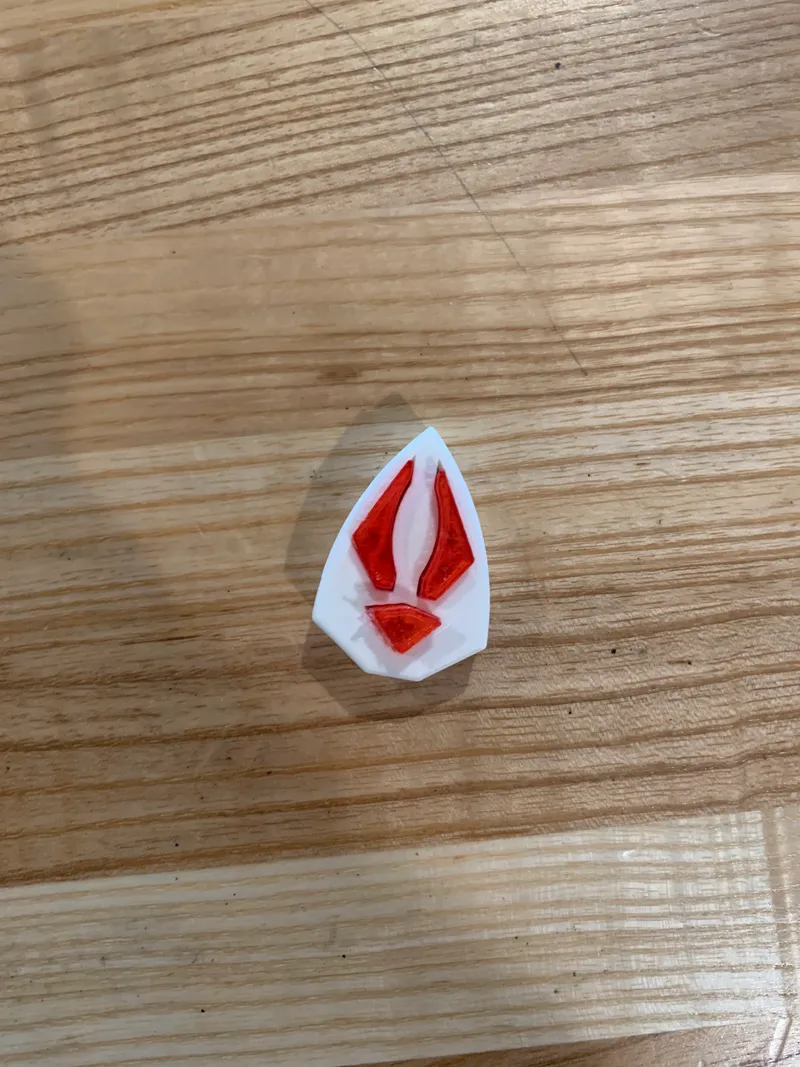
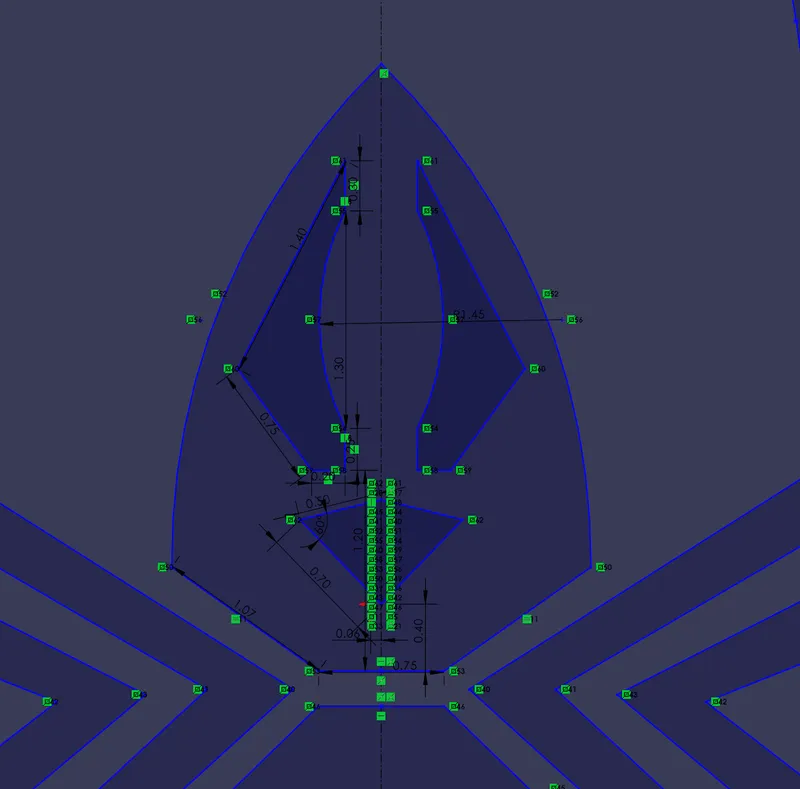
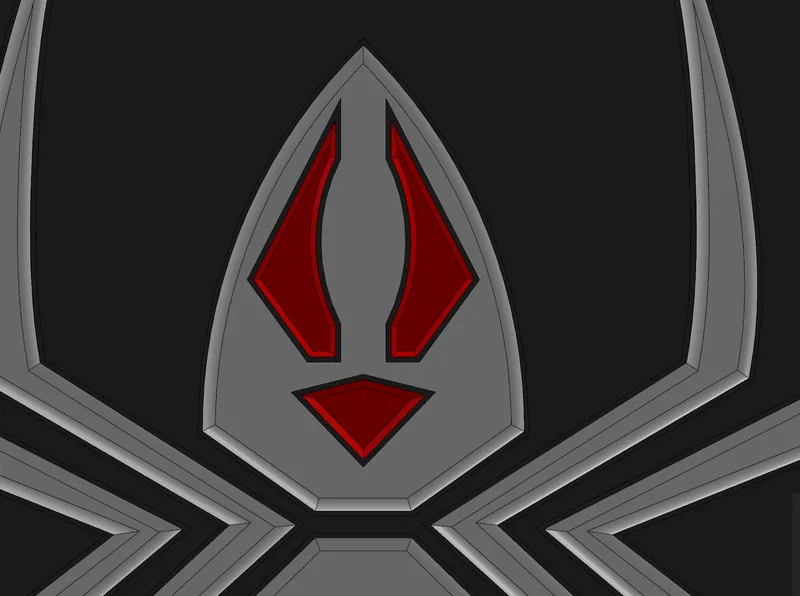
Eyes + Mouth: Just sketching a spider would not meet the project requirements and would be boring and unoriginal. To add some complexity we hand-drew ‘eyes’ and a ‘mouth’ onto the body of the spider. This added a layer of complexity to our project by creating more pieces that we would have to work with while designing the model and when assembling the final project, it also made the design more interesting by creating a unique element that made the ‘art’ itself more appealing and interesting. You can see the sketch + relations for the eyes in solidworks below:
Dish: For the dish of this model we decided to offset the legs of the spider and arc the top and bottom contours. Originally we wanted to arc the top and bottom contour fairly aggressively to give the dish a distinct shape.
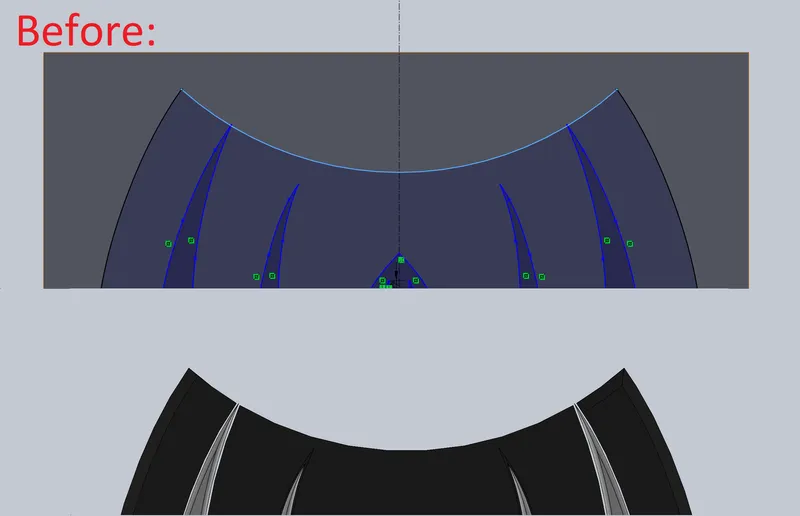
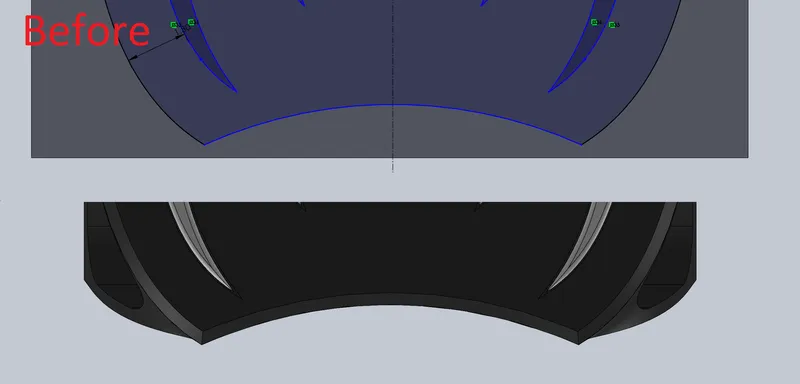
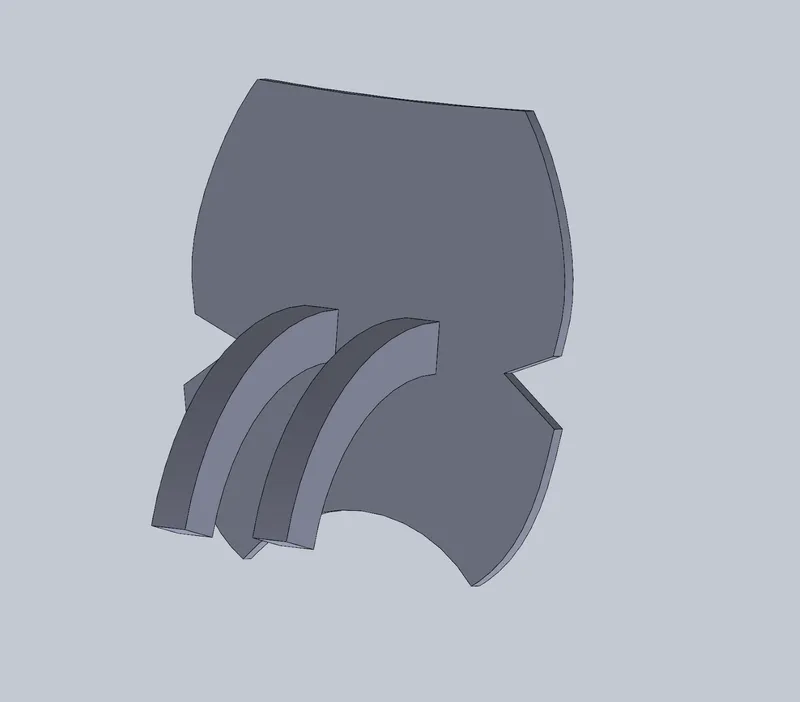
If you look at the before picture for the bottom arc. You can see the sketch on the top and the render on the bottom. In the render you can see that the legs of the spider are coming off of the edge of the dish. Inherently this was a problem and we had to flatten out the arc more to ensure that the legs wouldn’t go off the edge of the dish. You can see how it looked after below.
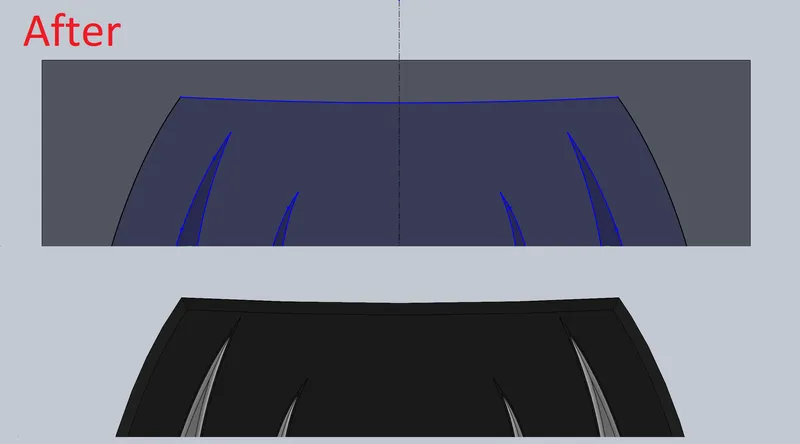
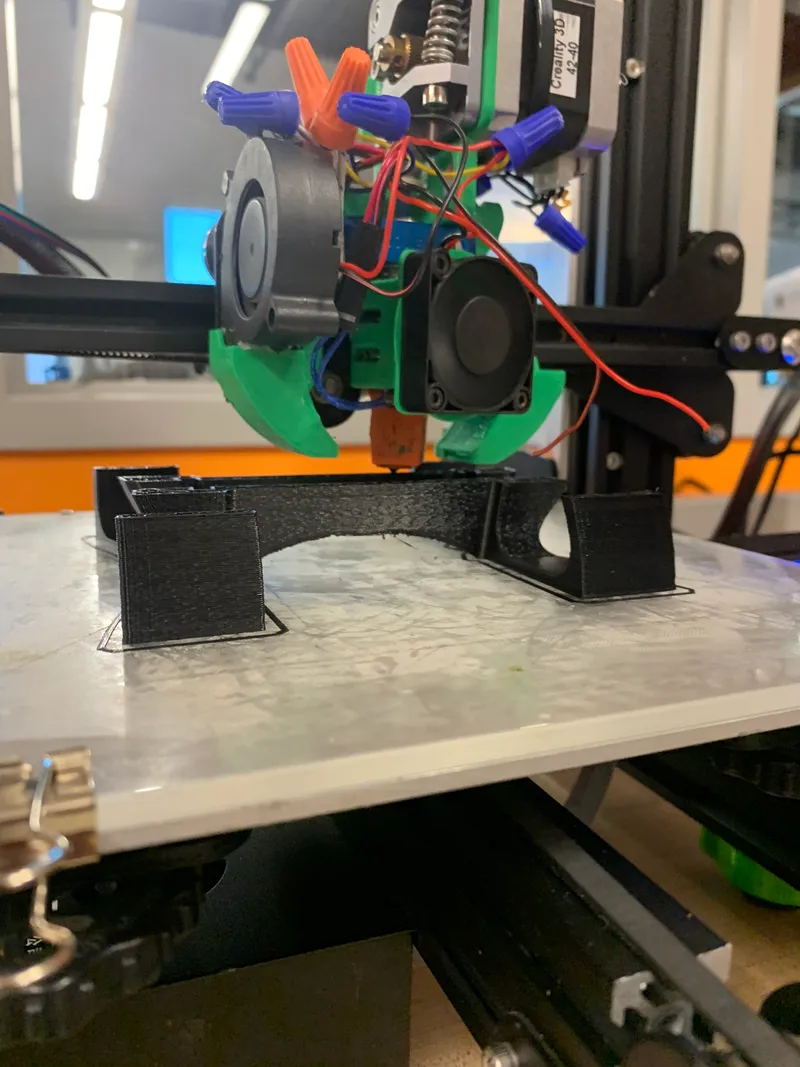
We also had to edit the bottom arc after we printed the dish as we noticed a key issue. When we were printing we noticed that the arc was sagging and drooping in the middle because the arc was not aggressive enough– meaning that it would sink.
To fix this we had to go back and raise the arc. This would ensure that the arc wouldn’t sag the next time someone produced the dish part. You can see the After picture for the bottom contour below.

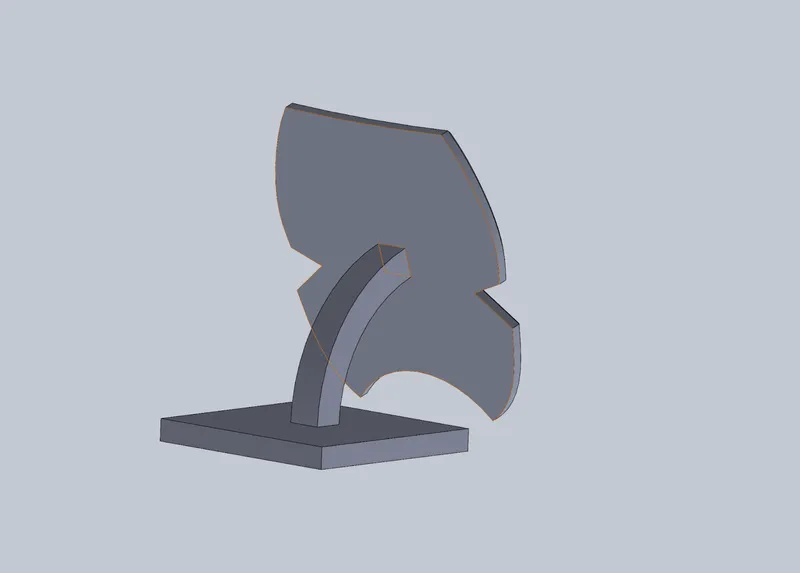
Stand: The biggest design choice we had to make involved making the stand for the dish. Originally we wanted to have the stand come out of the back of the dish, similar to two separate hooks or handles. It looked something like this:
This would not work because of our manufacturing process, 3d printing. For a stand that could actually be printed the stand needed to come off the edge of the dish. We tried many different iterations using different parts of the base. We tried using the middle of the base, and even just the bottom. Another iteration of our stand looked like this:
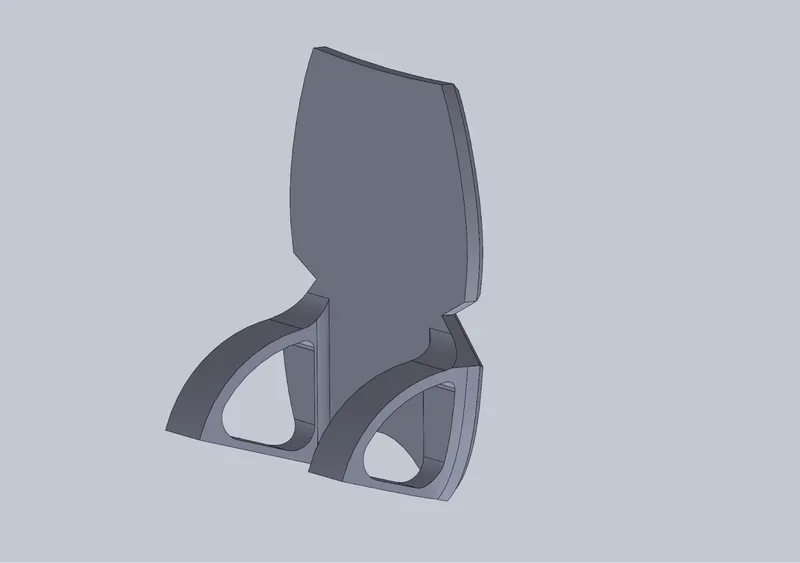
In the end, we ended up going with making the stand come off the bottom edges and rotate down 75 degrees to create the stand that would give the dish the most support while not using too much filament. To aid with this, we made an extruding cut that went through the stand to reduce the amount of filament necessary for this model without sacrificing the structural integrity of the stand. We found that it would be easiest to replicate the geometry and offset it inwards for the cut and then follow up by fileting any sharp edges or corners made by the filet as rounded corners help provide structural integrity by removing any rigid joints on the model. The final stand ended up looking like this:
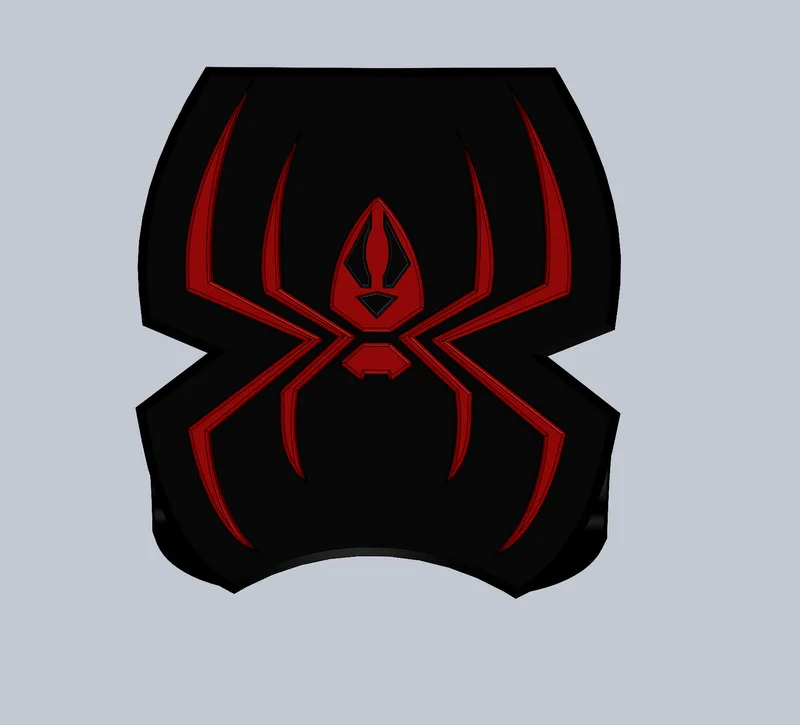
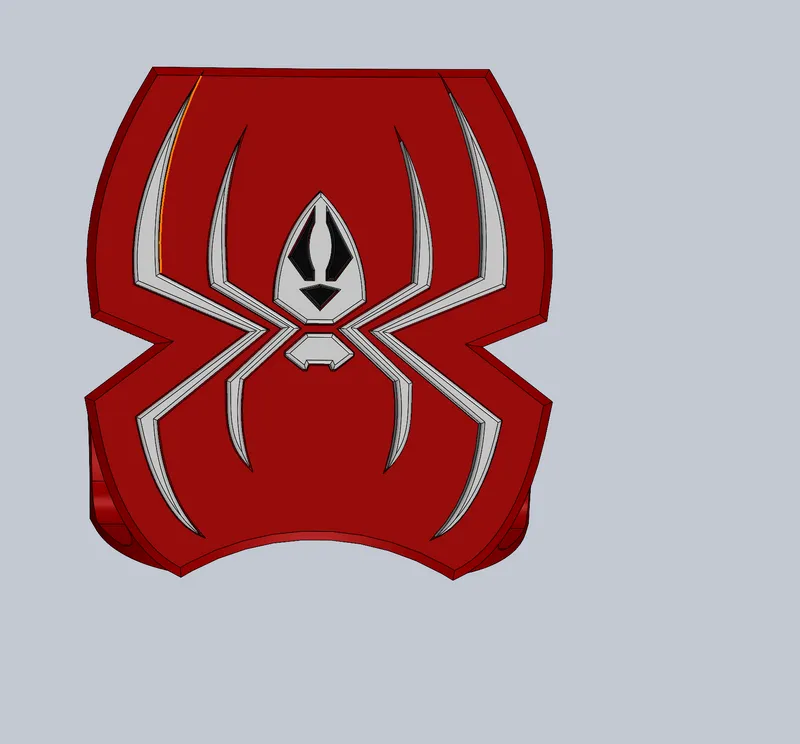
Color Scheme: At the end of the project we got to decide the colors/filaments in which we wanted to produce the final model in. Originally, we were thinking of going with a red spider on a black background, similar to the suit of Miles Morales:
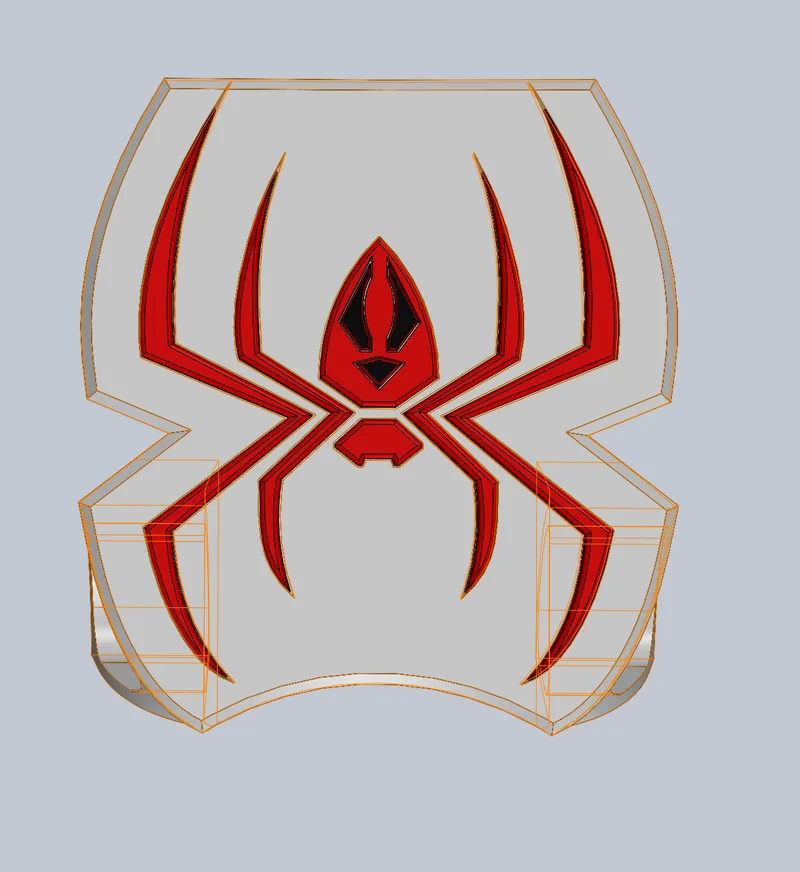
We also tried creating color schemes where we had a white spider on a red background or a red spider on a white background.
Instead we decided to go with something more creative to exaggerate the uniqueness of our model. For our final color scheme we decided to go with black for the dish, a white spider, and red for the eyes and mouth.
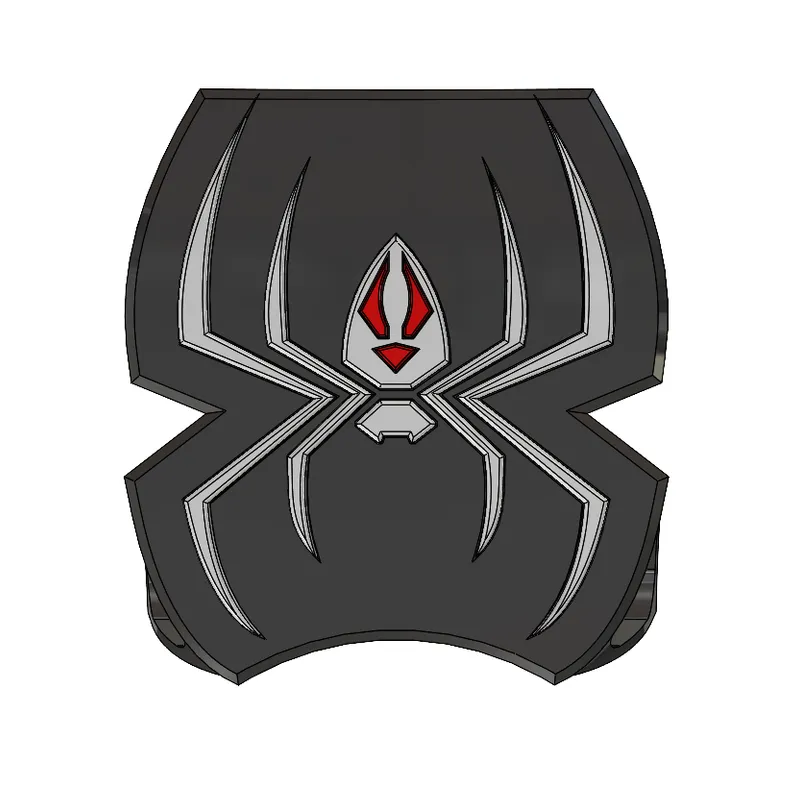
We came up with this color scheme by taking inspiration from venom, black body and white eyes, and by taking inspiration from the colors on the album color of Drake’s new album ‘For All the Dogs.’ Below you can see venom, the album cover, and our final colors:
Tags
Model origin
The author marked this model as their own original creation.