Ridgid R4520/R4512 Table Saw Fence guide upgrade

Description
PDFUpdate 2024-4-29:
I've uploaded a pair that have minimal supports. I really don't recommend using them, as the models with the built in supports have been fine tuned over dozens of test prints to provide the best printability and most accurate prints. Yes they are difficult to remove and require some sanding and filing, but you'll likely find that the alternative is unusable parts. Some supports have been left on, because generated supports simply will not work on this geometry. the remaining supports are easy to remove and accessible.
Original description:
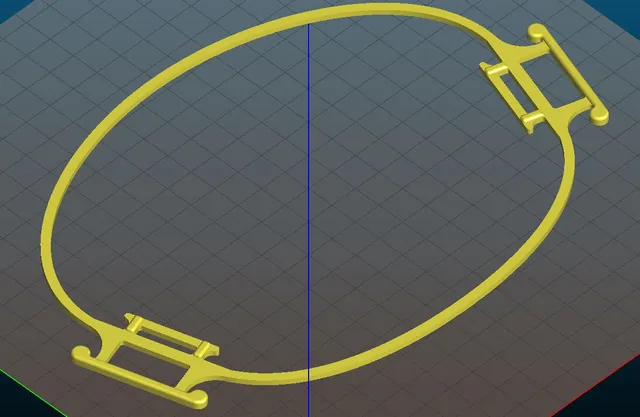
This is a set of replacement fence guides designed and tested on the Ridgid R4520 table saw. as I understand, it should also fit the Ridgid R4512 table saw.
What makes these better? I made the tab as big as I could. The tabs provide pressure against the inside of the channel that the fence guides ride in. This pressure makes the front face of the guides sit against the channel, which will make your fence keep alignment. By making the tabs larger, it increases that pressure so that the fence will be in better alignment.
These parts are designed with the supports built in. You should not enable supports on these models, but might need “elephants feet” added. If requested, I can supply the model without supports or the STEP files.
There are gussets that should be carefully removed with a hobby knife or flush cutters. Remove the support material in the holes and the two short bits on the sides of the tab. After removing the support material, use a file to clean them up and to make sure the front face of the guides are flat.
The guides will fit tight at first. run it back and forth a few times and it should wear in. You can also file or sand down the tab a little bit.
The washer is included to fill the gap where the mounting screws go (I found the plastic would split and crack there). Print 4 of the washers and insert them before putting the front guides on.
The rear fence guide might not be necessary. I recommend drilling out the screw hole a little bit before screwing it in, otherwise there is a chance it will crack.
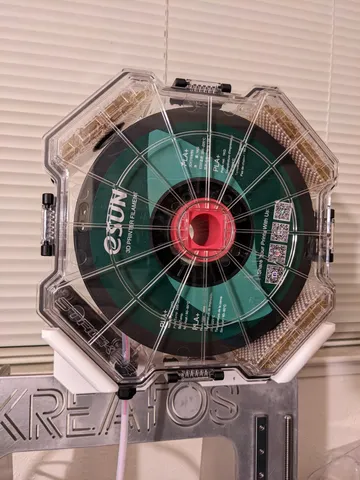
I printed mine in ASA, but PETG would also work. I don't recommend PLA because it will deform under heat. 0.2 to 0.3mm layer height is recommended.
Feel free to sell or whatever, so long as you provide a link back to this model.
Tags
Model origin
The author marked this model as their own original creation.