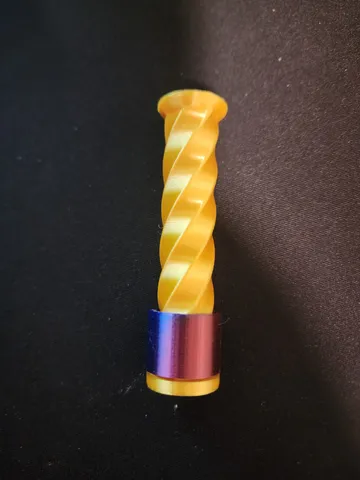
Two Way Bolt - With End Cap

Description
PDFOk, so @Schnipp's Two-Way Bolt is mesmerizing and awesome. Everyone I showed it to loved it. After experimenting a bit, here are the build directions I found to be optimal:
1 - Infill - You want the whole thing to have some heft, but you want the bottom and top to be heavier so when you pick it up by the nut, you get that satisfying downward spiral. I suggest printing the entire thing at 50-60 precent infill, and making modifying boxes in PrusaSlicer to make the bottom and top to be 100 precent infill.
2 - Layer Hight - I am used to printing at .3 or .2mm heights, but in order to get a smooth threading experience, you need a fine layer height. I suggest a minimum of .15mm. (You can set the "Combine Infill Every" to 3, if you want to speed up the print a bit.)
3 - Supports - because this model has a top, you will need supports. You will need organic supports otherwise you will be unable to place the nut during the print. Paint the underside of the top screw cover using smart fill. (I also like setting the "XY separation between an object and its supports to 75% to make the supports easer to remove.)
4 - Inserting the nut - I like putting two nuts in the bolt. You will need to create a pause in the print somewhere around the 50mm height range to insert the nuts.
Tags
Model origin
The author remixed this model.

Differences of the remix compared to the original
I added a cap on top of the screw to keep the nut in place.