Single Colour Printer! Chess - Portable Magnetic Travel Set


Description
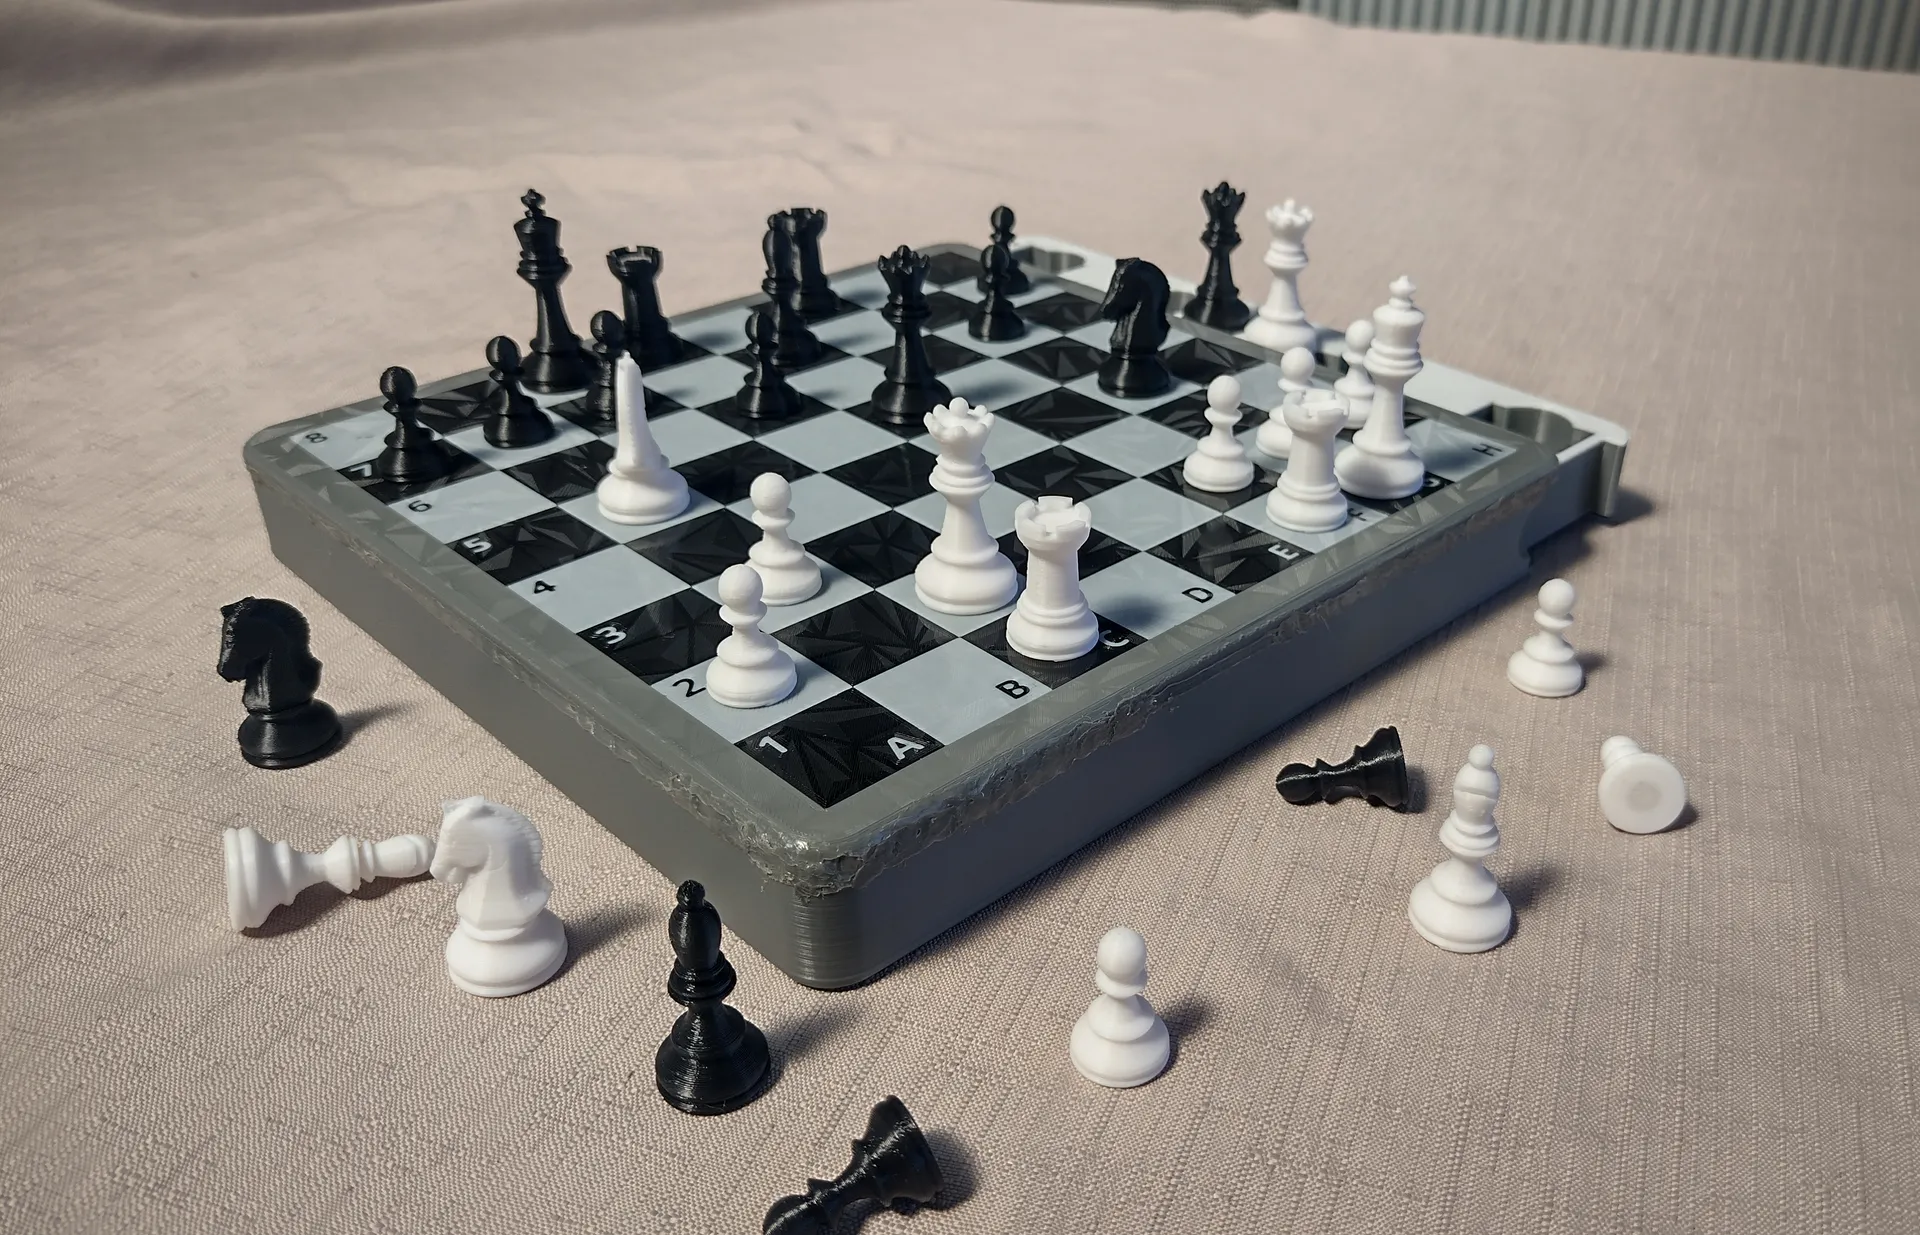
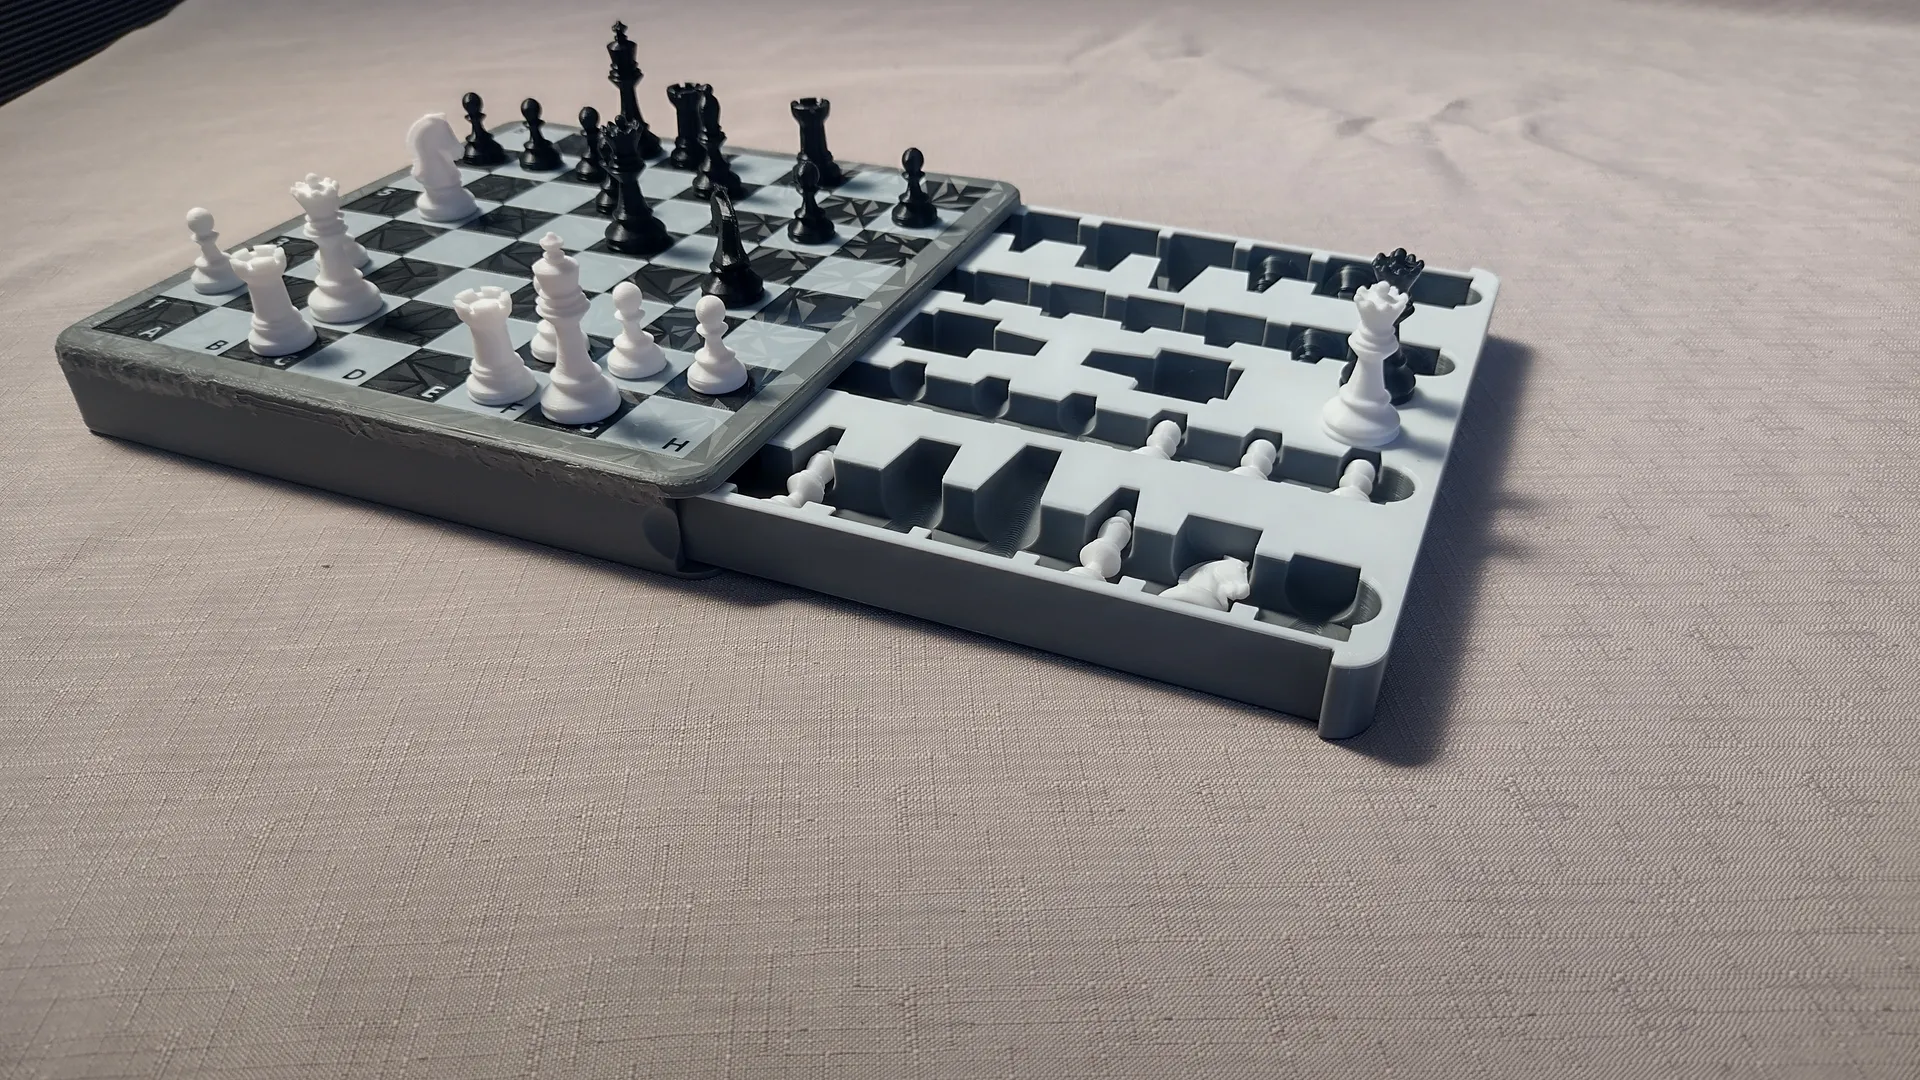
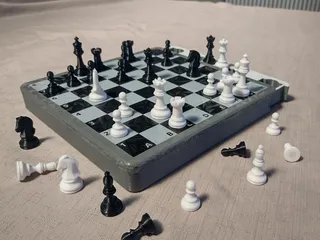
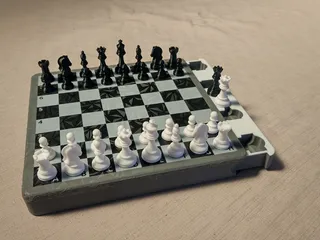
PDFThis is my most used travel essential!
Thanks to Beaver for making an excellent file with great pieces. I have upgraded this existing file to suit a wider range of people, who may only have a single-colour printer. This certain file is printable on a 220 x 220 build plate or bigger, with 6x3 mm neodymium magnets. I suggest a 200 pcs, for some spares. They are cheap! I have an ender 3 pro, and it can only print in one colour. This is unfortunate, but I did not give up on my dream to have this epic item!
I used this technique by BV3D and applied the same sort of concept when making this. Here is the video, so go check it out!
This isn't a necessarily hard process, but you will need to have the Advance_Pause_Feature in your firmware (for marlin), basically if your printer can read a colour change command (M600).
All Prusa printers should have this, and you can test by pressing the colour change button in Prusa slicer.
If you do not have this activated, I suggest you follow this simple guide to update your firmware found Here. You will also need a well calibrated printer, so Here is a video! Here (again) is a video on perfect first layers, you will need (as I have discovered) to fit the magnets in properly.
←This button here
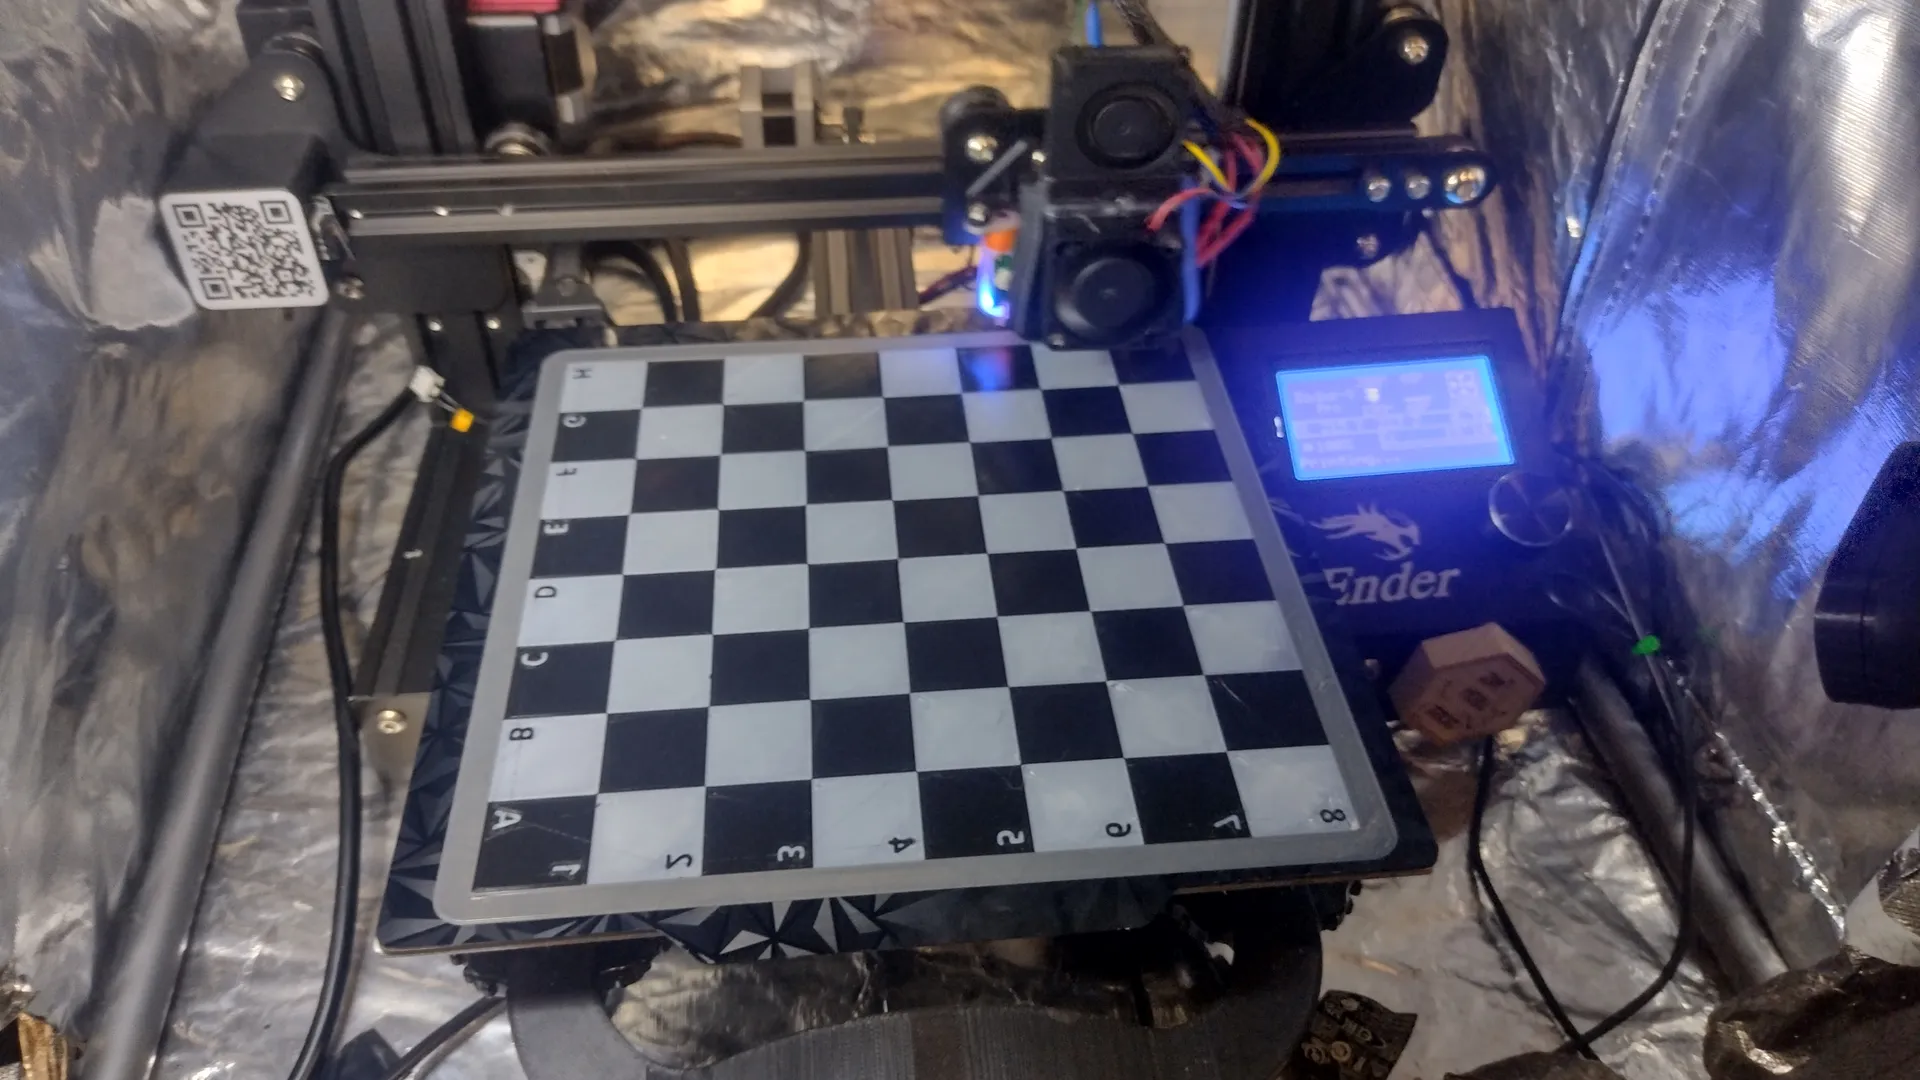
Ok, let's get to how you should be printing this.
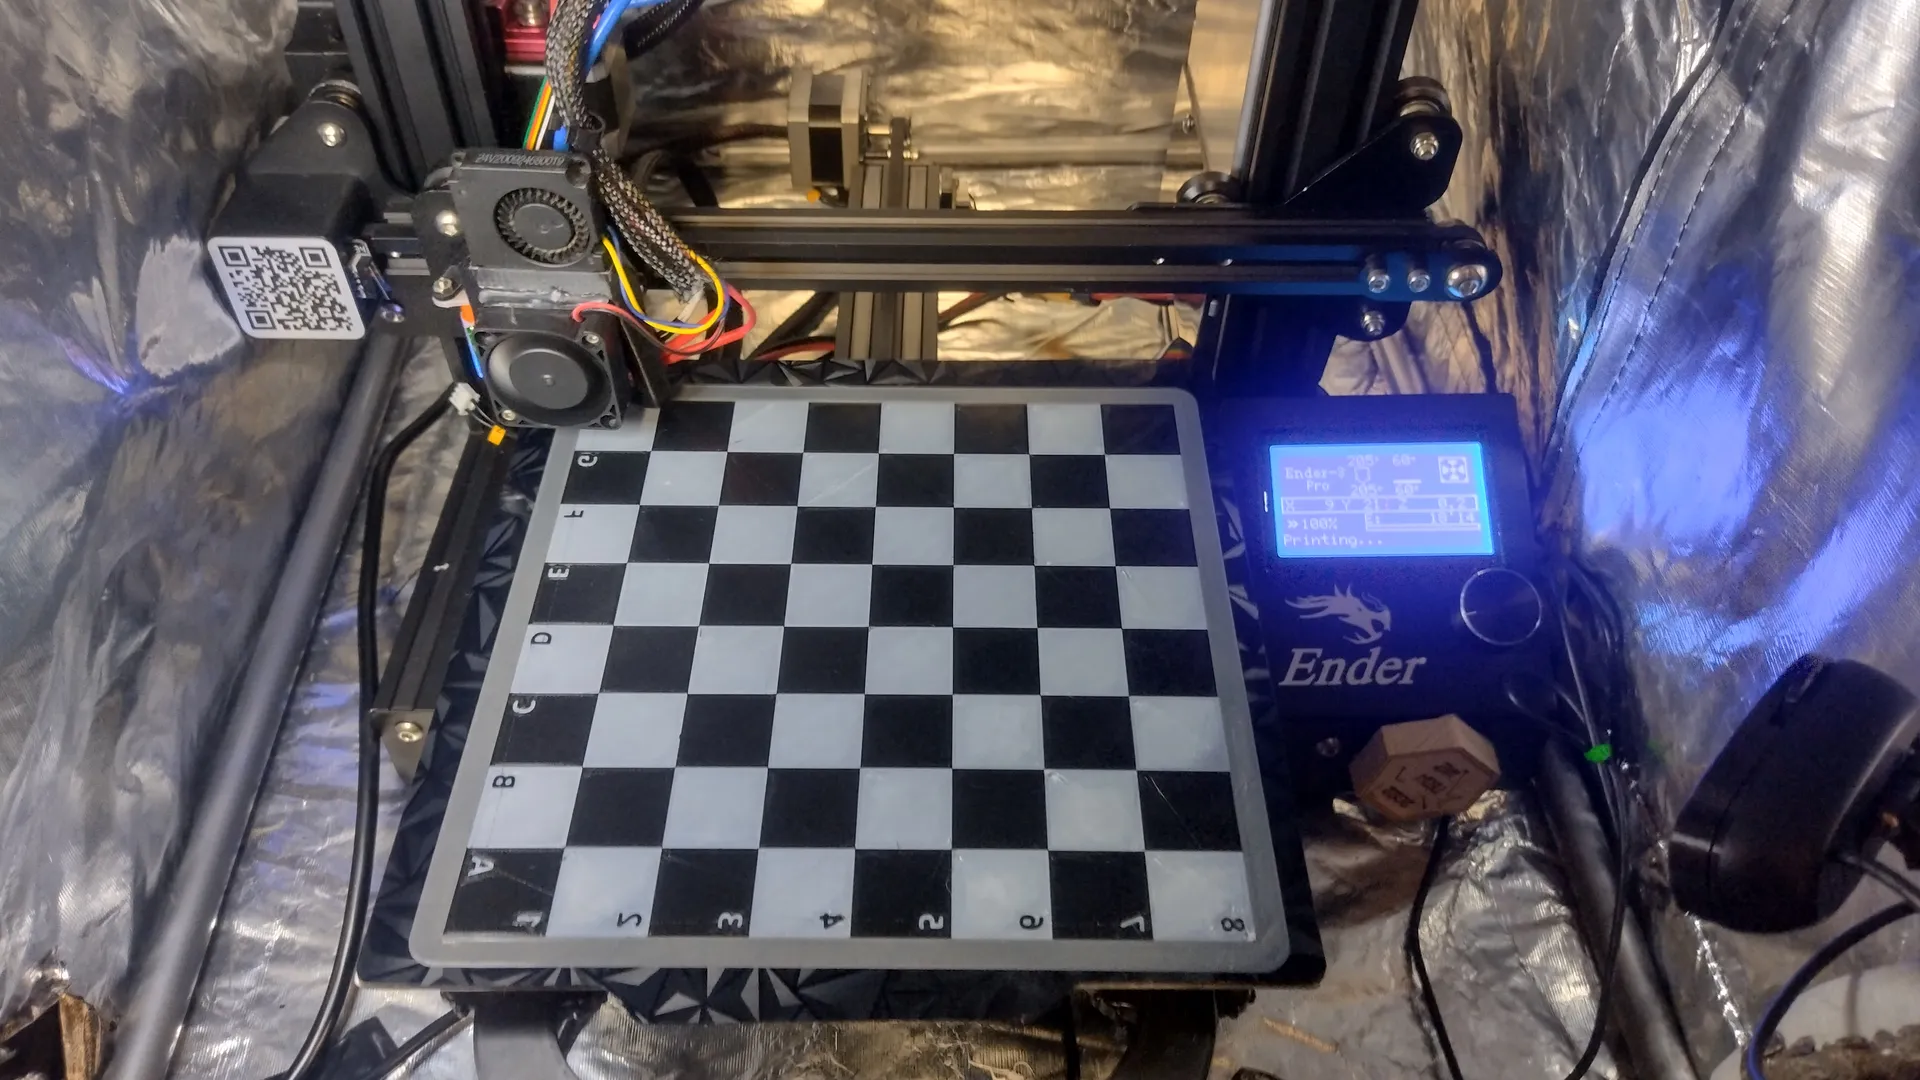
The method used to print the multi colour is basically printing 3 different prints at the same time. When printing, make sure your bed stays hot in the transition to a new print! If you don't have a ABL system like a BL touch, ignore the ABL recommendations.
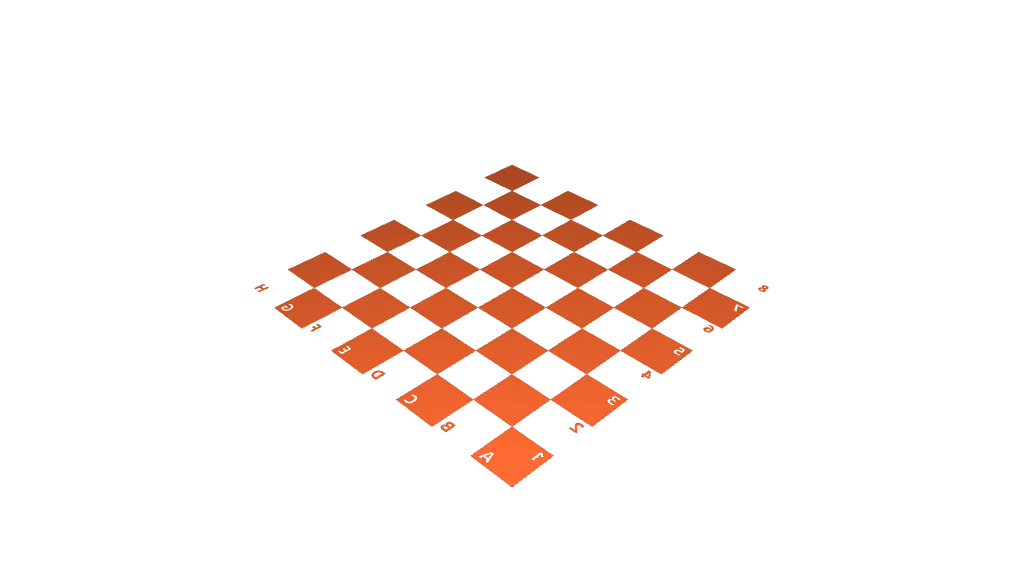
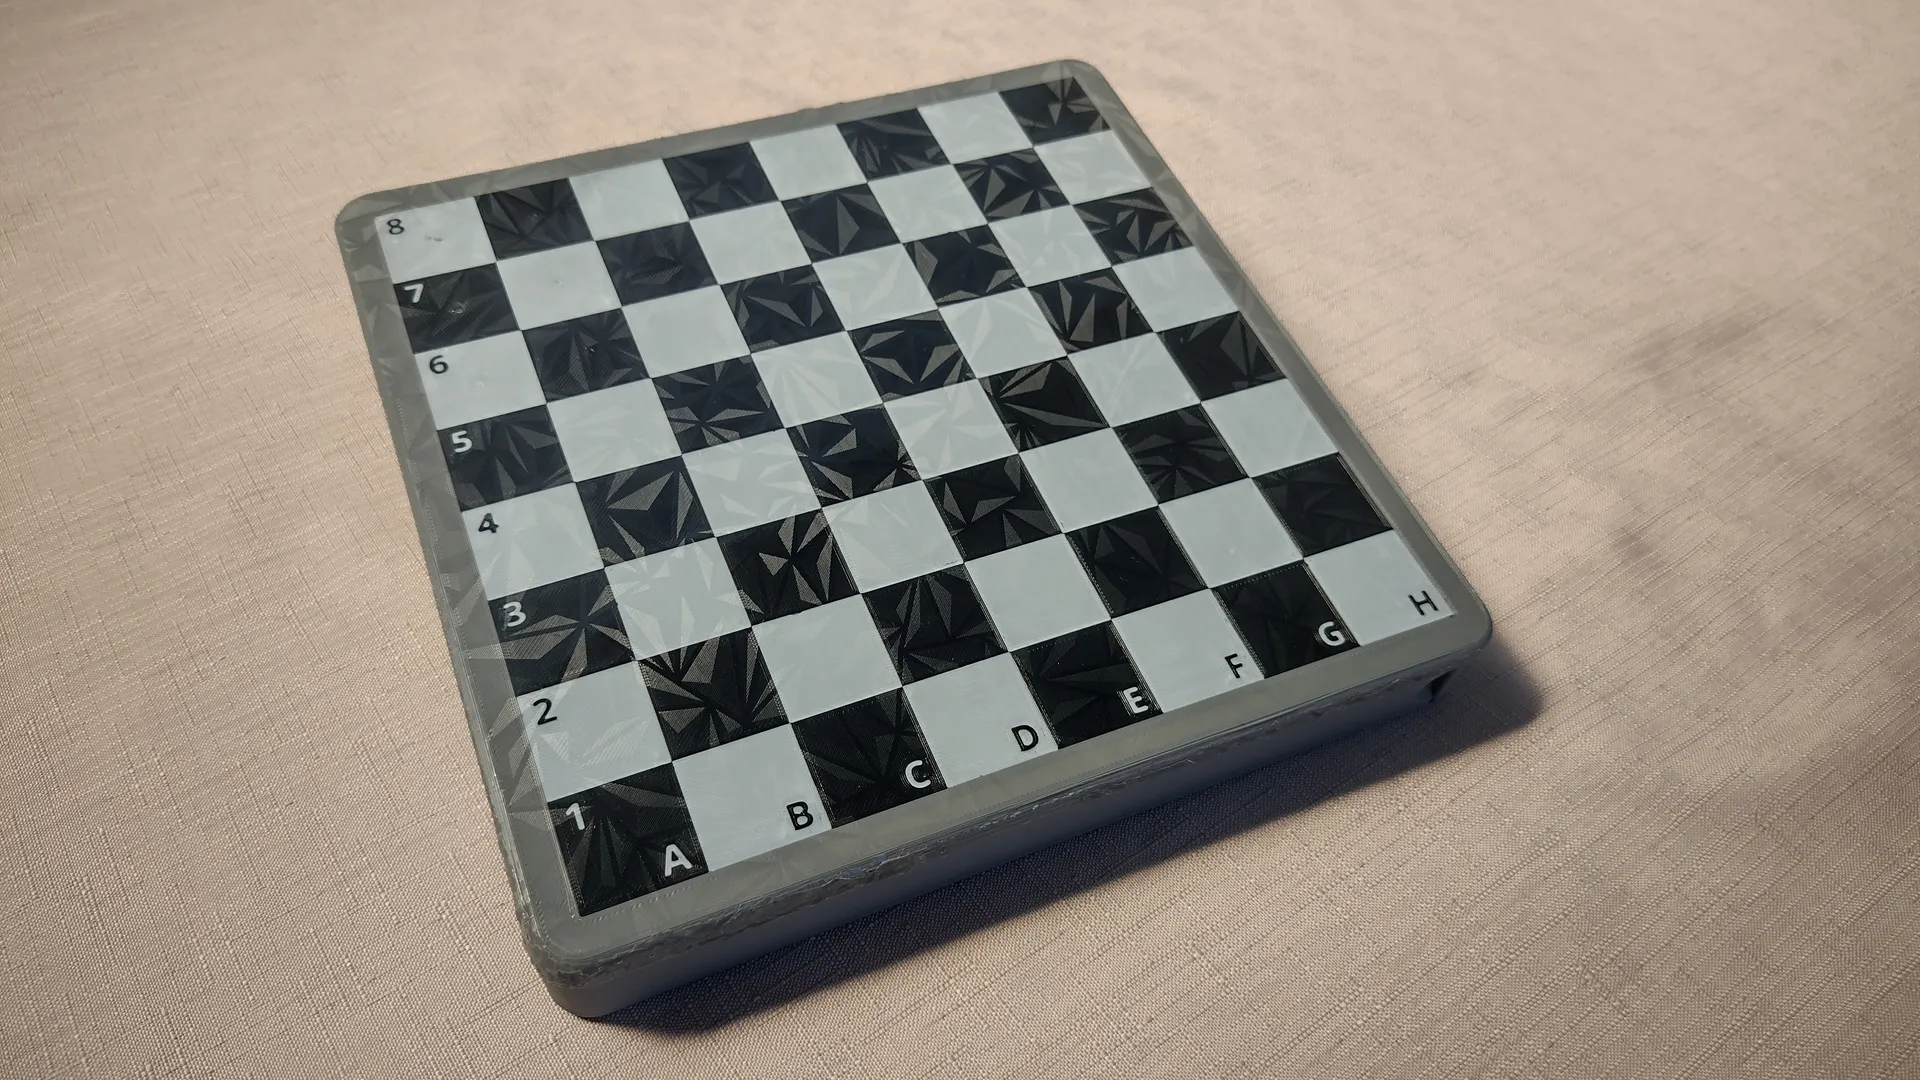
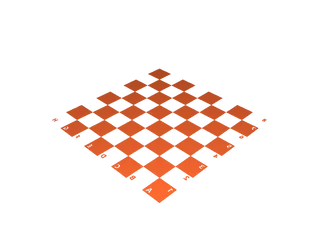
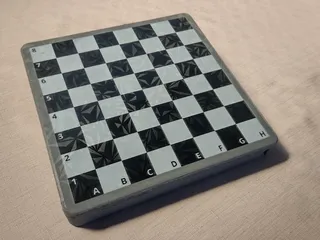
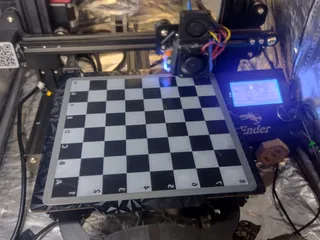
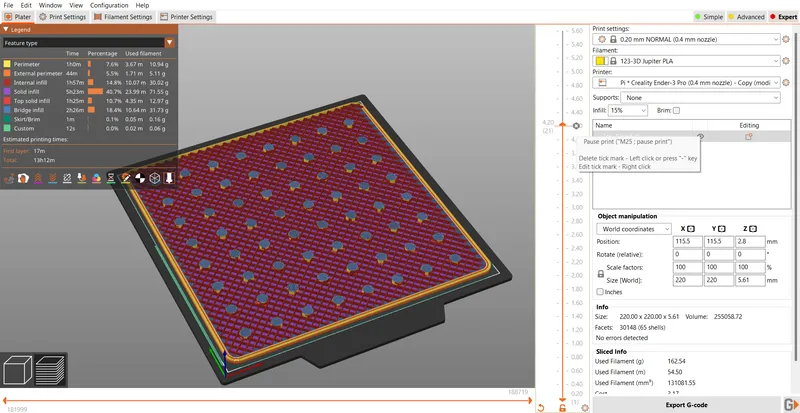
Board:
White Squares:
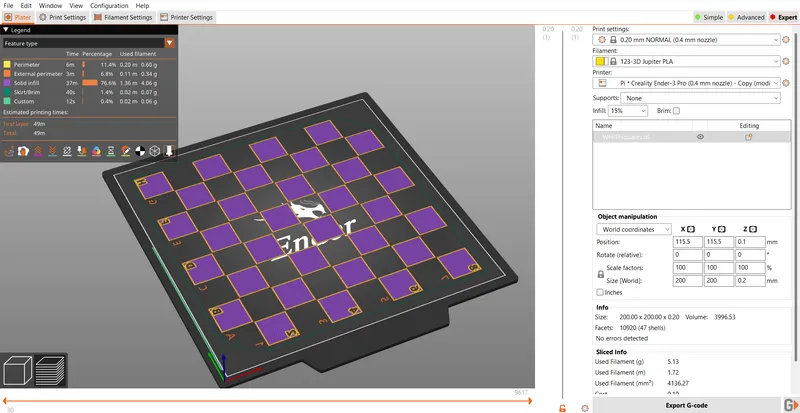
- Print the white squares first.
- Skirt is optional but remember to remove it!
- Layer height is 0.2mm
- When it starts printing the characters reduce the print speed (manually) to get the best quality letters & numbers.
Black Squares:
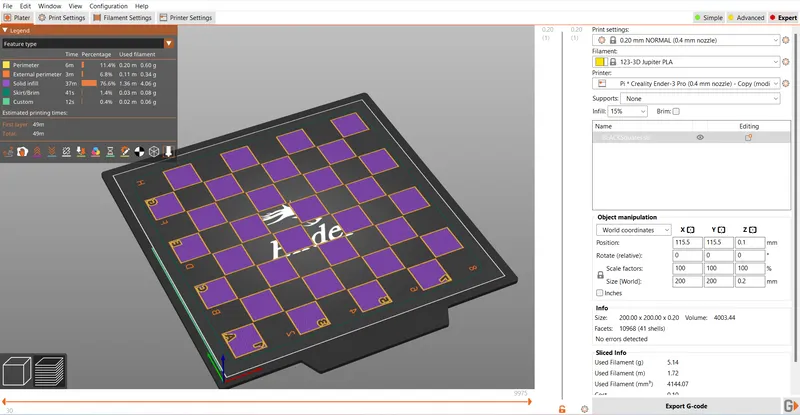
- WARNING: if you have an ABL printer, you may need to change the X and Y offset so it does not probe on top of the white squares.
- Print the black squares second.
- You need to turn off the skirt as it will collide with the white squares.
- Layer height is 0.2mm
- You don't have to slow the print speed down for the characters.
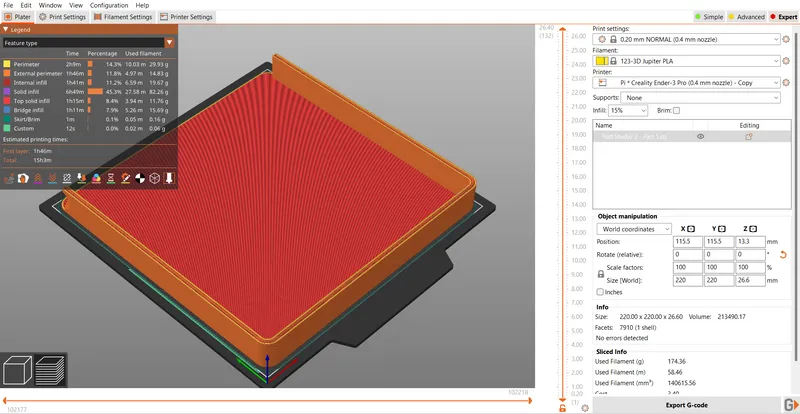
Top Board:
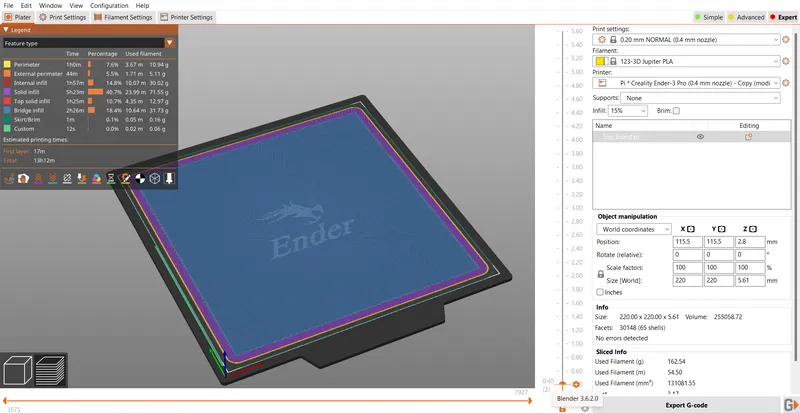
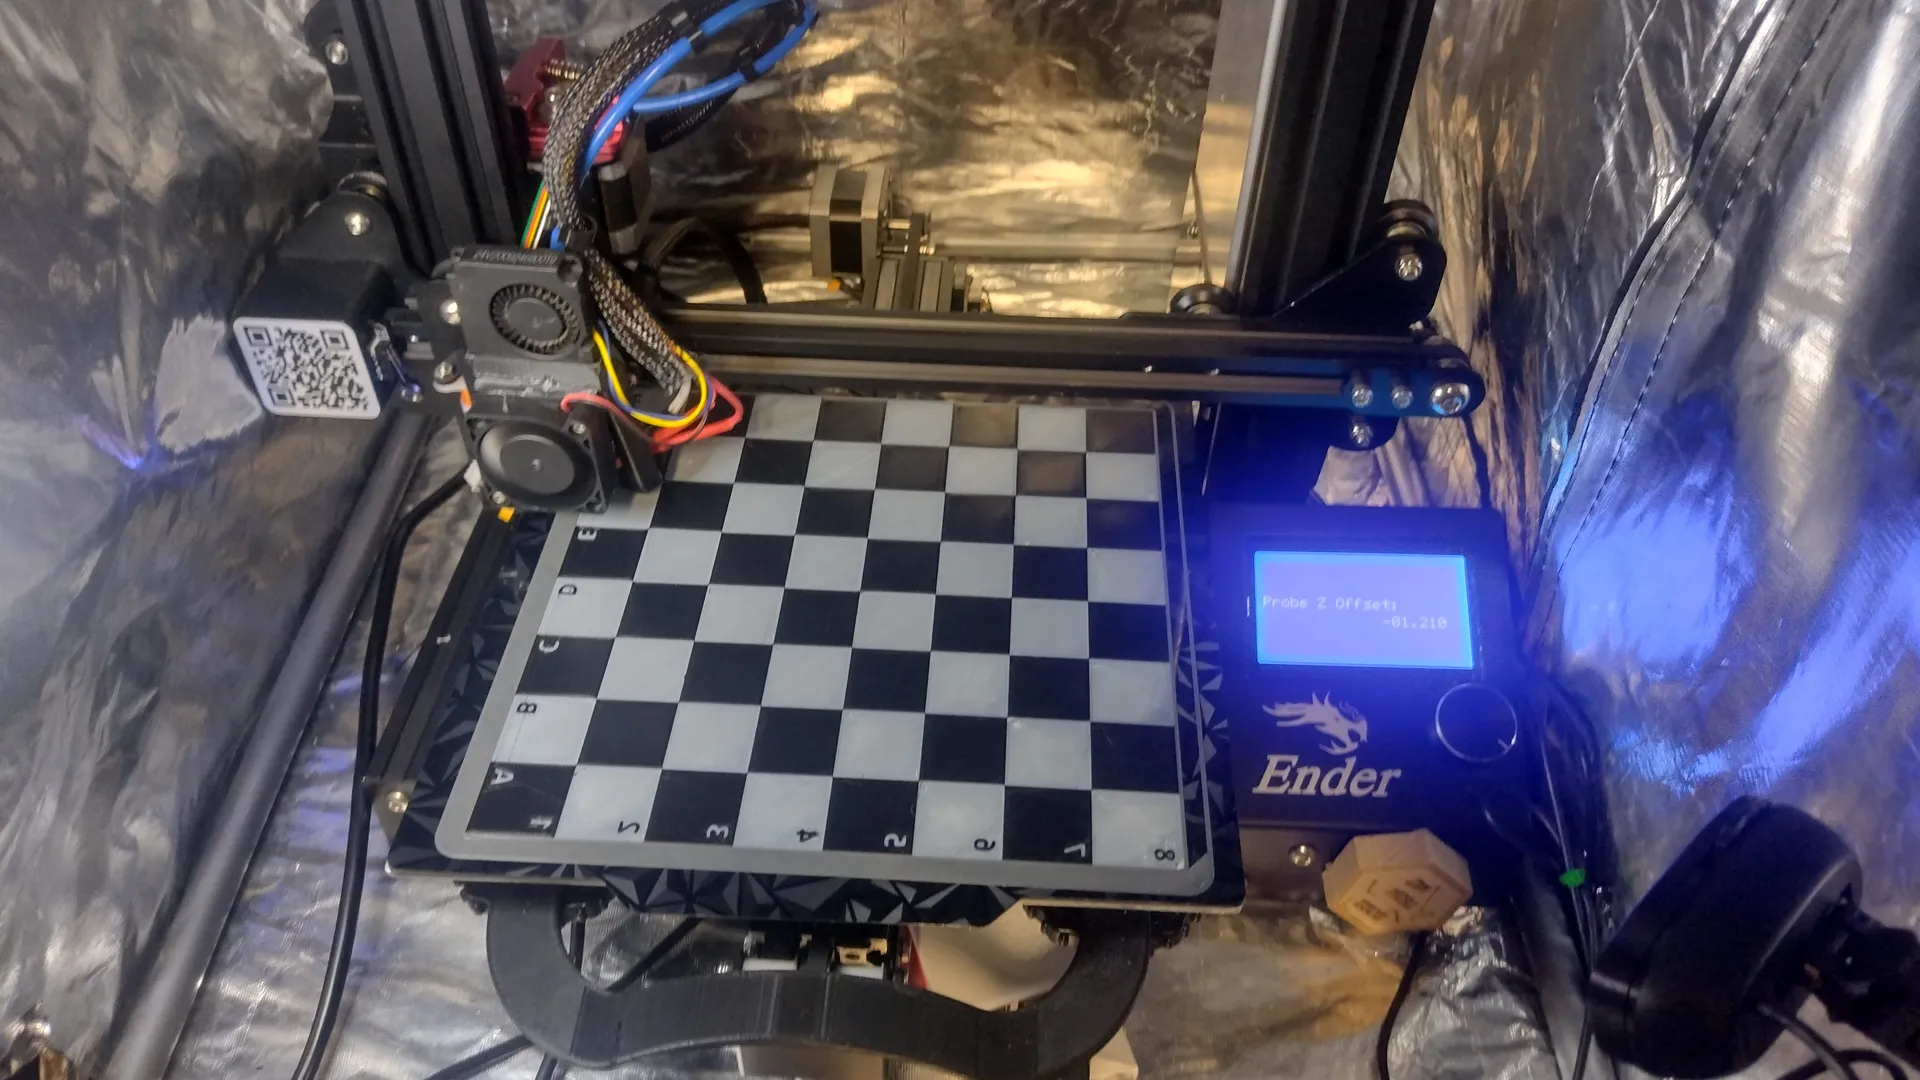
- WARNING: If you have an ABL system on your printer it will hit the squares, so use the Z - probe offset wizard to adjust the height. this is the only way I currently know how to do this.
- Layer height 0.2mm
- Prusa slicer will bridge over the gap; this is ok and won't change the results.
- Skirt is recommended.
Top Board part 2:
You will need to pause the print to add the magnets. here is a quick overview:
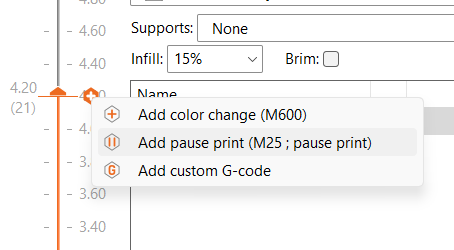
- Use the Pause print which is like the colour change.
- Add the pause print ON the layer that it will print over. It puts the command at the start of the layer. there are heaps of tutorials on how to do this. I recommend this one!
- Infill - Min 5%, recommended 15%. if you want the strongest one, visit here!
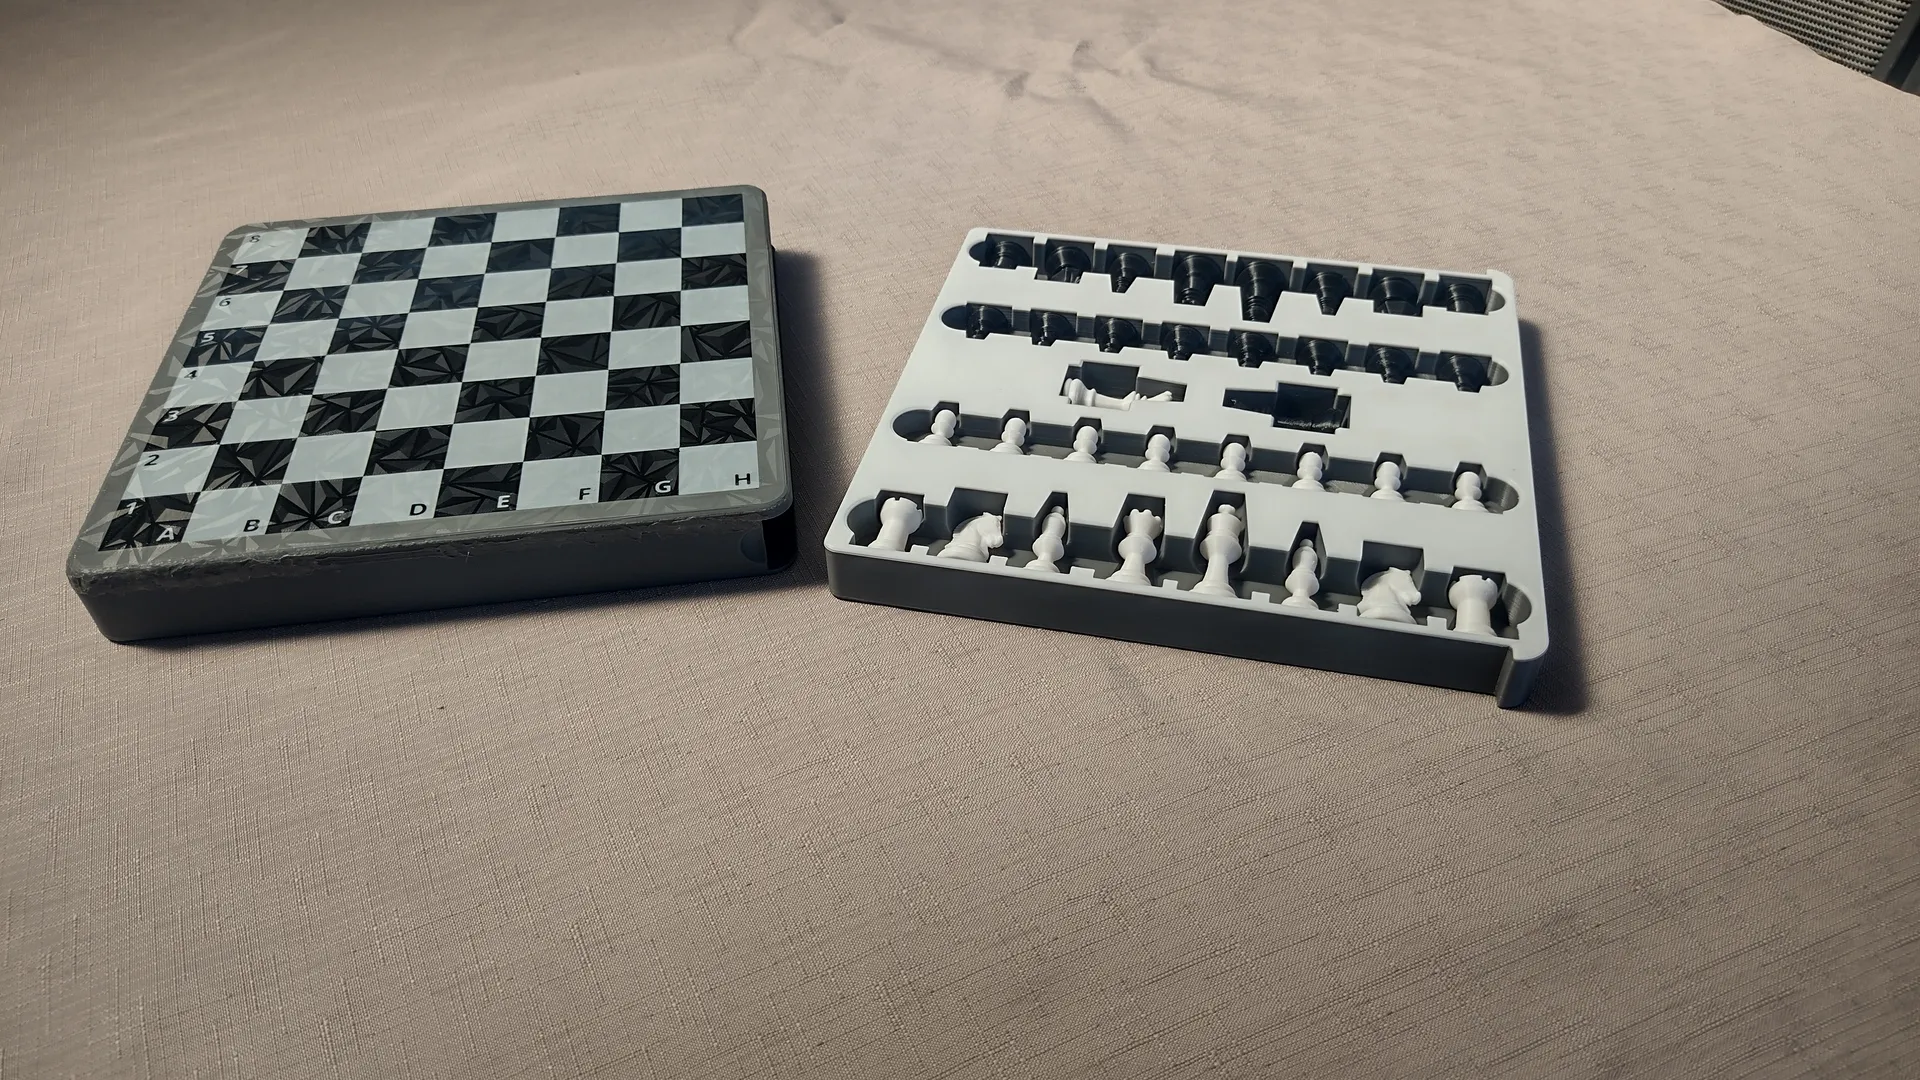
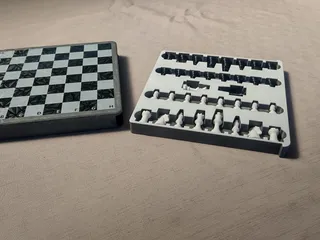
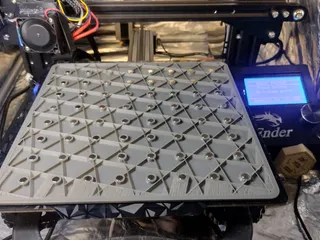
Bottom Piece:
- Infill - Min 5%, recommended 15%.
- Shell count - 3
- layer height - 0.2mm
Drawer:
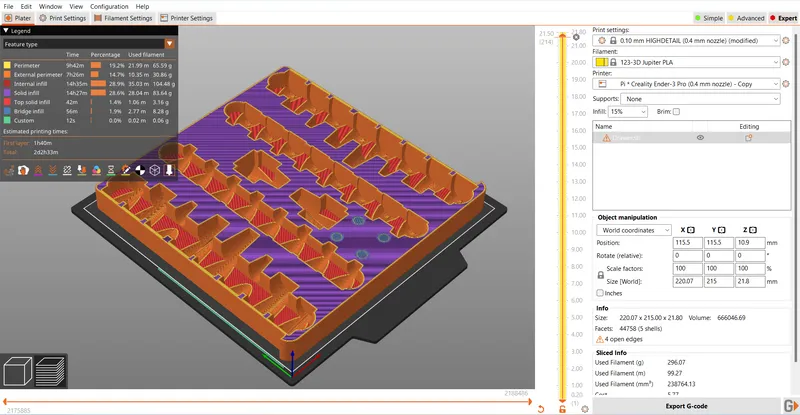
- There is a pause print right here for magnets. don't forget this, as the draw wont snap shut without these.
- Infill - Min 5%, recommended 15%.
- Shell count - 3
- layer height - 0.2mm
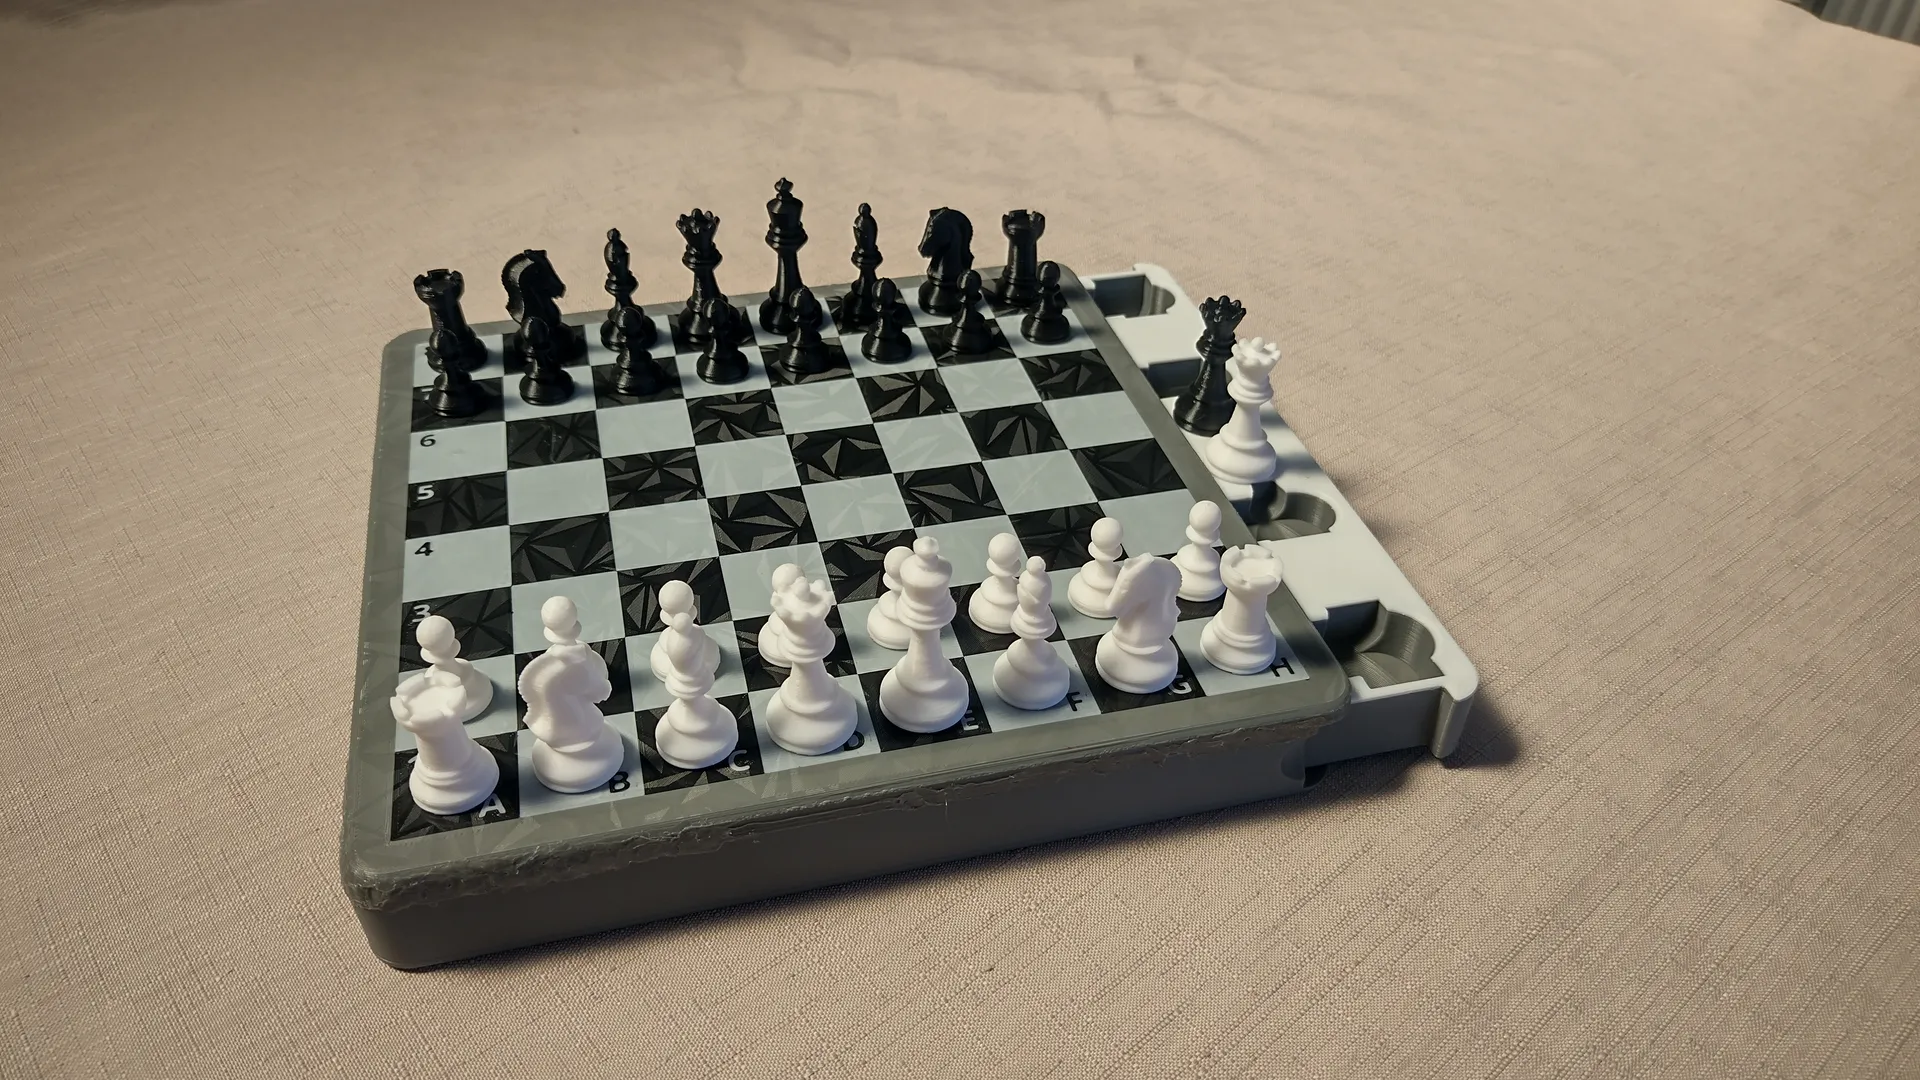
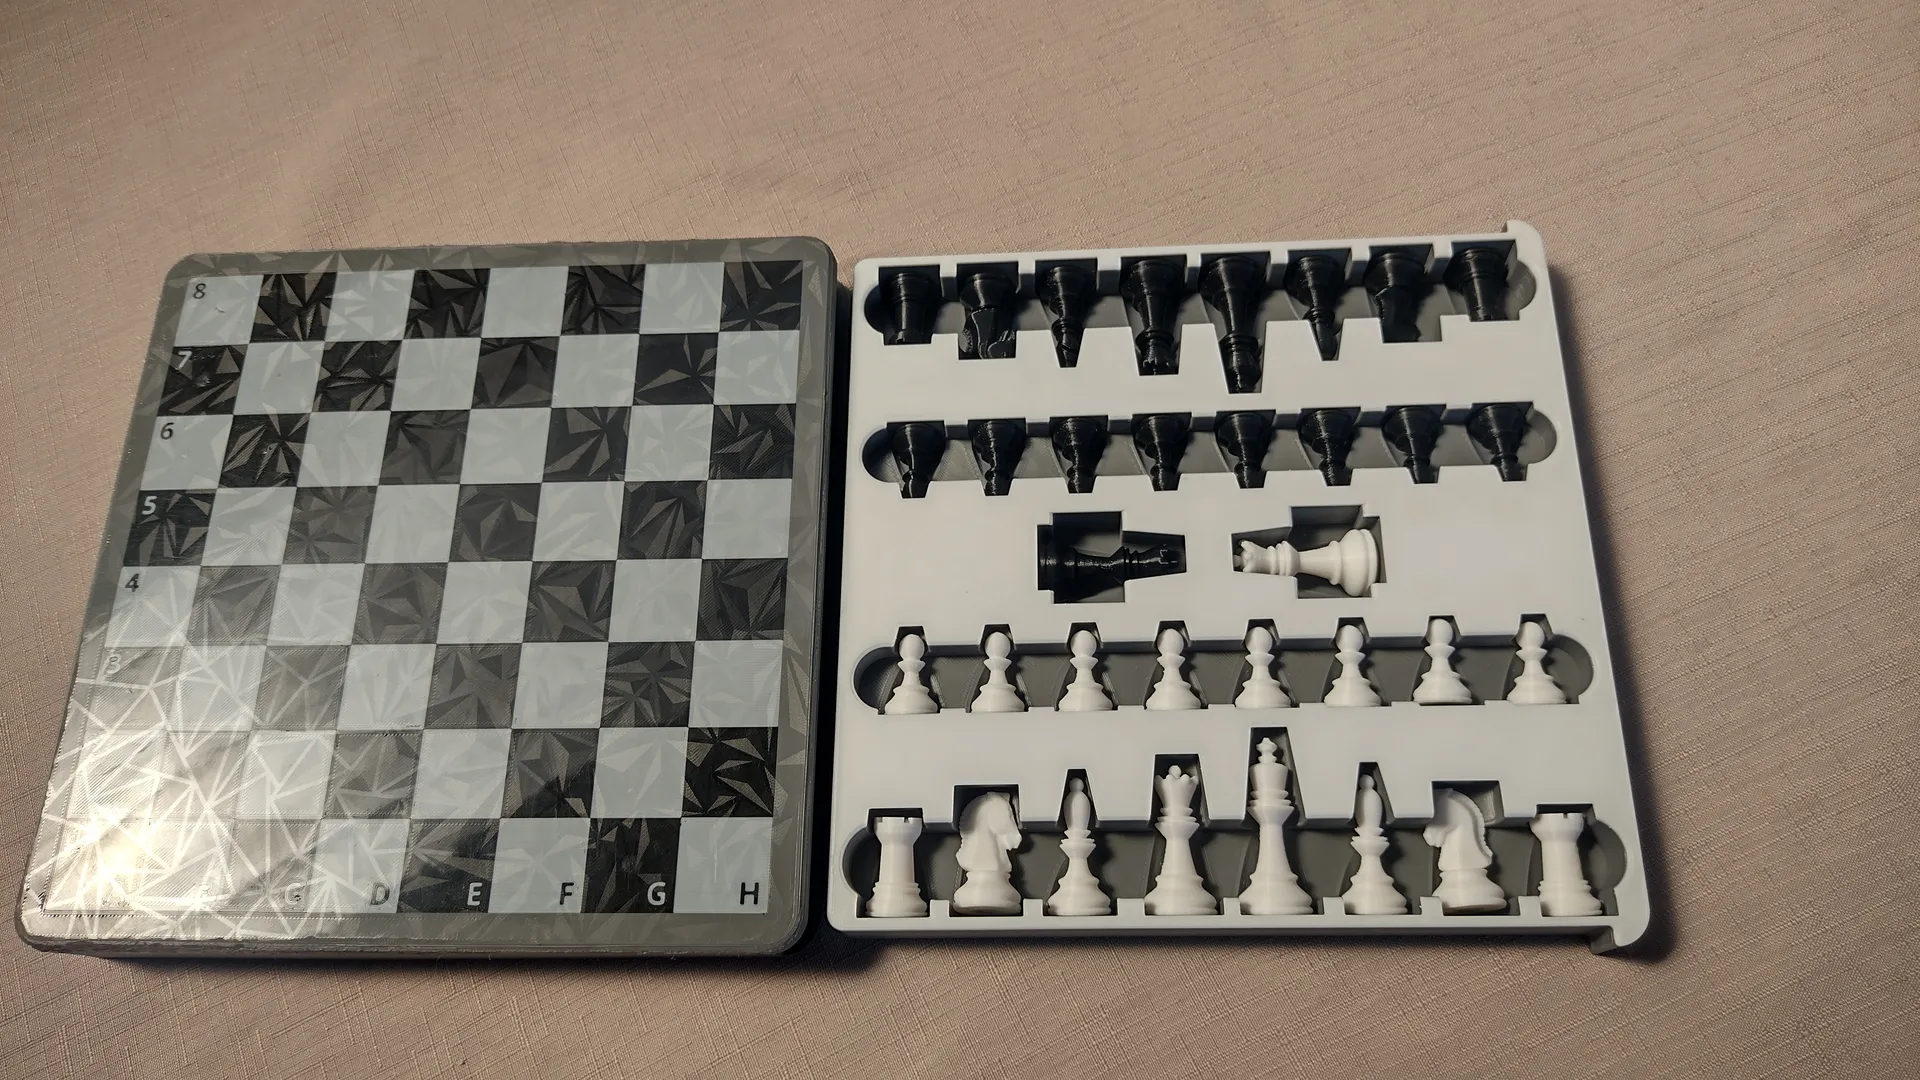
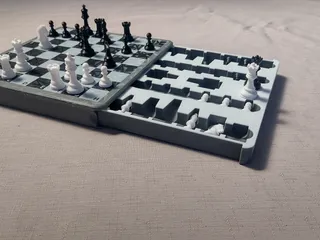
Pieces:
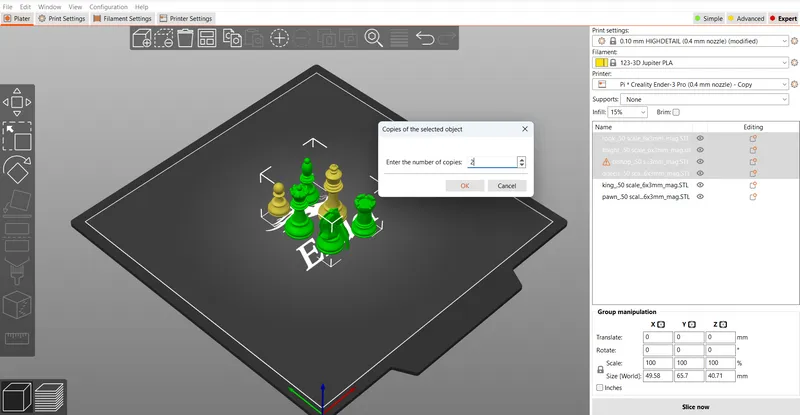
- With the pieces, make sure the Queen, Rook, Knight & Bishop have a set number of instances of 2.
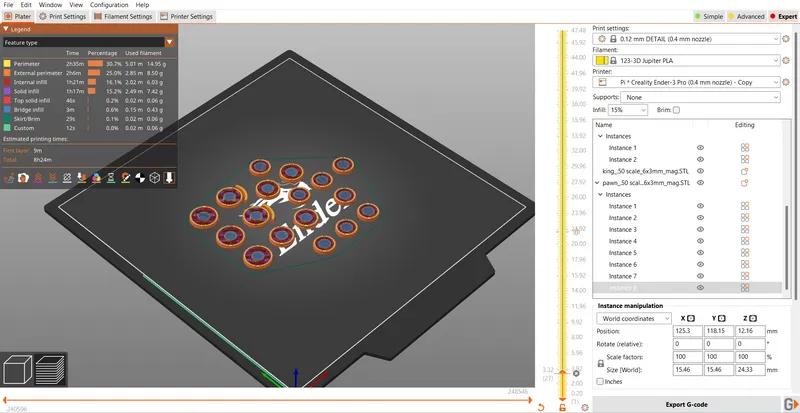
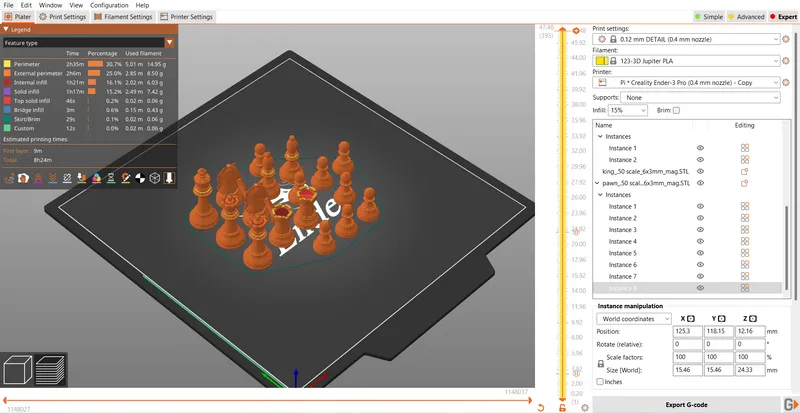
- The pawn has a set number of instances of 8.
- MAKE SURE your bed is trammed (leveled) properly, or the magnets won't fit. I printed a test pawn, with the magnet first to see if it will fit. If it doesn't, print another to see.
- Infill - Min 5%, recommended 15%.
- Shell count - 3
- layer height - 0.2mm / Suggested for best detail - 0.12mm
Conclusion:
Thanks for your time. If you have any questions or want me to make a bigger or smaller version of this board, please leave a comment, and I will get straight to work.
Tags
Model origin
The author remixed this model.

Differences of the remix compared to the original
I have changed this model to be printable on a single extruder printer, so everyone can enjoy!
I added minimalistic characters on the side of the board to fit a Staunton (The standard chess style) look. Therefore, I also had to add an extra Queen slot, because all Staunton boards need this in case of promoting. On the original, this was a major pull factor to remix it, so you can play proper chess!


