AD-S31BT battery adaptor for Sharp Minidisc players

Description
PDFCompatible batteries are already available to buy on eBay.
However, I already had components to make my own, and I enjoy designing things so I made this.
I was also able to make a few of these for the price of one on eBay (since I already had the nickel strip from another project)
The 3D print has a very thin gap for the nickel strip. You need to tune your extrusion multiplier to ensure this is not overextruded.
Materials required:
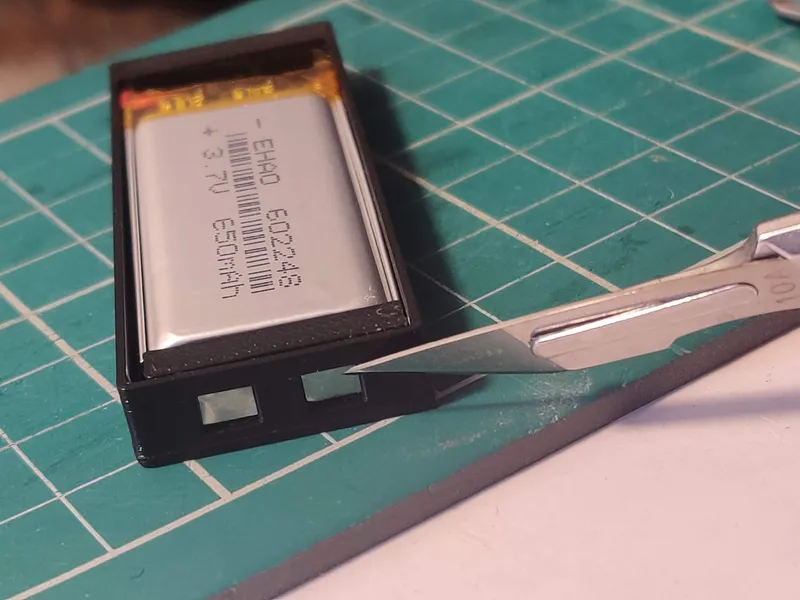
- 602248 lipo cell (look on ebay)
- 0.1 x 3 x 100mm nickel strip (from Amazon. Intended for spot welding batteries)
- one 3D printed part ( I printed in PLA)
- Soldering equipment (iron, flux)
- side cutters for cutting the nickel strip
- Scalpel
- Kapton tape
- Isopropyl alcohol, or other flux cleaner
Steps to make:
1:
Cut a piece of nickel strip approx 30mm long. Loosely bend in half and put through the positive end of the 3D print. Bend one end to sit flat in the cavity, leaving the other end free to solder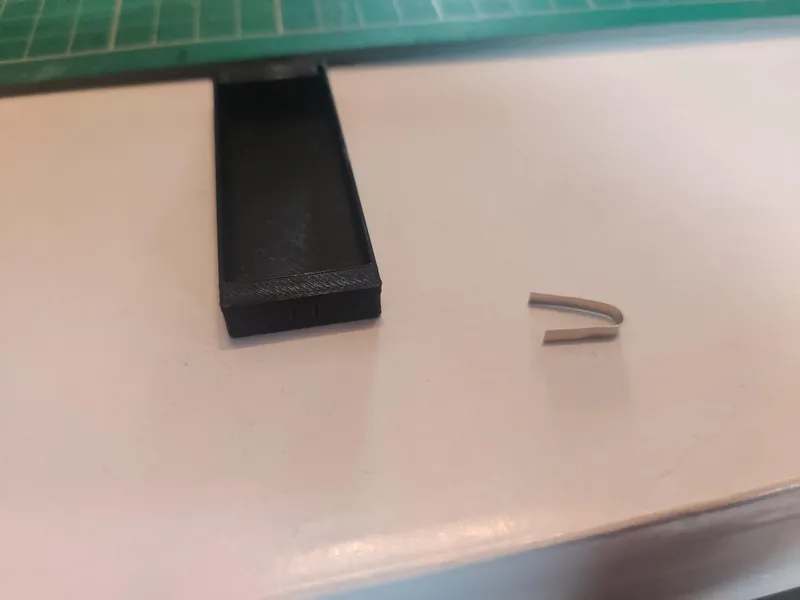

2:
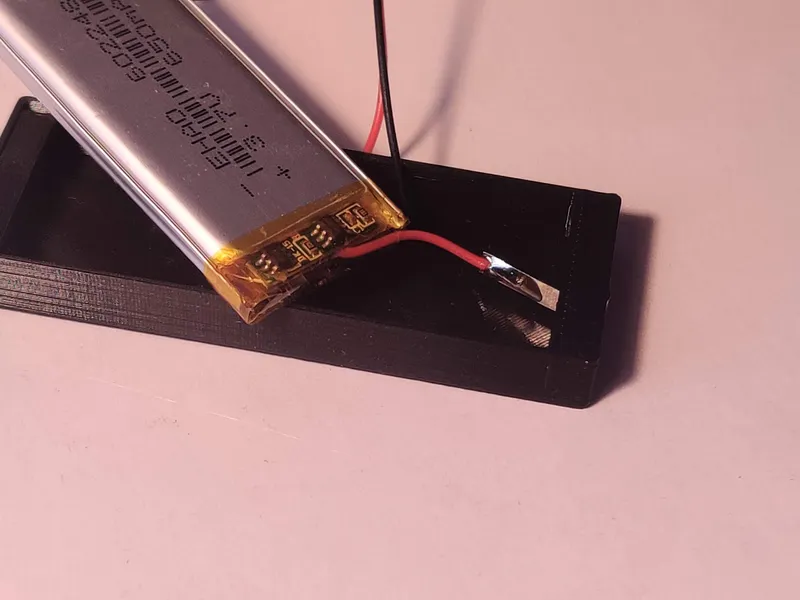
Cut the red, positive wire short and strip it.
Tin the wire.
Apply the soldering iron behind the nickel strip, and add solder to the front.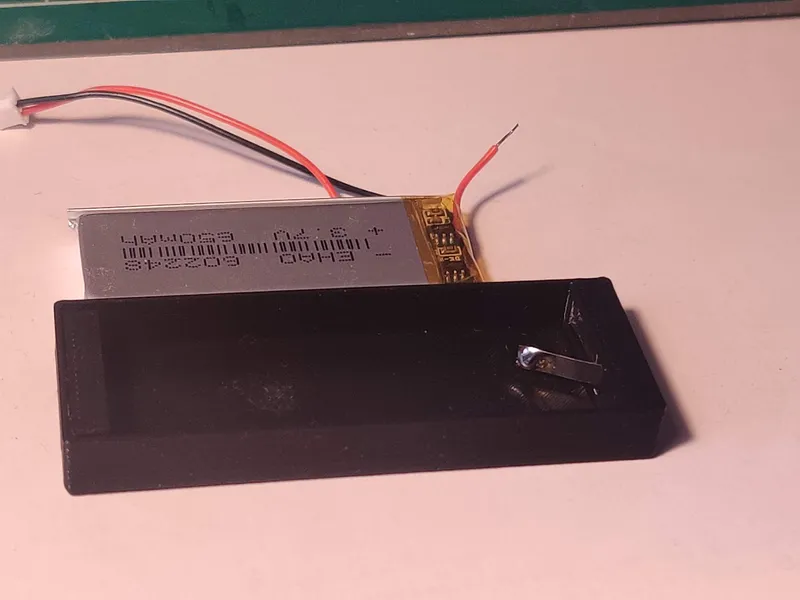
3:
Apply a small amount of flux to the wire.
Heat the nickel strip from behind and bring the wire in contact with the solder, making a connection.

4:
Use something thin a stiff (e.g a scalpel) to run through the thin gap for the negative terminal, ensuring there is space for the nickel strip.
Put a bend in the remaining piece of strip and push into the gap.
Leave a small amount to fold into the cavity in the print, which will make sure it won't come out again.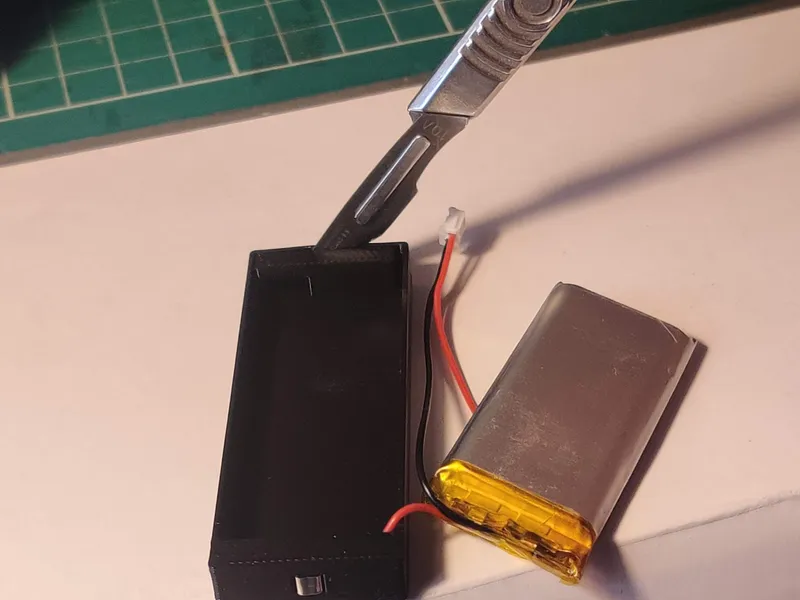
5:
Cut the excess nickel strip short, leaving space for a soldering iron.
Cut the black wire to length.
Tin the wire and the strip (add some flux to the wire).
In the same way as before, heat the nickel strip from behind the side with the solder, and touch the wire to the soldered side to make the connection.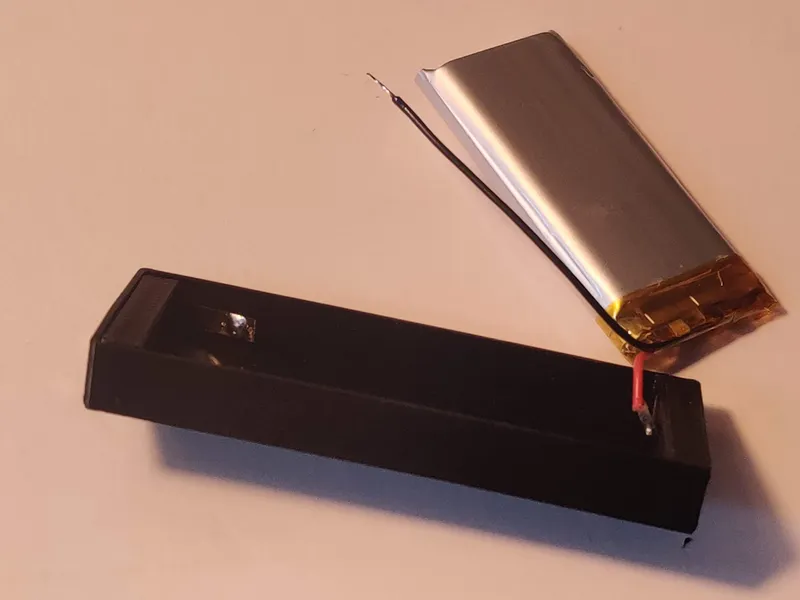
6:
Use some Isopropyl alcohol, or other flux cleaner to remove the flux.
Cover the exposed soldered connections with kapton tape.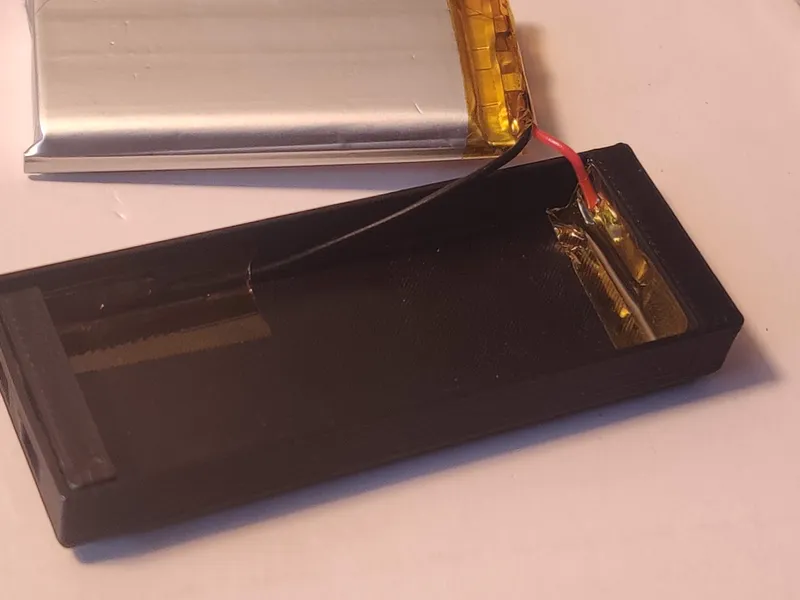
7:
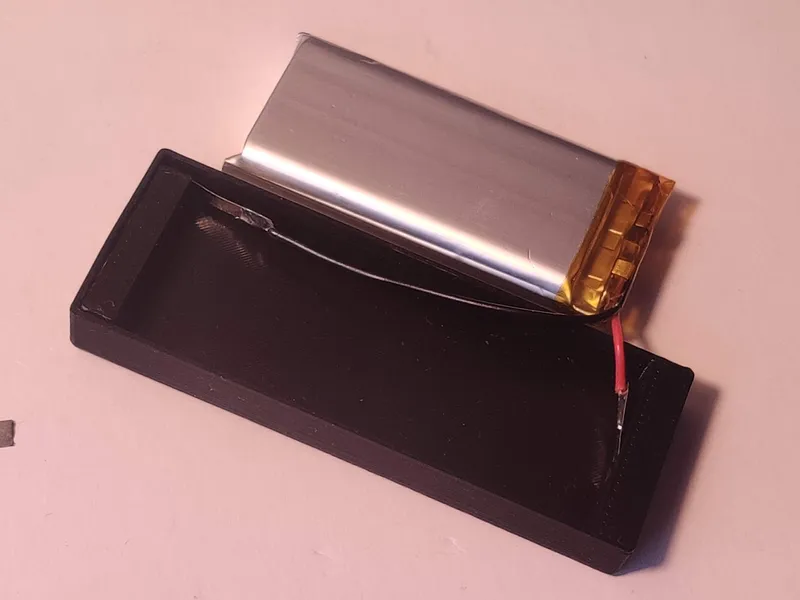
Place the cell inside the 3D print.
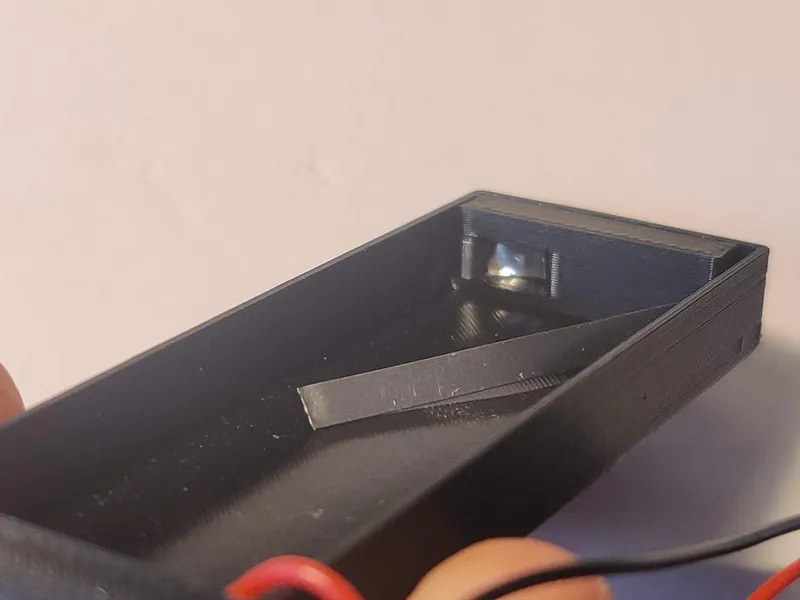
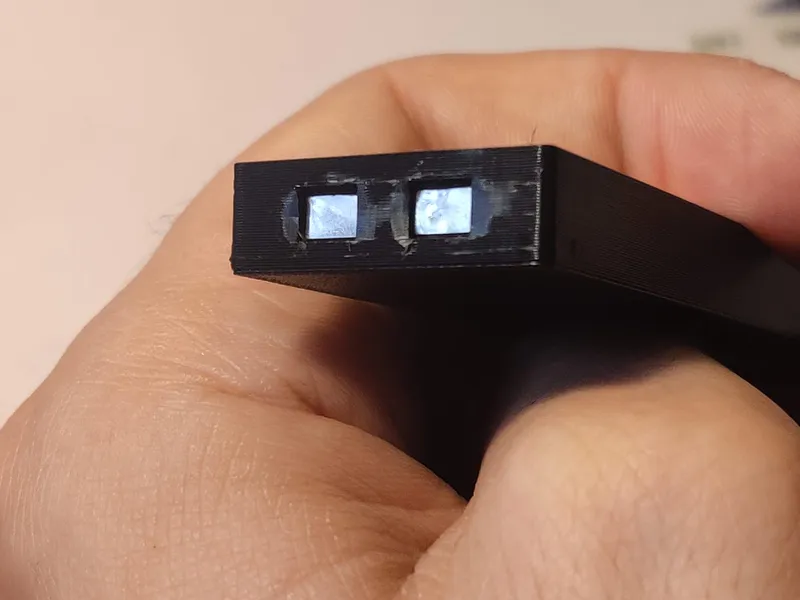
The Final step is to ensure a flat surface on the 3D print at the negative side.
My printer caused bulges at the square openings which caused a bad connection inside the minidisc player.
I removed the bulges with a scalpel.
The battery is now ready to use!
Tags
Model origin
The author marked this model as their own original creation.