Expandable Desk Organizer

Description
PDF[Update 2: Added taller variants (120 mm and 150 mm) by user request.]
[Update: Added more segmented designs.]
What is this
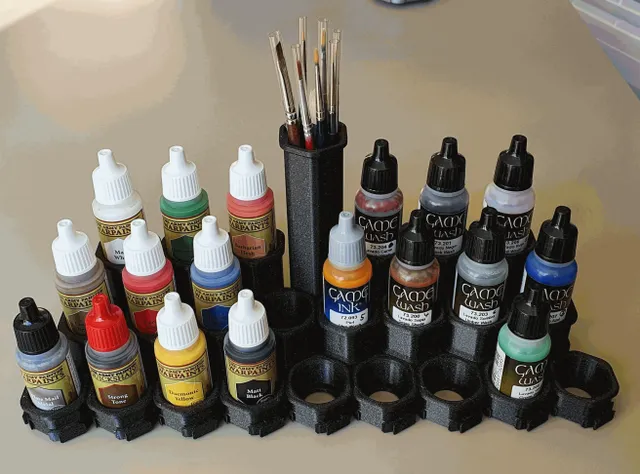
My daughter likes to draw. But whenever she draws, her room turns into a mess because she hates putting her gazillion of pens and crayons back into the pouches and boxes where she keeps them. So, to make life a little easier for her, I made her a desk organizer that can be expanded along with her ever-growing collection of pens and crafting tools.
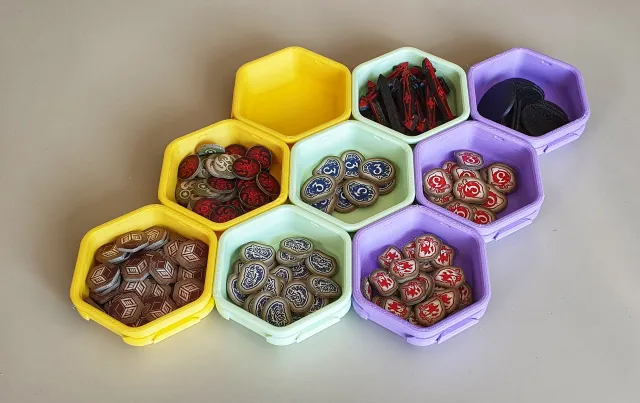
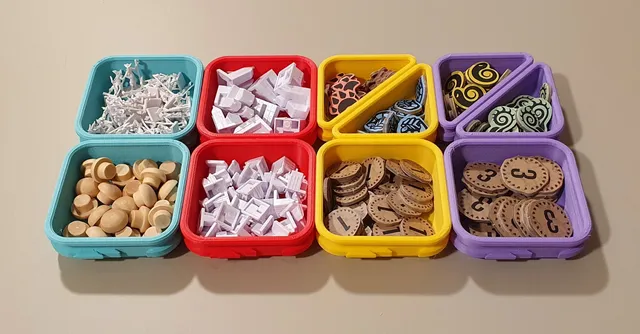
The organizer consists of several parts of different sizes that can easily be connected in any order. The connection is very tight and stable, so, once put together, the organizer feels like a single piece and can easily be moved around. Weight and printing time vary and depend on the actual piece to be printed (2h to 5h, 23g to 53g).
How to assemble and disassemble
This works similar to how jigsaw puzzle pieces fit together:
- On a flat surface, place two pieces next to each other, one of them slightly elevated, so that the connecting parts are touching and one connector is resting on top of the other.
- Press down with your hand or your fingers on the elevated piece until both pieces are fully locked in. It might click and crack a little. Don't worry, they won't get damaged.
- When disassembling, press down on one piece and press up on the other until they separate. Sometimes wiggeling helps.
- Do not try to “fold” two pieces against each other. They will probably survive, but the connecting parts might get damaged at the edges, making the connection less tight and less stable.
How to print
I mainly print with Prusament PLA or DasFilament PLA, using the standard Prusament PLA profile in PrusaSlicer. If the model dimensions are accurate, the connection is tight enough to make them hold together quite strongly, but still loose enough to make separating them an easy process.
However, if you printer is not well calibrated, you might end up with connectors that are too large or too small. To check accuracy, print two or three pieces of the test STL and try the fit. If you need too much force to push them into each other or, on the other hand, the fit is too loose, check if your filament diameter or your extrusion multiplier are correct. You can also play with the “x/y compensation” function to change the outer dimensions. This allows much finer control than rescaling.
Misc
If you want larger or smaller pieces, rescaling should work fine within a certain range. Just make sure you use the same scale factors for all pieces. Also, upscaling in the Z-direction will increase the friction area of the connectors and you might require more force during assembly and disassembly.
Please let me know what you think. Also, do feel free to drop me message, if you have problems with printing these or if you have ideas for add-ons or for how to improve the designs.
All my models are free and may be used and shared by everyone. I put a lot of time in my designs to get everything right and I hope the result shows. So, if you like my stuff, consider supporting me here: paypal.me/schnelge.
Cheers! ^_^
P.S.: This project was inspired by my Interlockable Sorting Cups (updated version here). Feel free to take a look.
Tags
Model origin
The author marked this model as their own original creation.