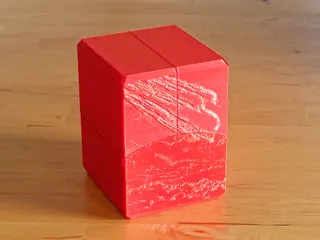
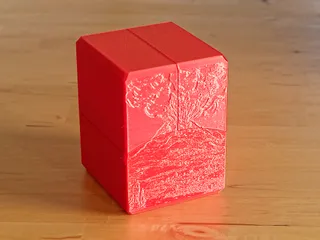
Red 100 Card (Commander) Geared Deck Box With Magnetic Latch


Description
Huge update (May 2021)
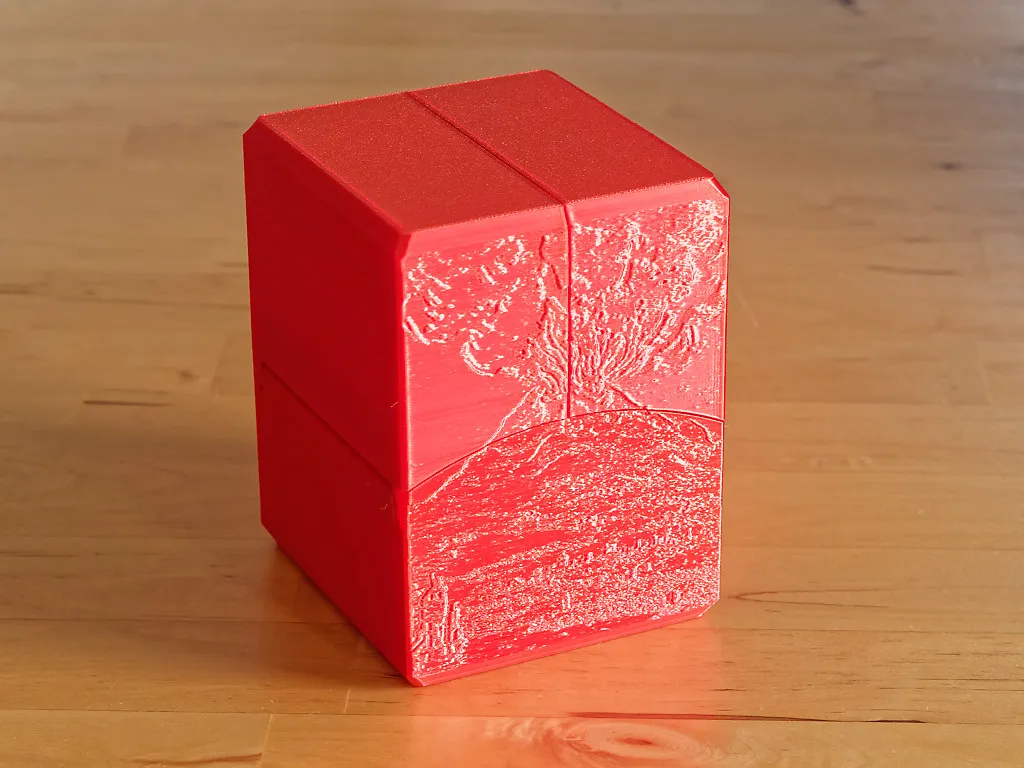
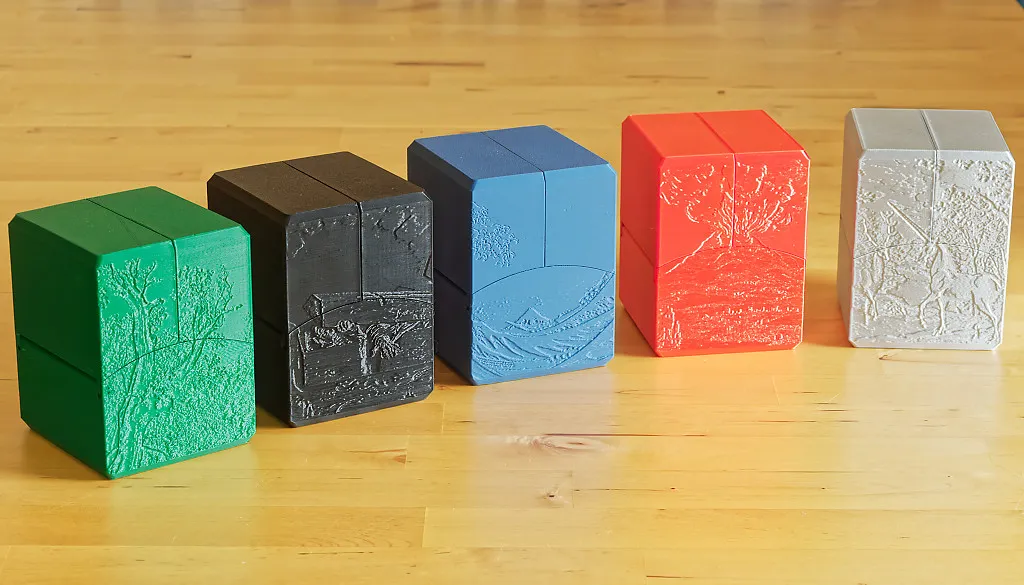
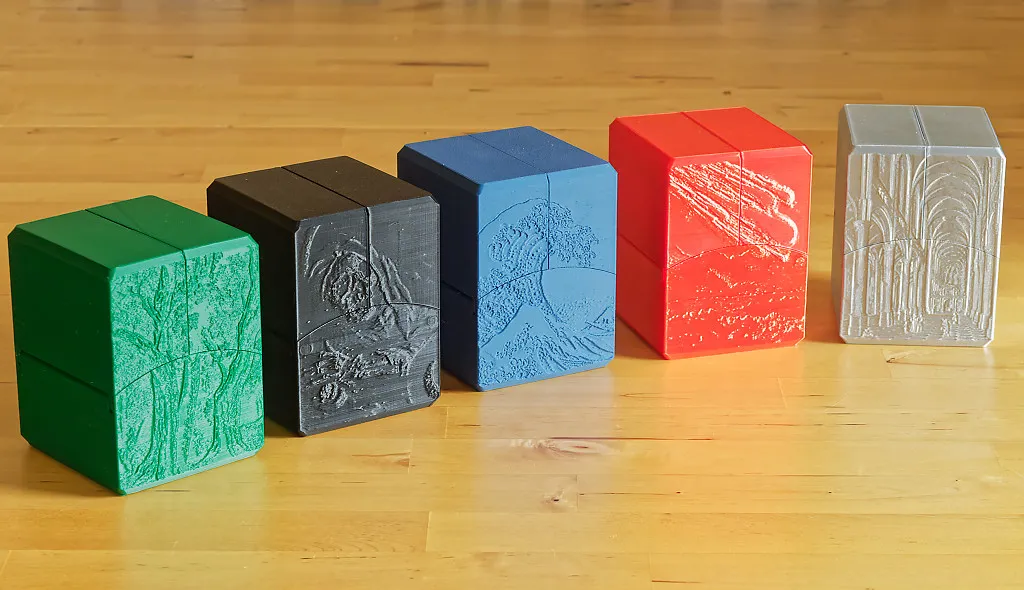
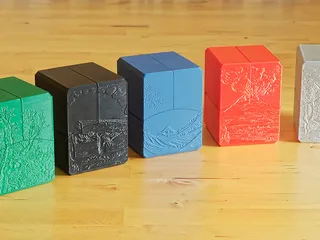
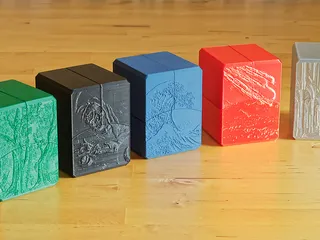
I've always wanted to have a custom version of the deck box for each of the Magic: The Gathering colours. Now, I have developed individually textured boxes for each colour, featuring a variety of artwork, from Dutch vanitas to Japanese woodcarvings.
The new boxes also feature flat sides on two sides so that users can add their own names or textures to them. The textures are also much deeper and richer now compared to the relatively light texturing on the original design.
These textures allow you to combine textures and colours to match decks with multiple colours. E.g., you could have a red box with the black texture to show a red/black deck design.
• Description:
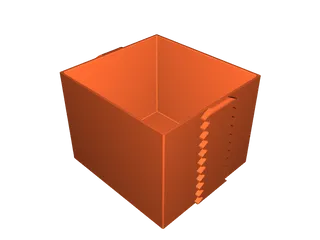
These files are an updated version of the free version of the CCG deck box. The most important improvement is that this version doesn't need any support, and includes numerous tweaks to make it easier to print. This listing is for a 75mm card box, which is large enough to hold a Commander deck with double sleeves. It will hold a deck with the dimensions of 67x93x75mm.
You'll also need two 10mmØ x 3mm magnets for the latch.
• Features
When the box is opened the cards rise up "for easy access", and totally not "because it looks cool". :D
The box locks closed with a magnetic latch. There is also a detent mechanism to lock it in the open position.
Previous Updates:
May 2020 update:
- Universal dimensions – 75mm depth to fit both single or double sleeved Commander decks.
- Includes double or single magnet door options. I've had a couple of comments that people would like to use a double magnet latch.
- The double magnet option is available for the standard textured box. Not the colour specific textured boxes (yet).
• Update: 15/9/19 I have separated each component into its own file so that you can print them individually.
• Update: 2/9/19 Reduced poly count to make slicing easier. All files checked in Meshmixer / PrusaSlicer. Improved aesthetics inside the lid.
• Update 17/04/24 Added twin magnet lid option
• Printing details.
0.2mm thick layers or less.
Print cooling on
You must have an accurate printer. This is a simple print, but does require high accuracy.
I recommend you use something like this https://www.thingiverse.com/thing:1622868 to check for over/under extrusion.
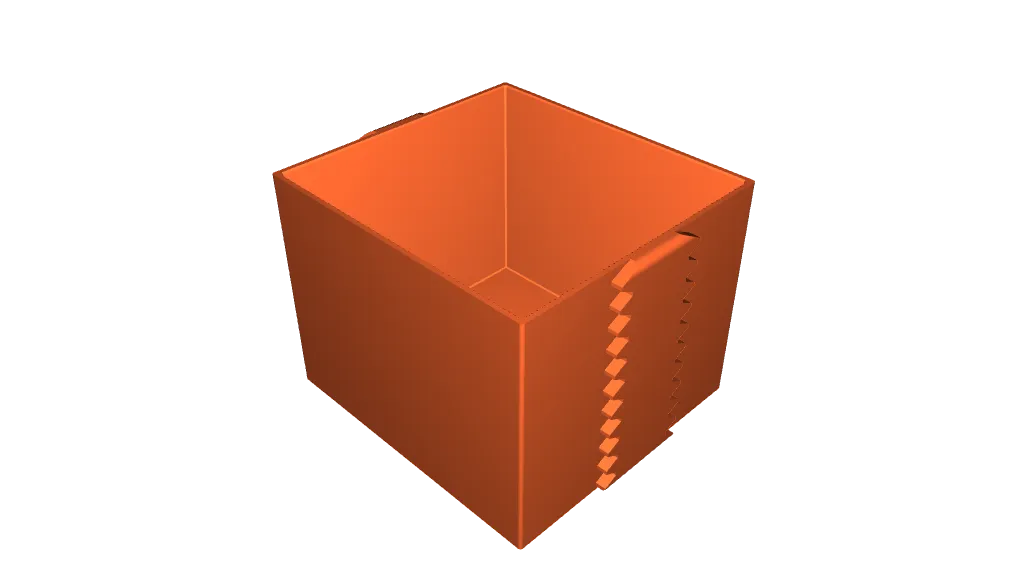
• To assemble:
Place the lids in their open position.
Align the lowest gear tooth with the bottom gear teeth of the cart
Place the entire lid and cart combo into the main shell. It should click into place (and that's why having an accurate printer is a requirement).
Tags
Model origin
The author marked this model as their own original creation.