HOW TO "PRINT GLASS" - PROFILE FOR PETG TRANSPARENT

Description
PDFThe study of light is one of the things that most fascinates me associated with 3D printing.
I created this profile for all those who want to try to have transparent prints as possible to study the properties of light.
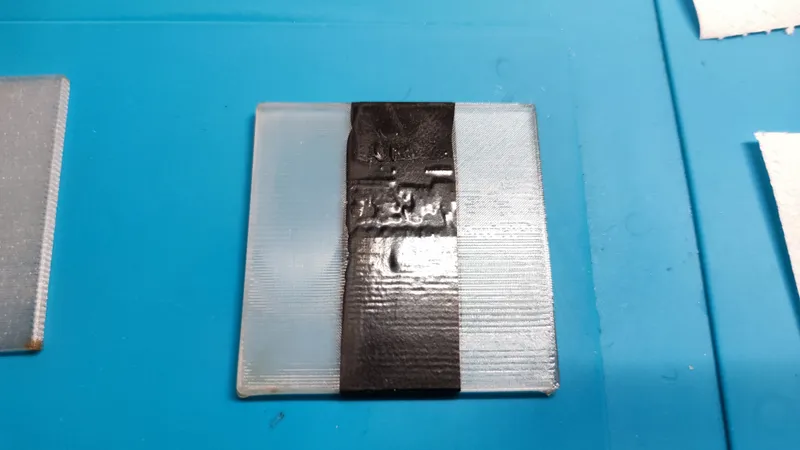
In the following photo you can see my very first two attempts.
The upper square was finished in 7h with the parameters that you will find in the .3mf file to download. While the lower one was printed in fewer hours with a horrendous result.
I hope this print profile can make you have more clear prints

When printing is finished remove the object from the plate gently and wash the surface to remove the glue.
Then take an insulating tape, silicone mat, sheets of toilet paper, sandpaper with two grits 800 & 1200, a cotton staple and the polish paste IOSSO.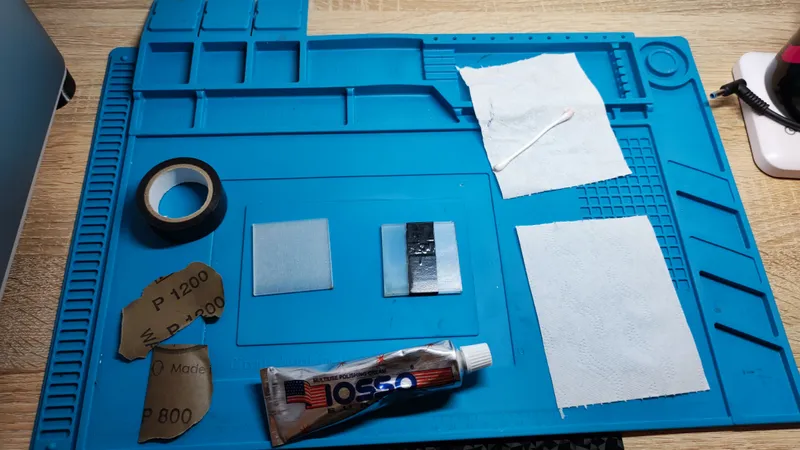
Take the piece and apply a piece of insulating tape in the middle in order to see the differences between the machined part and the raw one.
Start sanding the piece you printed using my print profile using first a doubler 800 grit and then a finer 1200 grit under tap water.
After you have sanded the piece, touch the surfaces with your fingers and check if they are smooth.
If they are already smooth, dry the piece and then use the IOSSO polish paste, otherwise sand the surfaces a little more and then apply the polish.
Once the operation has been completed, place the worked object on a book page and test the transparency.
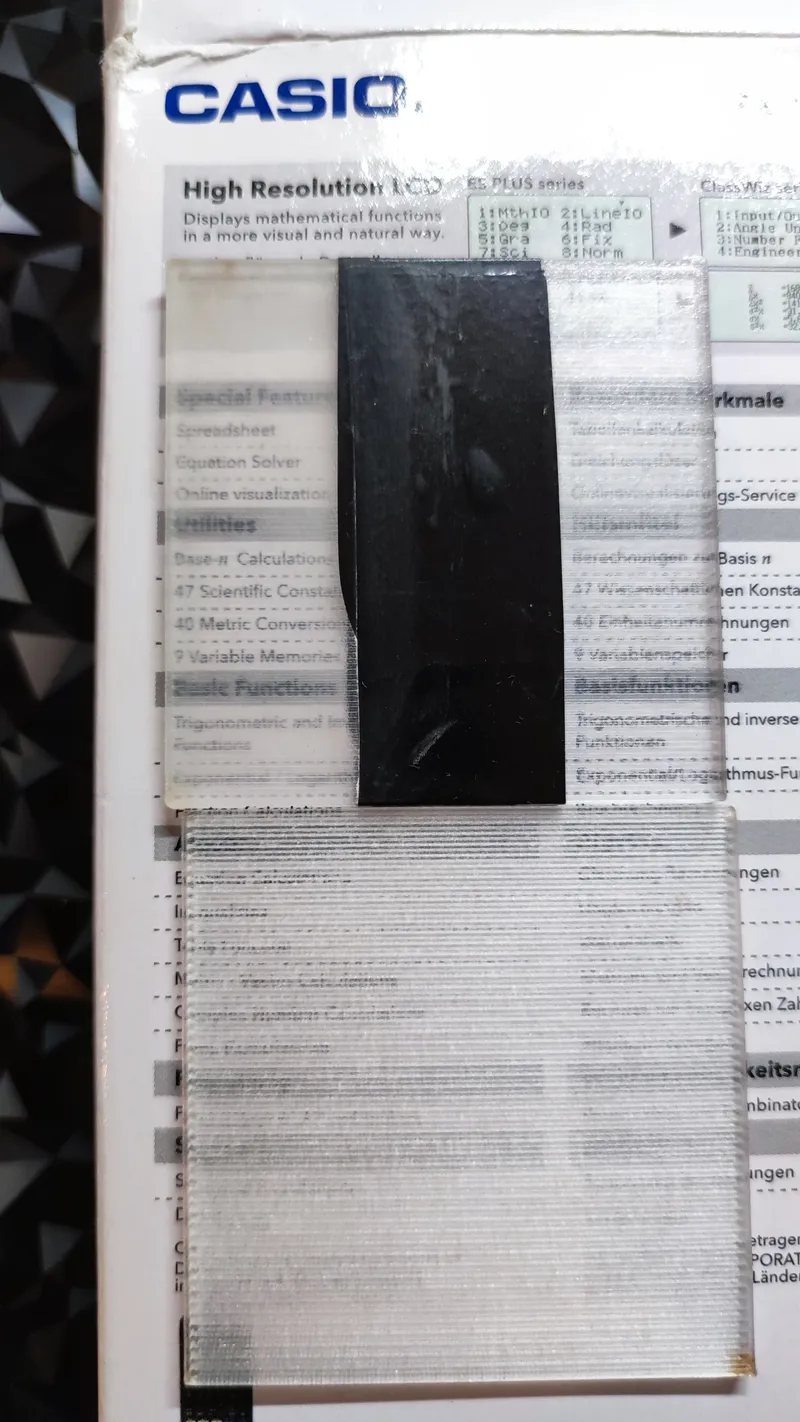
As you can see from the last photo there is a big difference:
the bottom piece is the first proof mold with low transparency, while the second one has better transparency on the left side because we used sandpaper and the right side is rough.
You see that the one with more transparency ("SANDED") lets more light through while the other ("ROUGH") less.
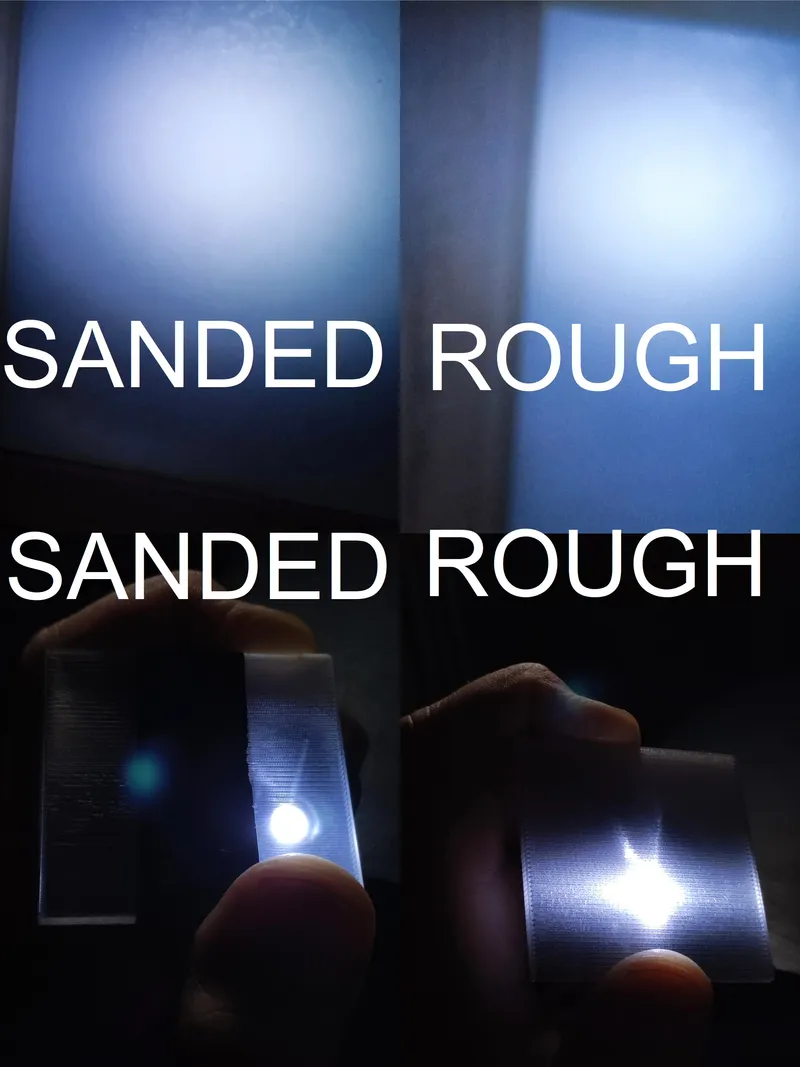
I carried out a second test by placing the two objects with different transparency in front of the cabin light of my 3D printer.
Perhaps you can now better see the difference between the two printed objects, of which the one worked by a particularity, i.e. that the left side in the photo is sanded, while the right side is not.
At this point, if I had to choose to print the same cover as the LED strip of the cabin of my 3D printer, I would prefer an object with less transparency for my personal aesthetic taste.

If you need help or you want to be printed this parts or customized in different way, just send me a message here on Printables, I can ship worldwide and I promise very good quality prints.
I appreciate if you will give me a donation, so I can bring my ideas forward: https://bmc.link/engineeringprojetcs .
Thank you to support me and happy printing.
Tags
Model origin
The author marked this model as their own original creation.


