Drobo Drive Latch (5N)

Description
PDFThis is a replacement drive latch for a Drobo 5N, though it will likely fit any device in this family that uses a similar drive latch.
The Problem:
One of mine failed and as a result the drive kept working loose and getting kicked from the array, leading to hours of “data protection mode”.
Recommended printing material(s): PETG, ABS, ASA or other engineering material. (PLA probably cannot handle the stresses or temperatures, spinny drives can get quite warm)
You will need supports enabled for a successful print due to overhangs.
ADDITIONAL NOTE:
You'll have to disassemble your Drobo quite far to remove the old clip and install this one. You are doing so at your own risk, I'm not responsible for anything that might happen - including, but not limited to data loss, damage to your drobo, etc. As under the part's license, no warranties of any kind are given.
Basic replacement procedure:
- Power off and disconnect all cables.
- Remove the front panel and its rubber gasket. Also LABEL and remove your drives.

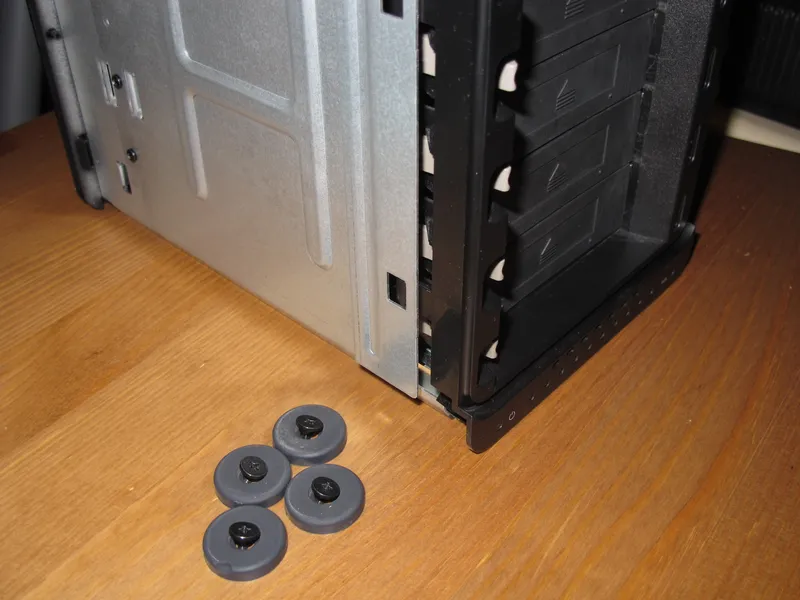
- Remove the four screws in the feet of your Drobo
- Remove the outer metal cover.
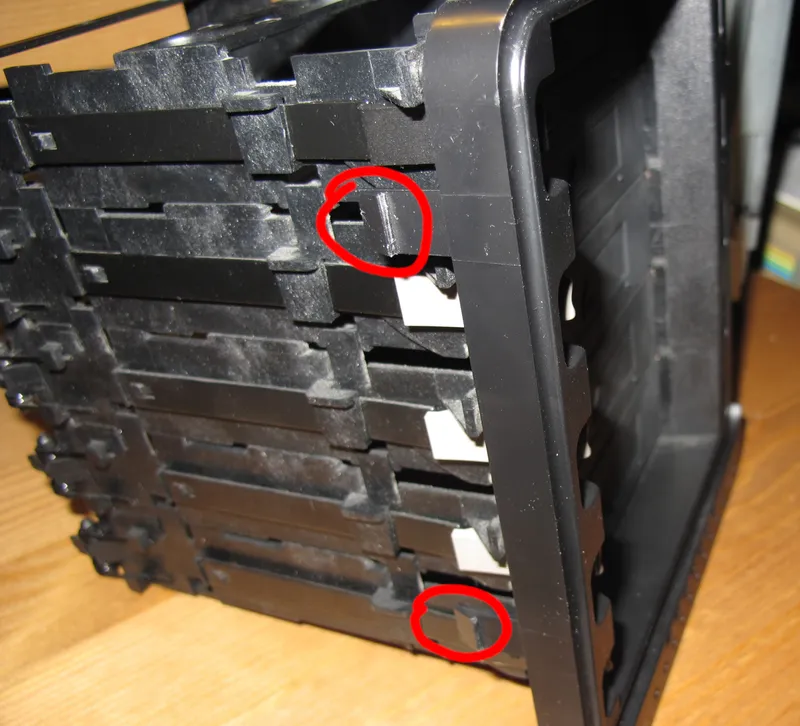
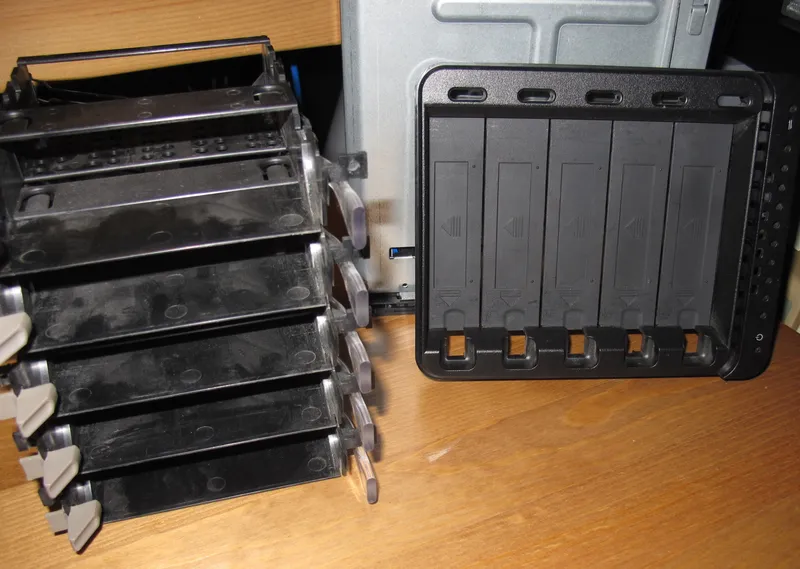
- There are five clips holding in the drive cage. Two on the left, two on the right, and one on the top. Undo them carefully and slide the cage out. Here they are after removal:
- Remove the four silver screws holding the front face to the drive cage, 2 on each side.
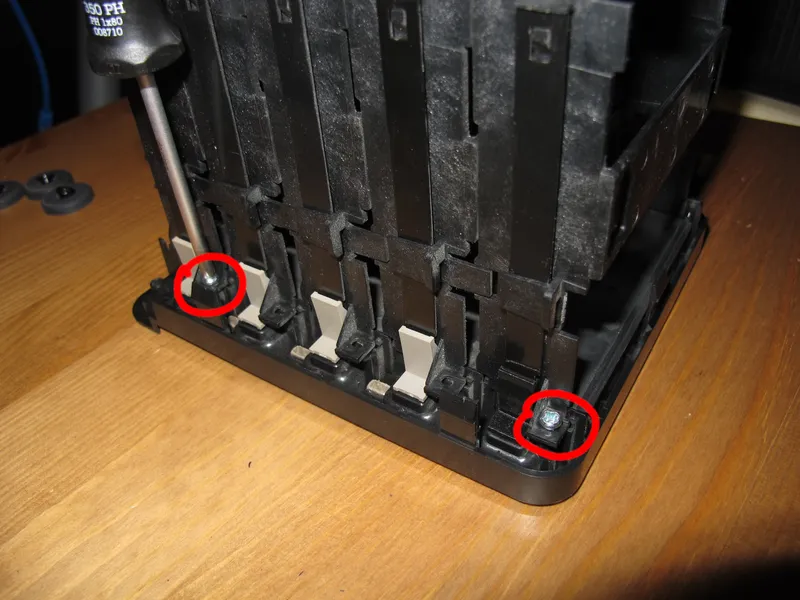
- This may take some work as the spring loaded doors are caught behind the clips. You have five fingers and your Drobo has 5 slots, so you should be able to work out the puzzle. Now is also a good time to do some dusting :)
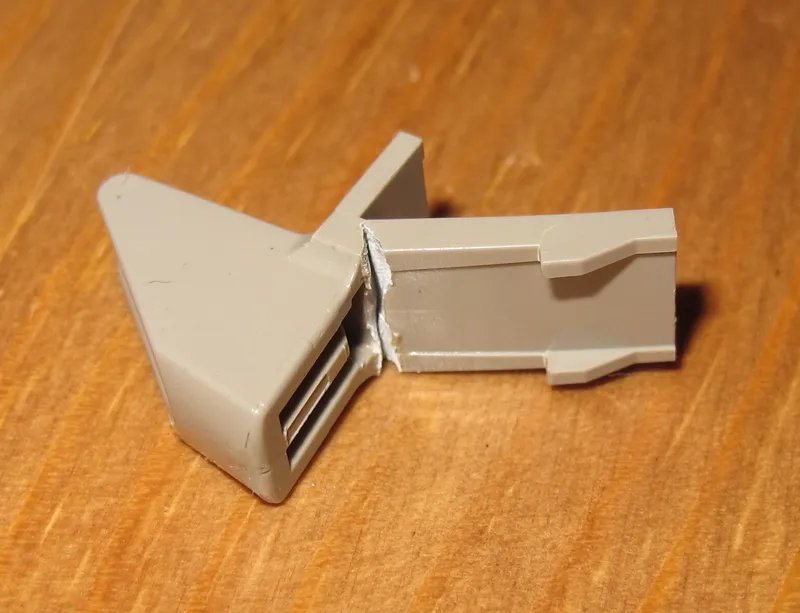
- Remove the metal rod with your damaged clip by unhooking it and sliding it forward.

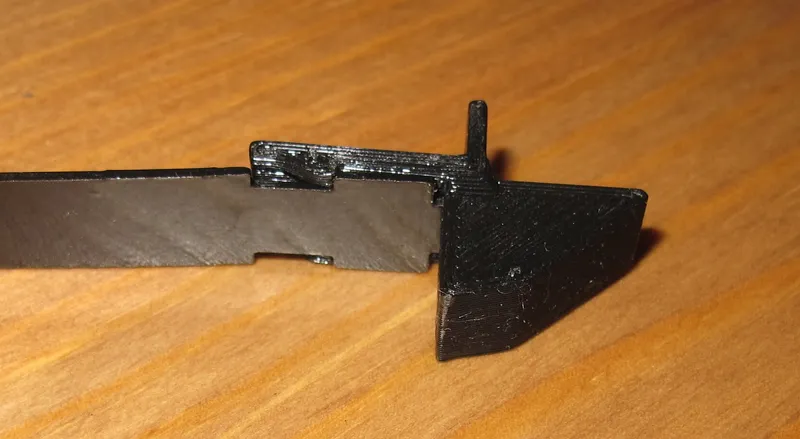
- Install the newly printed clip, paying attention to the orientation.
- That's it! Now reverse your way from step 7 back to step 1 to reassemble. BEFORE you put your drive cage back in, double check to make sure all the door flaps operate properly!
Tags
Model origin
The author marked this model as their own original creation.