Poster Tube - Base

Description
PDF## Print Orientation:
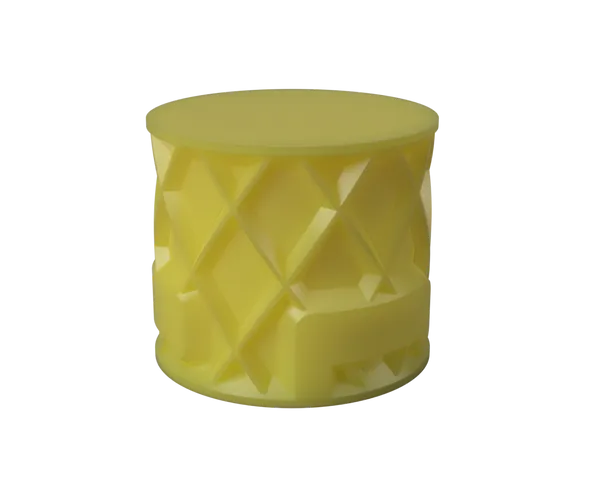
The Bottom piece should be printed with the closed end on the bed.
## Part Selection:
Use the tables below to select the correct parts to construct your carrying tube.
You may wish to print lock rings to secure them; you should print both the 5mm and 10mm stretch versions to see which best fits your needs - different plastics and printing processes will result in different degrees of stiffness and locking force. If both are acceptable, you might want to use the looser ring on the cap. You will need one less lock ring than the number of segments you print. You may optionally apply some tape to the joints, preferably with lock rings, to prevent them from coming undone while travelling
| Segment | Length Capacity |
| --------- | ------------------------------------ |
| Bottom | 200mm |
| Body | 200mm |
| Top | 20mm, 25mm, 30mm, 50mm, 100mm, 150mm |
| Paper Size | Necessary Length | Recommended Configuration |
| ---------- | ---------------- | ------------------------------------- ------------- |
| A0 | 841mm | Bottom + 3x Body + 50mm Top (850mm) + 4 Lock Rings |
| A1 | 594mm | Bottom + 2x Body + 25mm Top (625mm) + 3 Lock Rings |
| A2 | 420mm | Bottom + 1x Body + 25mm Top (425mm) + 2 Lock Rings |
| A3 | 297mm | Bottom + 0x Body + 150mm Top (350mm) + 1 Lock Ring |
| A4 | 210mm | Bottom + 0x Body + 25mm Top (225mm) + 1 Lock Ring |
| A5 | 148mm | Bottom + 0x Body + 25mm Top (225mm) + 1 Lock Ring |
| Letter | 216mm | Bottom + 0x Body + 25mm Top (225mm) + 1 Lock Ring |
| Legal | 216mm | Bottom + 0x Body + 25mm Top (225mm) + 1 Lock Ring |
| Ledger | 279mm | Bottom + 0x Body + 100mm Top (300mm) + 1 Lock Ring |
| ANSI A | 216mm | Bottom + 0x Body + 25mm Top (225mm) + 1 Lock Ring |
| ANSI B | 279mm | Bottom + 0x Body + 100mm Top (300mm) + 1 Lock Ring |
| ANSI C | 432mm | Bottom + 1x Body + 50mm Top (450mm) + 2 Lock Rings |
| ANSI D | 559mm | Bottom + 2x Body + 25mm Top (625mm) + 3 Lock Rings |
| ANSI E | 864mm | Bottom + 3x Body + 100mm Top (900mm) + 4 Lock Rings |
| Arch A | 229mm | Bottom + 0x Body + 50mm Top (250mm) + 1 Lock Ring |
| Arch B | 305mm | Bottom + 0x Body + 150mm Top (350mm) + 1 Lock Ring |
| Arch C | 457mm | Bottom + 1x Body + 100mm Top (500mm) + 2 Lock Rings |
| Arch D | 610mm | Bottom + 2x Body + 25mm Top (625mm) + 3 Lock Ring |
| Arch E | 914mm | Bottom + 3x Body + 150mm Top (950mm) + 4 Lock Ring |
## Print Settings:
This was designed for printing in PETG on a printer capable of 0.5mm line width (e.g. with a 0.4mm nozzle). If using PETG, you should aim for the best possible layer adhesion and strength by selecting a print temperature near the top of your filament and printer's temperature range, with minimal fans.
If you're using some other plastic, I guess you'll have to work it out.
The following slicing parameters are advised:
### Bottom process:
Region: 0.0 to 2.5mm
Perimeters: 2
Bottom Layers: 3
Top Layers: 3
Infill: 20 - 40% Hex
Additions: Raft
### Top Process:
Region: 2.5mm to finish
Perimeters: 1
Bottom Layers: 3
Top Layers: 3
Infill: 0%
Tags
Model origin
The author marked this model as their own original creation.