Door Latch for Kids' Cabin

Description
PDFThis model is a Door Latch originally designed for Kids' Cabin. It is composed by two 70x70 mm cases (one on each side of the door). One case contains a spiral spring used for the handle return and the second case is used for the latch and latch spring. Both case include a stroke limitation to avoid braking a part.
List of parts and description
Case 1 - Fitting the spiral spring for handle return
| Parts | Qty | |
|---|---|---|
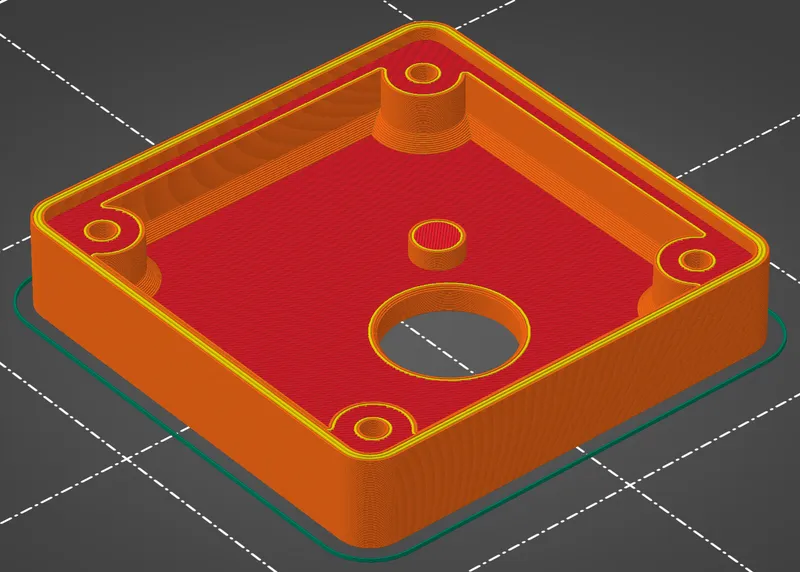
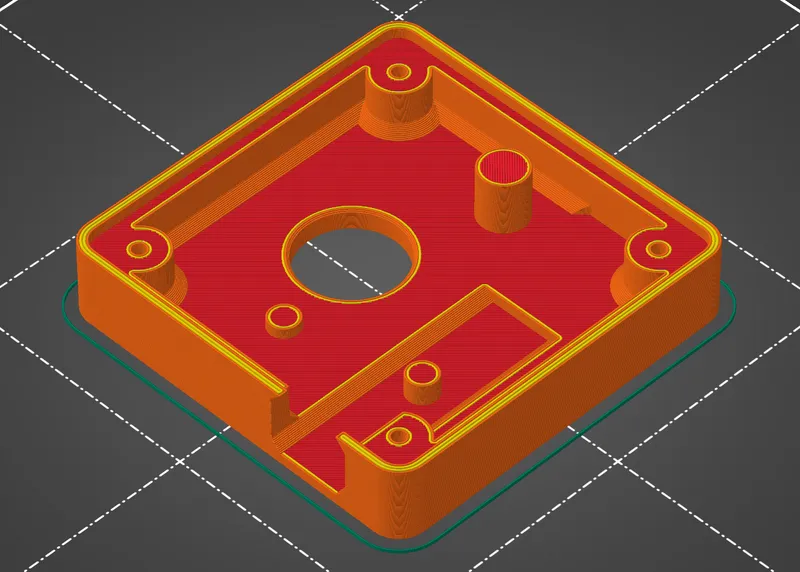
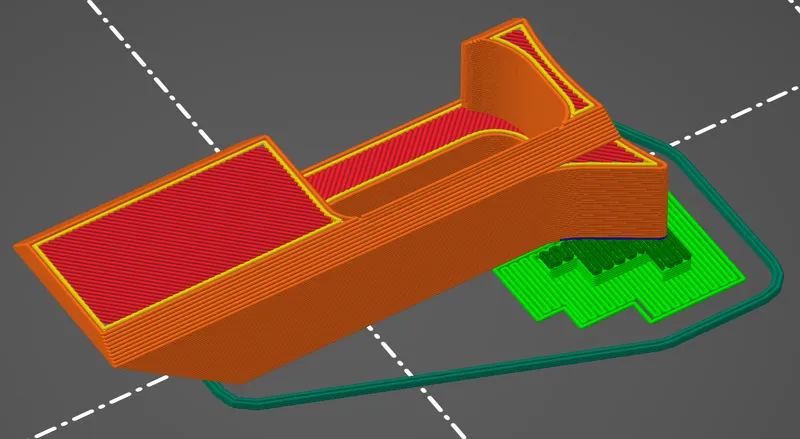
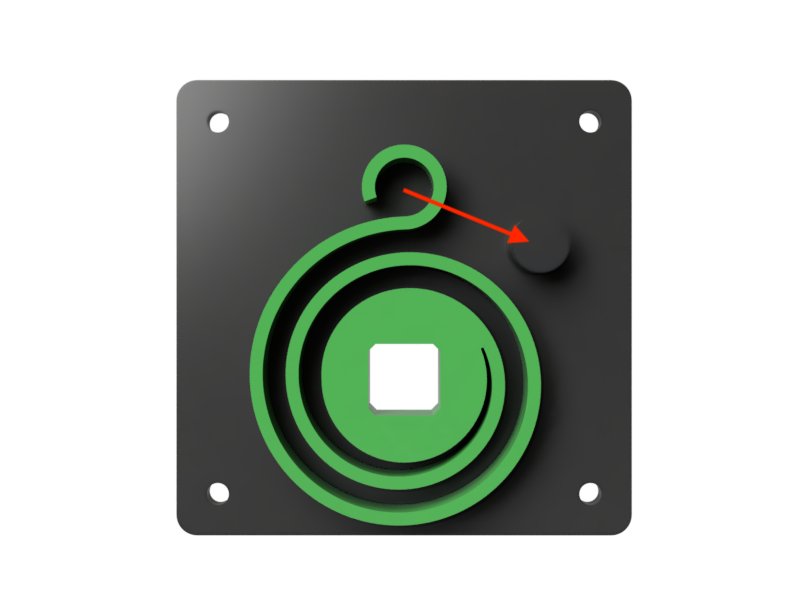
Case 1This case is fitting the spiral spring used for the handle return. The lug is used for the stroke limitation. | 1 | 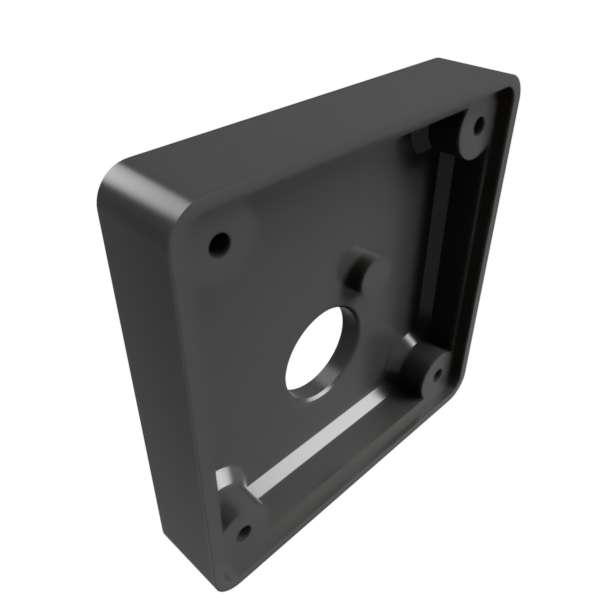 |
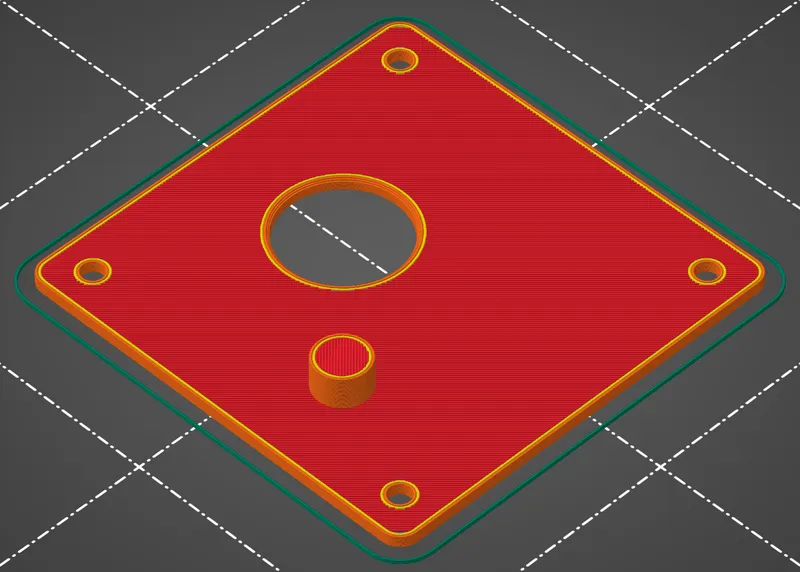
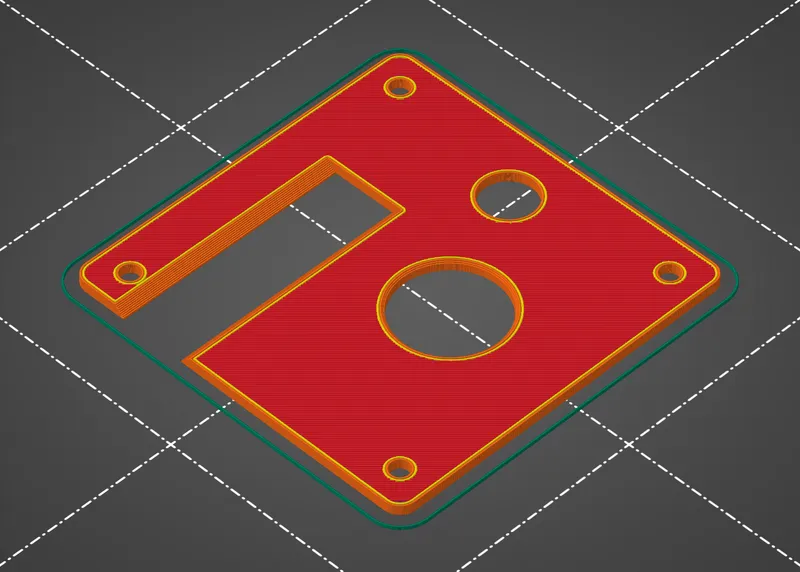
Cover 1This cover is closing and securing the stroke disk and the spiral spring all tougher. The lug is used for holding the spiral spring end. | 1 | 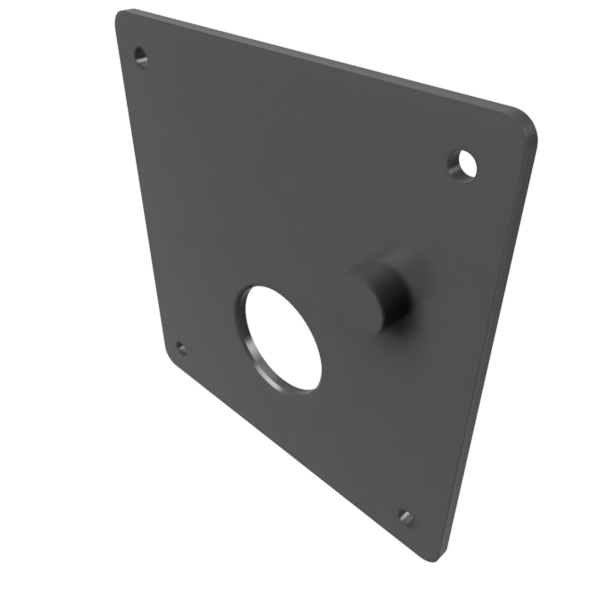 |
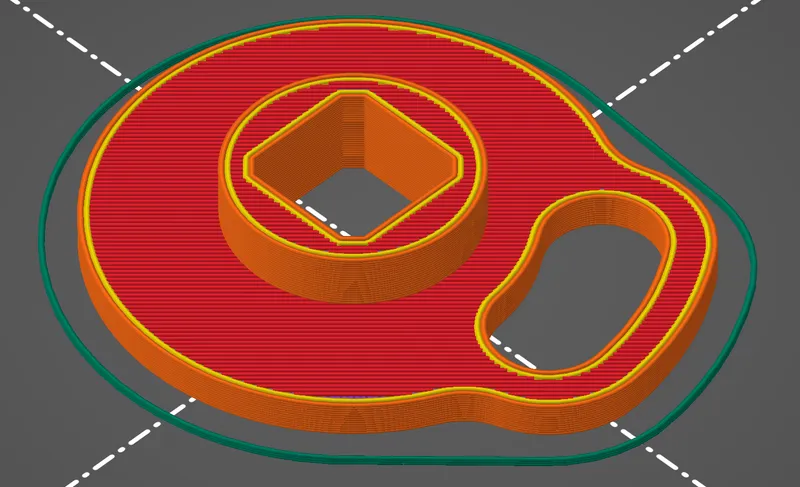
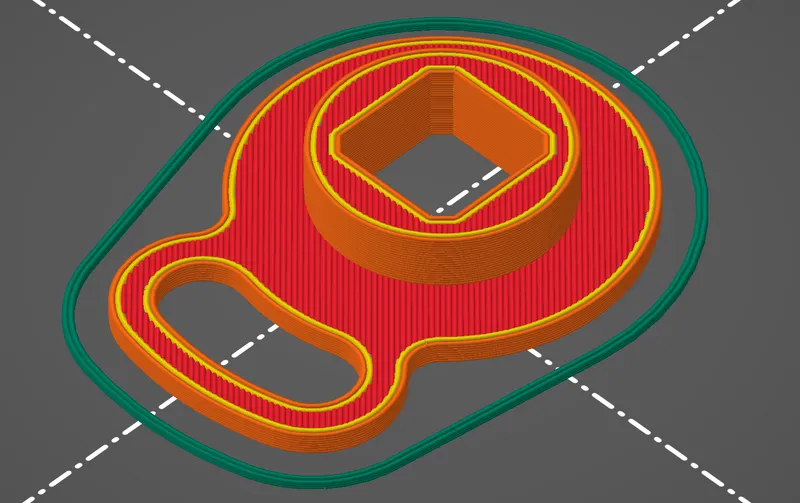
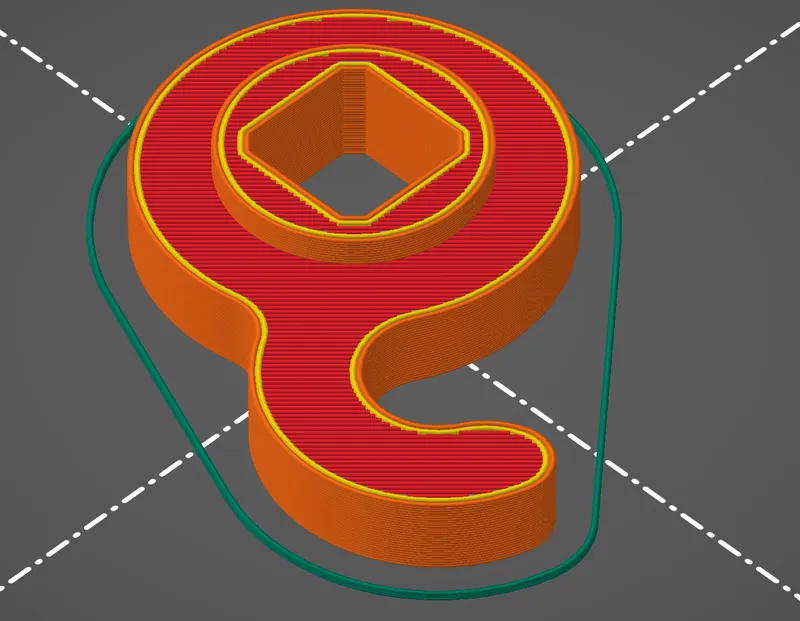
Stroke Disk 1This part is used to limit the handle stroke by 30° and avoiding braking the spring. Be careful not to confuse with Stroke Disk 2. Both parts have a similar design but Disk 1 will not fit on Case 2. | 1 | 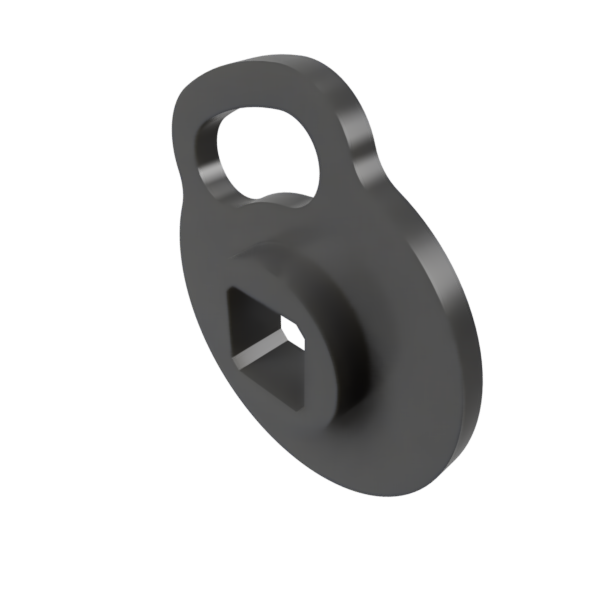 |
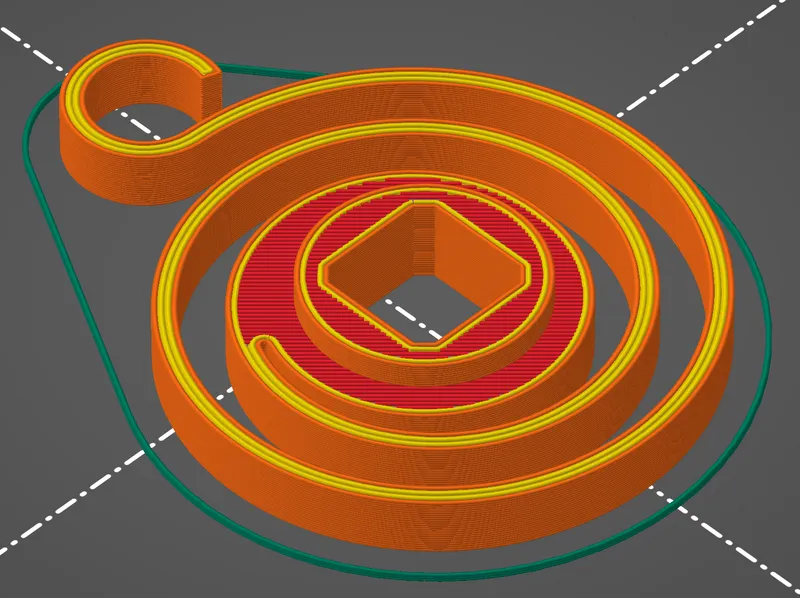
Spiral SpringThis spring is used for the handle return to initial position. | 1 | 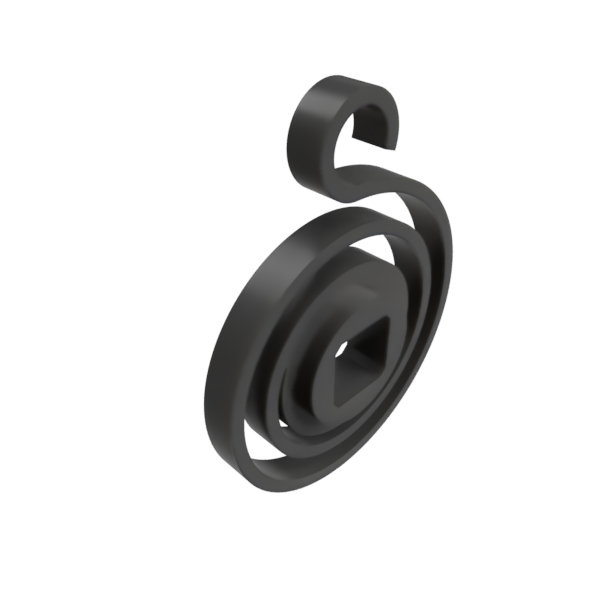 |
Case 2 - Fitting the latch and latch spring
| Parts | Qty | |
|---|---|---|
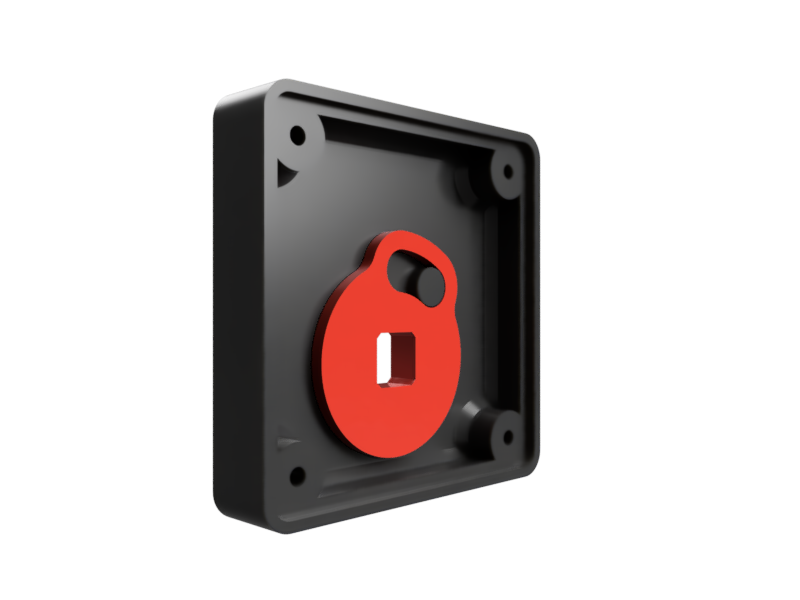
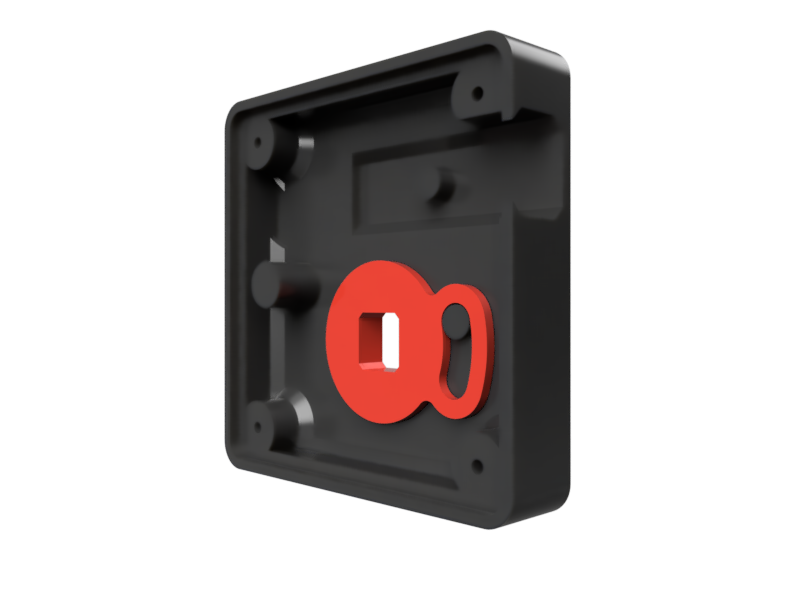
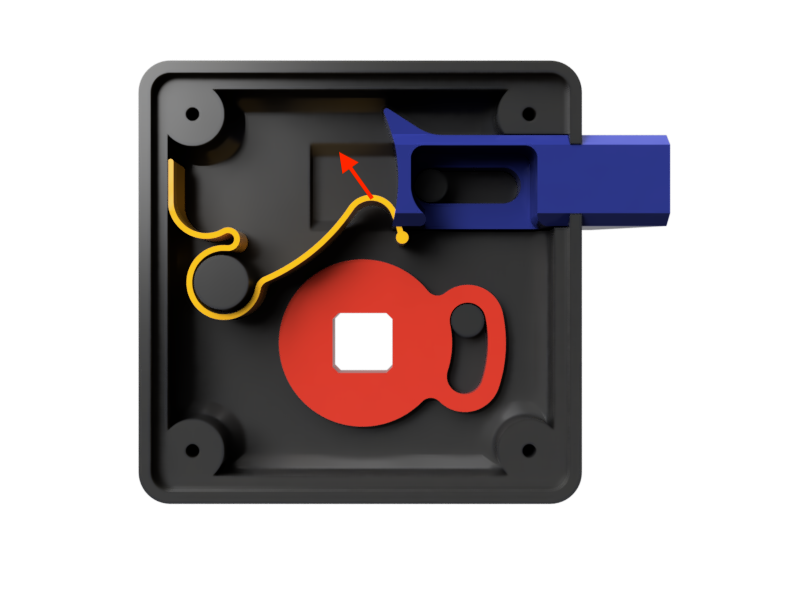
Case 2This case is used for the latch mechanism. The small lug on the top groove is driving the latch. The small lug on the bottom is used for the stroke limitation. The larger lug is used for latch spring pivot. | 1 | 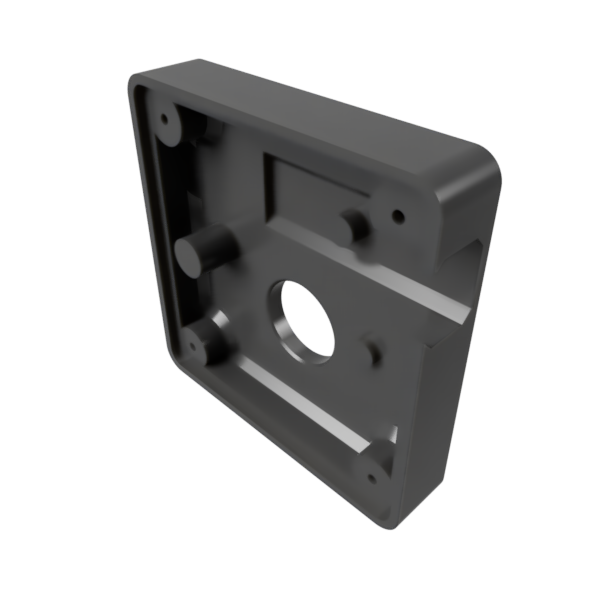 |
Cover 2This cover is securing the stroke disk and the latch mechanism all tougher. The groove is driving the latch. | 1 | 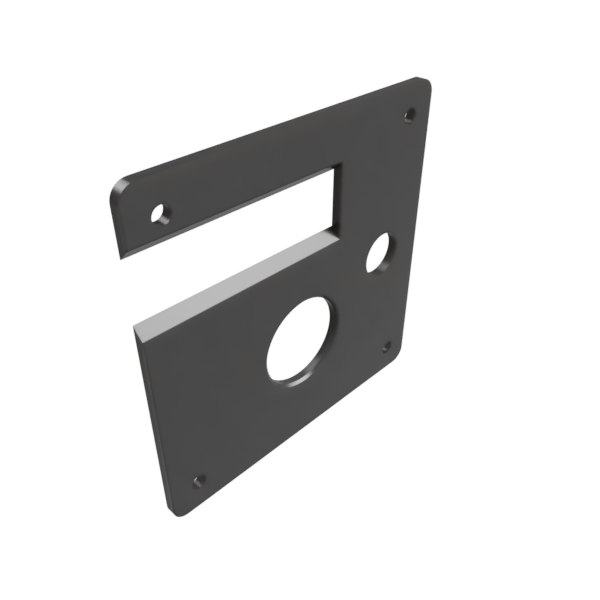 |
Stroke Disk 2This part is used to limit the handle stroke by 30° and avoiding braking the spring and overrunning the latch travel. Be careful not to confuse with Stroke Disk 1. Both parts have a similar design but Disk 2 will not fit on Case 1. | 1 | 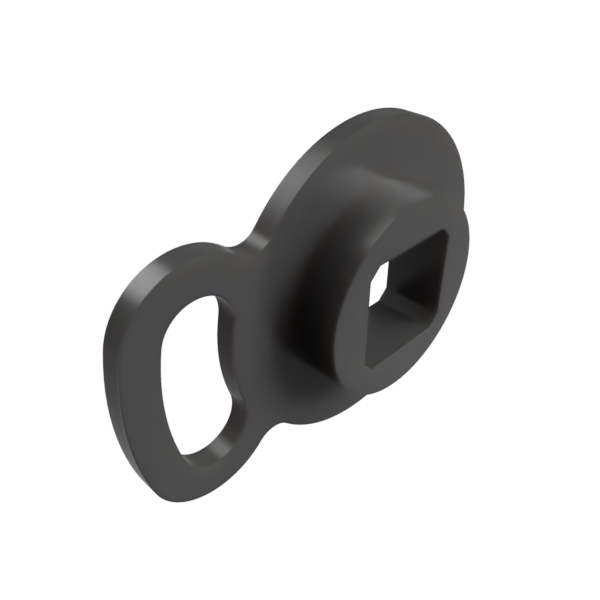 |
Action DiskThis part is used to convert the rotating action from the handle into a translation of the latch. | 1 | 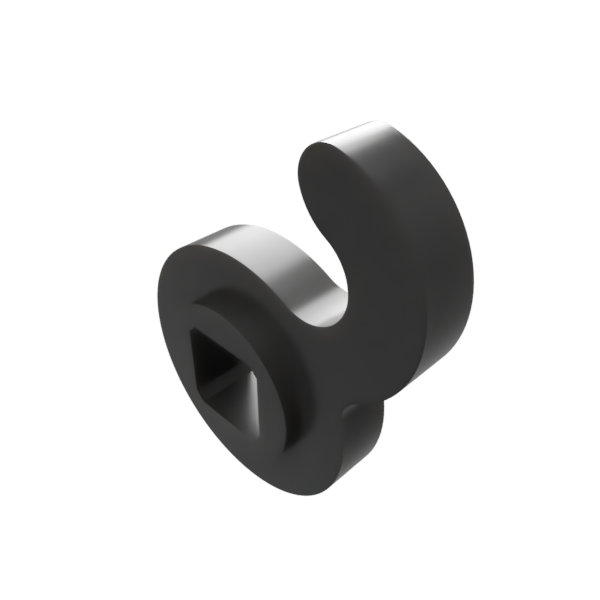 |
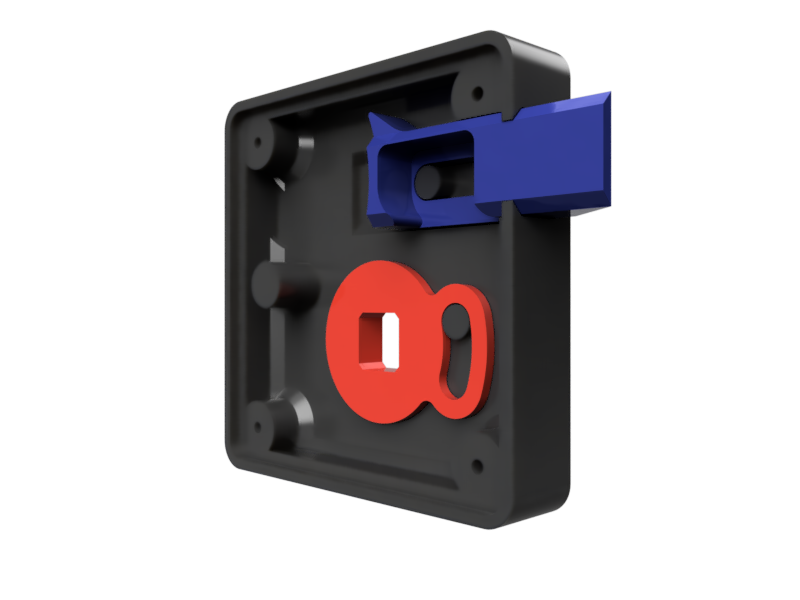
LatchThe latch is the only part that will requires some supporting material. | 1 | 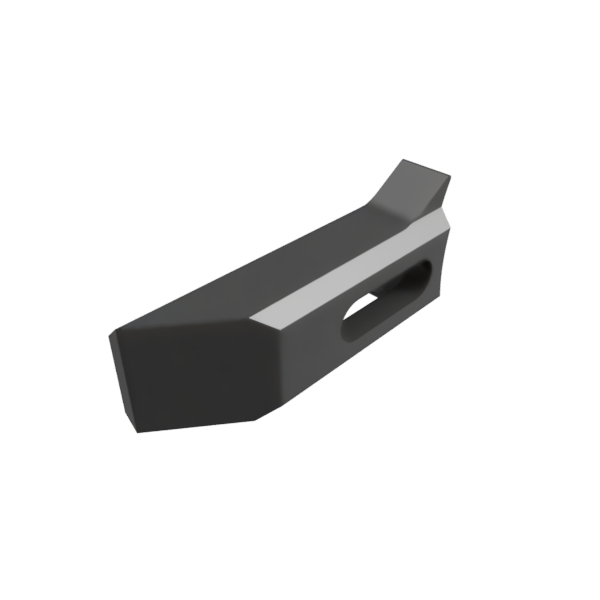 |
Latch SpringThis spring is used to return the latch into a locked position. | 1 | 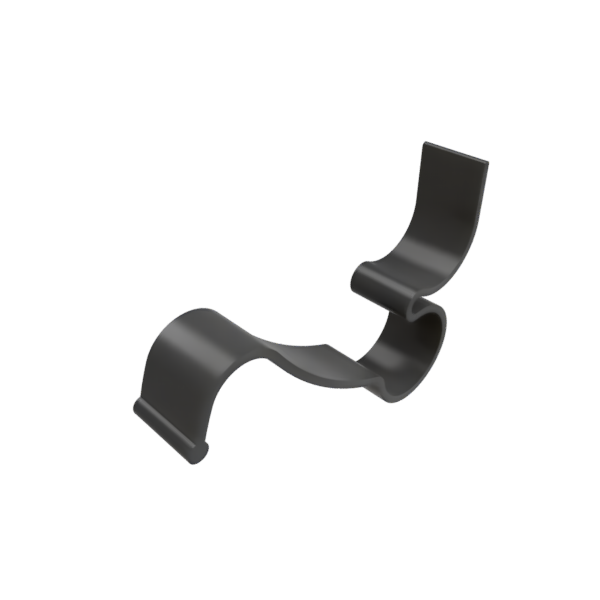 |
Other Printed Parts
| Parts | Qty | |
|---|---|---|
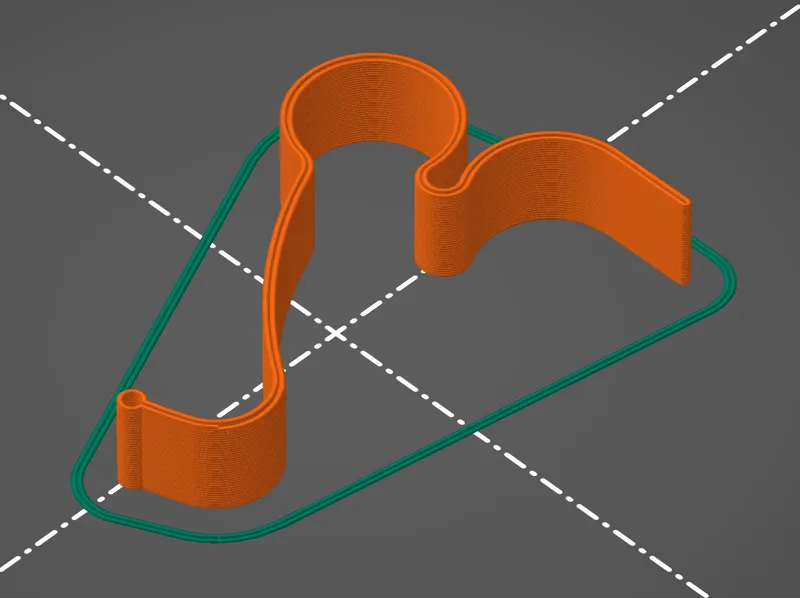
HandleThe same handle can be printed twice and used on both side. | 2 | 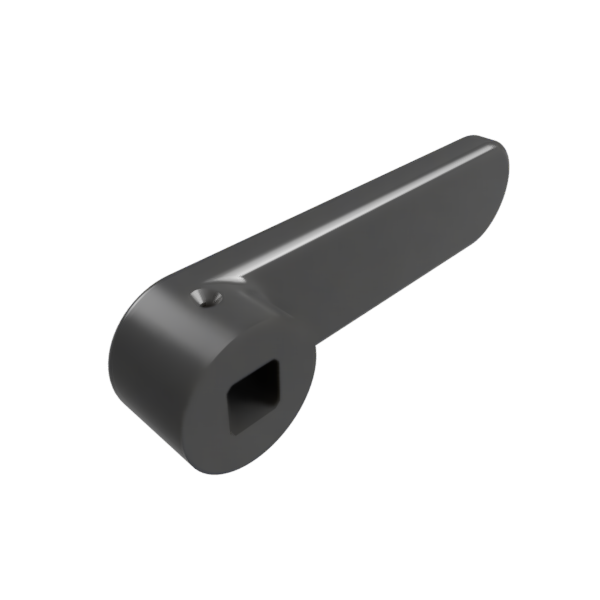 |
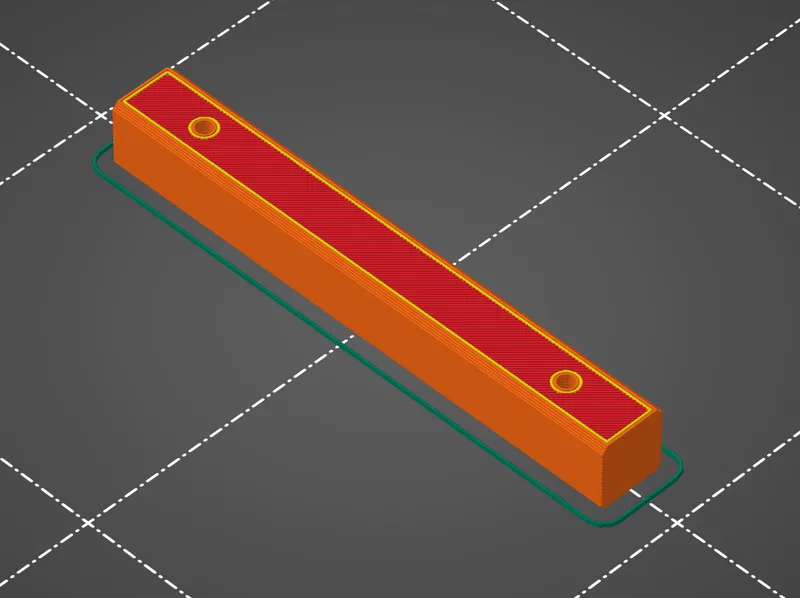
Square ShaftThe size of the shaft depend on the door thickness. Different shaft size are proposed for download for 8, 9, 10, 12, 14, 16, 18 mm door thickness. | 1 | 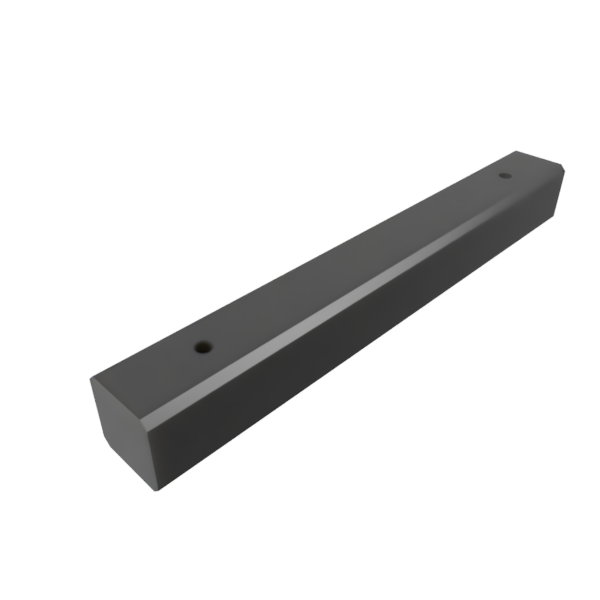 |
Consumables
| Name | Qty |
|---|---|
Wood screw flat head ∅3The screw length depend on the door thickness.
| 4 |
Wood screw flat head ∅2.5 - 20Those screws are used to secure the handle with the shaft. | 2 |
Printing instructions
I recommend printing in PETG with a .4 nozzle but most parts should also print fine in PLA. Only make sure to print the two springs in PETG, PLA will be too brittle.
All parts except the latch can be printed with no support. I little bit of supporting material will be needed for the latch tail.
Case 1
Print with the front face on the build plate and no support will be required.
Cover 1
Print the external surface on the build plate.
Stroke Disk 1
Print with the larger flat surface on the build plate. Nothing specific for this part. Once this part is printed, be careful to not confuse with the Stroke Disk 2. Both parts have a similar design but Disk 1 will not fit on Case 2.
Spiral Spring
Use PETG to print this part, PLA will be too brittle. Print with the larger flat surface on the build plate. Make sure the spiral is printing only with perimeters (straight lines and not infill). I recommend increasing the number of perimeters to 4 in order to produce a nice connection of the spiral with the body.
Case 2
Print with the front face on the build plate and no support will be required.
Cover 2
Print the external surface on the build plate. This cover does not have lug, but refer to the latch groove chamfer for the proper orientation.
Stroke Disk 2
Print with the larger flat surface on the build plate. Nothing specific for this part. Once this part is printed, be careful to not confuse with the Stroke Disk 1. Both parts have a similar design but Disk 2 will not fit on Case 1.
Action Disk
Print with the larger flat surface on the build plate. Nothing specific for this part.
Latch
I recommand to print with the groove face on the build plate. This part will still require a little supporting material on the tail.
Latch Spring
Use PETG to print this part, PLA will be too brittle. Print on any of the side surface. I recommend printing with spiral vase mode or at least make sure it is printed with perimeter only and no infill, no top and bottom
Handle
You need to print two handles, the same handle will be reversible. Print with the front face on the build plate and no support will be required. Keep the infill light, the spiral spring does not provide a lot of return force. I used 15% Gyroid infill.

Shaft
Make sure to select the proper shaft length, the dimension specified on the file name is the door thickness. Print on the side with the screw hole on top/bottom.
Assembly
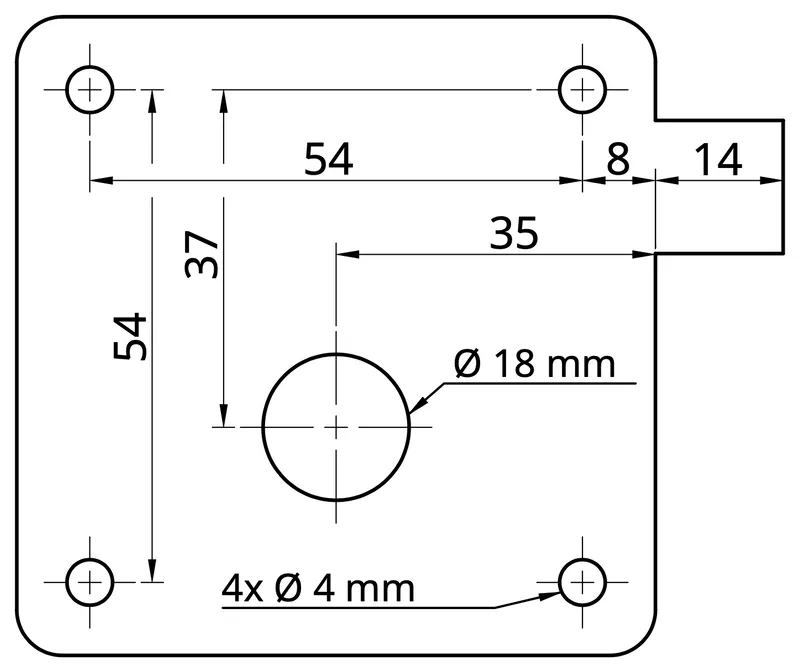
Drilling
- Download the file Door Latch Drilling Jig.pdf and print with real size (100%).
- Verify few dimensions prior drilling to ensure the drawing was printed with 1:1 size.
- Cut the drawing and apply on the door to confirm the position of the latch.
- Drill
- x4 ∅4 mm holes.
- x1 ∅18 mm hole. If you don't have a ∅18, any size between 16 to 20 should work fine.
Case 1
- Insert the Stroke Disk 1 on its pivot position with the Case 1.
- Insert the Spiral Spring on its pivot position with the Cover 1 and spring end around the lug.
- Close the Case 1 with the Cover 1 carefully, make sure all parts remains on their position.
- Insert the Square Shaft from the cover side on the Spiral Spring, rotate the shaft by around 45° to load the spring and insert the shaft in the Stroke Disk 1.
Case 2
- Insert the Stroke Disk 2 on its pivot position with the Case 2.
- Insert the latch on its sliding position.
- Insert the Latch Spring on it lug and load the spring on the Latch tail.
- Insert the Action Disk on its pivot position with the Cover 2

- Close the Case 2 with the Cover 2 carefully, make sure all parts remains on their position.
- Insert the Case 2 on the Square Shaft and press against the door. You may have to slightly rotate the shaft to align all parts.
Final Assembly
- Insert the x4 flat head ∅3 mm screws to secure both sides against the door.
- Insert both handle and secure using the flat head ∅2.5 - 20 screws.
Tags
Model origin
The author marked this model as their own original creation.


