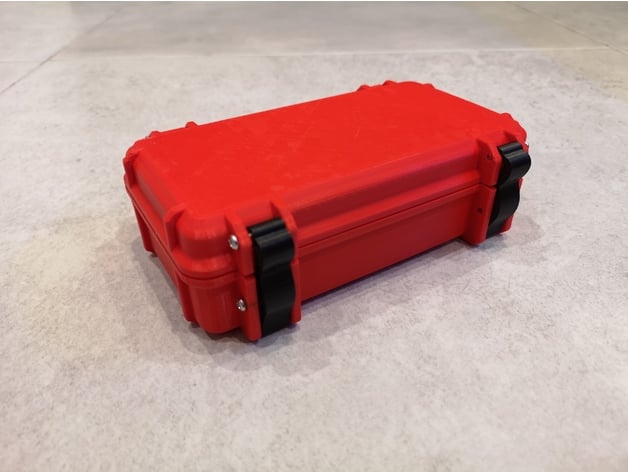
Case for Crimping Tool and Ferrules (based on Frog Box v2.0)
Description
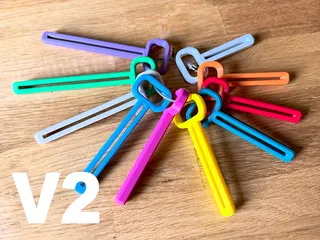
PDFSome time ago I printed a box for crimping tool and ferrules - functional, but rather simple. However, I wanted something more stable and so I turned the idea into a case based on the Frog Box v2.0. The box has a compartment for the inexpensive crimping tools that are available on Amazon (like these one) and eight different sized compartments for ferrules. I found the clasp on the original Frog box to be overkill, so I used simple latches - these are from this model.
Does my crimping tool fit?
An STL containing only the perimeter of the tool is available in the "various" folder. This can be used to easily check whether your crimping tool fits. The height of the test print is the original 19 millimetres, but the height can be modified in the slicer if wanted.
Variations of the case:
The main case is available with texts on the side (DE “Aderendhülsen” / EN “Ferrules”) and without text.
Variations of the lid:
The lid is available with 2½ different logo variants: Completely without logo, with multicolor logo (multimaterial and single material, see printing tips below) and a “layered logo”. The last of these can be printed as normal, but the 0.2 mm difference still creates an eye-catching logo on the lid.
There are also two versions for each logo variant: As a fully printable version or with space for a thin foam pad (2.0 - 2.4 mm). I prefer the foam to be a bit more flexible in height and to reduce the rattling ;-)
What you need:
8 M3 screws are required for the box, or alternatively small rods. The length is exactly 21 millimeters, but 20 millimeters is also sufficient. I re-drilled the holes with a 3 mm drill - it holds just as well and ensures that nothing breaks when screwed in. Don't forget to place the “adapters” for the latches between the ribs. ;-)
Print settings:
Nothing special for case, lid, hinges and latches. Printing is easy and should work with any nozzle and any layer height, but I suggests a layer height of 0.2 mm. No supports necessary.
The multimaterial logo has no tolerance. Here you should play a little with the XY compensation in the slicer (between 0.1 and 0.2 mm depending on the printer adjustment). The height of the logo (Z-only) should also be reduced by one or two layer heights to allow for the bridges. The STL is mirrored so that the lid and logo have the same first layer surface. ;-)
Tags
Model origin
The author remixed this model.
Differences of the remix compared to the original
Combined the three models and ideas into one model.


